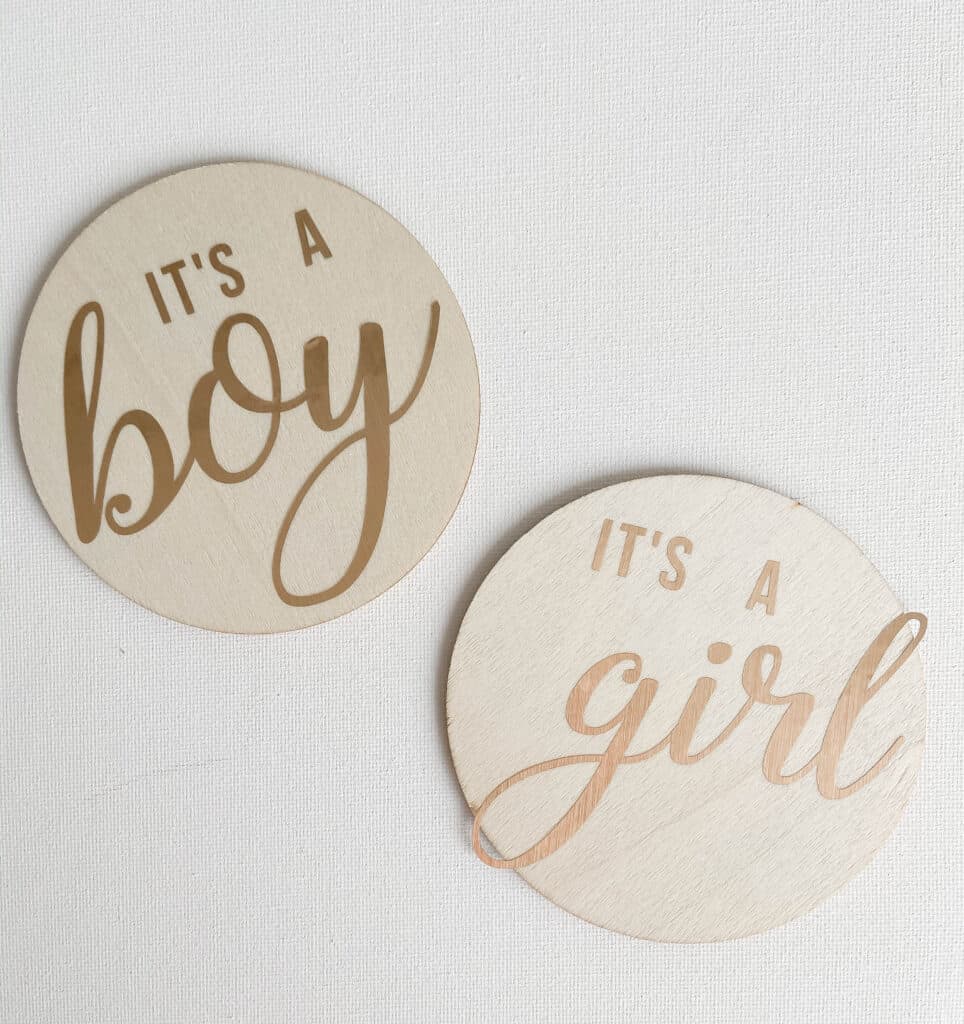
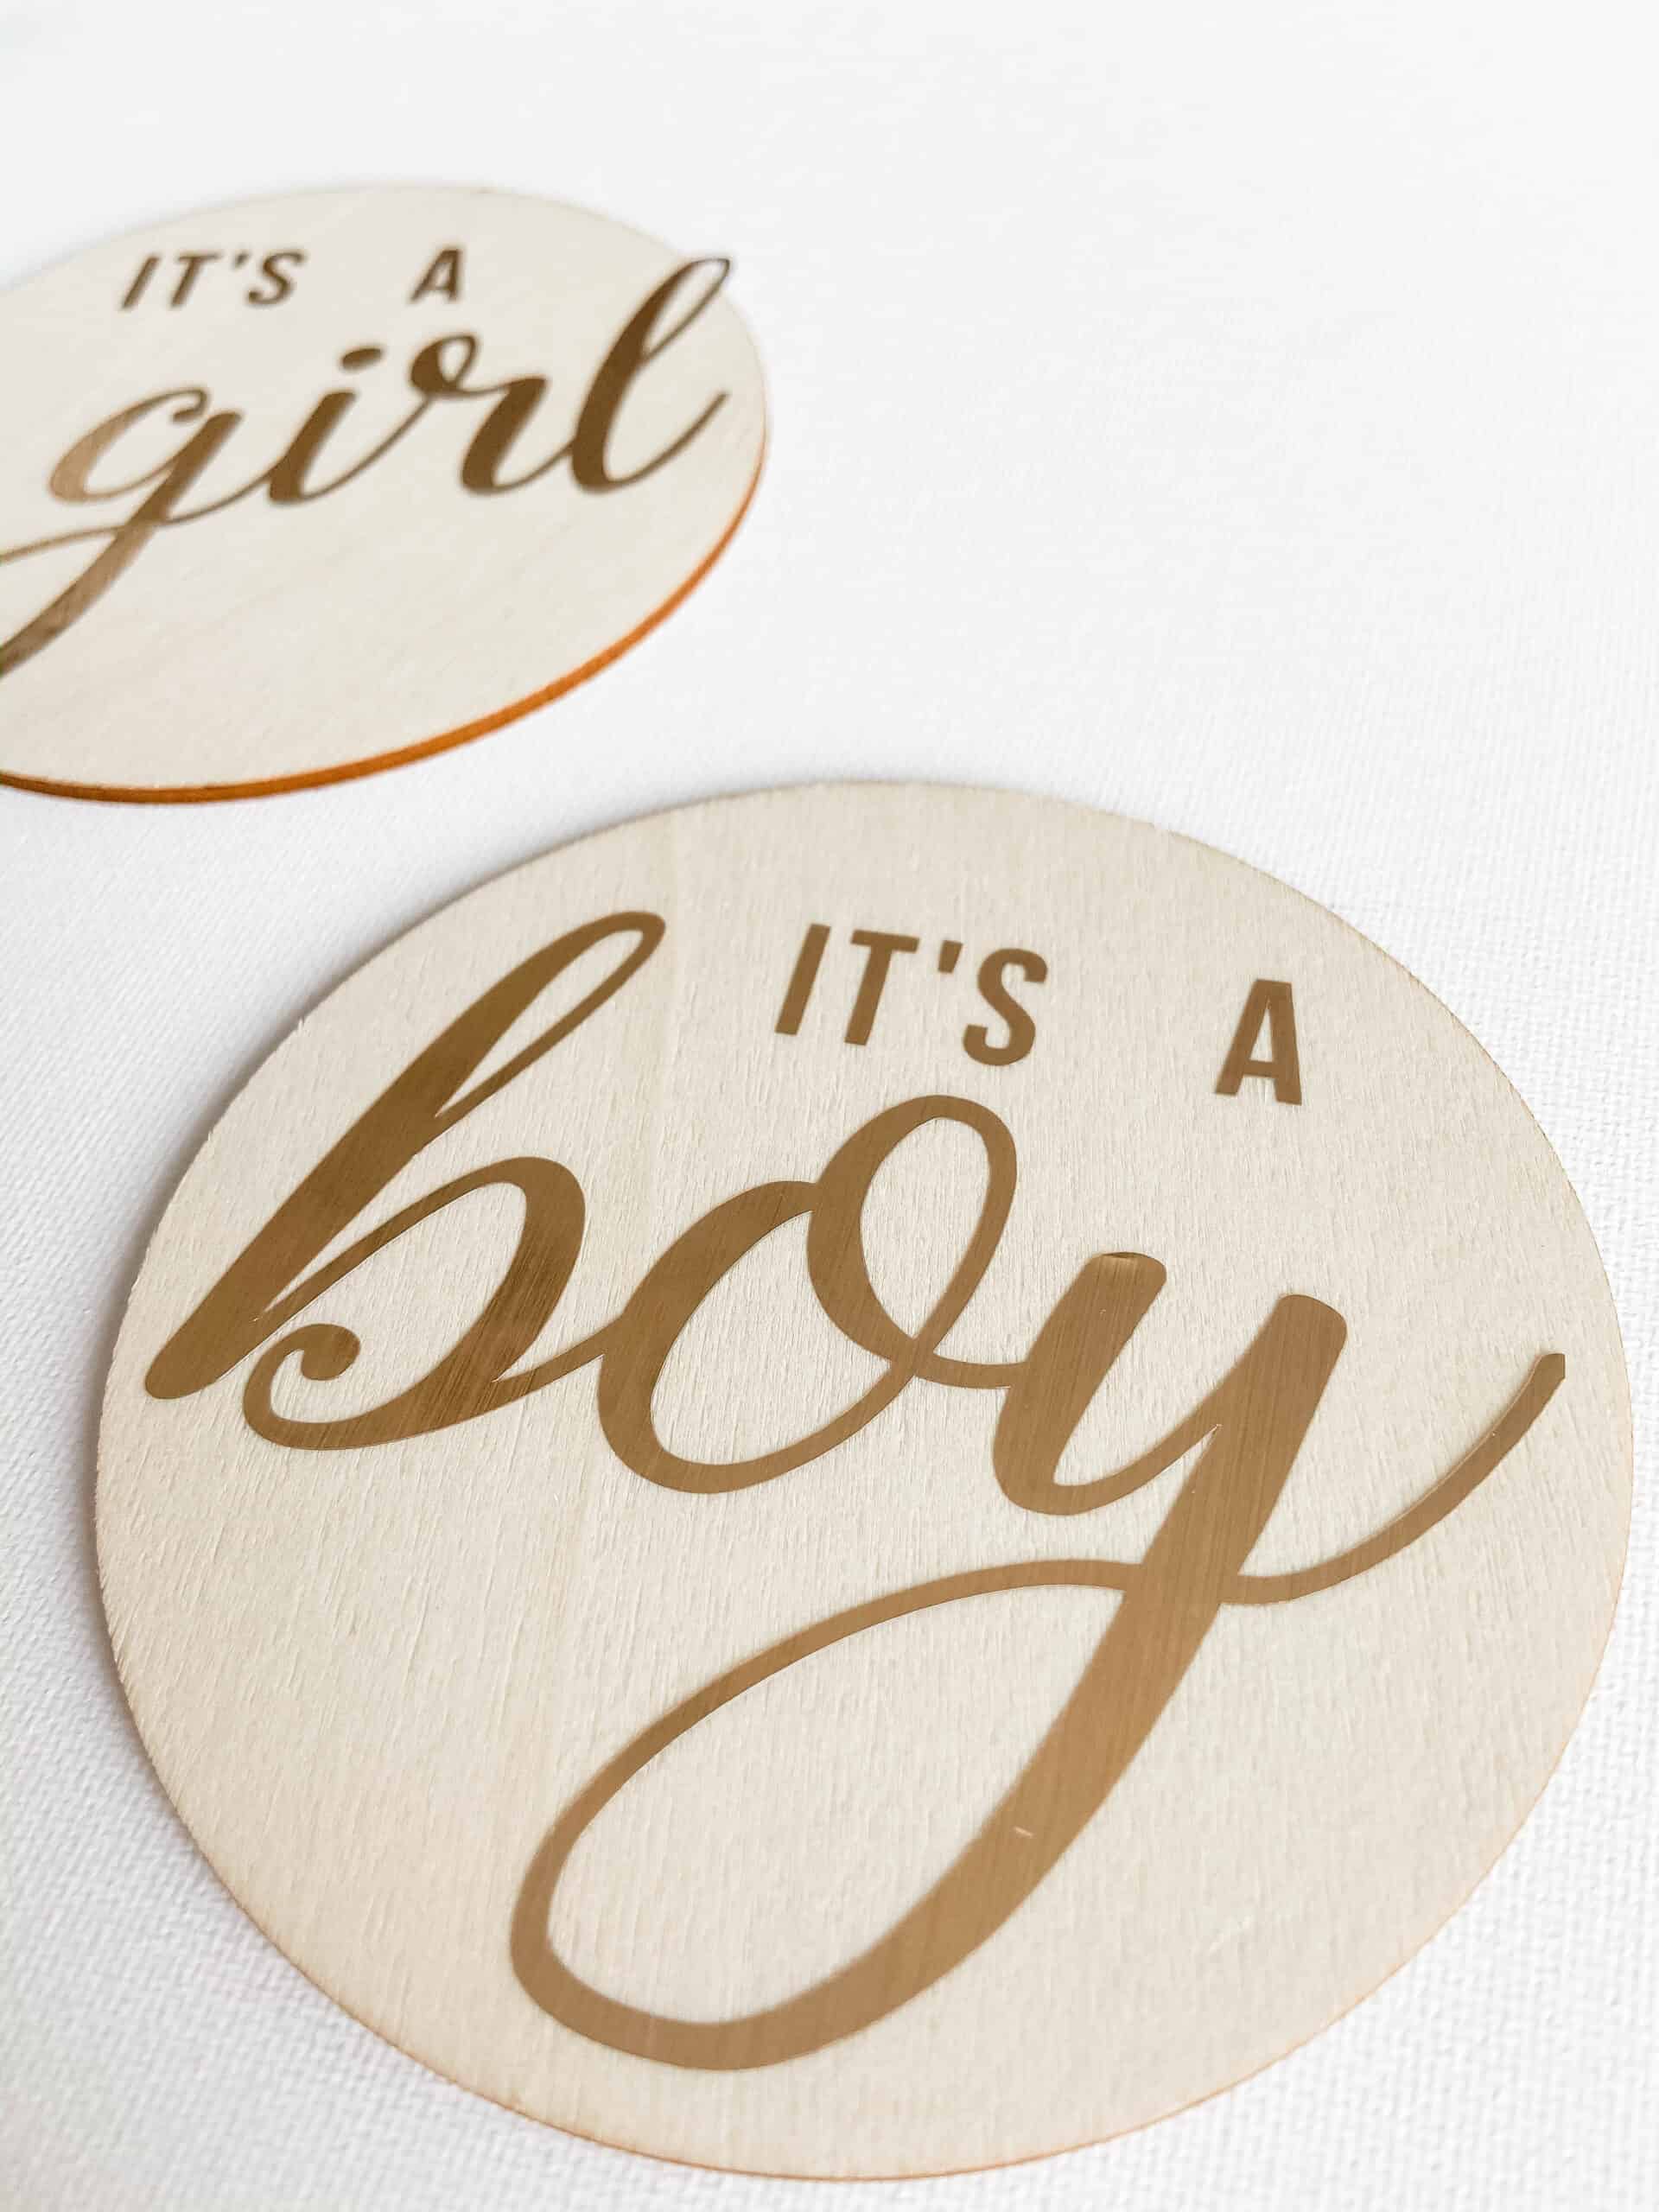
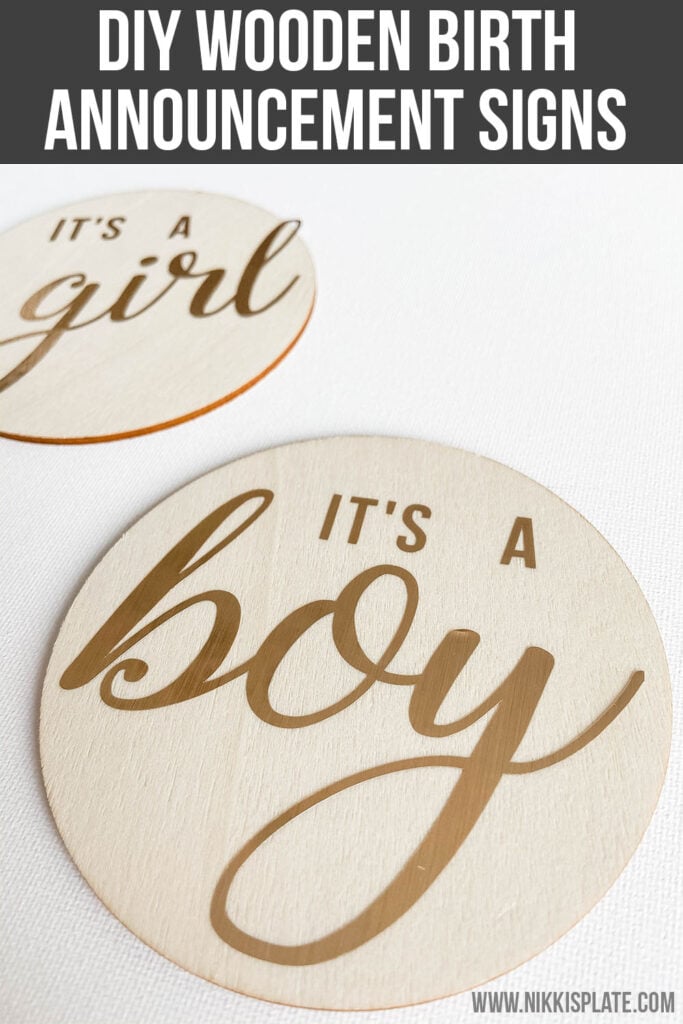
DIY Wooden Birth Announcement Signs; Wood discs with "It's A Boy" and "It's A Girl". Made with Cricut machine but can be made without!
Disclaimer: this post may contain affiliate links, and every purchase made through these links will give me a small commission (at absolutely no extra cost for you!) AS AN AMAZON ASSOCIATE AND REWARDSTYLE MEMBER, I EARN FROM QUALIFYING PURCHASES. See Privacy Policy for additional info.
Hi Beauties!
The count down is on for this next little baby to be joining our family. I wanted to create some "It's a Boy" and "It's a Girl" signs to use for our birth announcement! We found out the gender for our last pregnancy so this is an entire new world for us! And to be honest, I am happy we didn't find out the gender this time. It is exciting and gives me one more thing to look forward to on the day this baby is born!
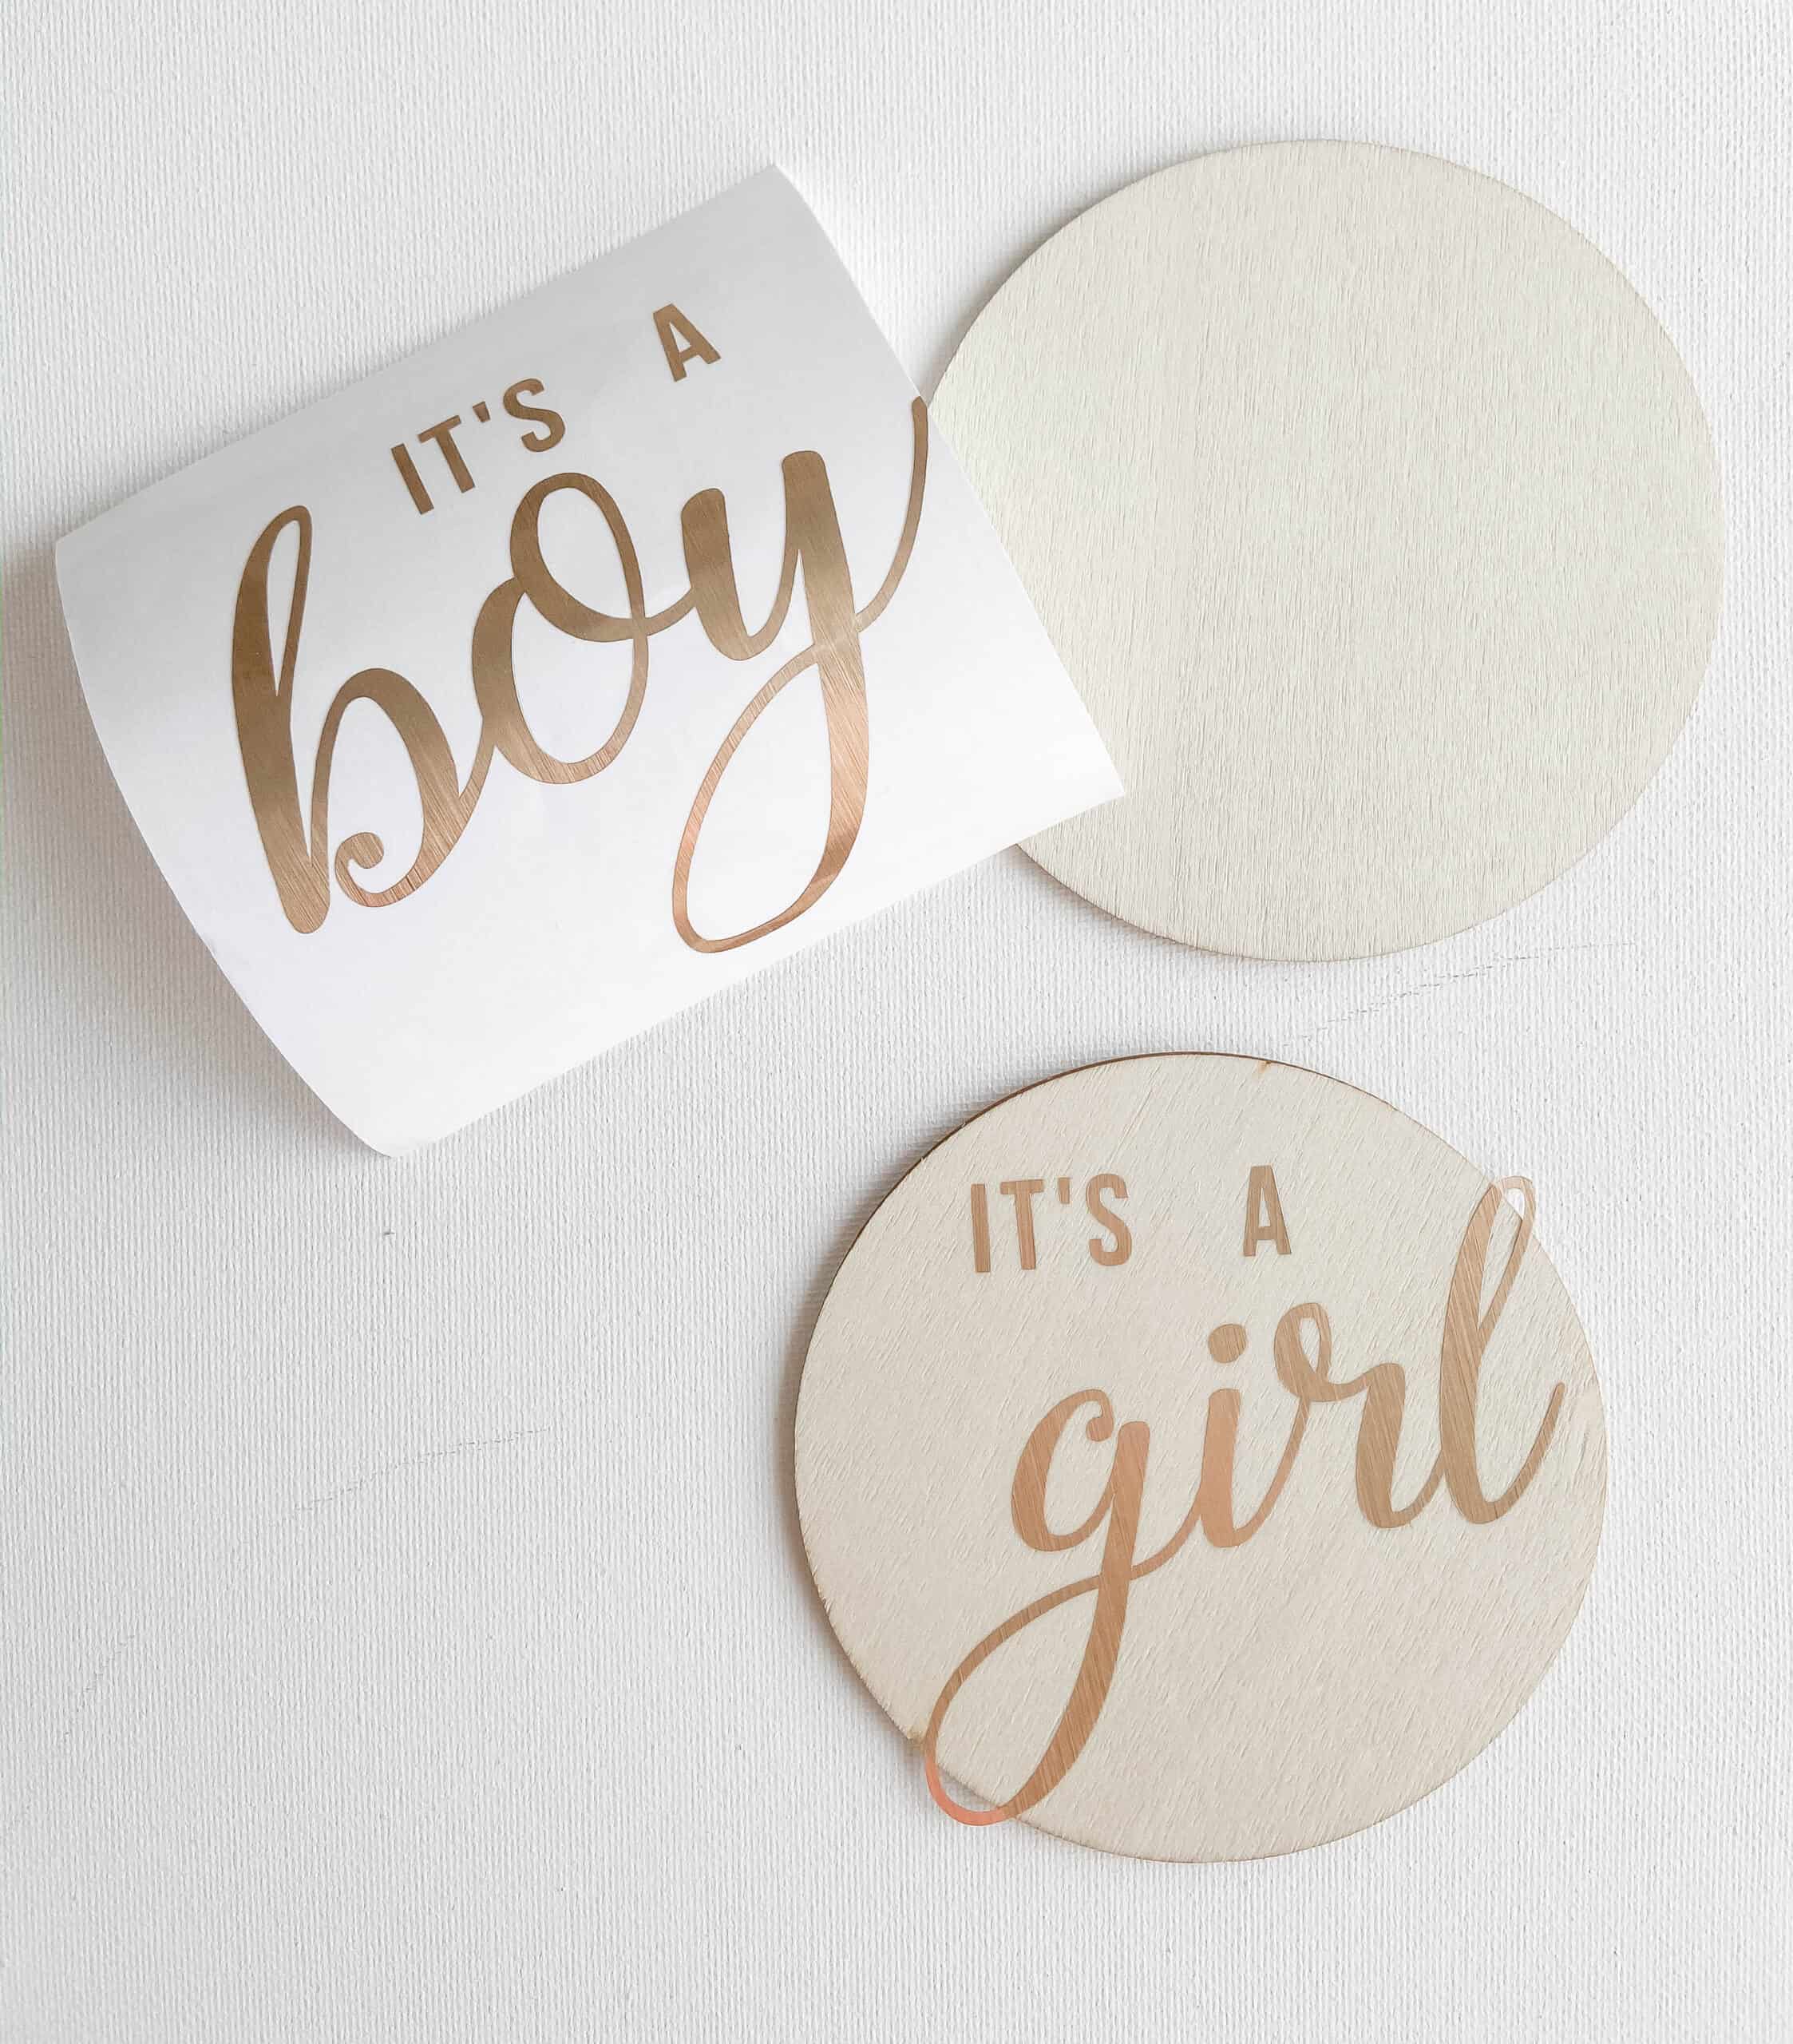
With that being said, I hit Etsy for some inspiration. Etsy is always my go to place for ideas and DIYs. I found a lot of wooden signs like this but they were all engraved ... and well I don't have a machine to engrave these things. SO I used my Cricut machine to make some stickers to go on the wooden signs.
I am so happy with how they turned out and cant wait to use them for our birth announcement!
How To DIY Wooden Birth Announcement Signs:
DIY Wooden Birth Announcement Signs: Wood discs with "It's A Boy" and "It's A Girl". Made with Cricut machine.
- Collect Supplies
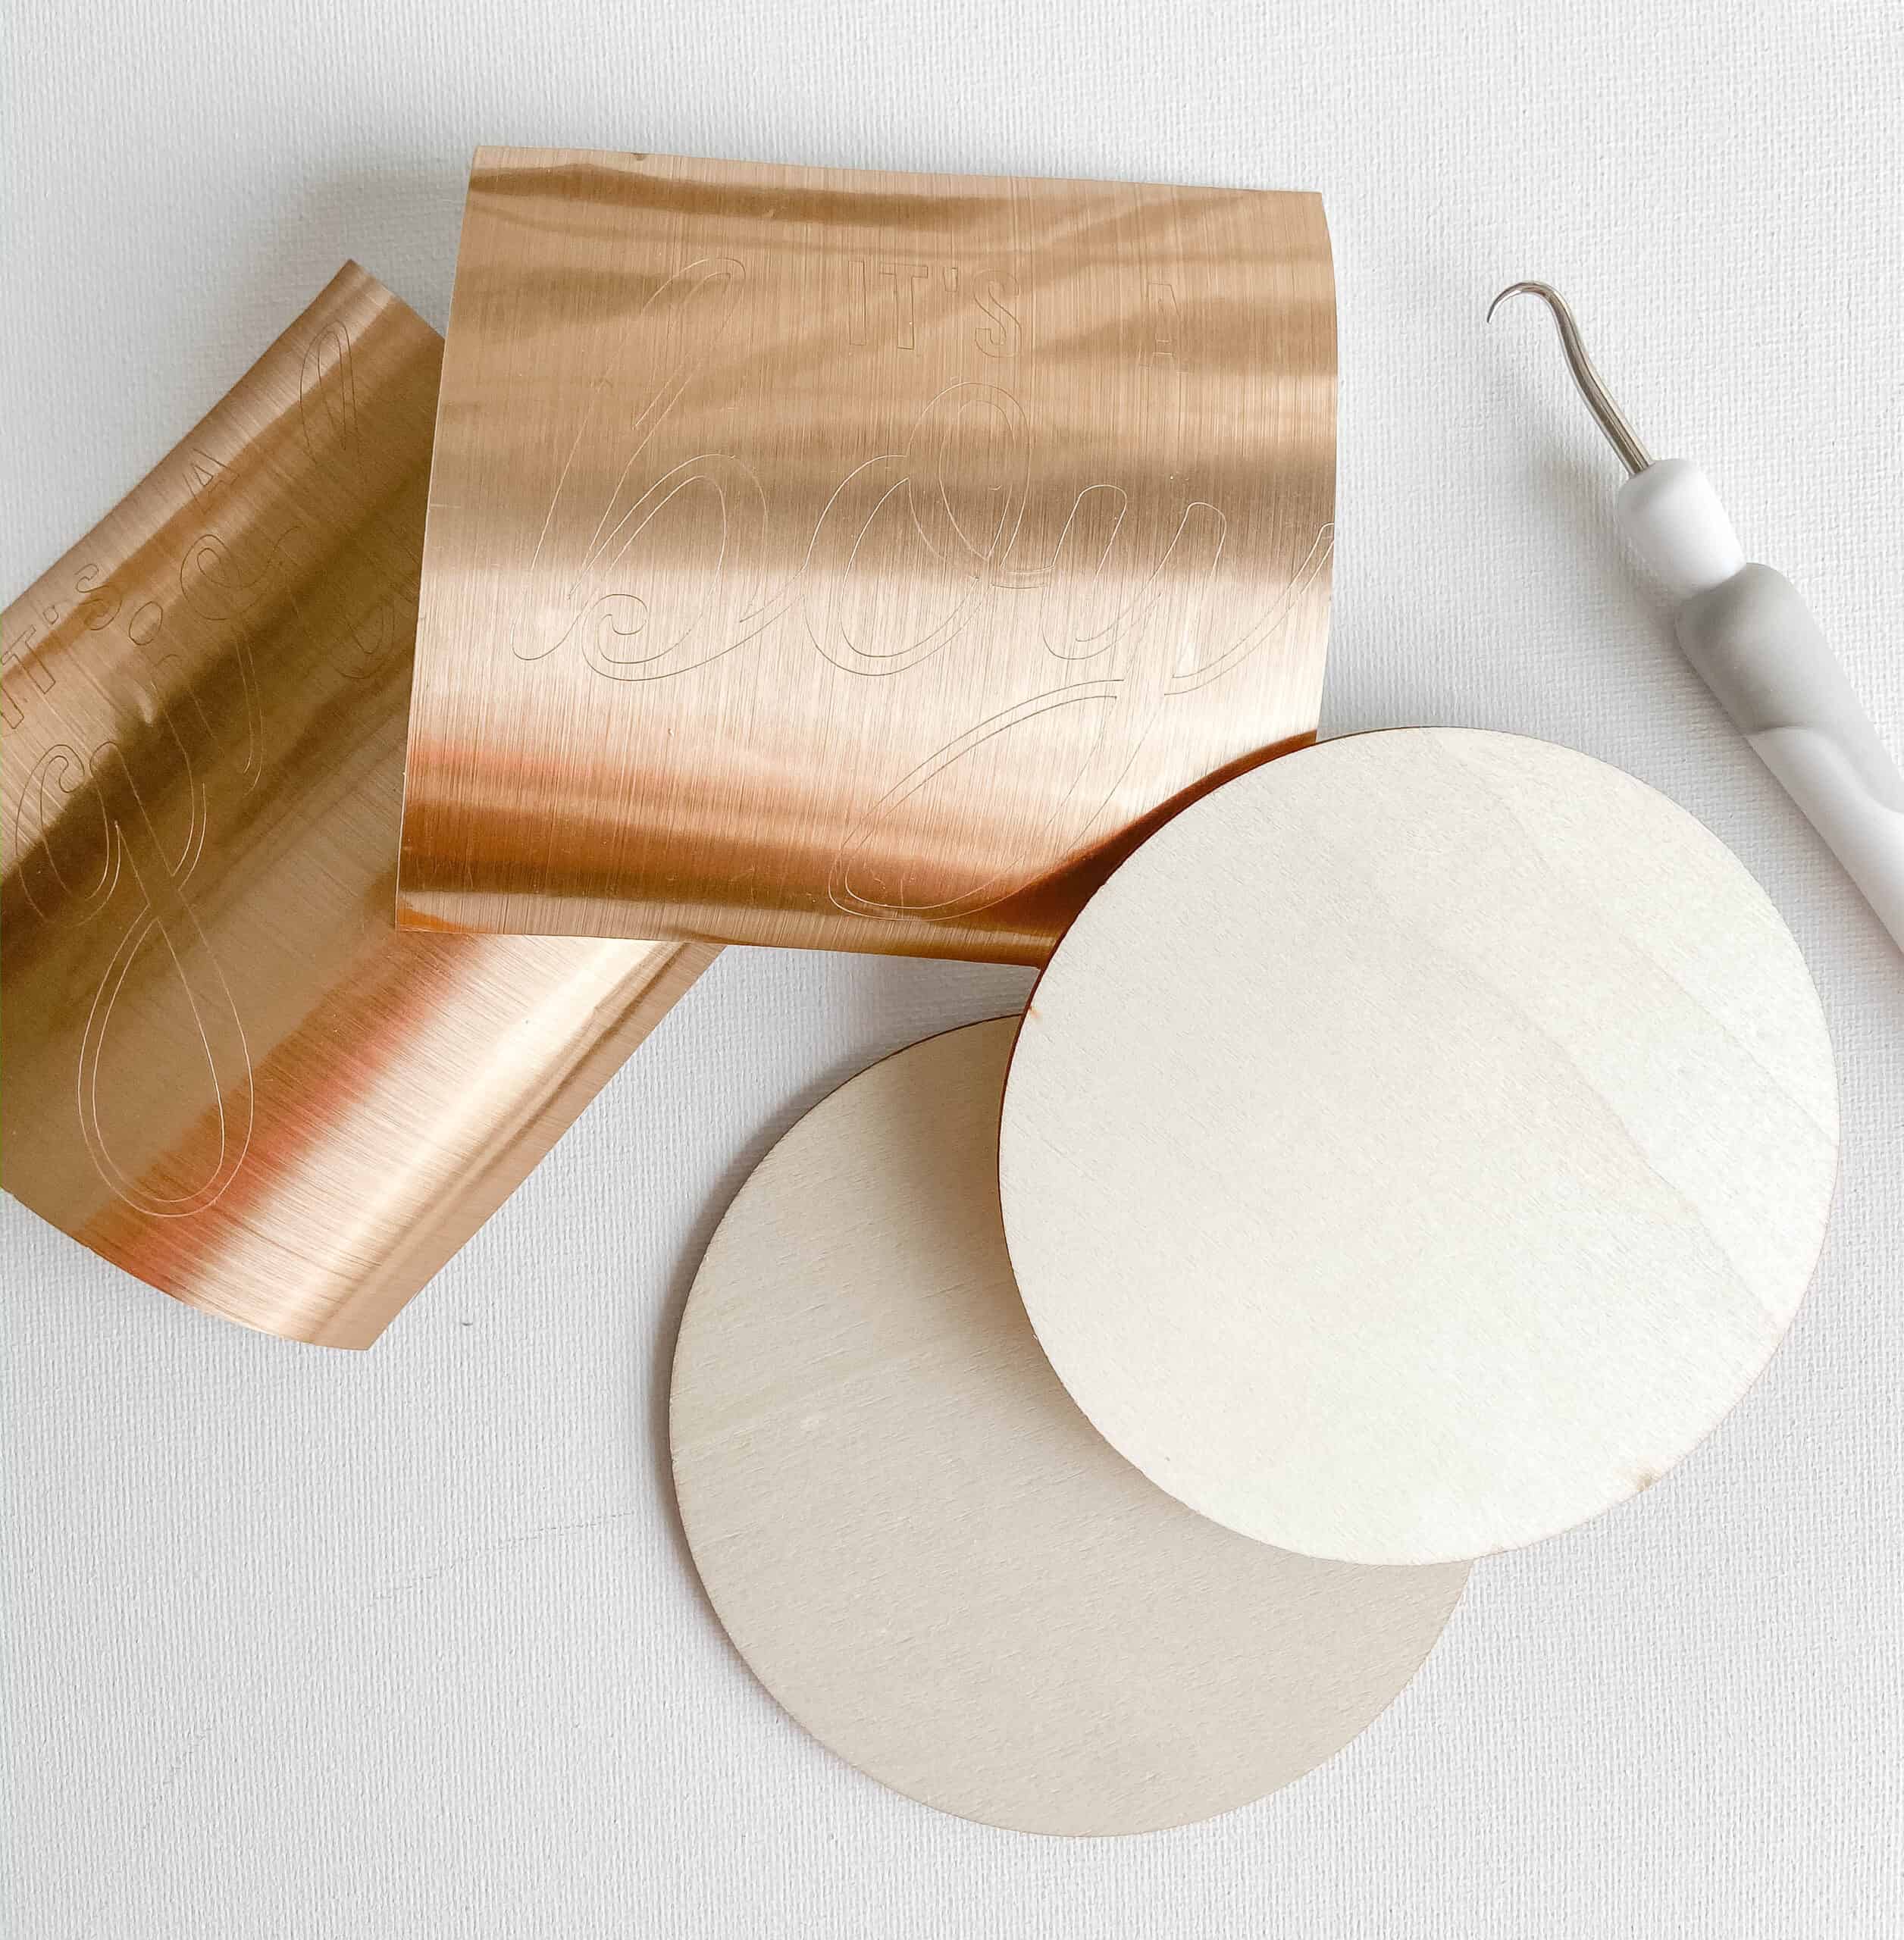
- 4 or 5 inch Wooden Discs (I ordered mine off Amazon)
- Gold Vinyl
- Weeding kit or similar supplies
- Transfer tape or painters tape (I use painters tape) - Design in Cricut
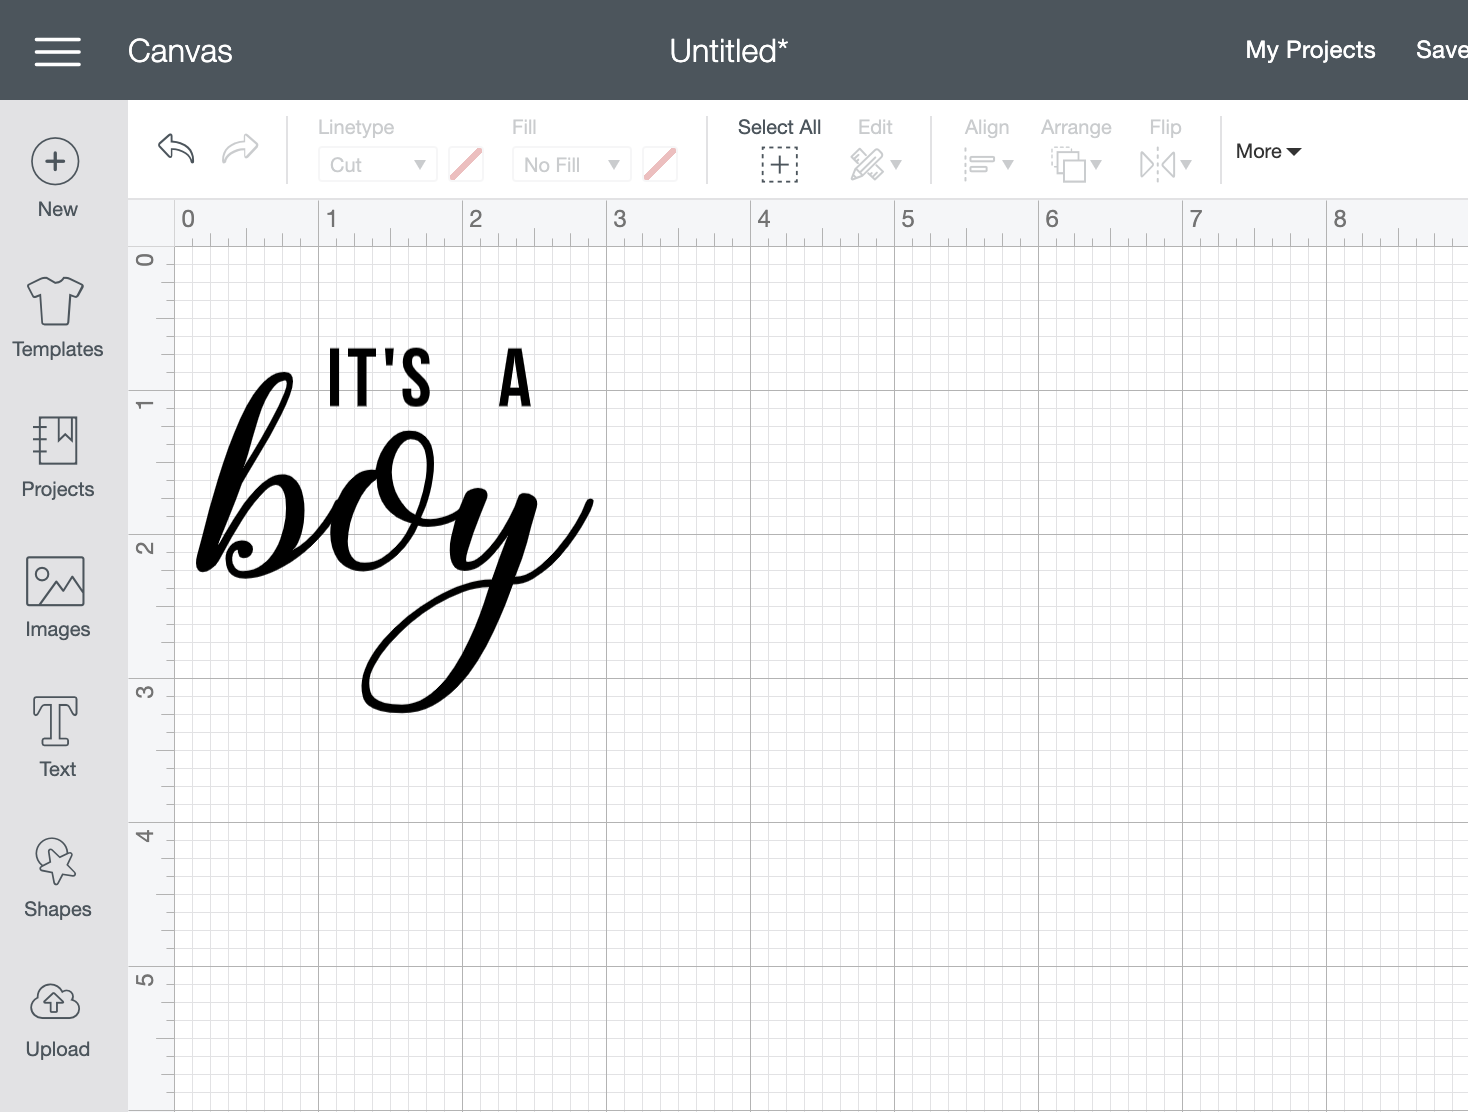
So the first thing you are going to do is design your writing in your Cricut machine. If you don't have a Cricut machine, I will give you some tips later on in the post. For these wooden signs I used gold vinyl and the font Winter Calligraphy for the word "Boy" and "Girl". I used the font Bebas for "It's A". Make sure you measure the disc on your cutting mat to make sure it will fit on the disc. I accidentally measured incorrectly "Girl", which is why it sticks out a little (but I am fine with that). Also make sure you "Weld" everything together before you cut your vinyl.
- Cut and Weed Vinyl
Once your ready, load your vinyl on your Cricut mat and cut away! Make sure the coloured side is facing up. Once everything is cut you need to weed the unwanted pieces off.
- Transfer Vinyl to the Wooden Discs
There are many methods of transfer you can use. My favourite is using painters tape over the transfer tape. It's cheaper and seems to work better. Its easy to mold the painters tape.
- Ensure Vinyl is Secure
Make sure your vinyl is stuck down but pushing on it. You don't need any sealant on these because this vinyl sticks great on this wood. Enjoy!
Making these Signs Without a Cricut
If you don't have a cricut machine you can still make these using paint! I have a tutorial on how to print your writing out on paper and transfer it to wood! Follow these steps to make these disc as well!
And that is it!
Once you have them all set up, put them in a small bin or in a ziplock bag and then right into your hospital bag! I am hoping to use these Wooden Birth Announcement Signs right in the hospital!
I hope you enjoyed this tutorial!
Until Next time,








Leave a Reply