
Paint a little Halloween magic on your windows with 15 ideas ranging from smiling pumpkins and pink-bow ghosts to bats, black cats and a haunted village. Find approachable layout tips, supply guidance and a simple plan for cleaning the glass afterward.
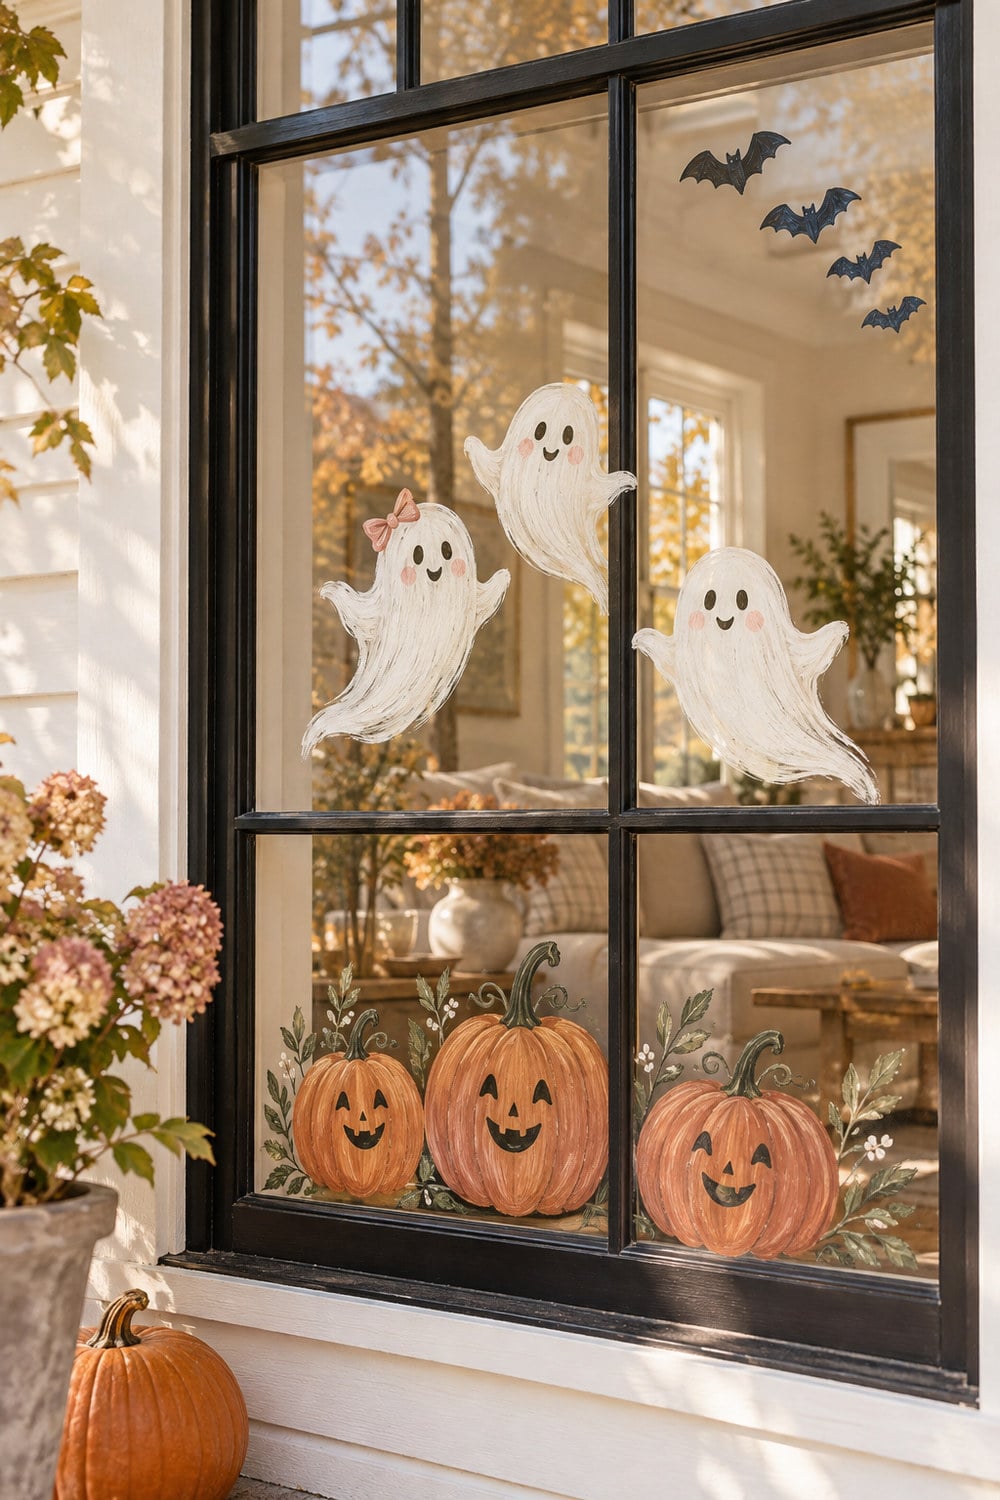
Hi beauties! Halloween window painting ideas can turn a plain pane of glass into the cutest part of your October decor. A few friendly ghosts, painted pumpkins or tiny bats can make the house feel festive from the street and from the kitchen table.
You do not need to paint an elaborate mural. One simple motif repeated across a window often looks more polished, and a washable product made for glass can make cleanup much less intimidating.
Below are 15 designs, from easy borders to a storybook haunted village. I've included layout and colour ideas, a quick setup method, and answers to the questions you might have before putting paint on the glass.
Halloween Window Painting Tips
Choose a washable product labelled for window or glass use, and follow its own directions for application and removal. Crayola's window-painting guidance says its washable window markers are made for this job; it also gives a washable-paint-and-dish-soap method for temporary designs. Product formulas vary, so test a small, discreet spot before painting a full pane, especially on coated or specialty glass.
Clean the pane and let it dry. Sketch your composition on paper, then tape that drawing to the opposite side of the glass as a tracing guide if the design is small enough. Keep paint off frames, seals, screens and window film; protect nearby floors and furniture. An adult should handle any work that requires a step stool, and young children should paint only at a safe height with supervision.
A quick design rule: From the street, broad shapes read better than tiny details. Use two or three main colours and leave open glass around the design so the room still gets light.
15 Halloween Window Painting Ideas
1. Smiling Pumpkin Trio
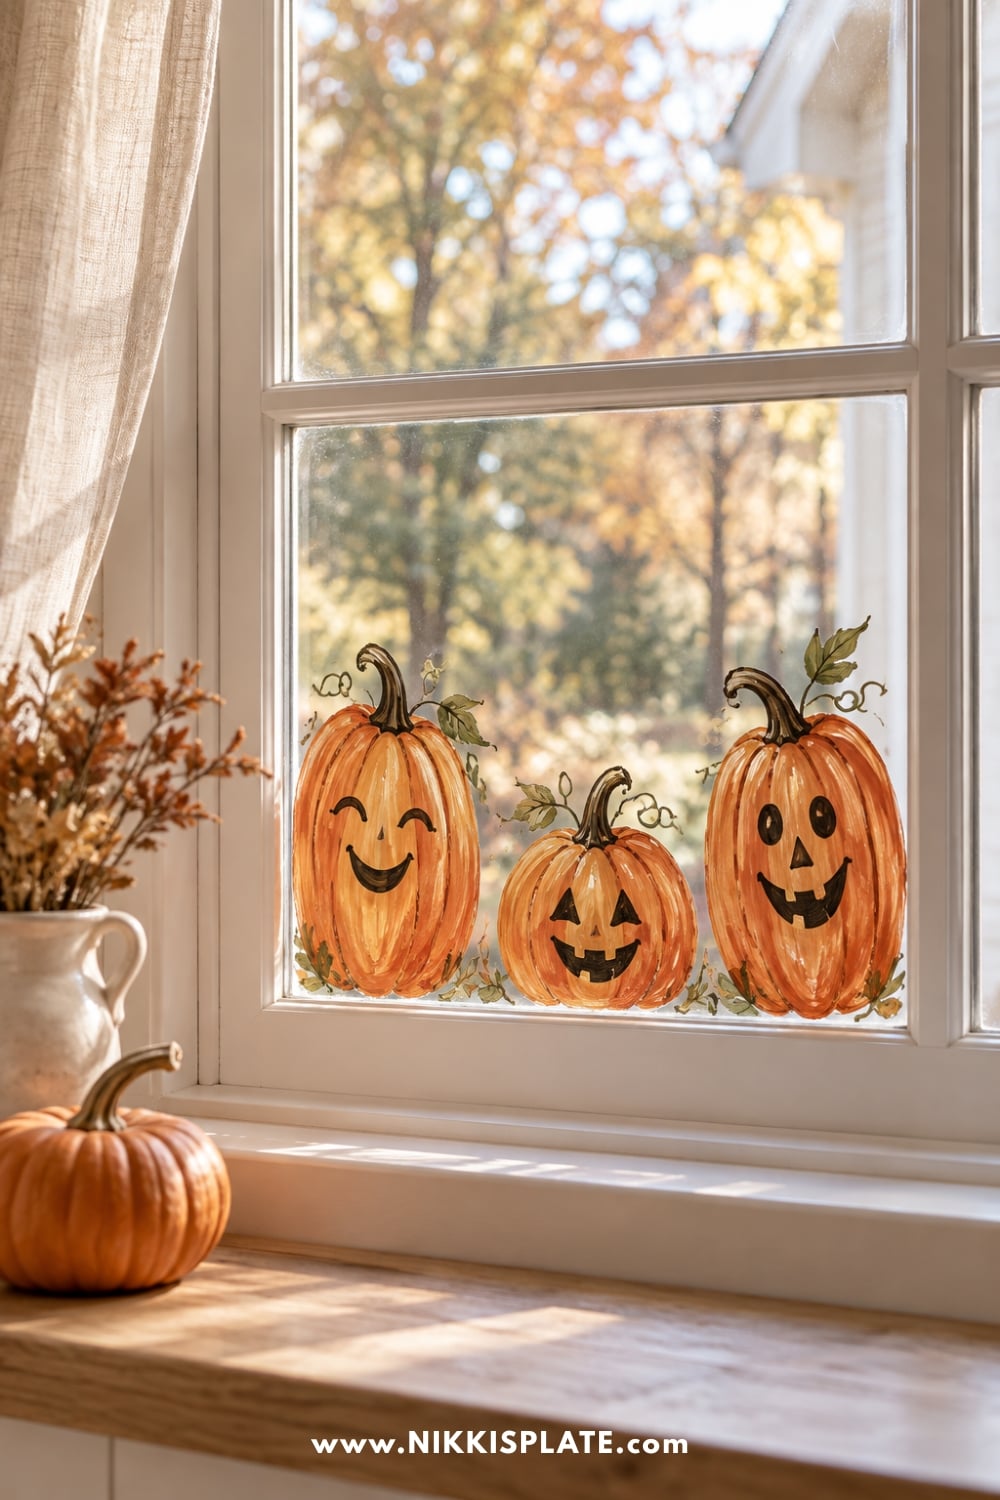
Paint three pumpkins along the bottom edge of one pane, varying their height so the group feels like a little pumpkin patch. Start with loose rust-orange ovals, add dark stems and leaves, then give each pumpkin a different friendly face after the base dries. This works especially well above a real pumpkin arrangement on the porch; my no-carve pumpkin decorating ideas have more ways to carry the theme outside.
2. Floating Ghosts With Pink Bows
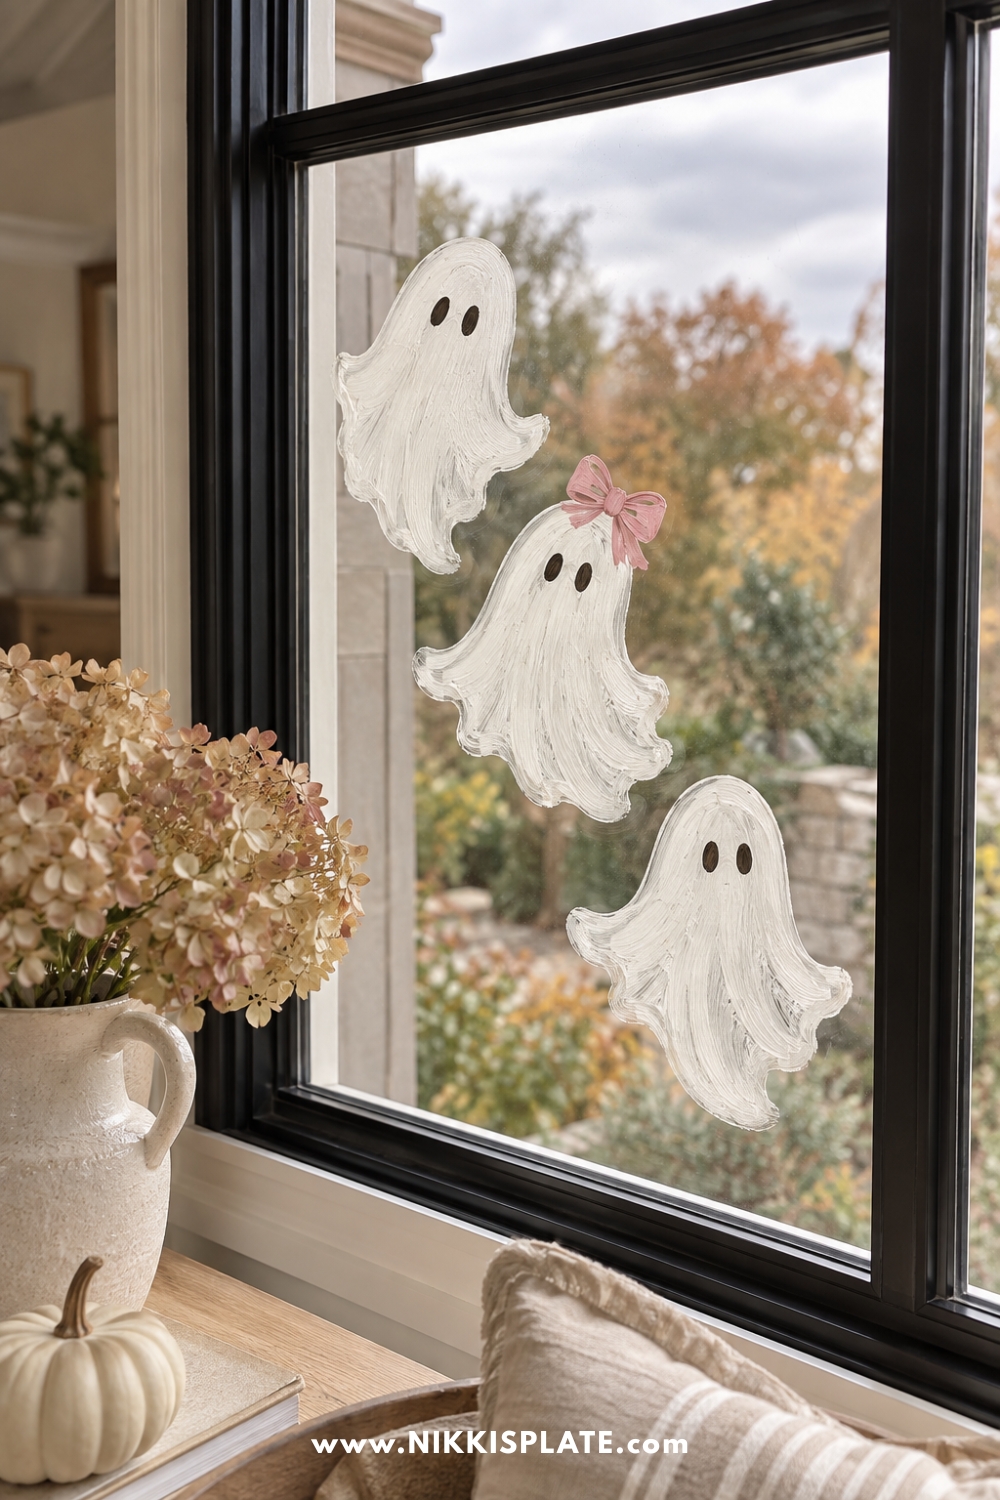
Arrange three cream-white ghosts diagonally, leaving plenty of glass between them. Paint each as one soft wavy shape with two dark eyes; add a tiny blush bow to one ghost for a sweet, feminine detail. Keep the faces simple so they read from the sidewalk. If you want to repeat the ghost motif indoors, browse my DIY ghost decoration ideas.
3. Bat Flight Across the Corner
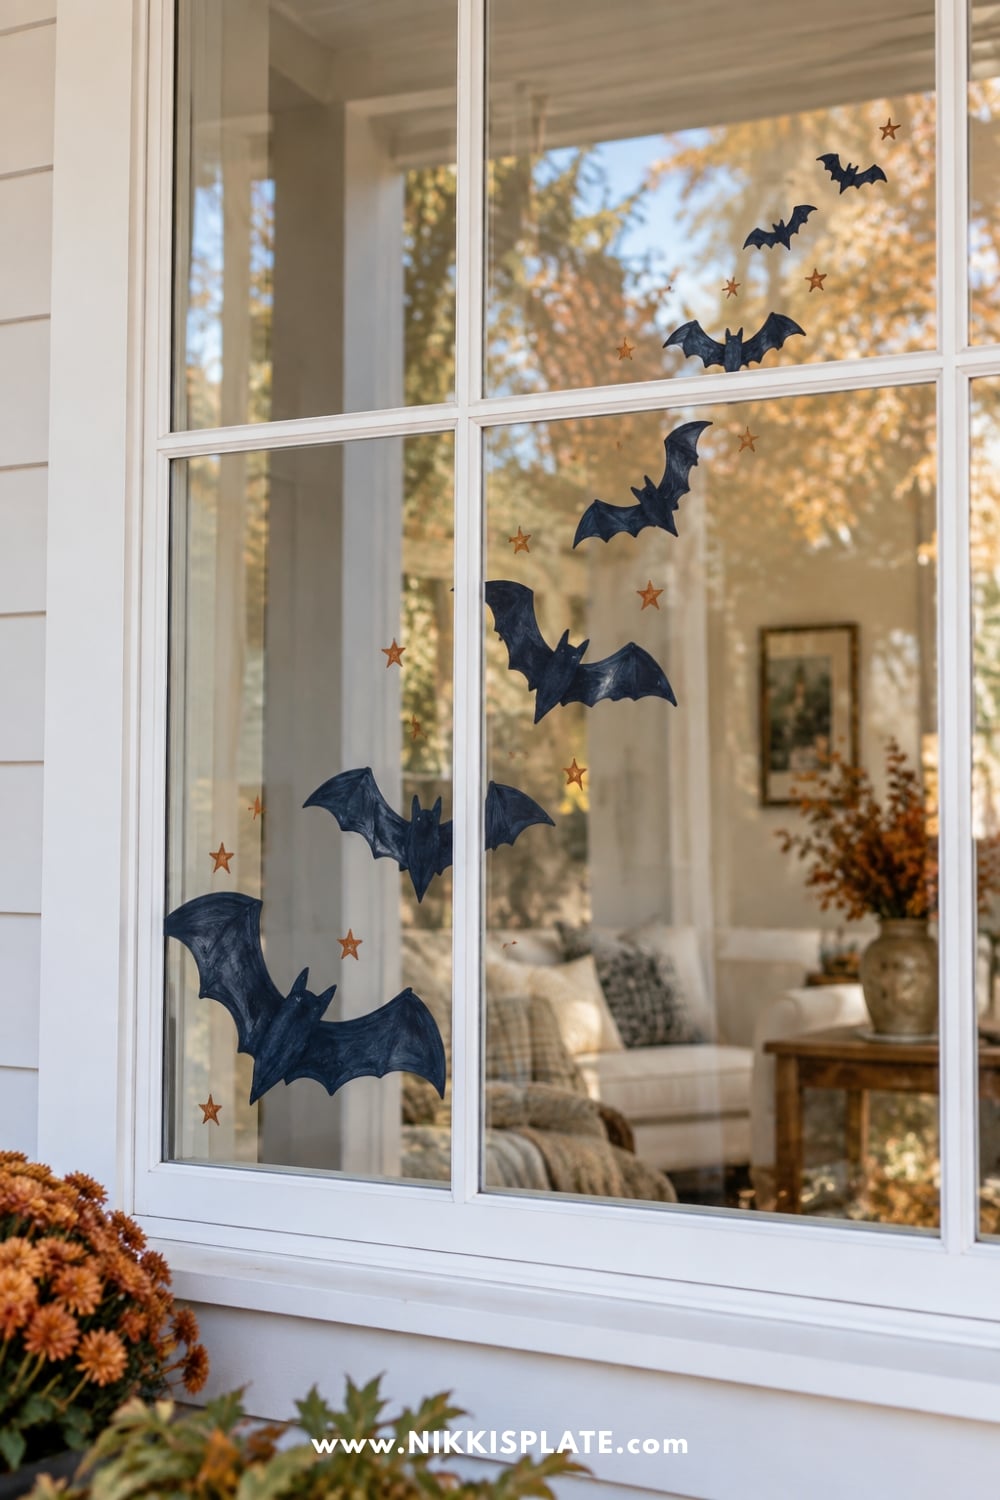
Begin with one larger bat near the lower corner, then trail smaller bats upward toward the opposite side. Paint them as solid navy or black silhouettes; the changing sizes create movement without needing wings full of detail. A few rust stars soften the look. My Halloween bat decoration ideas can help coordinate the rest of the entryway.
4. Black Cat on a Painted Windowsill
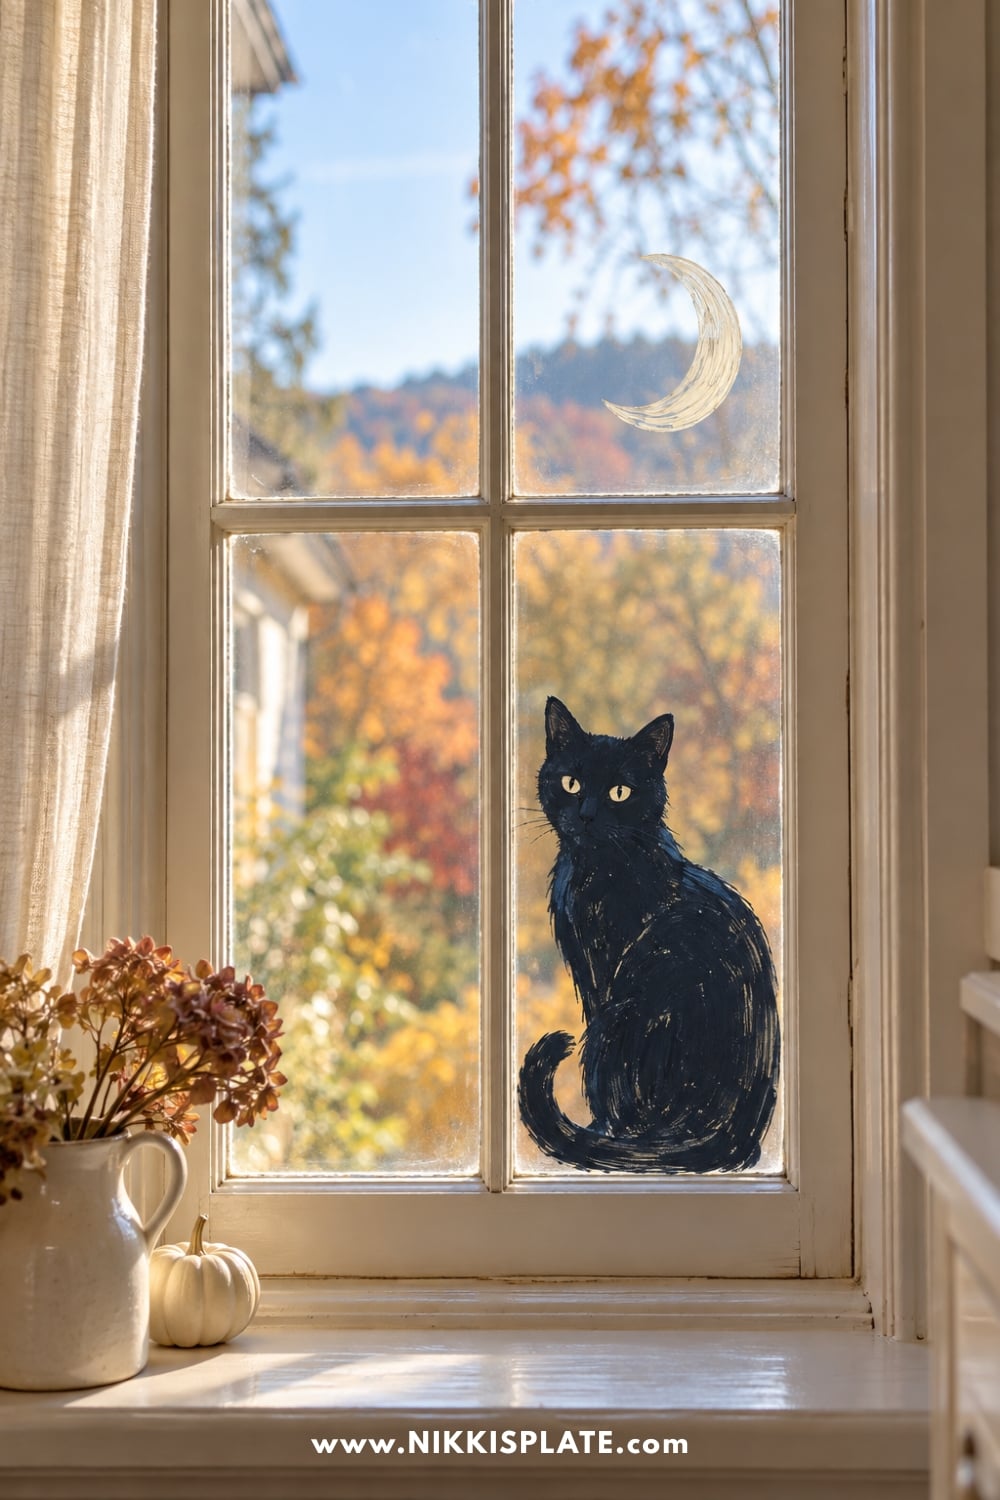
Use the bottom horizontal edge of the pane as an imaginary sill. Paint a seated cat in dark navy, curling its tail around the body, and add two pale eyes once the silhouette is dry. Place a tiny cream moon in the upper corner so the cat has something to watch. This is a good one-pane design for a narrow front window.
5. Crescent Moon and Witch Hat
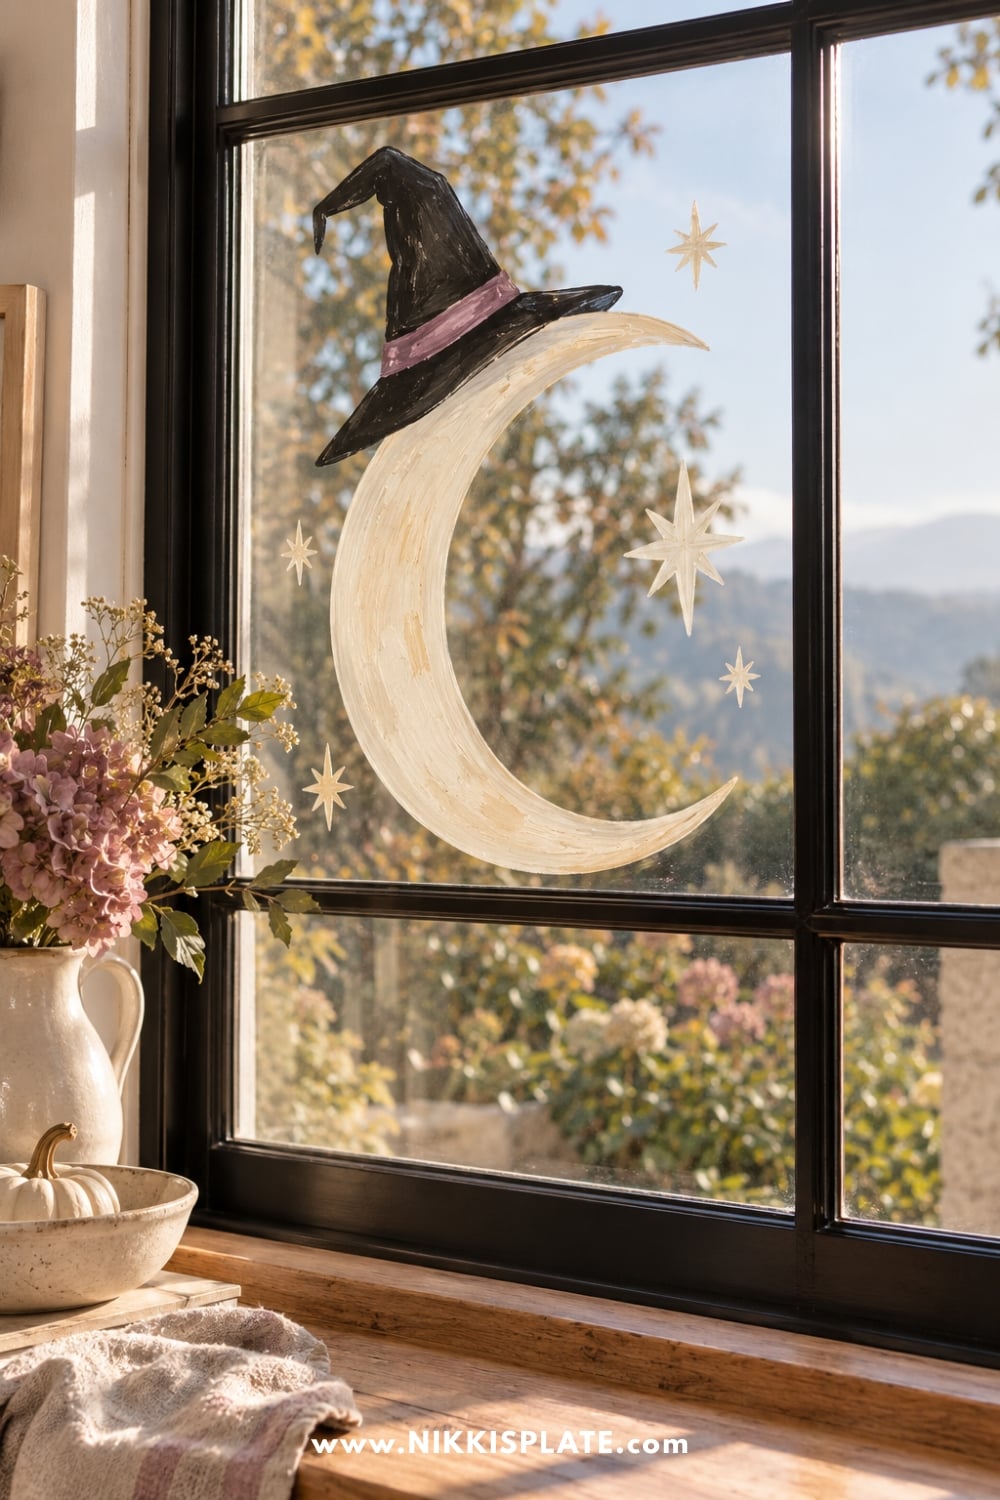
Paint a large cream crescent moon slightly off-centre, then float a small black witch hat over its top point. Scatter a few uneven stars around it instead of filling the entire pane. For a softer palette, add a muted mauve band to the hat and keep the rest monochrome.
6. Candy Corn Window Border
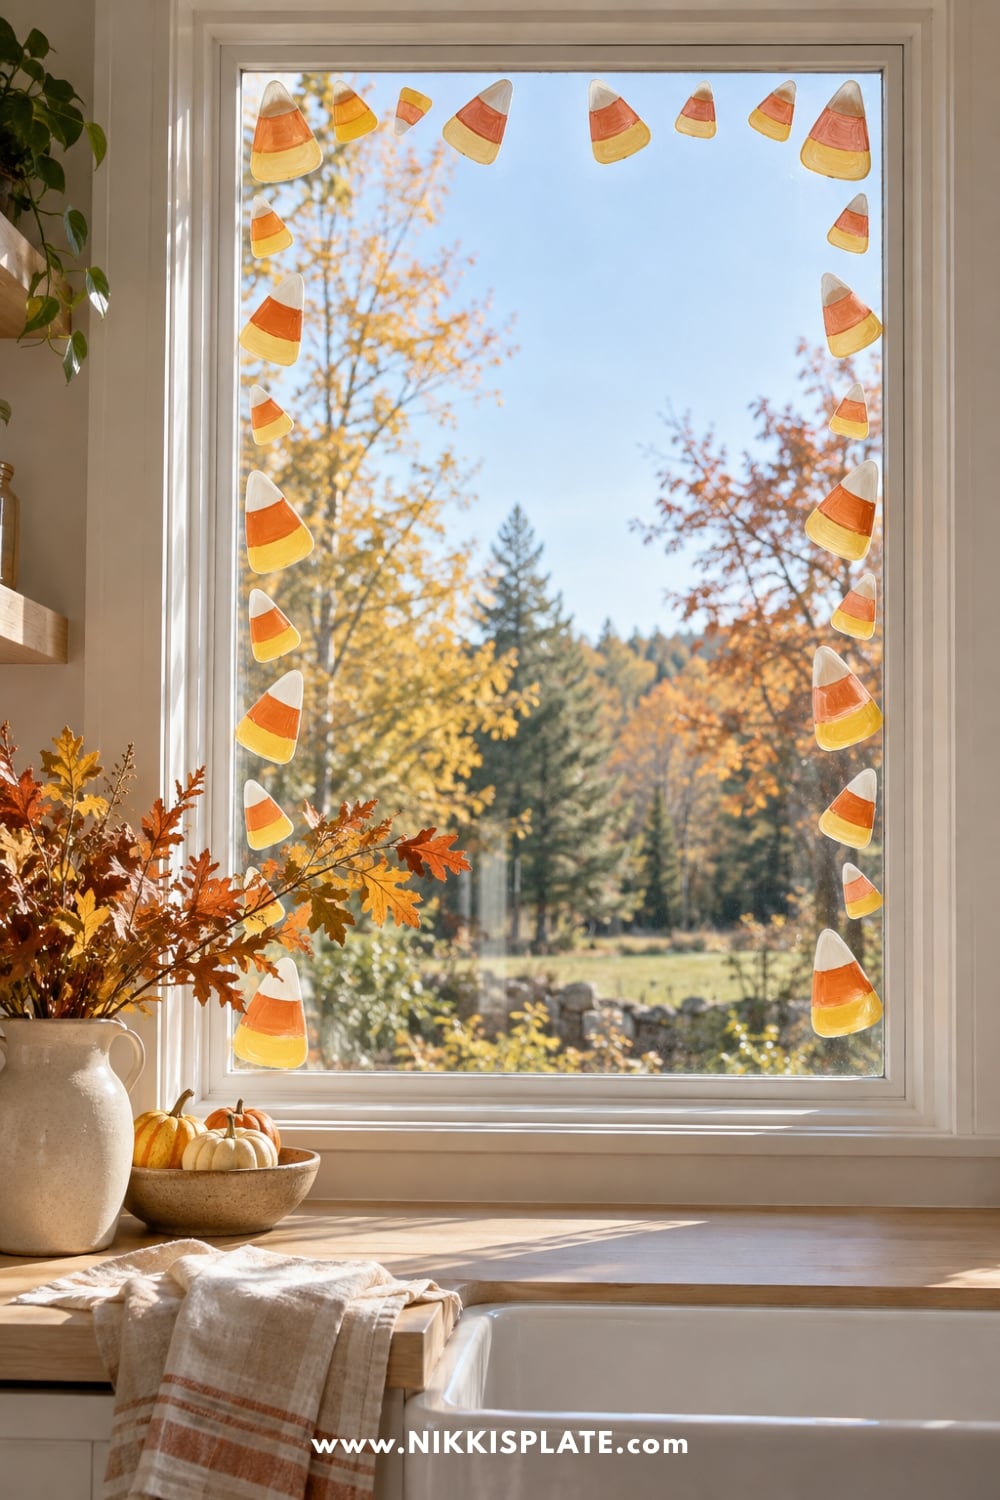
Create a row of candy corn shapes around the top and two sides, leaving the centre clear. Divide each simple triangle into cream, rust-orange and pale yellow bands. Paint alternating sizes and tilt some pieces for a handmade look; stop the border a few inches above the sill so it does not crowd the pumpkins or lanterns below.
7. Storybook Haunted Cottage
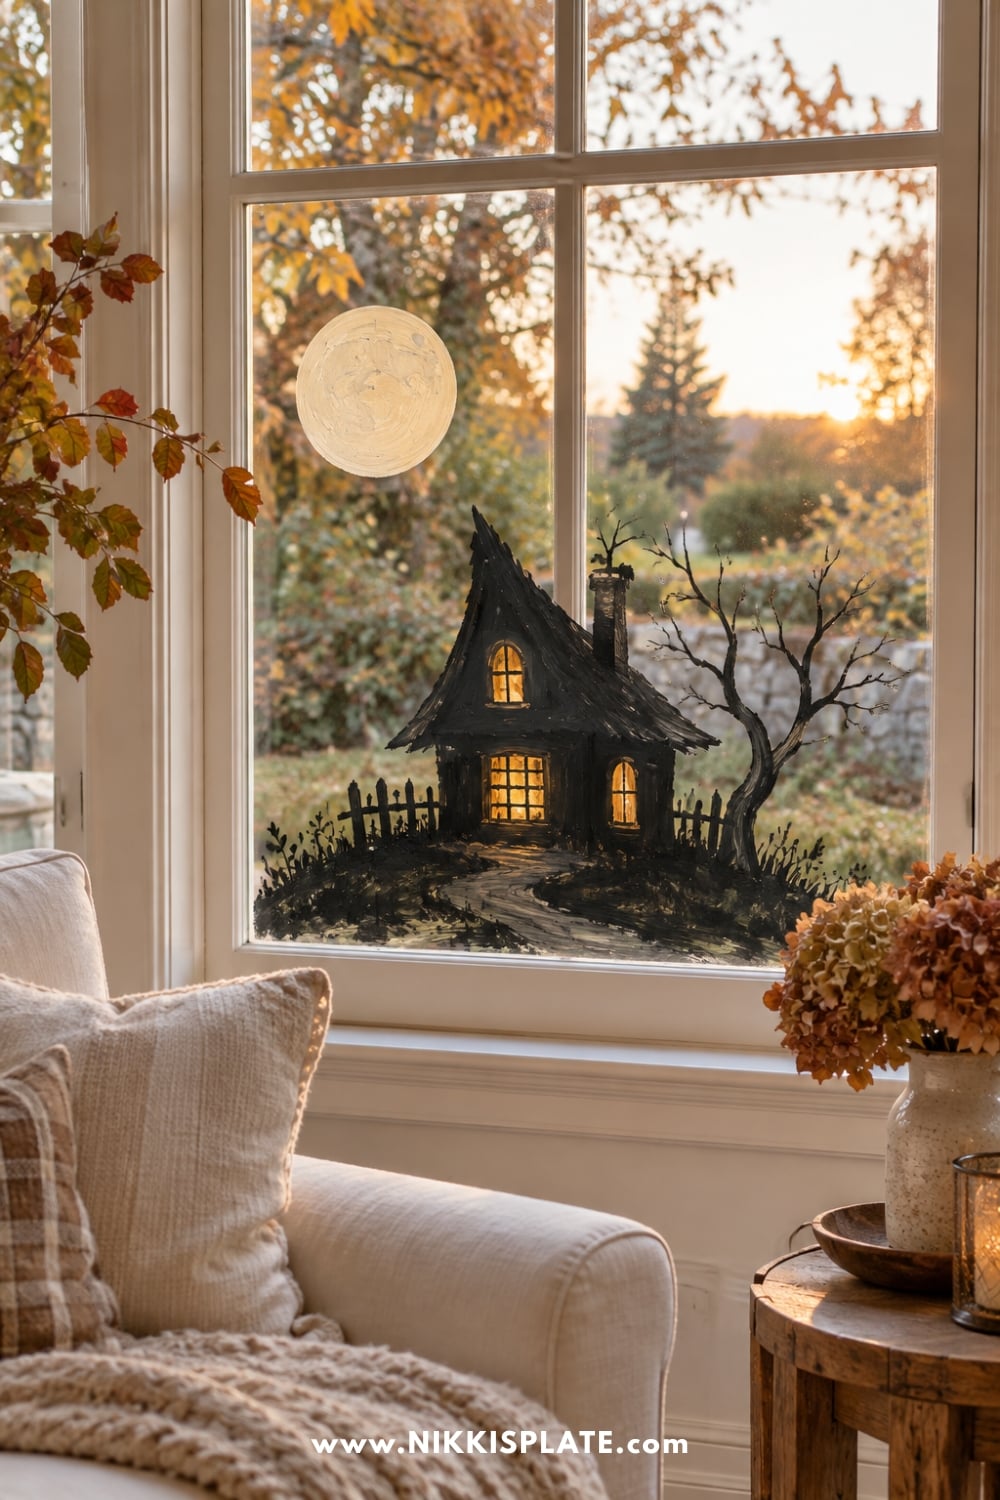
Place a crooked-roof cottage in the bottom third of a larger pane. Use a charcoal silhouette for the roof and walls, add three warm yellow windows, then frame it with a pale moon and one bare branch. A few intentionally uneven rooflines make it charming rather than frightening. Pair the finished window with rustic lanterns or pumpkins from my farmhouse Halloween decor ideas.
8. Delicate Spiderweb Corners
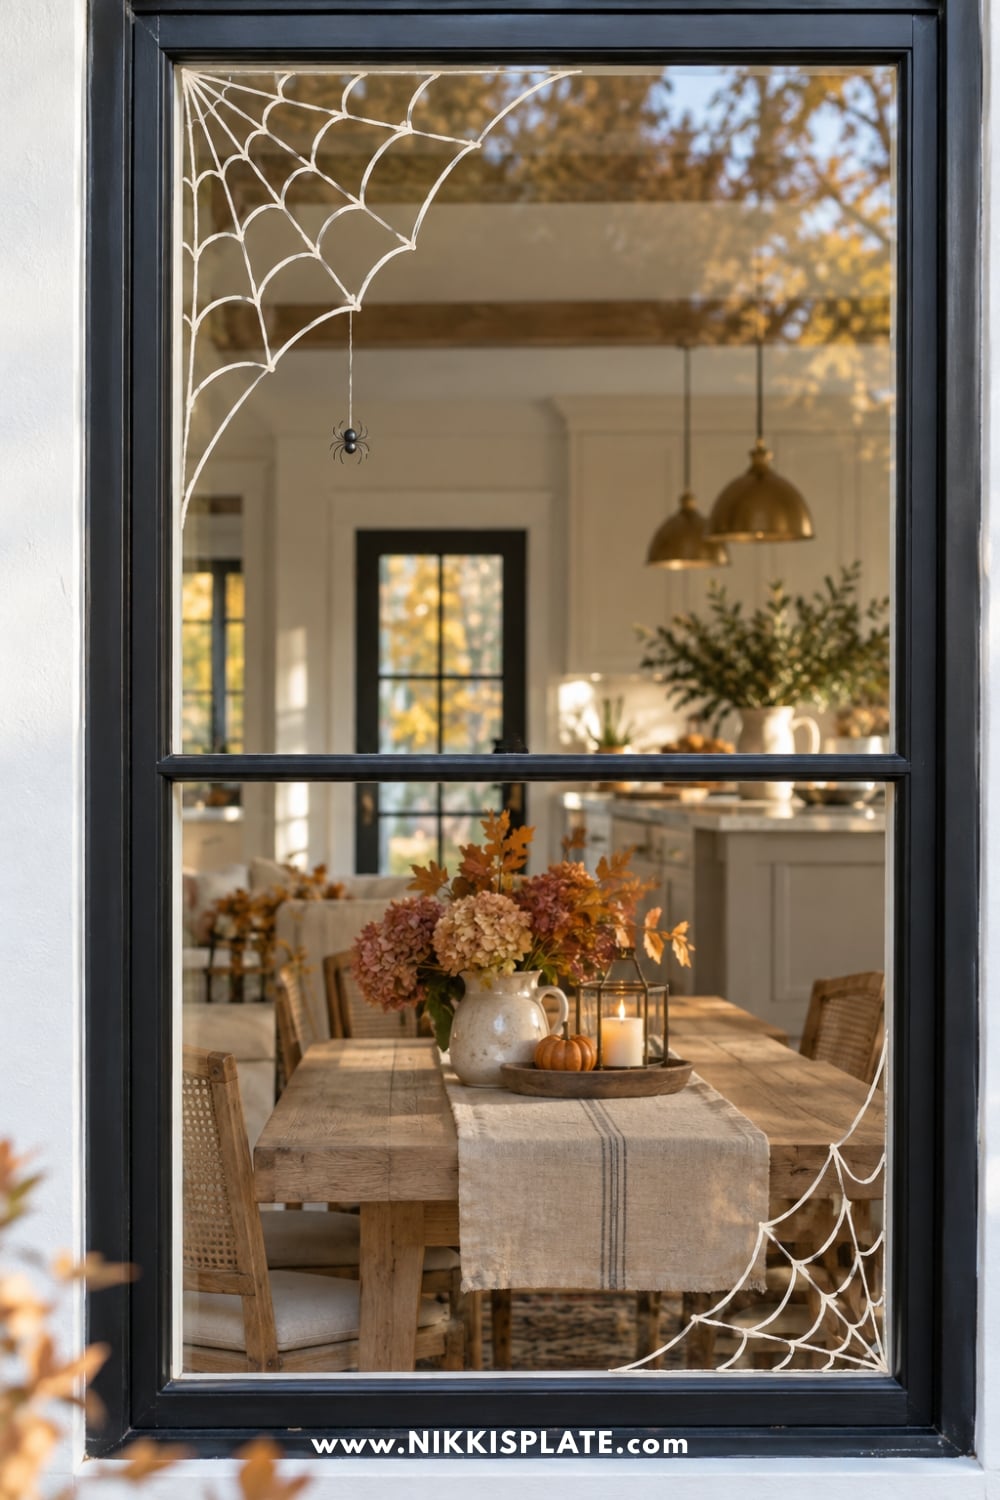
Paint a quarter-circle web in one upper corner and a smaller echo in the opposite lower corner. Draw five or six spokes first, then connect them with shallow curved lines. A thin white marker or detail brush keeps the web airy; one tiny dark spider is enough. This is a lovely choice when you want Halloween decor without covering the view.
9. Potion Bottle Shelf
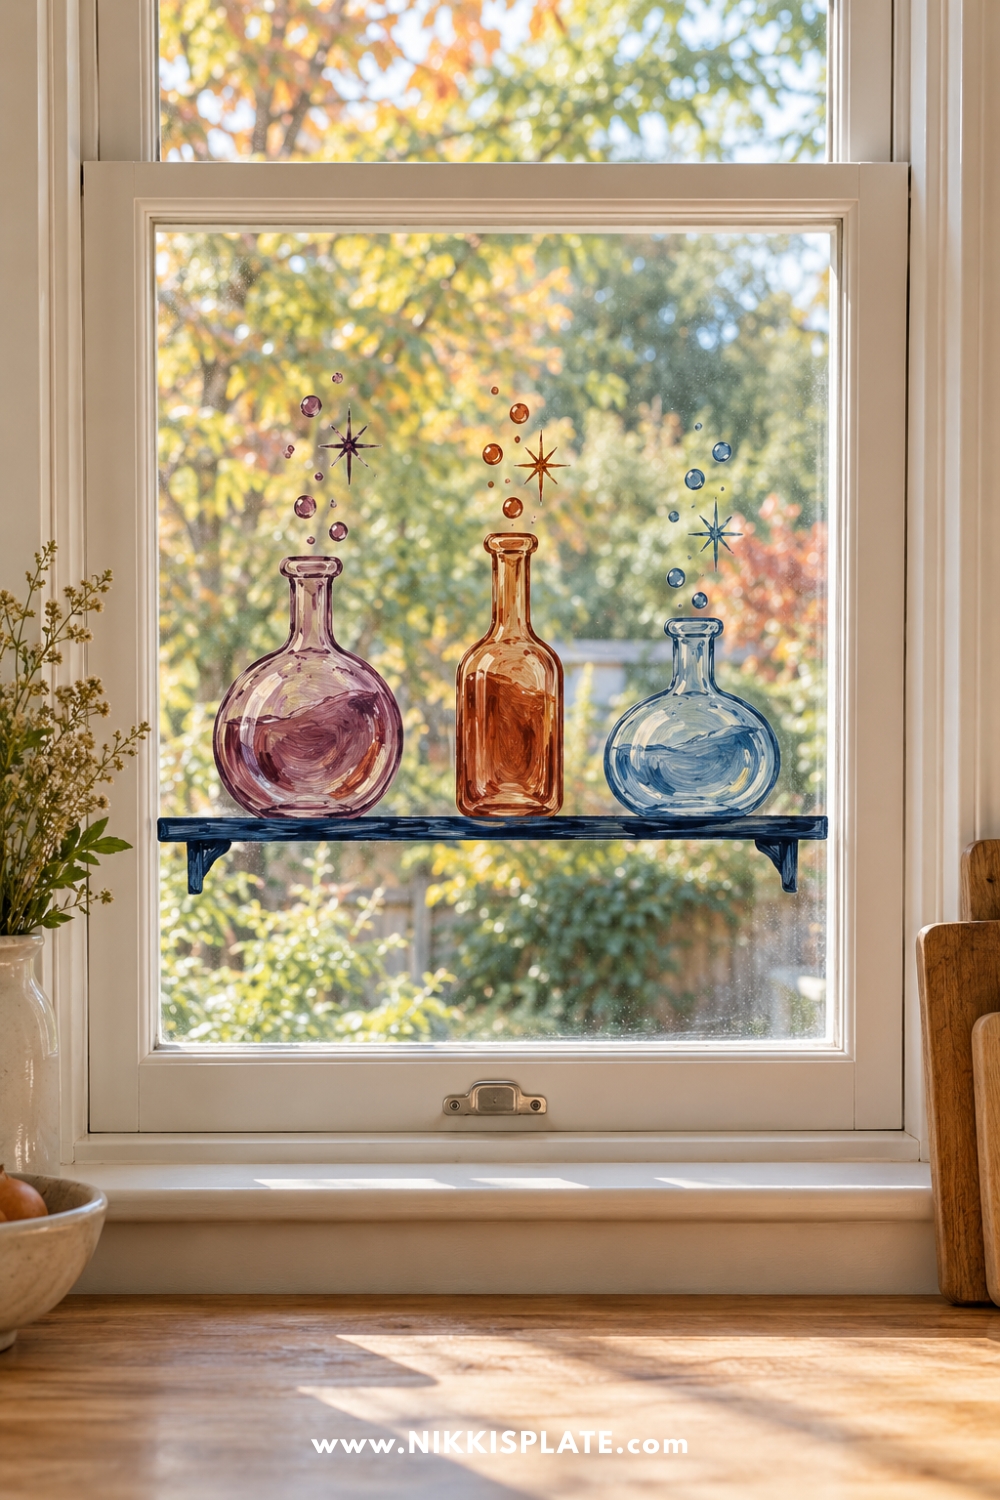
Paint a short navy line across the lower third of the pane, then set three different bottle silhouettes on it. Fill them with mauve, rust and pale blue, adding bubbles or stars above the necks. Skip words on the labels, since lettering can look reversed from one side of the glass; simple symbols are easier to read.
10. Friendly Monster Faces
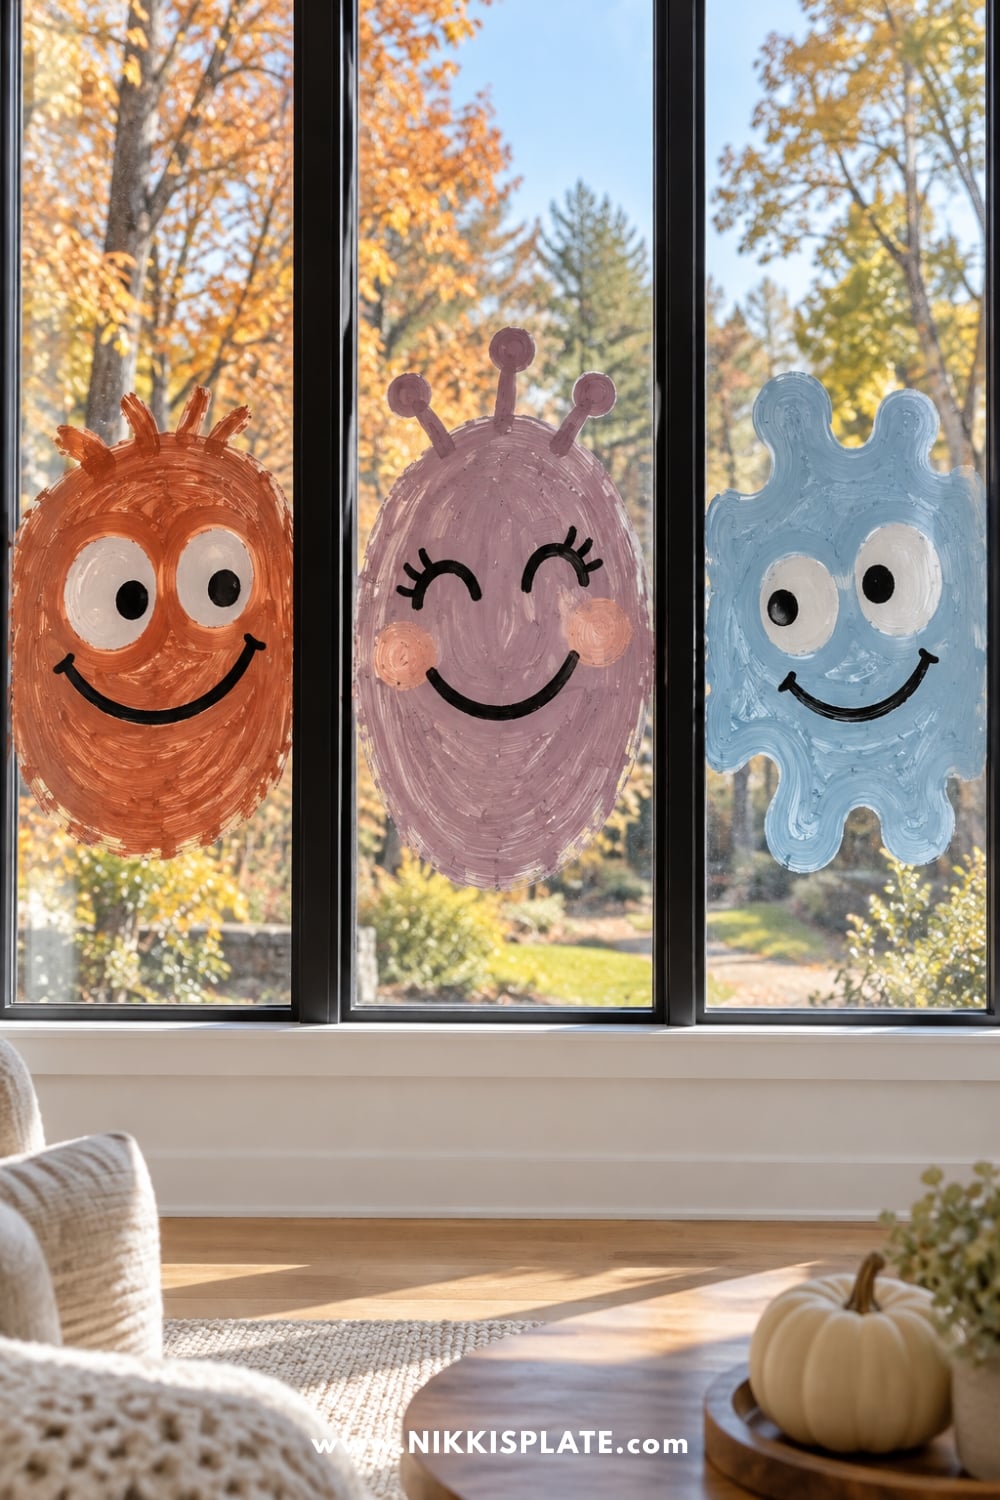
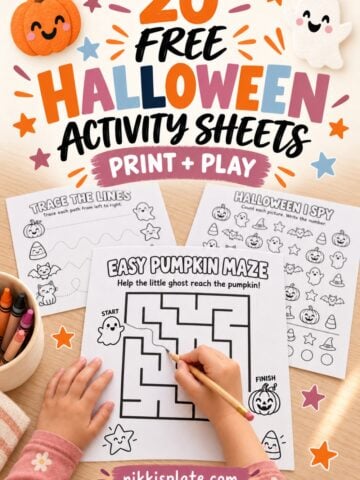
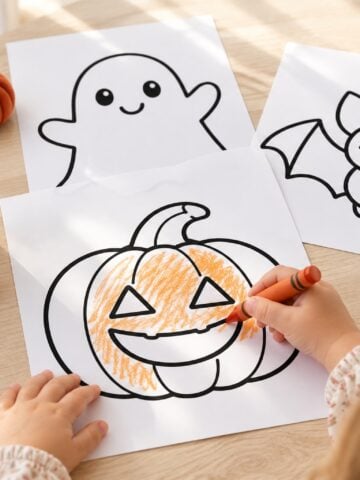
Turn separate window panes into a row of silly monsters. Give one a round rust face, one a soft mauve oval and one a pale-blue squiggle, then vary the eyes and smiles. Keep the faces high enough that children can see them from inside, but let an adult do any painting above a comfortable reach. This works well for a Halloween craft afternoon alongside my Halloween activity sheets for kids.
11. Mini Pumpkins and Falling Leaves
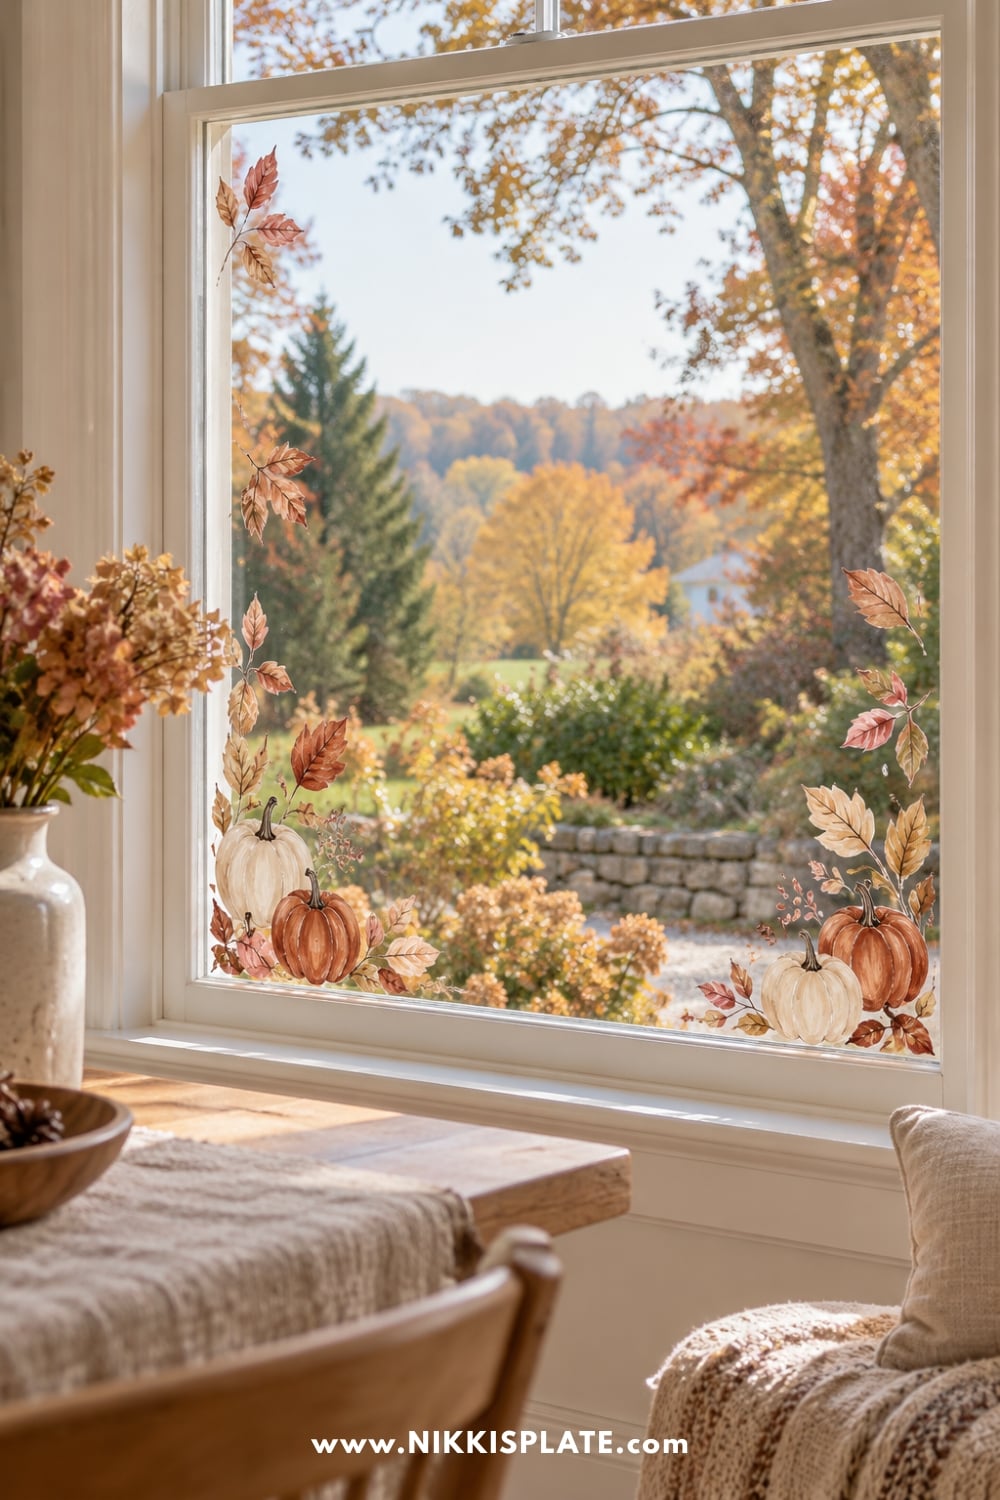
Scatter small pumpkins and loose leaf shapes across the lower corners, as though a breeze has carried them across the glass. Use cream, rust and muted blush with dark brown stems. Start with only six or seven shapes and step back before adding more; the open space is part of this understated fall-to-Halloween look.
12. Waving Skeleton Hand
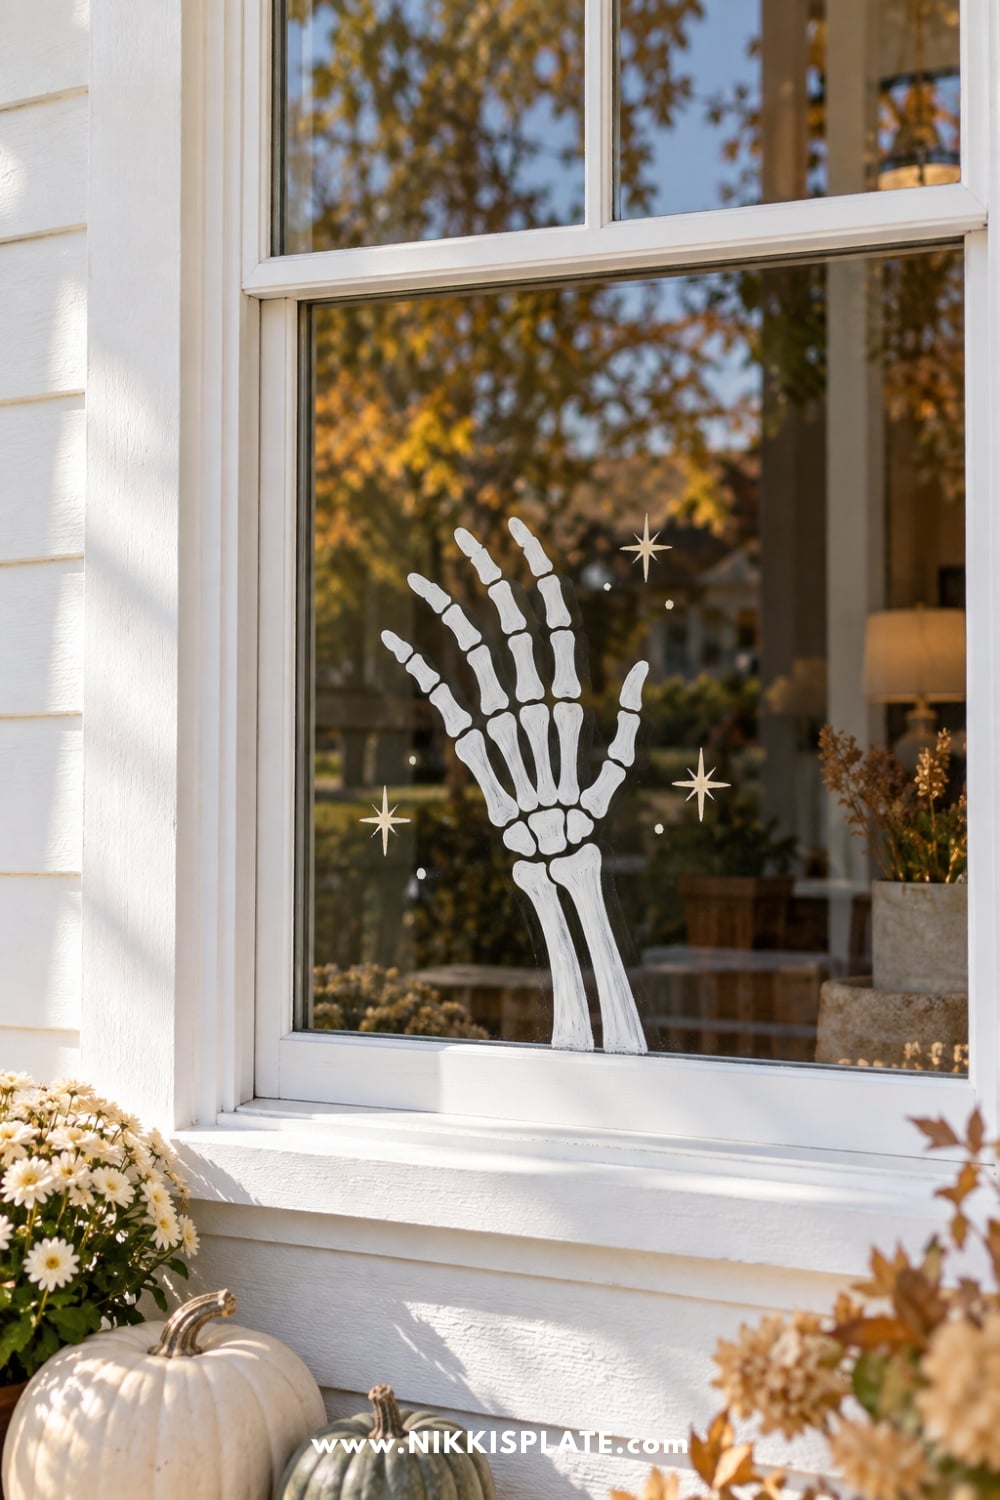
Paint one simple white hand and forearm rising from the bottom edge, with the fingers bent into a wave. Keep the bones rounded and stylized, and add a few little sparkles so it feels playful. Put it beside a porch skeleton if you like a coordinated scene; my skeleton decoration ideas offer more ways to style that theme.
13. Jack O Lantern Stained Glass Effect
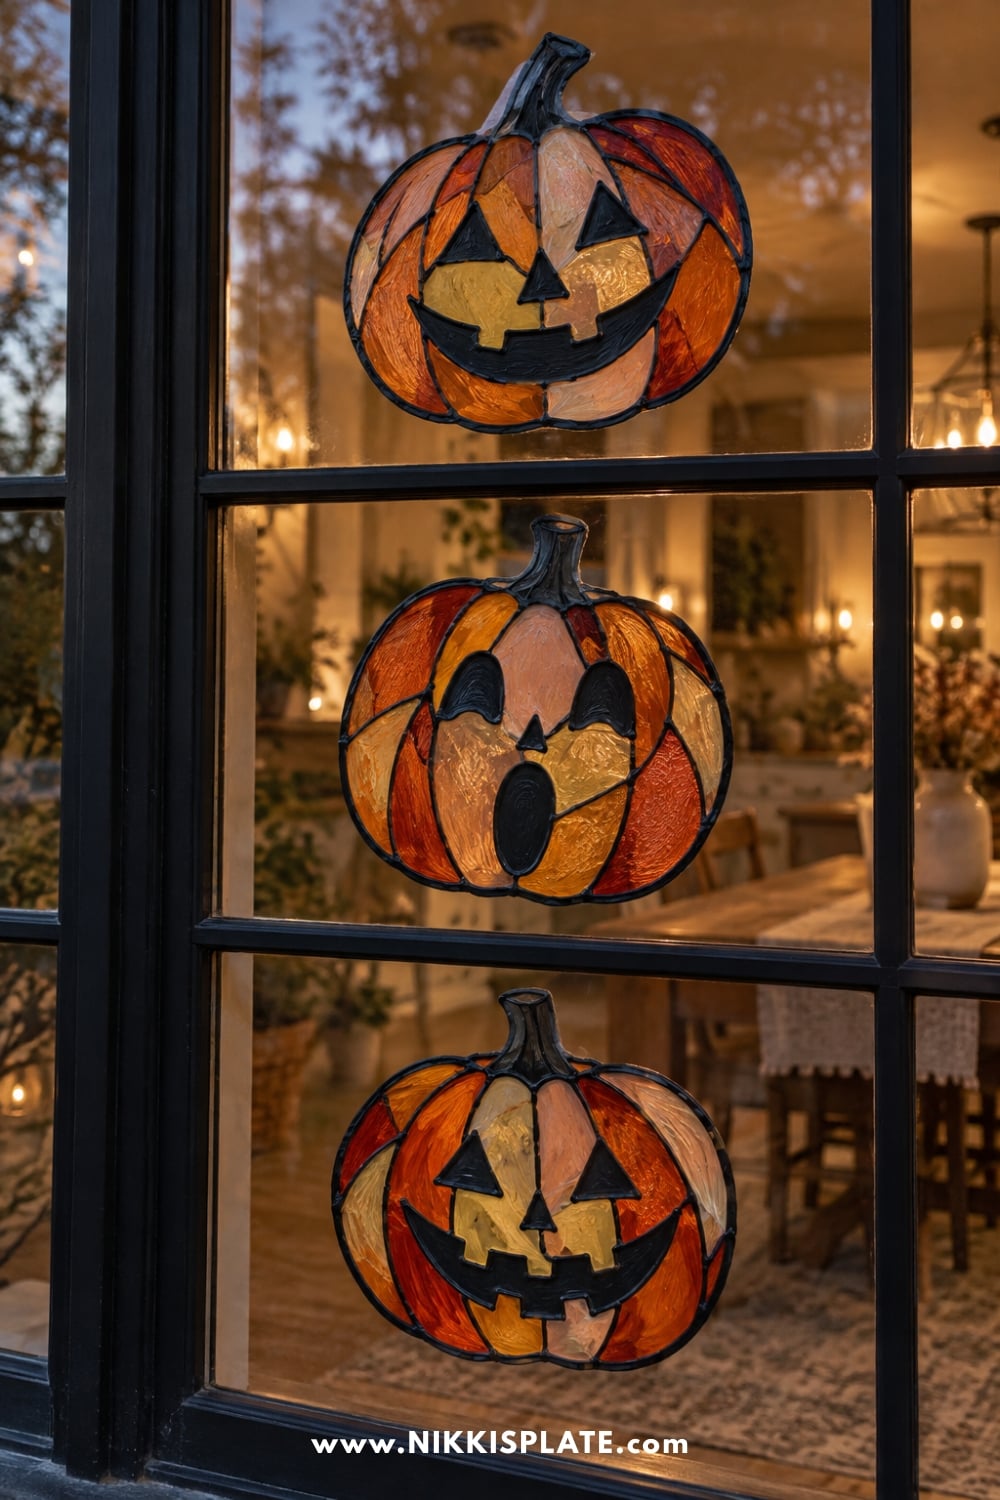
Outline three pumpkin faces with broad dark lines, then fill the sections with translucent-looking orange, blush and pale yellow shapes, leaving slivers of clear glass between colours. This is a painted imitation of stained glass, not a separate adhesive craft. Keep the facial features bold so the pumpkins remain recognisable when backlit at night.
14. Tiny Trick or Treat Village
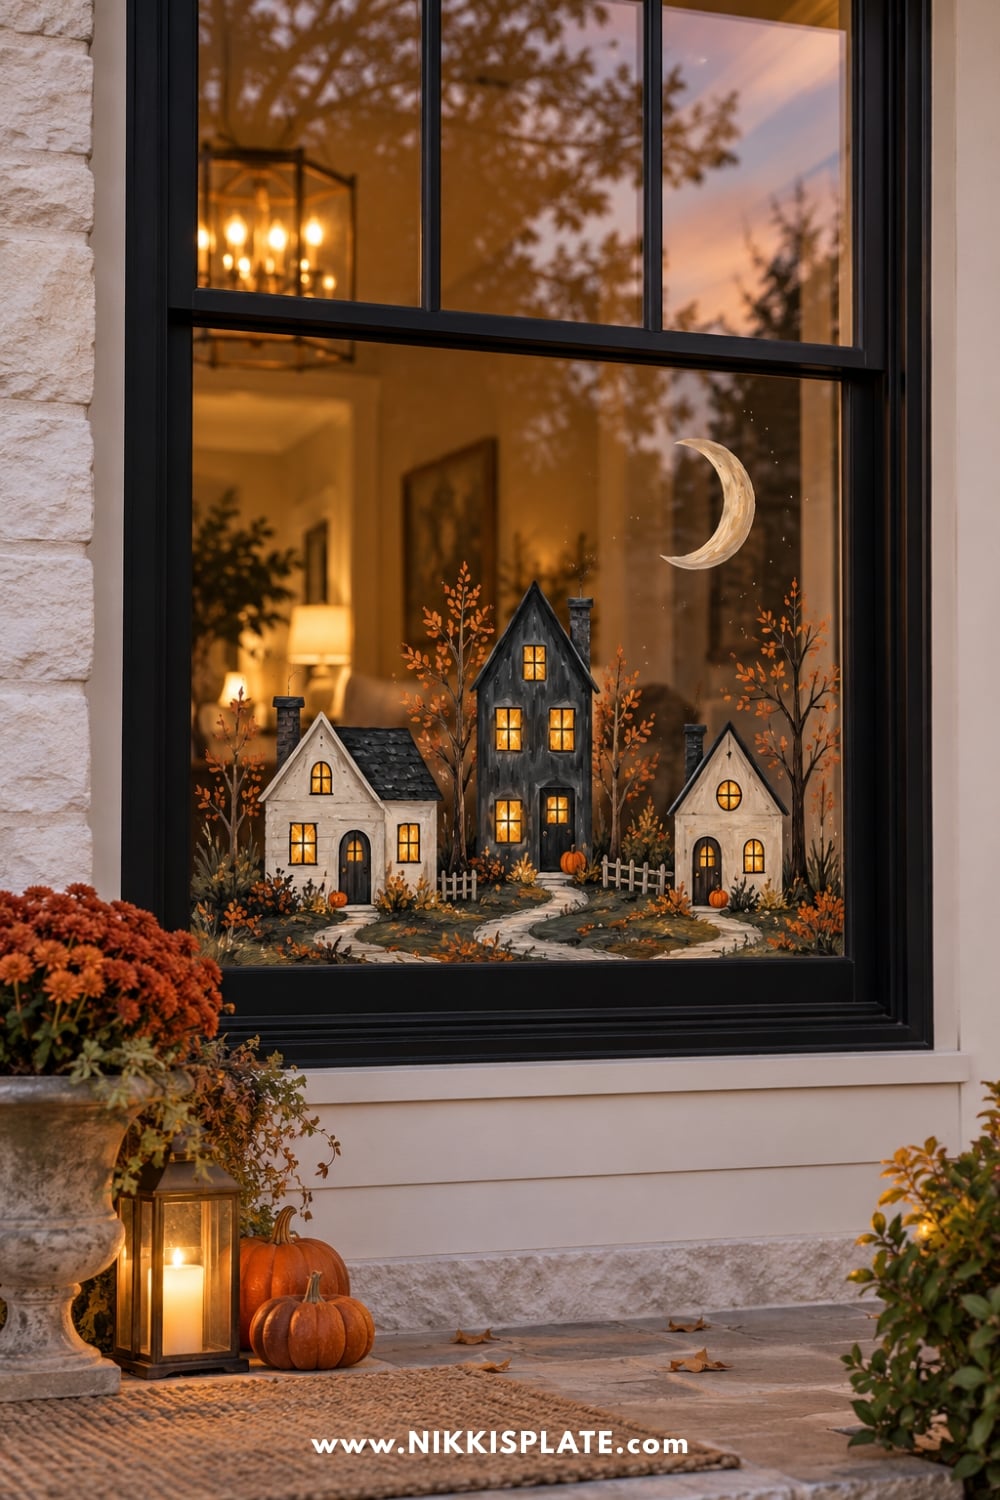
Line the bottom of a wide picture window with three simple houses of different heights. Paint glowing windows, a winding path and miniature pumpkins at the doors, then add a slim moon above the roofline. Repeat the same cream, rust and charcoal palette across all the houses so the village looks like one scene. For a matching porch, see my outdoor Halloween decoration ideas.
15. Ghost and Star Garland
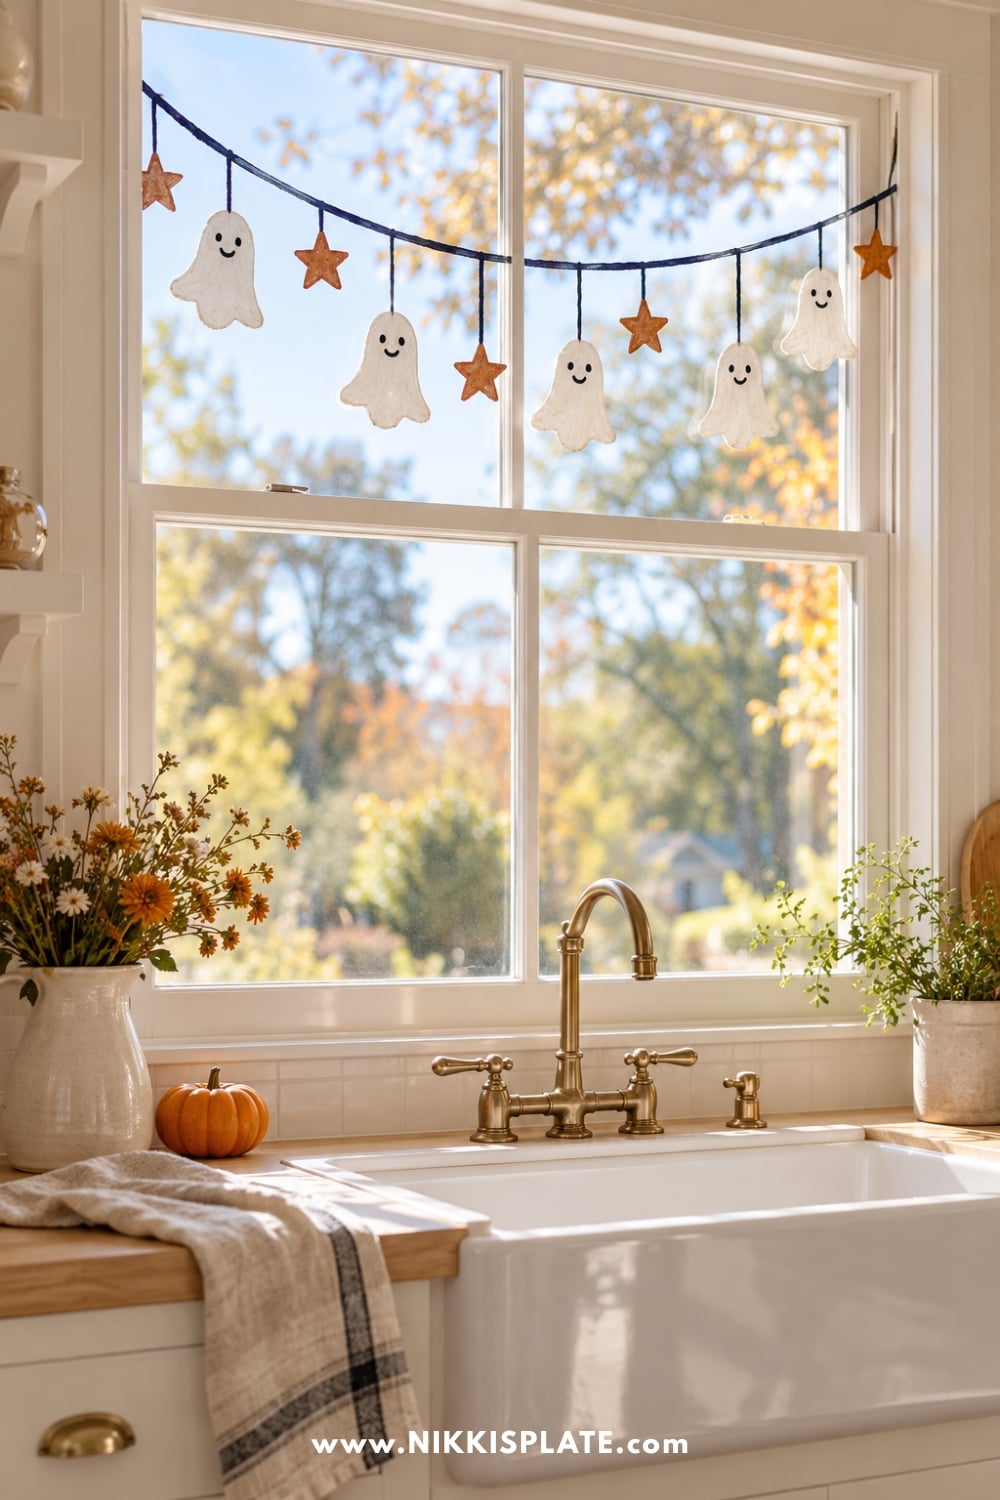
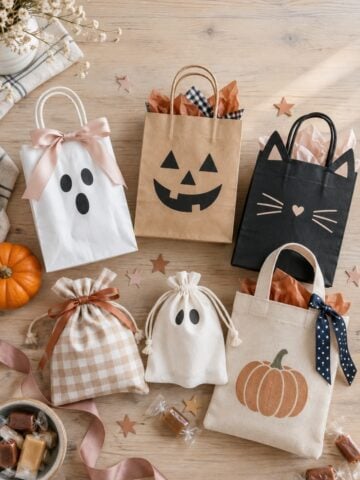
Paint a gently dipping line across the top of the pane, then hang little ghosts and stars from it at different lengths. Each ghost needs only a white rounded shape and two dots for eyes. This is a quick design for a kitchen window or patio door, and it leaves the middle of the glass open for daylight. Add Halloween treat bags underneath if you are decorating for a party.
How to Paint and Clean Up Your Window
- Choose one pane and a simple composition. For a standard household window, one large focal design or a border usually looks clearer than many tiny illustrations.
- Check the product label and test a small corner of the actual glass. Let the test dry, then remove it as directed before committing to the full design.
- Wipe the glass clean, protect the sill and floor, and paint the largest shapes first. Let them dry before adding faces, outlines or stars.
- Look at the window from both sides and, if it faces the street, from outdoors. Add only the details that improve the view you care about most.
- After Halloween, follow the product's removal directions. For the Crayola washable-paint method linked above, a wet paper towel removes the design, followed by window cleaner if needed. Avoid abrasive tools on coated or filmed glass.
If birds regularly strike a particular window, a few widely spaced Halloween figures should not be treated as a bird-safety measure. The American Bird Conservancy's home-window guidance explains that effective temporary patterns go on the outside and need close spacing across the glass. Keep any existing bird-safe treatment in place and choose a compatible Halloween design around it.
Halloween Window Painting FAQs
Choose a washable product specifically labelled for windows or glass. Some washable tempera or washable craft paint methods also work, but formulations differ. Follow the maker's instructions and test your own pane, especially if it has a film or special coating.
Yes, if the product instructions allow it. Painting inside protects the art from weather and makes it easier to reach, but check how it looks from outdoors before adding faces or lettering. Words painted on the inside can appear reversed from the street.
Start with the removal method printed on the product. Crayola's washable-paint-and-soap method wipes away with a wet paper towel, but other paints may behave differently. Test first and avoid sharp scrapers or harsh cleaners on glass with film or coatings.
It can if you fill the whole pane with opaque colour. A top border, two decorated corners or a design along the bottom leaves the centre open. Stand back from inside and outside before deciding whether to add more.
Large ghosts, pumpkins and monster faces are forgiving because their shapes do not need to be perfectly even. Give children a reachable section, washable supplies and an old towel below the pane. An adult can finish outlines or higher details.
Check the window or film manufacturer's care instructions first. A product being washable on ordinary glass does not guarantee that it is suitable for every coating or adhesive film. When in doubt, use a removable decoration that the manufacturer approves instead.
Use bold silhouettes and a few light colours, then turn on a room light behind the window and step outside to check the effect. A large ghost or pumpkin face generally reads better at a distance than thin linework. Keep cords and lights away from the painted surface and follow their normal safety instructions.
Final Thoughts on Halloween Window Painting Ideas
These Halloween window painting ideas can be as simple as one friendly ghost or as detailed as a little haunted village. Pick a design that suits your window, keep the palette small, and test the washable supplies before you paint the full scene.
Save your favourite idea for an October painting day, then start with one pane and see how it looks from the street. If you want to carry the theme beyond the glass, browse my farmhouse Halloween decorating ideas next.
Until next time,



As Seen on TikTok
Come behind the scenes of our farmhouse build, decor projects, and cozy everyday life. Tap a video to watch, then follow @nikkisplate on TikTok for more.
Watch this video on TikTok
Watch this video on TikTok
Watch this video on TikTok

Leave a Reply