
Download free ornament templates in a printable PDF with no email sign-up. Find simple printing tips, paper recommendations, and easy ways to turn the outlines into Christmas tree decorations, gift toppers, garlands, and tracing patterns for a cosy craft afternoon.
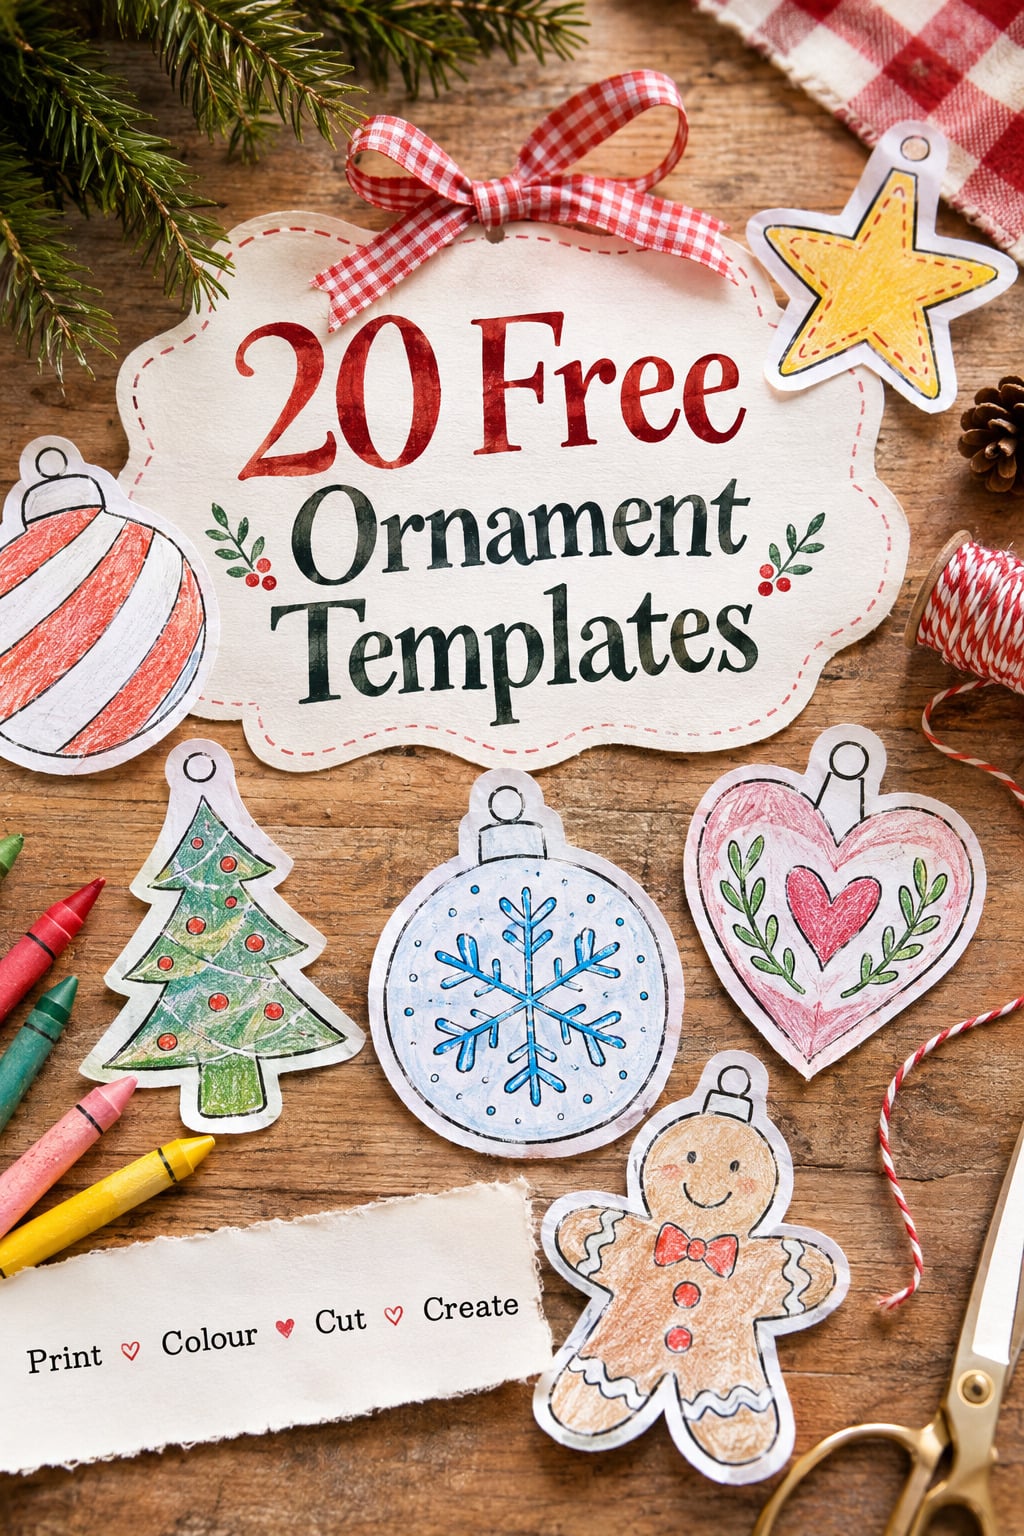
Hi beauties! These 20 free ornament templates are a lovely starting point for an easy Christmas craft. Download the free PDF with no email signup, then add your own colours, patterns and little festive details.
I love the look of handmade paper ornaments mixed into Christmas decorating. A simple outline gives children room to create something of their own, whether that means rainbow stripes, soft winter colours or a completely unexpected combination.
Below, you'll find the download, printing tips and straightforward instructions for turning the templates into paper decorations. There are also ideas for gift toppers, garlands and tracing projects, so you can choose an activity that suits the supplies you have.
Download the Free Ornament Templates PDF
Use the download link below to open the free printable ornament templates. Save the PDF to your device, then print the pages you want. You do not need to enter your email address or sign up for a newsletter.
What's Included in the Download?
The free PDF includes 20 ornament templates for colouring, cutting, and tracing. The black-and-white outlines give you a starting point for adding your own colours and decorations.
Keep a finished design on its sheet as a colouring activity, or cut around the outside to make a lightweight Christmas decoration. You can also use a cutout as a pattern for tracing onto coloured paper.
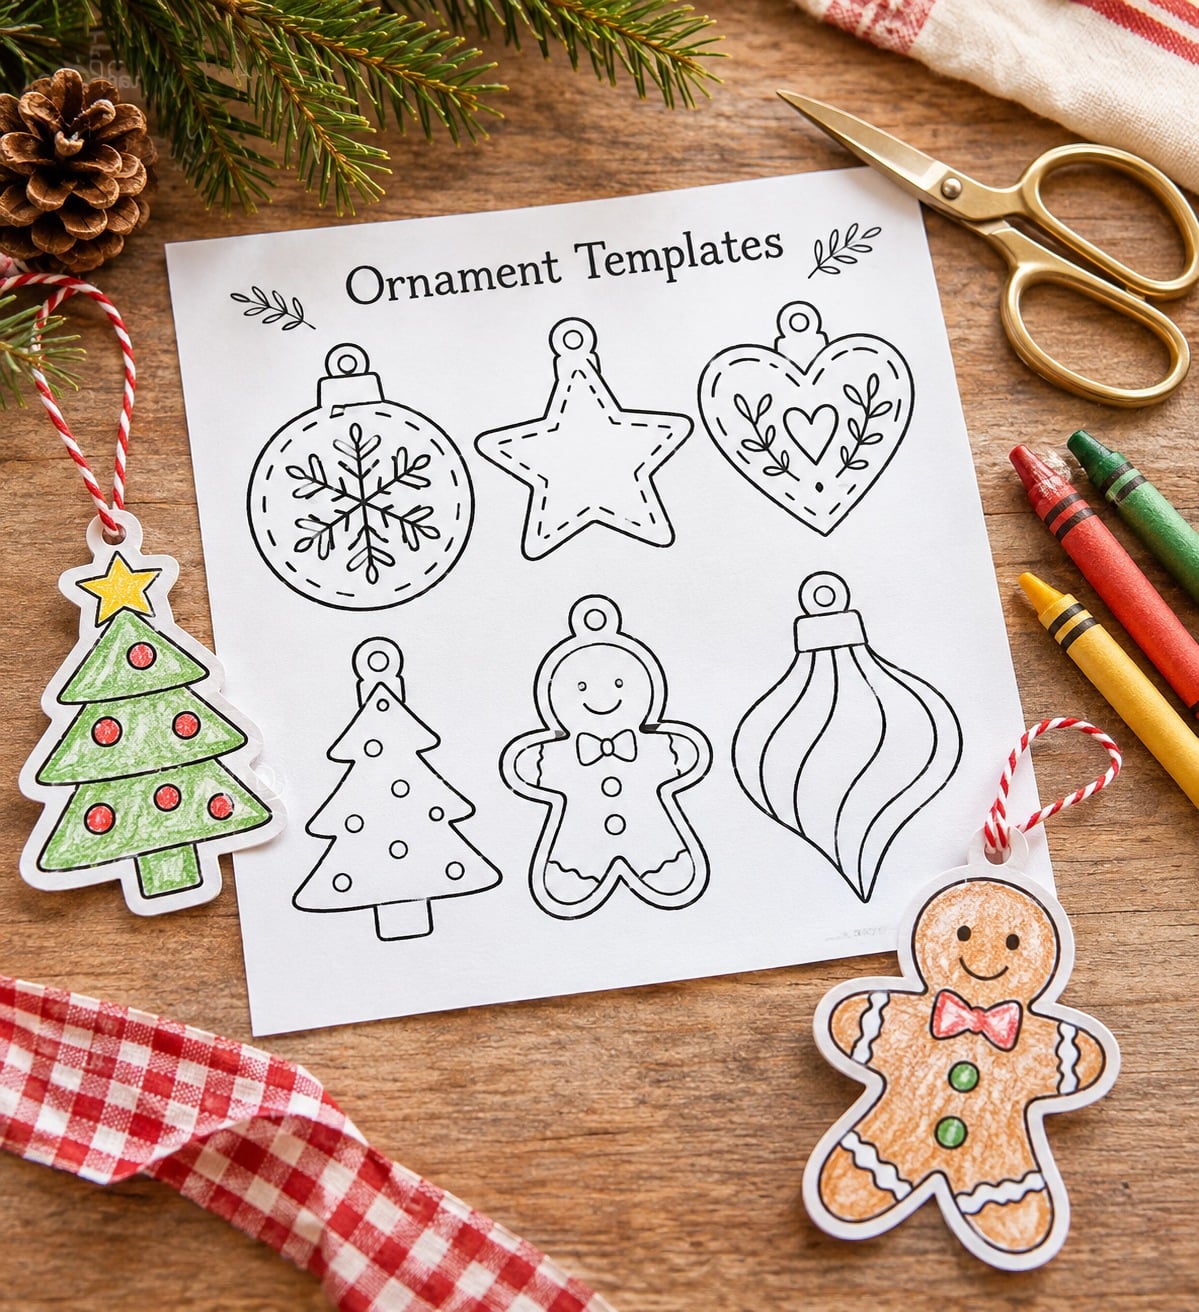
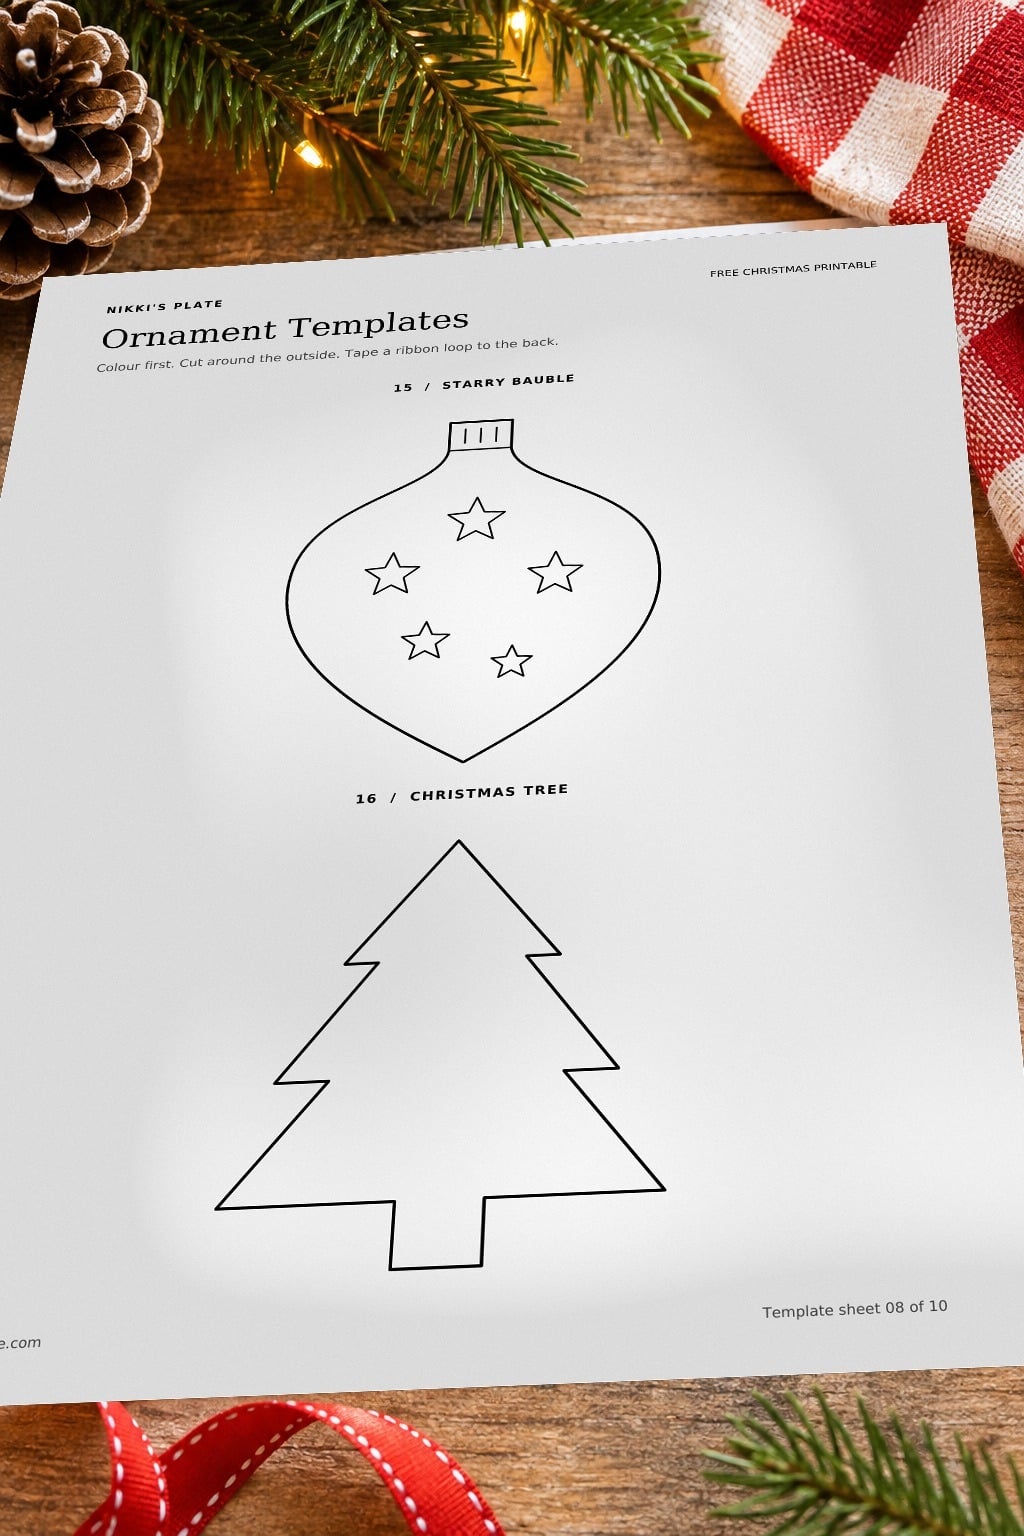
Download the PDF rather than printing the preview pictures, which are there to help you see the designs. If you're looking for another colouring activity, my Christmas coloring pages for kids and adults offer plenty of festive inspiration.
Free Printable Use Terms
These templates are free for personal use and for use in your own non-commercial classroom, homeschool or childcare group. You may give a finished paper ornament as a personal gift.
Please do not sell the files or items made from the artwork, include the designs in paid products, or upload or redistribute the PDF. Share this blog post so another family or teacher can download their own copy.
How to Print the Ornament Templates
Start with one test sheet before printing extra copies. A saved PDF gives you more useful print controls than a screenshot or a small preview image.
- Download the PDF. Open the download link and save the file to your computer, tablet or phone.
- Open the saved file. Use a PDF viewer and choose Print.
- Check your paper size. Select the paper size that matches the sheets in your printer.
- Choose your print scale. Select Actual Size or 100% to preserve the designed dimensions when the preview shows every outline. Choose Fit if an edge is clipped or you're using a different paper size; this changes the finished size.
- Select your pages. Choose single-sided printing, check the orientation in the preview and enter only the PDF page numbers you want.
- Print a test page. Check the outlines and margins before printing additional copies.
Adobe's guide to PDF print sizing explains the difference between Actual Size, Fit and custom scaling. If you need a particular ornament width, measure the test print before preparing the rest of your materials.
Which Paper Should You Use?
Ordinary white printer paper is suitable for crayons, pencil crayons and tracing. For hanging decorations, choose cardstock that your printer supports, or glue the printed paper onto a cardstock backing before cutting.
Put a spare sheet underneath when using markers, and test your chosen materials on a scrap first. If you plan to add paint, use only a little and let the paper dry flat before handling it.
Supplies for Paper Ornament Crafts
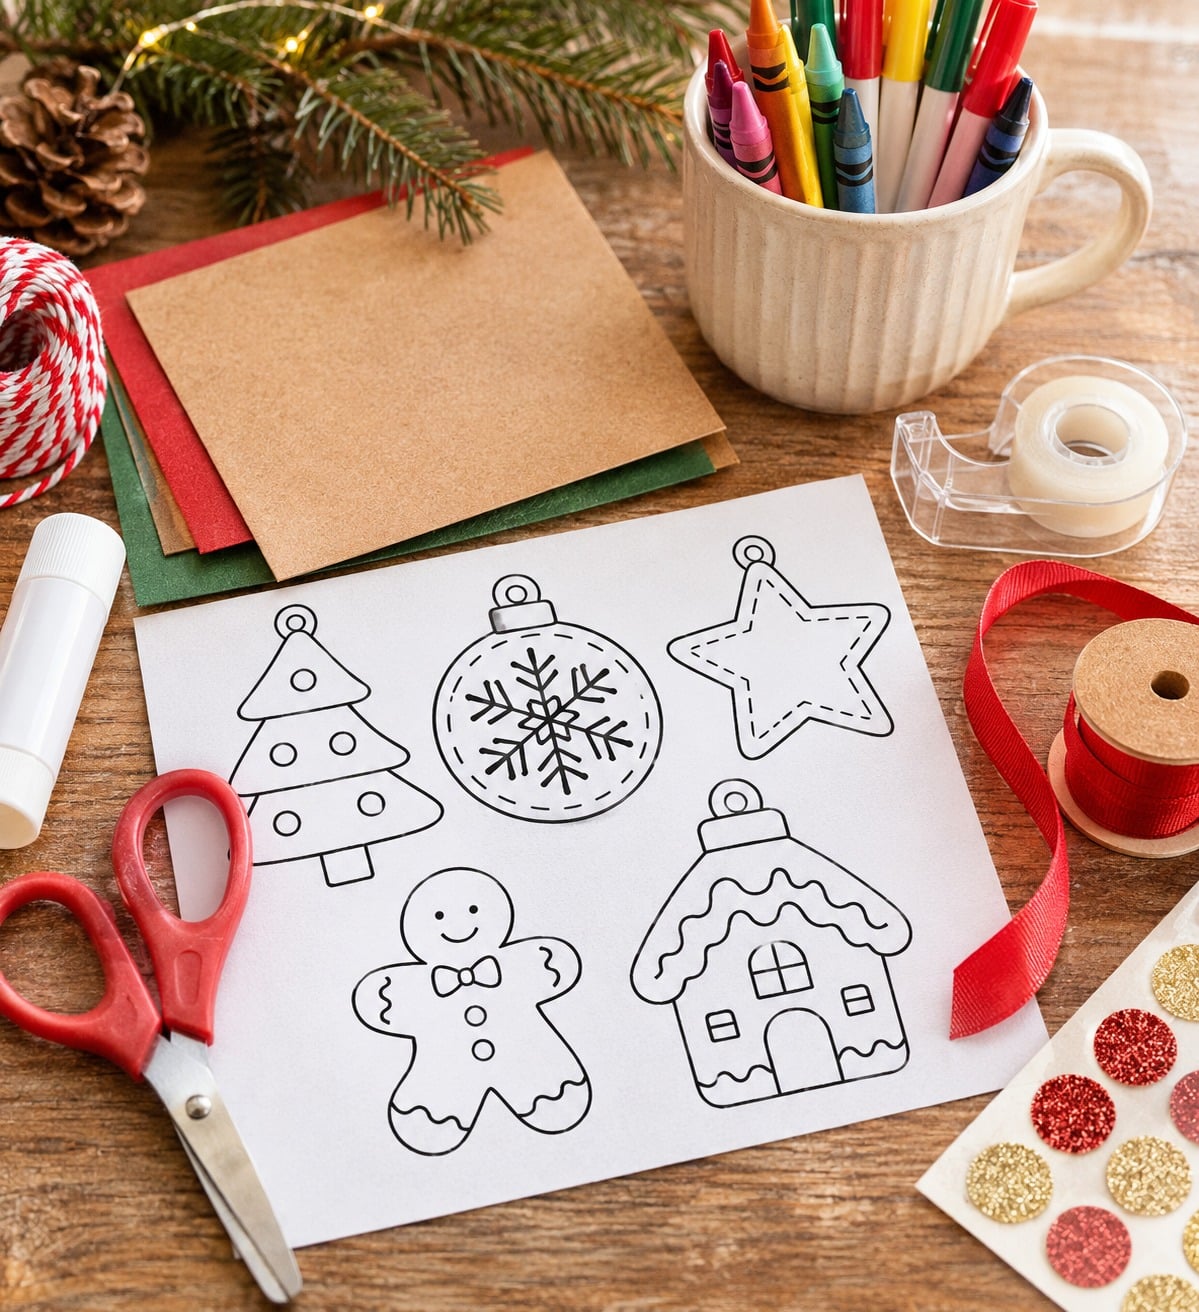
You only need the supplies for the version you want to make:
- Your printed ornament template
- Crayons, pencil crayons or markers
- Scissors appropriate for your child's age and ability
- A glue stick and optional cardstock backing
- Tape and ribbon or yarn for hanging
- Optional paper scraps or age-appropriate stickers
Choose materials labelled for children's use and supervise cutting and hole punching. Health Canada's craft safety advice recommends age-appropriate products and close supervision. Skip small decorations for children who still put things in their mouths, and have an adult prepare cutouts and hanging loops when needed.
How to Make a Paper Christmas Ornament
This is an easy project to adapt to your child's interests and the supplies available. Allow approximately 15-30 minutes for a simple version, with extra time for glue or paint to dry.
For younger children, prepare the cutout and hanger so they can focus on decorating. Crayons and a taped ribbon loop keep the activity especially simple.
- Decorate the outline. Add colour while the template is still on the full sheet, which makes it easier to hold steady. Try stripes, dots, little drawings or a simple two-colour pattern.
- Add a backing if needed. If you printed on thin paper, use a light, even layer of glue stick to attach it to cardstock. Let it set before cutting.
- Cut around the outside. Follow the outer outline. An adult can manage narrow sections or cut the entire shape for a younger child.
- Attach the hanger. Make a short ribbon loop and tape both ends firmly to the back. Cover the ribbon ends with a small cardstock patch for a neater finish, using an adhesive suited to the materials.
- Check and display. Let the adhesive set, then gently check the hanger over the table before lifting the ornament. Add a name and year to the back if you would like to keep it.
You can punch a hanging hole instead if the shape has enough space at the top. Leave a generous border of paper around the hole. If the top is narrow, use the taped loop to avoid weakening it.
I love the combination of blush, soft green and cream for a gentle farmhouse look. Children can choose completely different colours, of course; the outline is simply a place to begin.
More Ways to Use the Ornament Templates
Hang Them on the Christmas Tree
Use cardstock or a backing so the cutouts hold their shape, and keep decorations lightweight. Spread the paper ornaments across a few branches so each design has room to show.
A small collection in matching colours can look lovely on a tabletop tree, while a mix of children's creations brings plenty of personality to the family tree. For another keepsake project, browse my DIY photo ornament ideas.
Make Gift Toppers or Handmade Cards
Write a short message on the back and attach an ornament to a wrapped gift with ribbon. If you want it to work as a name tag, check that the printed size leaves enough room for the writing before decorating it.
You can also glue a cutout to the front of a folded card. Pair it with my free Christmas gift tags when you want separate tags for the rest of your presents.
Create a Paper Ornament Garland
Arrange the finished cutouts on the table before attaching them to ribbon. Tape each one to the ribbon from the back so the fronts stay visible, then add more tape if a piece turns or slips.
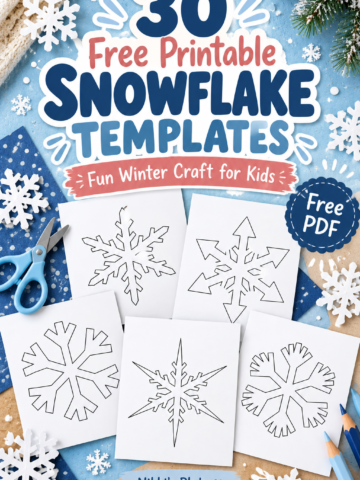
Hang the garland where children and pets cannot reach the ribbon. Add a few printable snowflake shapes if you would like to carry the display into winter.
Trace Onto Coloured Paper
Cut out a template, place it on coloured paper and trace around it with a pencil. Use a small piece of removable tape to hold the pattern still if needed, then lift it away before cutting the new shape.
For a simpler collage, let children tear paper scraps and glue them inside the printed outline. Use a tray to collect scraps, and keep one unused template aside if you want to trace the shape again.
More Free Christmas Printables and Craft Ideas
Choose another festive activity when you're ready for your next project:
- Printable Christmas crafts for kids for more colour, cut and glue projects.
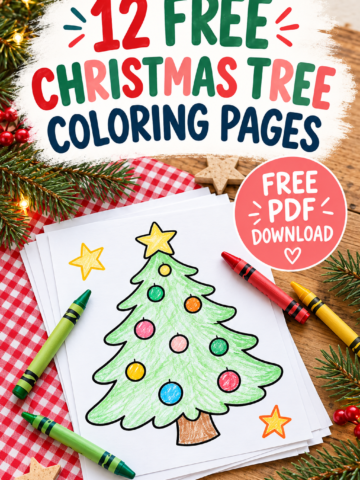
- Free Christmas tree coloring pages for tree pictures children can decorate on paper.
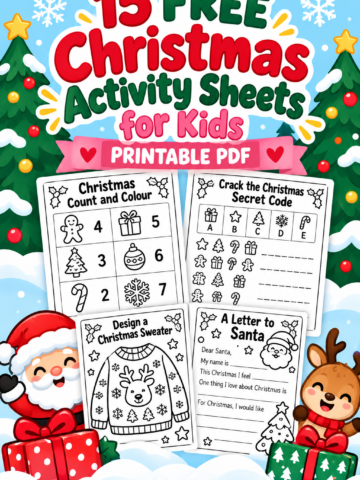
- Christmas activity sheets for kids for puzzles, drawing and picture activities.
- Easy Christmas crafts for kids for projects using a wider mix of familiar supplies.
Ornament Template FAQs
Yes, a PDF viewer with custom scaling lets you change the printed size. Print a test copy and measure it before preparing the rest of your materials, especially if you want the ornament to fit a card or gift box.
Ask whether the shop accepts customer-supplied PDFs and can print a personal-use craft file. Bring the saved download, choose a paper weight the shop supports and request a test sheet if the finished size matters.
Try saving the file first, then opening the saved copy in a PDF reader instead of printing from an in-app preview. Check that the printer is connected and the correct paper size is selected. If it still fails, try a different PDF viewer.
Invite them to design a repeating pattern, limit themselves to two colours or add a small winter scene inside the outline. They can also plan a matching set of decorations for one branch, a card collection or a garland.
Let glue and any wet colour dry completely, then store the ornaments flat in a folder or shallow box. Separate pieces that might catch on each other, and keep the box somewhere dry so the paper stays in good condition.
Make a Little Christmas Creativity Your Own
A printable outline can become a tree decoration, a handmade card or a small gift topper with just a few familiar supplies. Start with one design and keep the decorating as simple or detailed as you enjoy.
Download these 20 free ornament templates and choose a page for your next craft afternoon. I hope you enjoy adding your own little Christmas details to each one.
Until next time,



As Seen on TikTok
Come behind the scenes of our farmhouse build, decor projects, and cozy everyday life. Tap a video to watch, then follow @nikkisplate on TikTok for more.
Watch this video on TikTok
Watch this video on TikTok
Watch this video on TikTok

Leave a Reply