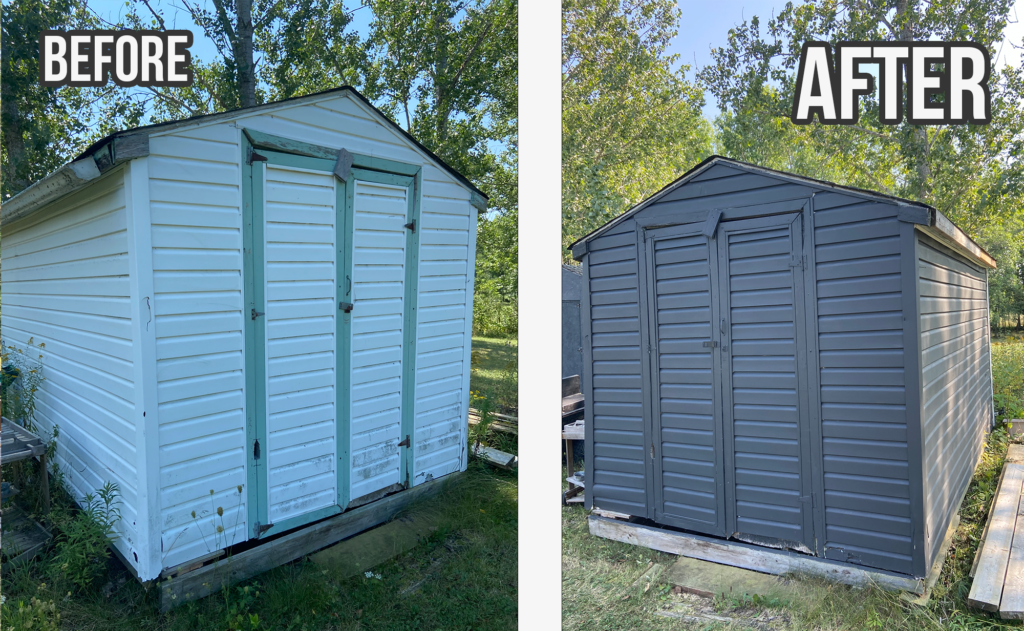
Before and After: Quick Backyard Shed Makeover! Here are the details all about my easy storage shed transformation. Weekend projects!
Disclaimer: this post may contain affiliate links, and every purchase made through these links will give me a small commission (at absolutely no extra cost for you!) AS AN AMAZON ASSOCIATE AND REWARDSTYLE MEMBER, I EARN FROM QUALIFYING PURCHASES. See Privacy Policy for additional info.
Hi Beauties,
This weekend we worked on our backyard sheds. What a simple project that really gave our backyard a facelift. This project was so easy and quick that I wasn't even going to post it on here! But I figured someone would want a little inspiration out there and may want to know the colour etc.
That being said, before I jump into the details of this quick backyard shed makeover, I thought I would just give a little background story about this shed. It's not that crazy so no need to get excited haha. Anyways when we first bought this house, there were two white broken sheds in the backyard. They were falling apart, and a huge eye sore..
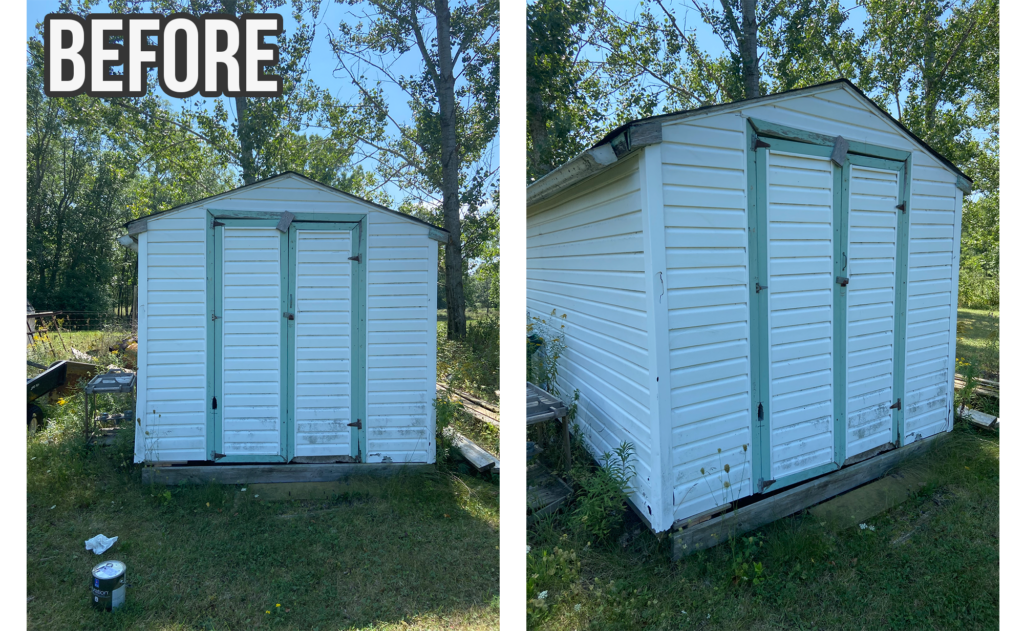
We definitely needed these sheds because we only have a single car garage in this house so storage is VERY limited. Taking the sheds down was just not an option.. so I knew I wanted to fix them up but not spend a lot of money. Because this is pretty much a 'flip and sell' house, I knew that putting too much money into these sheds would not give a good return or up the value of our house. So making them pretty on a budget was a priority.
That being said the shed DEFINITELY needed a new roof. So we did end up re-shingling the roof last year when we did our own roof. Why? Because we were using these sheds for storage so it was crucial to make sure they kept everything inside dry and safe! We live in Canada and winters are quite intense here so all our stuff needed protection!
Quick Backyard Shed Makeover Details:
Re-shingle. Re-shingling the roof cost about $500 CA total for the two sheds. My husband was able to do this himself so we saved money on labour here. It was a good investment to keep our things safe from the harsh weather! It took him about a day to replace the shingles
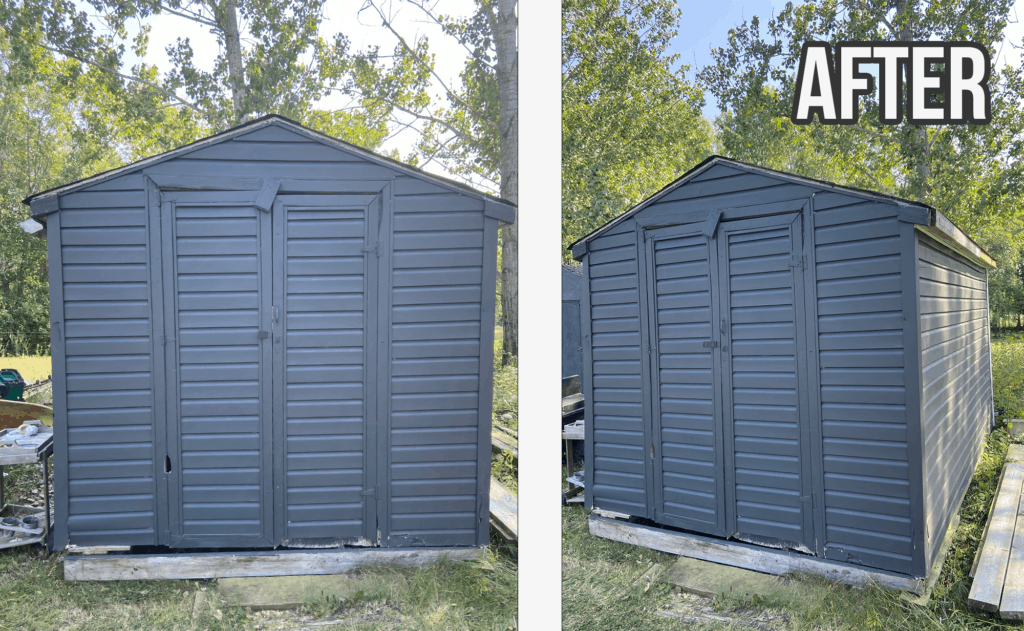
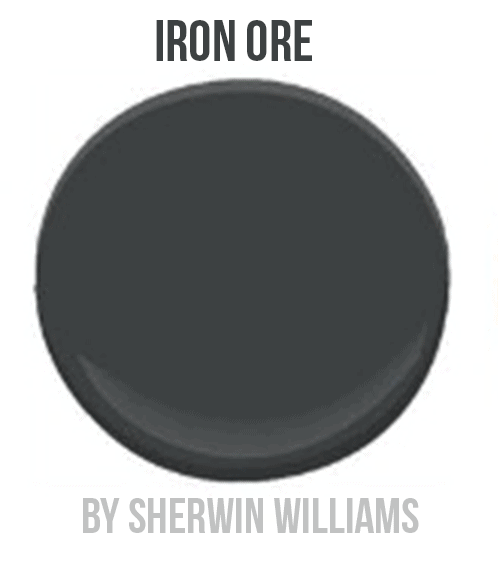
Paint. It took about two days to paint the entire shed. I chose the colour Iron Ore by Sherwin-Williams. I picked this colour for three reasons.. One: It is absolutely STUNNING. I love this warm moody grey. Two: We are painting our current house brick this colour. I started that yesterday too! hehe. Three: This is the colour we chose for our final house exterior as well. I did chose expensive paint to make sure it holds up well. The paint cost about $75 CA and we used the entire can.
P.s I did something sneaky... I did not paint the back of the sheds. Why? Because no one will EVER see it and this was all about what we see from our deck looking out into the backyard. I wanted to make the view pretty. This way we saved on money and time!
Shed Makeover Cost:
So to recap what we completed and the cost of this project: Re-shingle (cost approximately $500 for TWO sheds) and Paint (cost about $75 for one can of good quality paint). The total cost of ONE shed was about $300. Not bad right? And it really makes a difference when looking out into our backyard!
If you are looking to completely build a shed from start to finish, check out this post by Joseph for shed cost guides!
Potential Trim?
Still debating if I should add some trim to the top to separate the roof from the siding... just to break it up a little.. BUT I don't want to put much more money into these sheds. Thoughts? Maybe I can find some wood from a used store and just nail it on and paint it... ill have to think about this one!
I hope you enjoyed this quick post on our weekend project! If you like these DIY home posts make sure you subscribe because there will be a lot more coming your way here on Nikki's Plate! Thanks for stopping bye friends!
Until next time,



Leave a Reply