<< DIY Barn Wood Picture Board >>
Disclaimer: this post may contain affiliate links, and every purchase made through these links will give me a small commission (at absolutely no extra cost for you!) AS AN AMAZON ASSOCIATE AND REWARDSTYLE MEMBER, I EARN FROM QUALIFYING PURCHASES. See Privacy Policy for additional info.
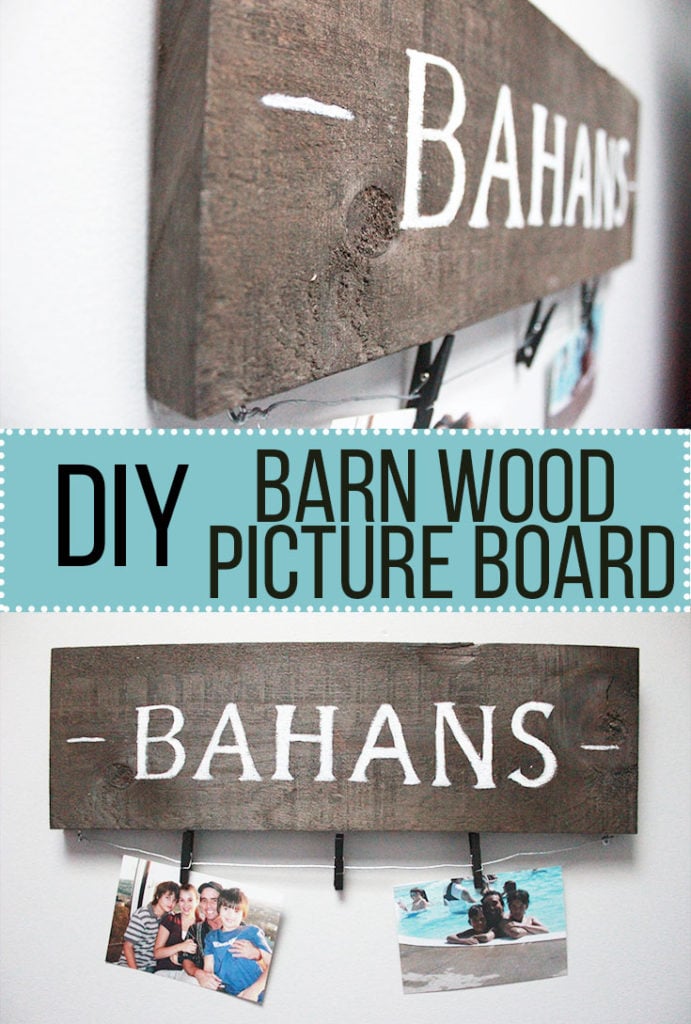
Hey everyone! Hope you having a fun and festive December so far.
This year I decided to make my dad this sign (don't worry he won't see this!). Our last name is Bahan incase you did not know!
I thought this DIY is a super cute and personal present when your on a budget. I love creating unique DIYs for Christmas presents when you don't know what to get someone who already has everything they need.
So let's get right into it!
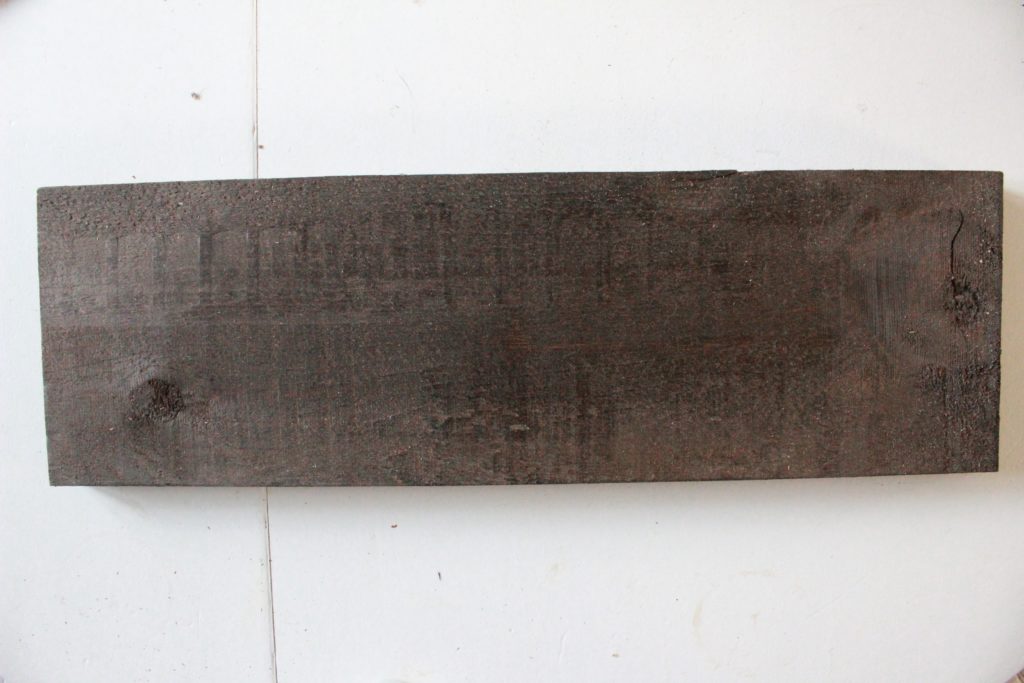
I bought a regular wood board form Home Depot. Ask an employee if they have any cut off wood pieces for sale. Some people get their wood boards cut at Home Depot so they may have some scraps you can buy instead of buying a 100 foot long board that won't fit into your little Honda Civic... BEEN THERE.
Stain the wood if you would like, or leave the natural colouring. I stain this board dark, because I wanted a rustic barn wood look for my dad. But you can choose what ever colour you would like!
Print what you want to put onto your board. Regular thin paper works best. Centre the words onto the board, secure with tape and then trace the letters with a led pencil. Make sure you are putting some A LOT of pressure when tracing. This ensures that you are indenting onto the board.

When you take off the paper you should see an outline of the letters. Now you can go ahead and paint. I found it easier to do the outline of the letter first and then fill it in. This way you can kind of see where you are going with the paint.
It took about 2 layers of paint to get my desired look, but like I've said you can alter it to make your sign the way you like!
When it is dry, take two hooked pins and secure them into the bottom of the board (you can see how I did this in my YouTube video below). Then feed a wire through the hoop and twist it around to secure it. Cut the extra off
Use mini clothes pins to hang photos from the wire.
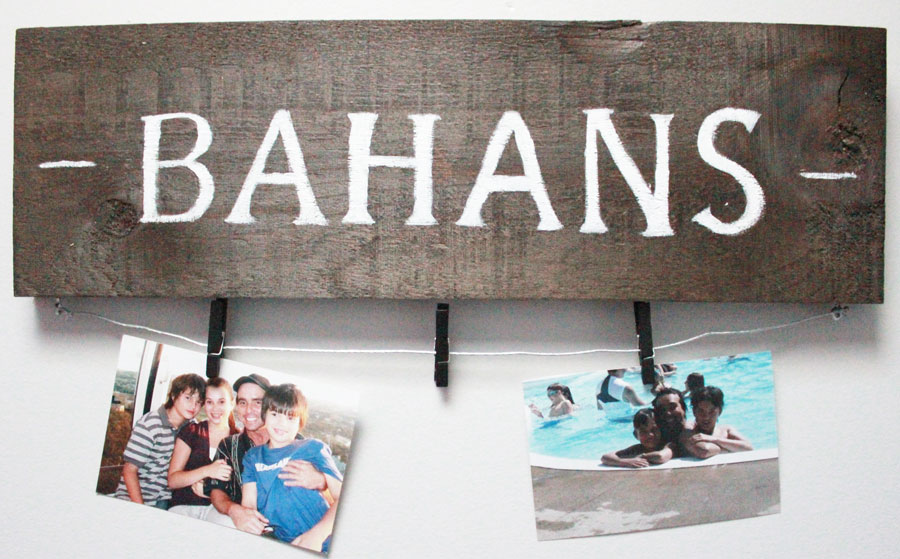
I hope you enjoyed this tutorial. Tag me in your creations too, because I LOVE seeing what you come up with too 🙂 #DIYwithNikki




Leave a Reply