

This easy cherry cheesecake recipe with graham cracker crust is the perfect summer dessert—cool, creamy, and topped with sweet cherry goodness. No fancy skills needed!


Disclaimer: this post may contain affiliate links, and every purchase made through these links will give me a small commission (at absolutely no extra cost for you!) AS AN AMAZON ASSOCIATE AND REWARDSTYLE MEMBER, I EARN FROM QUALIFYING PURCHASES. See Privacy Policy for additional info.
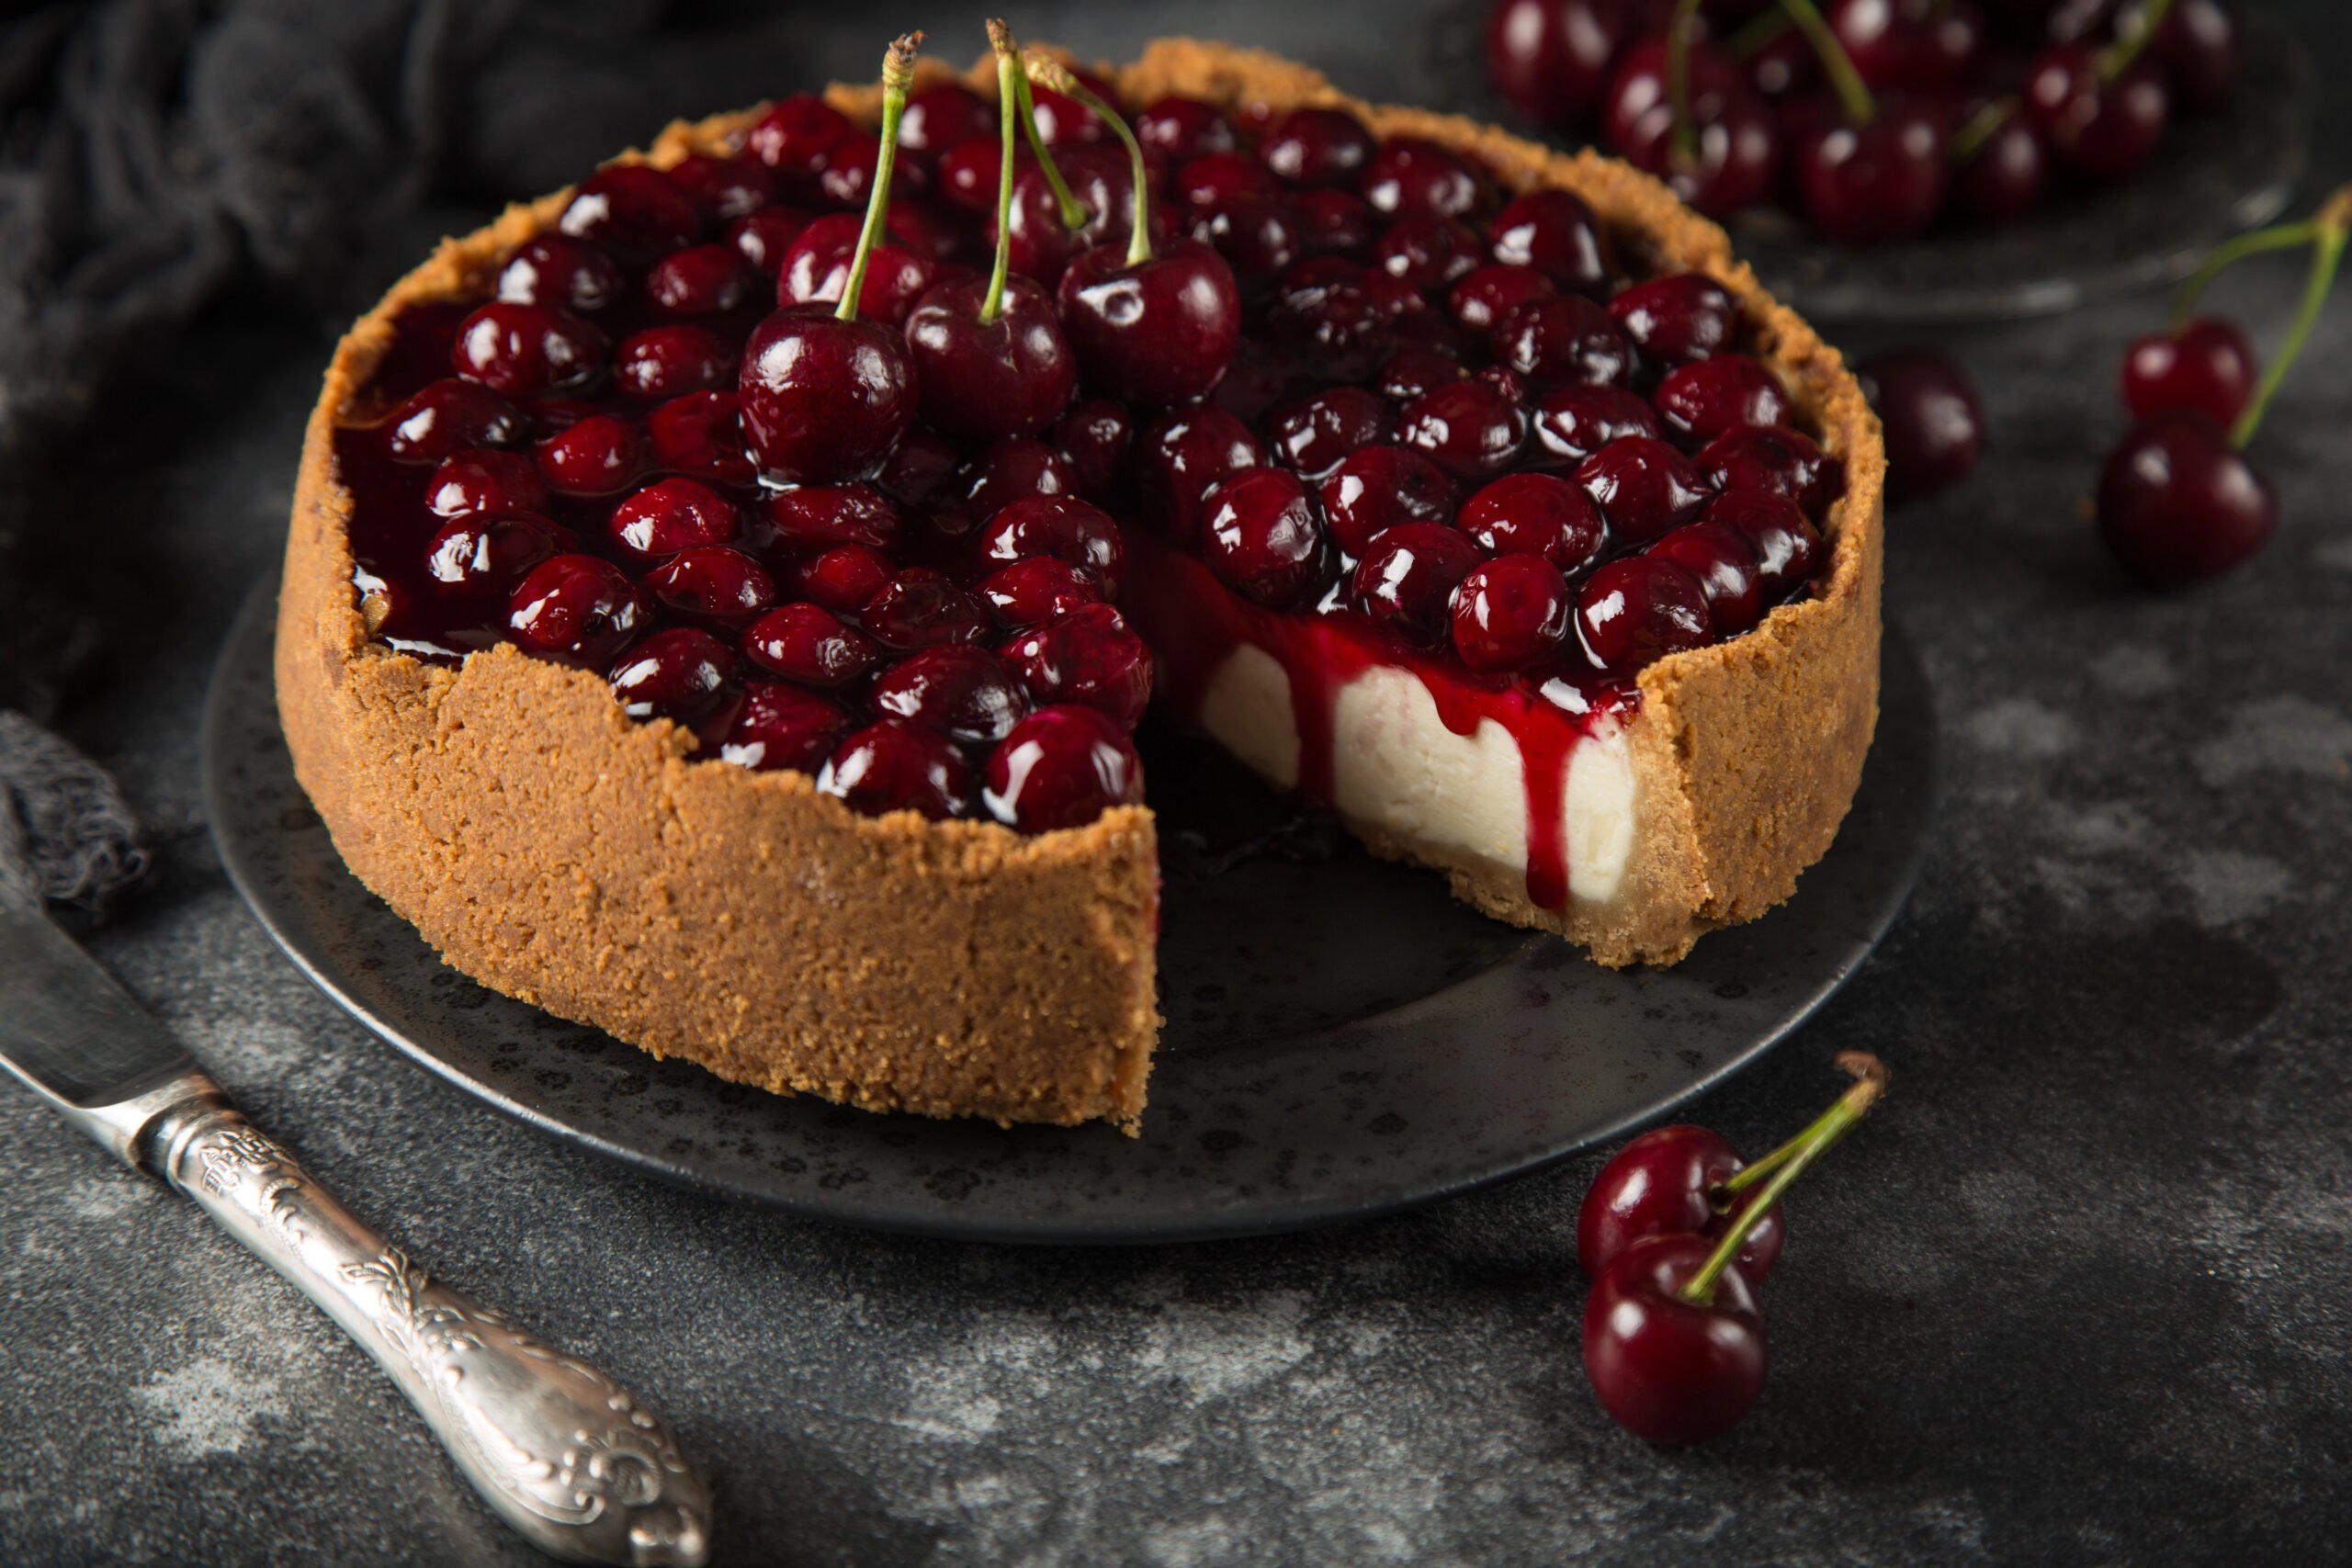
Hi beauties! There’s something undeniably nostalgic about cherry cheesecake. It’s creamy, rich, and topped with that glossy, ruby-red layer that practically begs you to take a bite. This easy cherry cheesecake recipe with graham cracker crust brings all the classic flavor you love—without the fuss. Whether you’re hosting a summer BBQ, celebrating a birthday, or just craving a slice of something sweet, this dessert delivers every single time.
The buttery graham cracker crust is the perfect base for the silky-smooth cheesecake filling. And the cherry topping? It adds the perfect balance of sweetness and tang. What I love most about this easy cherry cheesecake recipe is how simple it is to make, even if you’re not an experienced baker. No complicated techniques, no water baths—just dependable ingredients and a straightforward method.
If you're looking for a foolproof dessert that tastes like you picked it up from a bakery, this is the one. This easy cherry cheesecake with graham cracker crust can be made ahead, dressed up or down, and is always a crowd-pleaser. Keep reading for all the tips, tricks, and step-by-step instructions to make it perfect every time.
Why You’ll Love This Easy Cherry Cheesecake
- Foolproof crust: Graham cracker crumbs + melted butter = perfection
- Creamy & smooth filling: Made with cream cheese and a few pantry staples
- Make-ahead friendly: Chill overnight and forget the stress
- Perfect for summer: Fresh, fruity, and crowd-pleasing
Whether you’re a seasoned baker or a total newbie, this recipe delivers every time.
Ingredients You’ll Need
For the Graham Cracker Crust:
- 1 ½ cups graham cracker crumbs (about 10 full sheets)
- ¼ cup granulated sugar
- ½ cup unsalted butter, melted
For the Cheesecake Filling:
- 3 (8 oz) packages cream cheese, softened
- ¾ cup granulated sugar
- 2 teaspoons vanilla extract
- 3 large eggs
- ½ cup sour cream (for extra creaminess)
For the Cherry Topping:
- 1 can cherry pie filling or 2 cups fresh cherries cooked down with sugar (see notes)
How to Make Cherry Cheesecake with Graham Cracker Crust
1. Make the Crust
Preheat your oven to 325°F (163°C).
In a bowl, mix graham cracker crumbs, sugar, and melted butter until it resembles wet sand. Press firmly into the bottom and slightly up the sides of a 9-inch springform pan.
Bake for 10 minutes, then let cool.
2. Mix the Filling
In a large bowl, beat the cream cheese until smooth. Add sugar and vanilla and beat again.
Add eggs one at a time, mixing on low speed. Stir in sour cream.
Pour over the cooled crust.
3. Bake the Cheesecake
Place your cheesecake on a baking sheet and bake for 50–60 minutes, or until the center is set but slightly jiggly.
Turn off the oven, crack the door, and let it cool inside for 1 hour.
Then refrigerate for at least 4 hours (or overnight for best results).
4. Top with Cherries
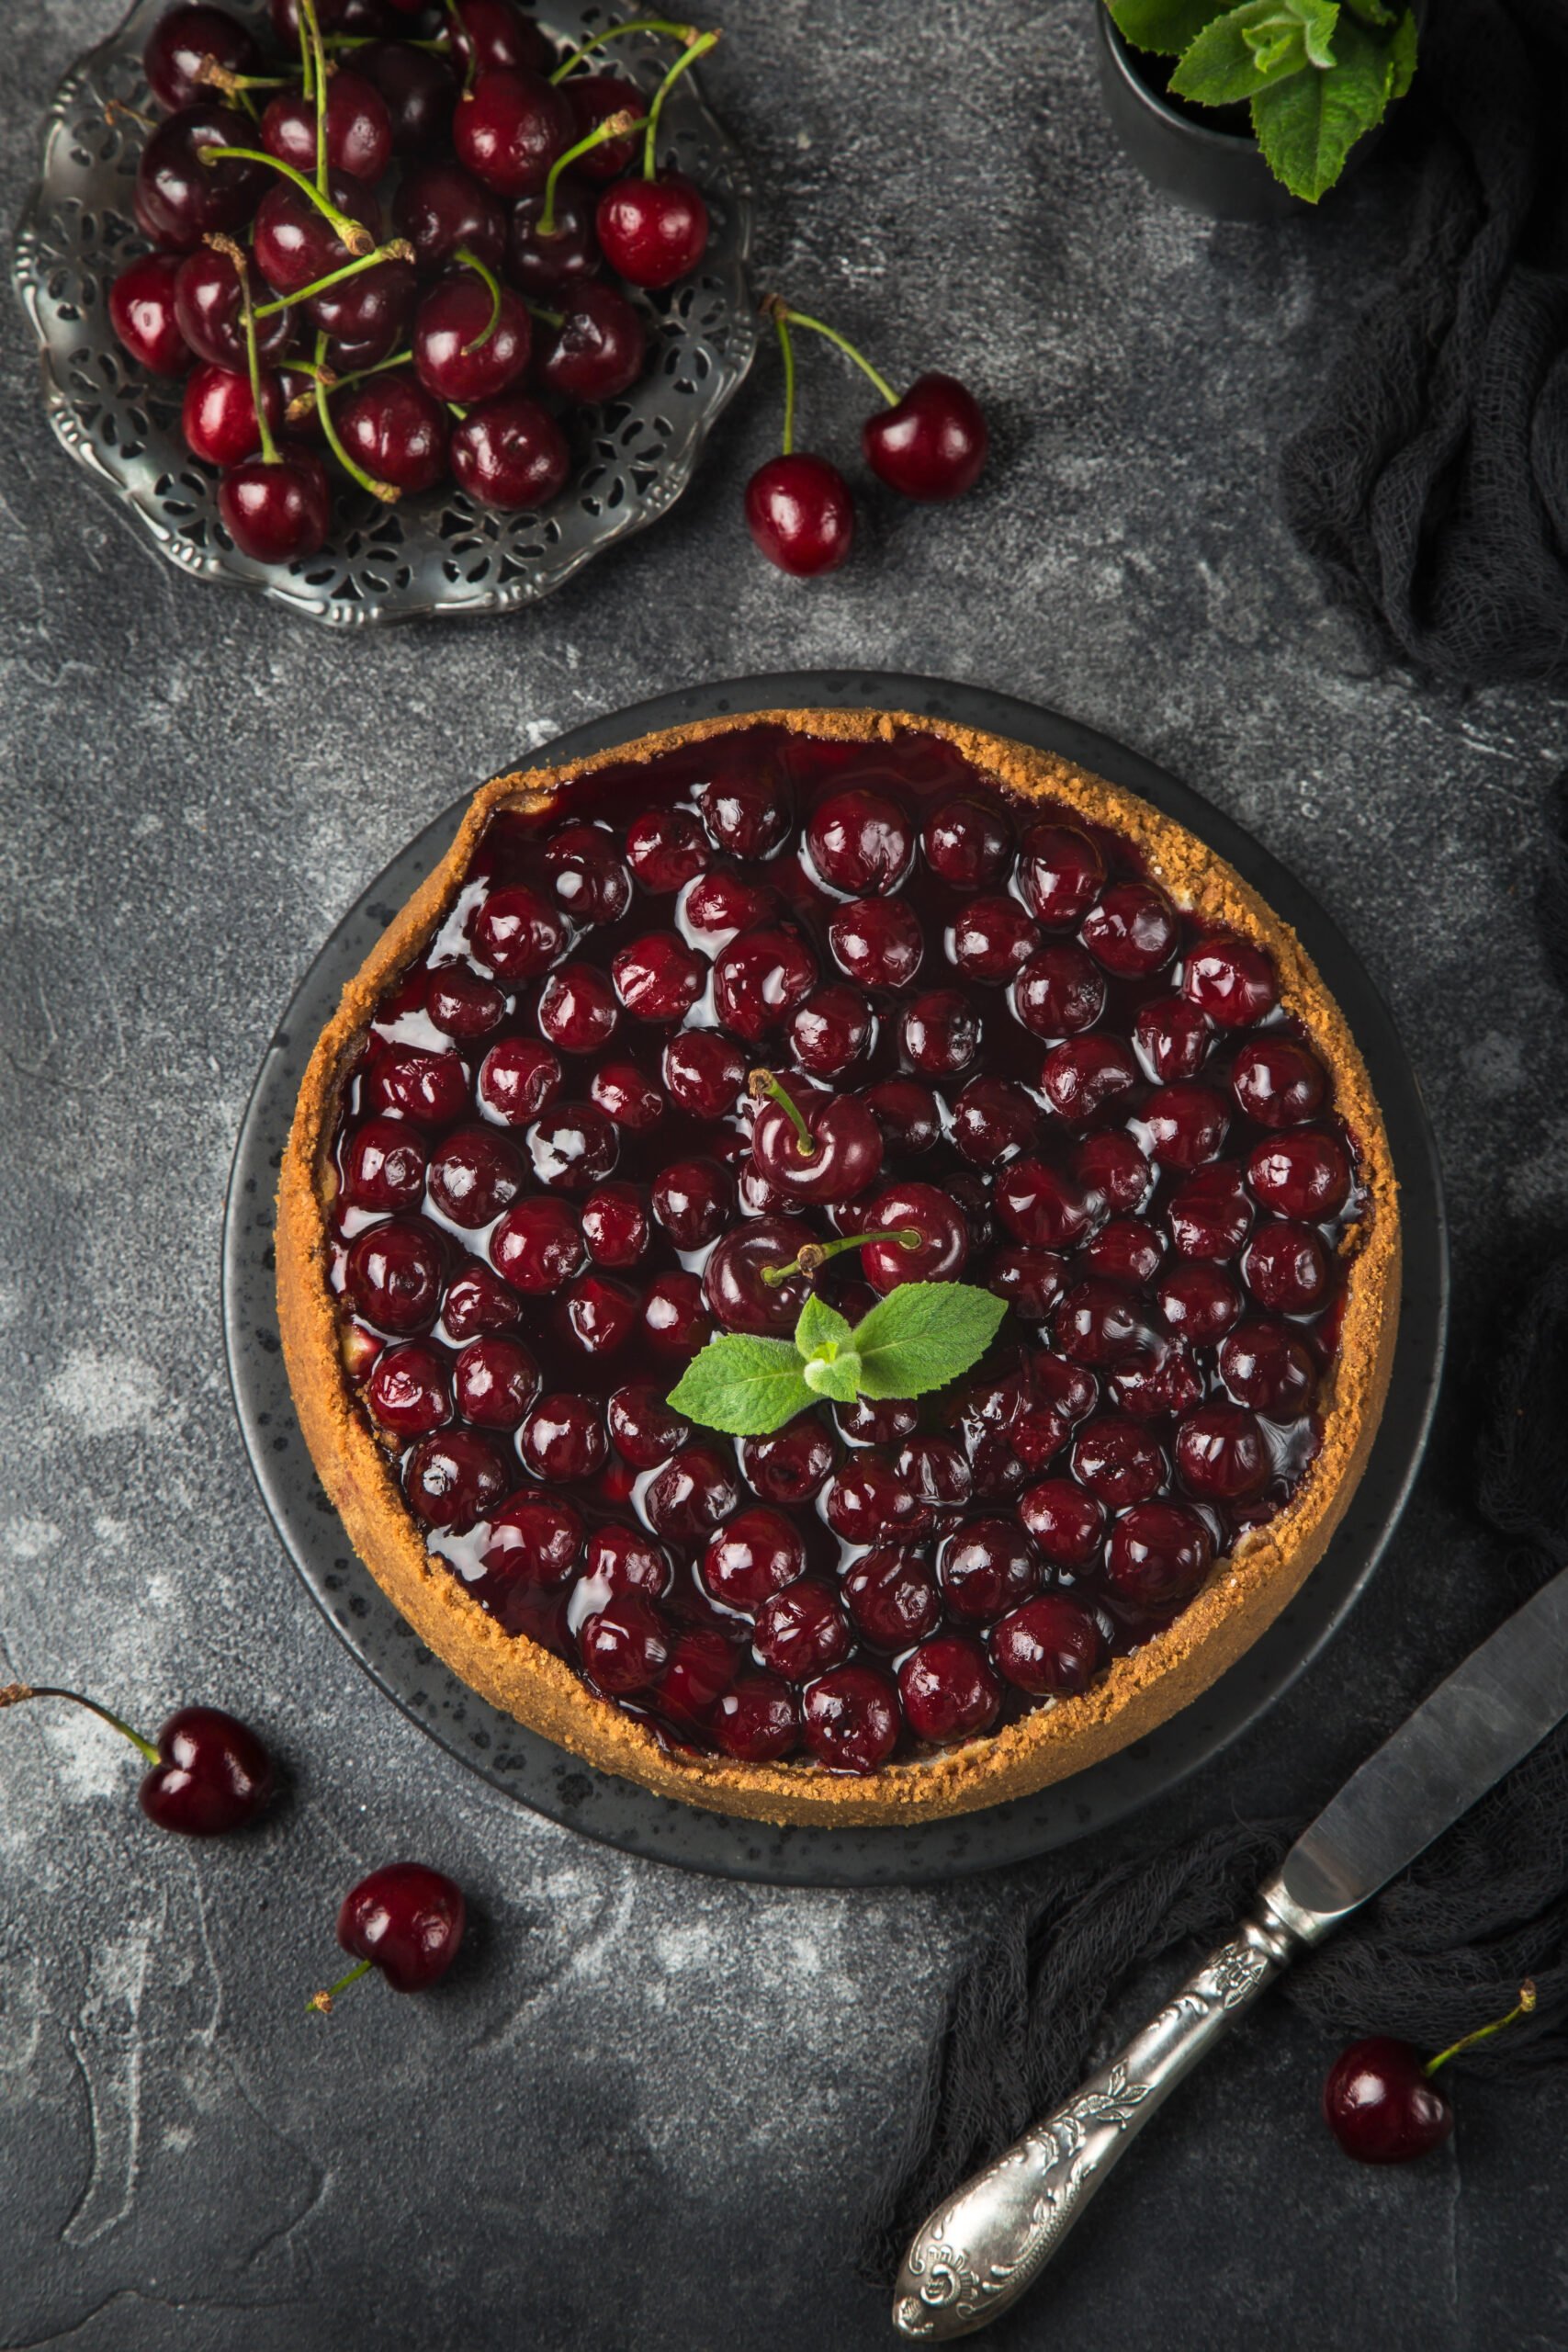
Once chilled, spoon the cherry topping over the cheesecake and spread evenly.
Slice and serve!

Tips for the Perfect Cheesecake
- Room temp ingredients = a smoother batter
- Don’t overmix the eggs or you risk cracks
- Let it cool slowly to avoid collapsing
- Want to make it extra summery? Use fresh cherries and cook them down with a bit of lemon juice and sugar
Storing & Serving
- Make ahead: This cheesecake is even better the next day
- Fridge: Store covered for up to 5 days
- Freezer: Wrap tightly and freeze (without topping) for up to 2 months
Final Thoughts
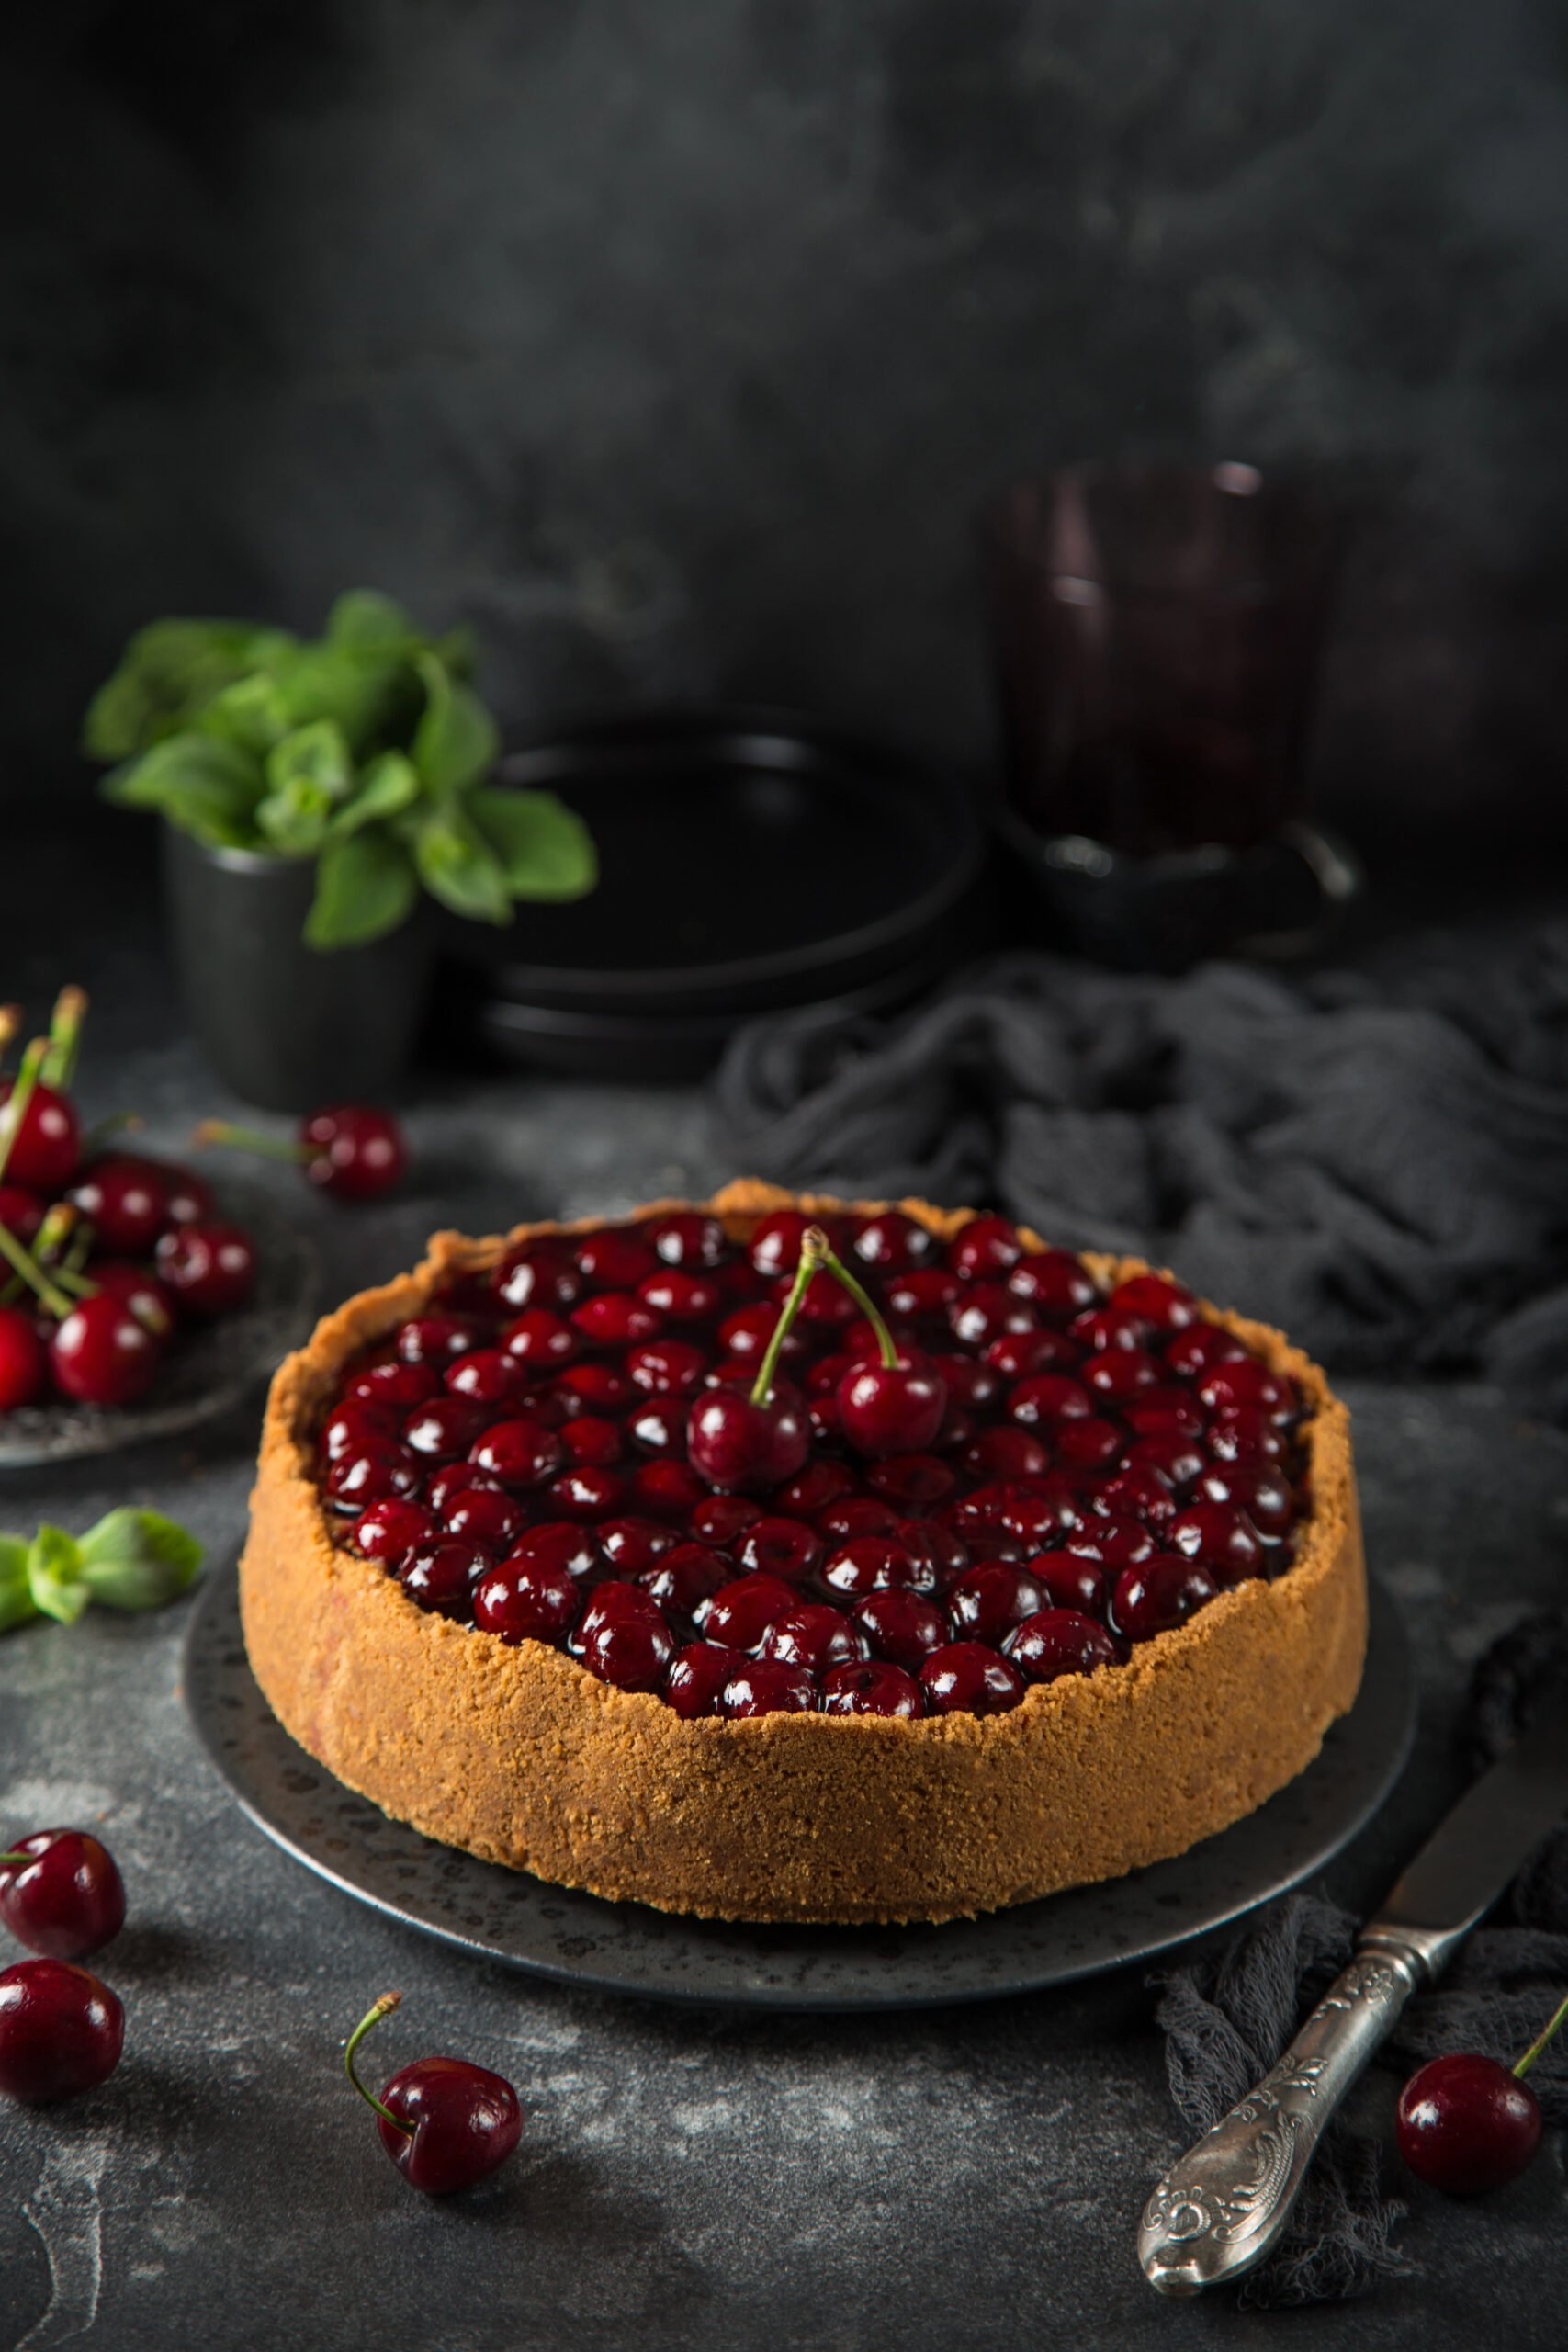
This Easy Cherry Cheesecake Recipe with Graham Cracker Crust is a summer staple in my kitchen. It’s simple enough for a weekday treat but pretty enough to be the centerpiece of any special occasion. The buttery crust, creamy center, and juicy cherry topping hit all the right notes—and trust me, everyone will ask for the recipe.
If you try it, I’d love to hear what you think in the comments!
Until next time,

Easy Cherry Cheesecake Recipe with Graham Cracker Crust
Ingredients
For the Graham Cracker Crust:
- 1½ cups graham cracker crumbs (about 10 full sheets)
- ¼ cup Sugar
- ½ cup unsalted butter (melted)
For the Cheesecake Filling:
- 3 (8oz) Blocks Cream Cheese (softened)
- ¾ cup Sugar
- 2 teaspoon Vanilla Extract
- 3 Large Eggs
- ½ Cup Sour Cream
For the Cherry Topping:
- 2 Cups Cherries (pitted)
- 2 tablespoon Sugar
- 1 tablespoon Lemon Juice
Instructions
- Prepare Crust: Preheat oven to 325°F (163°C). Mix graham cracker crumbs, sugar, and melted butter until combined. Press into the bottom and sides of a 9-inch springform pan. Bake for 10 minutes and set aside to cool.
- Make Filling: In a large bowl, beat cream cheese until smooth. Add sugar and vanilla and mix. Add eggs one at a time on low speed, then stir in sour cream. Pour filling over crust.
- Bake: Bake for 50–60 minutes or until the center is just set and slightly jiggly. Turn off oven, crack door, and cool cheesecake inside for 1 hour. Then refrigerate for at least 4 hours or overnight.
- Add Topping: Cook the fresh cherries them with sugar and lemon juice over medium heat until syrupy, then cool and spread on top.
- Serve & Enjoy:Slice, serve chilled, and enjoy your summer-perfect cheesecake!
Notes
- Fresh Cherry Topping: To make your own, cook 2 cups pitted cherries with 2 tablespoon sugar and 1 tablespoon lemon juice until bubbly and syrupy. Let cool completely before topping the cheesecake.
- Crust Tip: For extra structure, press the crust firmly with the bottom of a flat measuring cup.
- Prevent Cracks: Avoid overmixing once you add the eggs, and cool the cheesecake slowly to prevent cracks.
- Make Ahead: This cheesecake can be made 1–2 days in advance and stored (un-topped) in the fridge.
- Storage: Keeps well in the fridge for 4–5 days or in the freezer (without topping) for up to 2 months. Thaw overnight before serving.


Leave a Reply