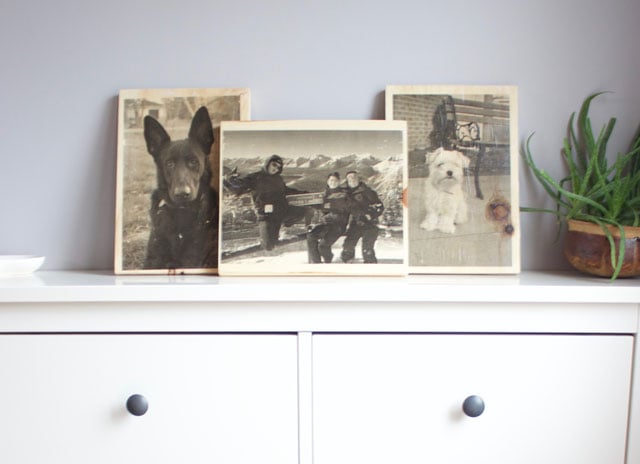
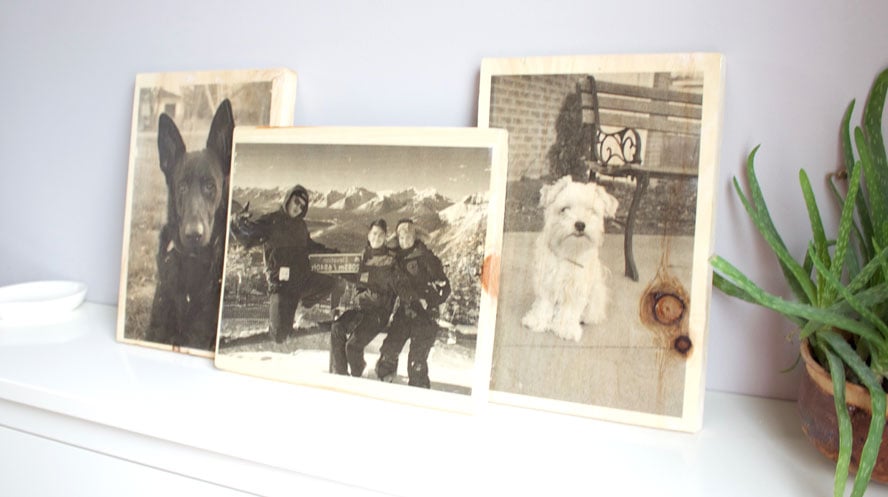
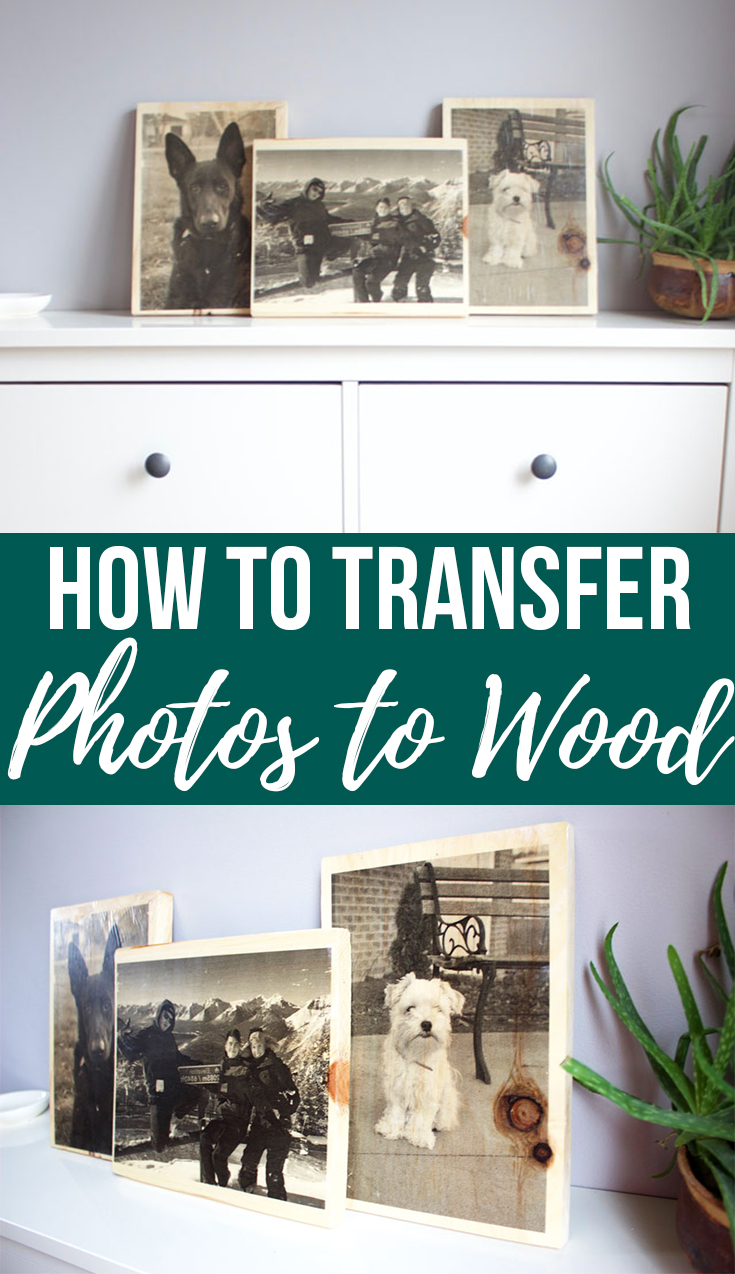
You all need to check out these cute DIY wood plaque photos. Originally I made these for Christmas presents, and posted a photo of them on my Facebook... and I have had SO many people ask me how I made them, therefore here you have it. 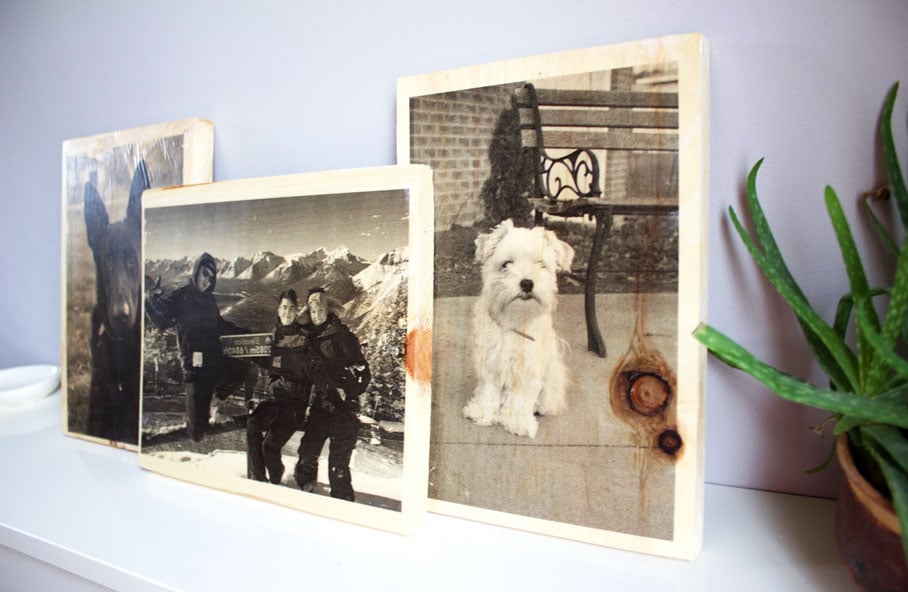
Disclaimer: this post may contain affiliate links, and every purchase made through these links will give me a small commission (at absolutely no extra cost for you!) AS AN AMAZON ASSOCIATE AND REWARDSTYLE MEMBER, I EARN FROM QUALIFYING PURCHASES. See Privacy Policy for additional info.
I made several of these boards including these wood slice coasters as gifts this past Christmas and they were a hit! I love the idea of creating a gift that is personable yet amazing. Giving a gift you created is just that more fun.
Here is what you need for this craft project:
- Wood Plaques – You can choose which ever size of wood you would like. I kept it easy by slicing them to fit a regular piece of paper. If you go any bigger you will have to use two pictures to cover it or a large piece of paper. I kept the wood light and natural, but I have seen some examples on Pinterest where they have stained the wood before using it. I liked the idea of keeping the wood light so the black photos really stand out.
- Mod Podge – great crafting glue, many different variations, I used the satin gloss finish. You can pick it up at michaels, walmart or here on Amazon.
- Paint Brushes – any small paint brushes will work.
- Photos – It is extremely important that you print your photos using a LASER PRINTER. The majority of us have ink printers which will not work. Go to staples and get your photos printed there. Ask for thin paper too! You can use colour photos too but I preferred the look of black and white.
HERE ARE THE STEPS:
- Cut photos to fit onto the smooth wood planks (I had Dylan sand the planks so that they were flat and smooth). It seemed to work better for me this way, rather then leaving them rough.
- Paint a VERY thick layer of mod podge to the wood planks. Make sure this layer of mod podge is super even, clumpy areas will ruin your photos.
- Press the photo face down onto the glue.
- Smooth out any air bubbles using a card (I use an old HMV rewards card).
- Let sit for at least 8 hours (I left mine overnight).
- Drape a wet cloth over them for 5 minutes.
- Lightly scrub the paper away in circular motions. Make sure you scrub lightly!! … oh and sorry about the mess this makes hehe
- Keep letting them dry and wiping the paper away until there is no white fuzz left on them!
- I used a clear wood glaze coat on top to make them shine (optional).
Please share your creations with me! I love seeing them!! nikkibahan@gmail.com
I hope you enjoyed this tutorial, happy photo plaques creating 🙂







Leave a Reply