
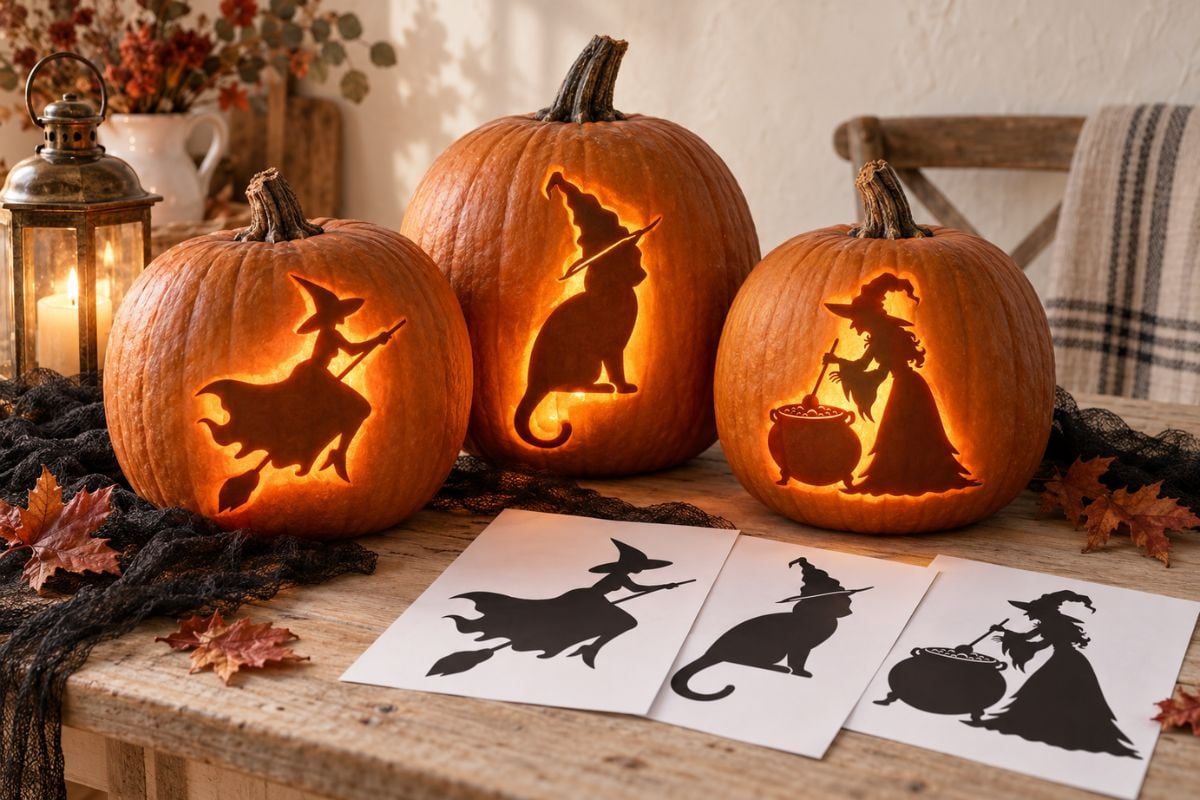
Create a magical jack-o'-lantern with 15 free witch pumpkin carving stencils, including flying witches, cauldrons, broomsticks, witch hats, and black cats.
Hi beauties! Looking for a witch pumpkin carving stencil for your Halloween jack-o'-lantern? This free printable collection includes 15 witch pumpkin carving stencils featuring flying witches, bubbling cauldrons, pointy hats, broomsticks, crescent moons and magical black cats. Whether you prefer your witches spooky and mysterious or whimsical and charming, these FREE Witch Pumpkin Carving Stencils will bring a little magic to your fall decor.
The complete set is available in one easy-to-print PDF. Simply download your favorite witch pumpkin stencil, resize it if necessary, transfer the pattern to your pumpkin and start carving. If you loved my Owl Pumpkin Carving Stencils or my Zodiac Pumpkin Carving Stencils, this witchy collection will be the perfect next project for your Halloween lineup!
These designs look stunning on front porches, party tables, or even indoors as part of a Farmhouse Halloween Decor setup. So grab your carving tools, pick your favorite witch stencil, and get ready to make a pumpkin that will enchant every trick-or-treater who walks by.
Inside the free printable:
- 15 witch-themed pumpkin stencils
- Easy, intermediate and detailed designs
- Full-page templates formatted for 8.5 × 11-inch paper
- Witch silhouettes, hats, cats, brooms, moons and cauldrons
- Free PDF download for personal use
Important carving note: Some of the more detailed patterns contain small interior areas that need to remain attached to the pumpkin. Use the design as an etching template when necessary, or add small support bridges before cutting all the way through the pumpkin.
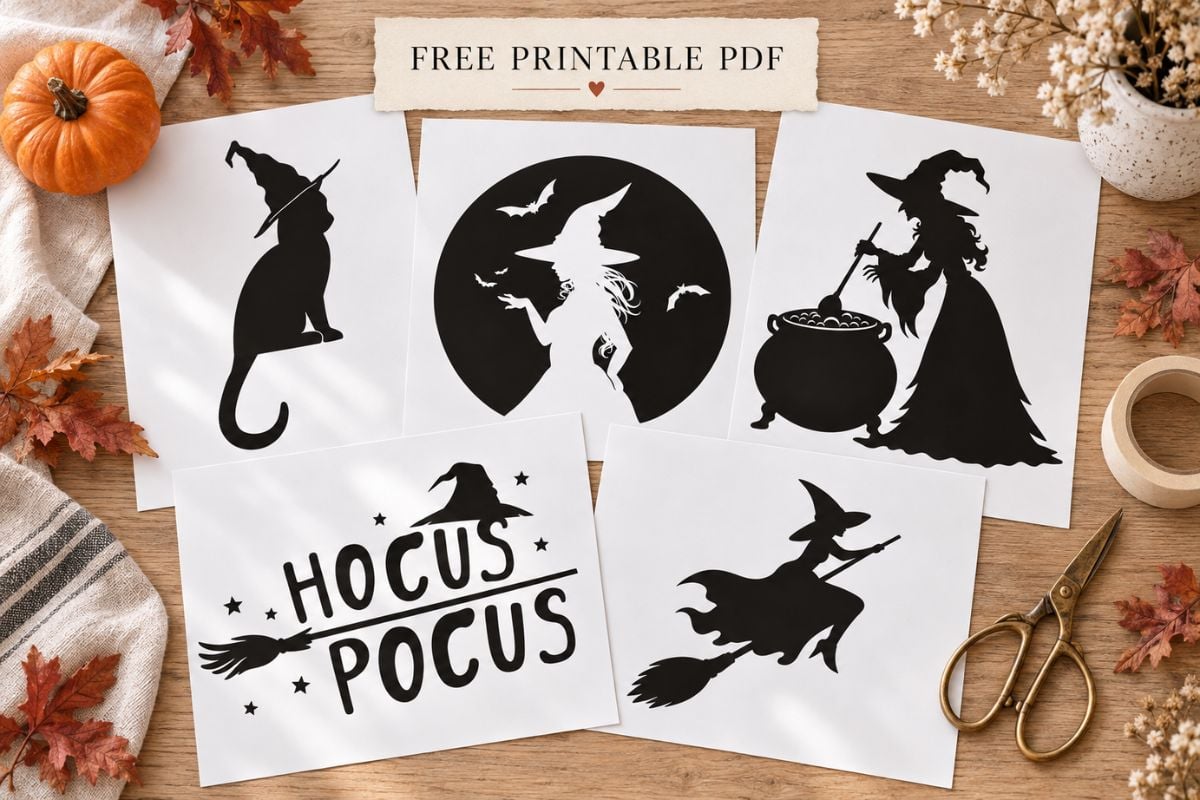
If you would like more designs to choose from, don't miss my 30 free printable pumpkin carving stencils or these easy pumpkin carving stencils for kids.
Free Printable Witch Pumpkin Carving Stencils
Choose your favorite design below, then use the download button to get all 15 witch pumpkin carving templates in one printable PDF.
1. Witch and Cat Pumpkin Carving Stencil

This magical witch and cat pumpkin stencil features a flowing-haired witch sharing her broomstick with a curious feline companion. The small details make this an intermediate or advanced design. For the cleanest result, etch the finer sections instead of cutting every area completely through the pumpkin.
2. Flying Witch Pumpkin Carving Stencil

A classic witch flies through the Halloween sky with her cape billowing behind her. This recognizable silhouette creates a bold design that looks especially striking once the pumpkin is glowing. Use a medium or large pumpkin to give the broom and cape plenty of room.
3. Witch and Full Moon Pumpkin Stencil

This dramatic pumpkin carving template places a witch against a full moon with bats flying overhead. It is a beautiful choice for a large display pumpkin. Use a combination of full cuts and shallow etching to preserve the moon's outline and smaller details.
4. Gothic Witch Silhouette Stencil

Create a haunting Halloween pumpkin with this gothic witch holding her broom. The strong silhouette makes a dramatic impression without requiring an overly complicated design, making it a good choice for intermediate pumpkin carvers.
5. Crescent Moon Witch Pumpkin Stencil

A detailed witch's profile is framed by a crescent moon and scattered stars in this celestial carving pattern. Because of its delicate facial features and curved lines, this design is best suited to pumpkin etching or experienced carvers.
6. Cute Flying Witch Pumpkin Stencil

This whimsical flying witch has a playful, storybook-inspired look that works beautifully for a family Halloween display. Children can help transfer the pattern, but an adult should complete all carving and cutting.
7. Hocus Pocus Witch Stencil

Add a little spellbinding fun to your porch with this Hocus Pocus pumpkin stencil featuring a witch hat, flying broom and stars. Its mix of lettering and small accents makes it best for a large pumpkin and an intermediate carver.
8. Scary Witch Pumpkin Carving Stencil

This scary witch silhouette features a crooked broom, pointed hat and flowing cloak. It is a classic choice for anyone who wants a more traditional, spooky Halloween jack-o'-lantern.
9. Simple Witch Pumpkin Carving Stencil

If you are new to using pumpkin stencils, start with this simple flying witch design. The clean silhouette and larger shapes make it one of the easiest witch patterns in the collection to transfer and carve.
10. Three Witches Pumpkin Carving Stencil

Three witches soar across the night sky in this fun Halloween carving pattern. The wide design fits best on a large pumpkin with a smooth carving surface. Work from the smallest sections toward the larger openings to help protect the narrow broomsticks.
11. Witch and Cauldron Pumpkin Stencil

Create a classic potion-making scene with a witch stirring her bubbling cauldron. This detailed witch pumpkin template looks especially magical when shallow-etched areas are combined with fully carved openings.
12. Witch Broom Pumpkin Carving Stencil

This simple witch's broom is a quick and understated Halloween design. Its bold shape makes it suitable for beginners, smaller pumpkins or a coordinated group of witch-themed jack-o'-lanterns.
13. Witch Hat Pumpkin Carving Stencil

A pointy witch hat is one of the easiest ways to give your pumpkin a magical Halloween makeover. This simple witch hat stencil is beginner-friendly and pairs perfectly with the broom, cat or cauldron designs.
14. Witch in Heels Pumpkin Stencil

This fashionable witch brings a playful twist to the traditional flying-witch silhouette. Use a medium or large pumpkin so the hat, broom and high-heeled shoes remain easy to see after the design is transferred.
15. Witch Cat Pumpkin Carving Stencil

Cat lovers will adore this black cat wearing a whimsical witch hat. The bold outline makes it one of the more approachable designs in the collection and a fun companion to my free cat pumpkin carving patterns.
Download the Free Witch Pumpkin Stencil PDF
Ready to begin? Click the button below to download all 15 witch pumpkin carving stencils in one PDF.
The printable is formatted for standard US Letter paper measuring 8.5 × 11 inches. You can print the entire collection or select only the pages you want to use.
These templates are intended for personal use. Please do not sell, redistribute, or upload the PDF or individual stencil files to another website.
How to Print the Witch Pumpkin Stencils
- Click the download button to open the printable PDF.
- Save the file to your computer or device.
- Open the PDF and choose the witch stencil page you want to print.
- Select black-and-white printing on standard 8.5 × 11-inch paper.
- Choose "Actual Size" for a full-page stencil or adjust the scale to fit your pumpkin.
- Print the pattern and trim away some of the excess paper surrounding the design.
Regular printer paper is usually easier to wrap around a curved pumpkin than heavy cardstock. For a smaller pumpkin, try printing at 70% to 85%. A medium or large pumpkin can usually accommodate the original 100% size.
How to Use a Witch Pumpkin Carving Stencil
1. Choose the Right Pumpkin
Look for a fresh, firm pumpkin with a sturdy stem and at least one smooth, relatively flat side. Larger pumpkins are best for the moon, cauldron and three-witch designs, while the hat and broom stencils can fit smaller pumpkins.
2. Prepare the Pumpkin
Have an adult cut an opening in the pumpkin and remove the seeds and stringy pulp. Scrape the inside wall behind the carving area until it is approximately one inch thick. A thinner wall is easier to carve and allows more light to shine through.
3. Attach the Printed Stencil
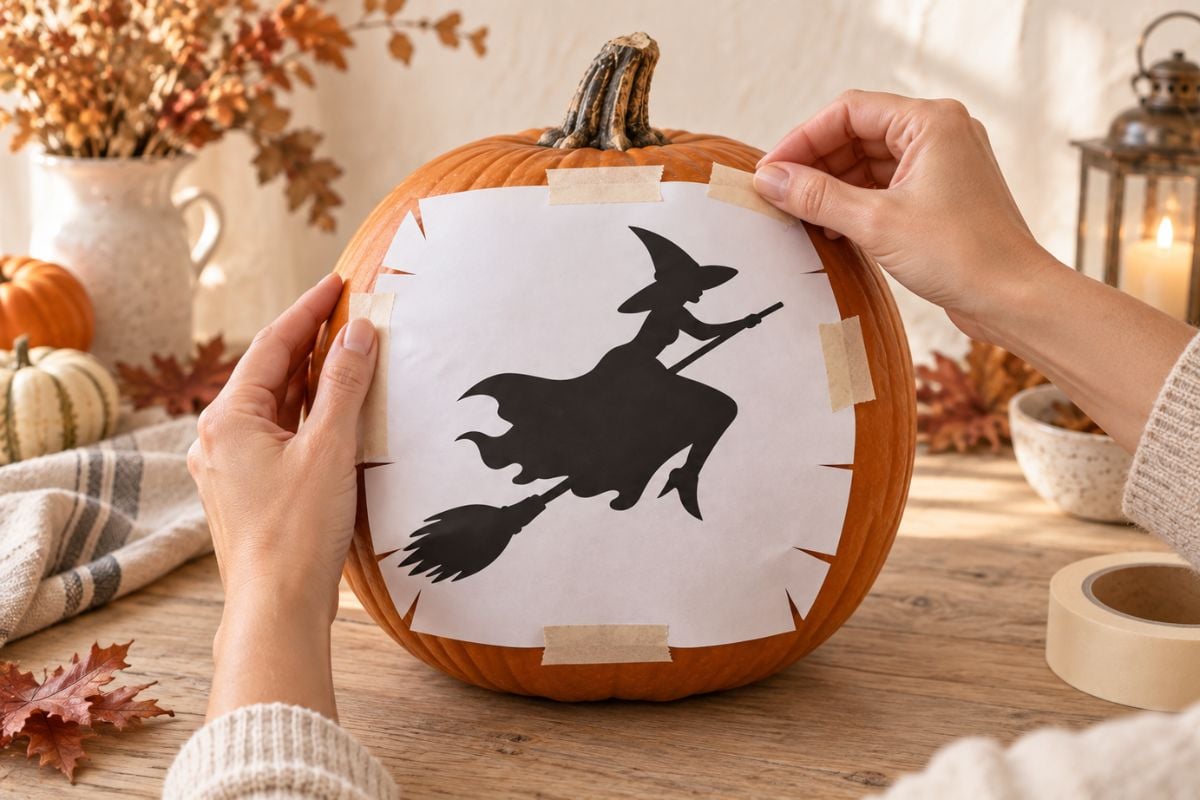
Place the stencil against the smoothest side of the pumpkin and secure it with painter's tape. Make several small relief cuts around the outside edge of the paper so it can overlap and bend around the pumpkin without creating large wrinkles.
4. Transfer the Witch Pattern
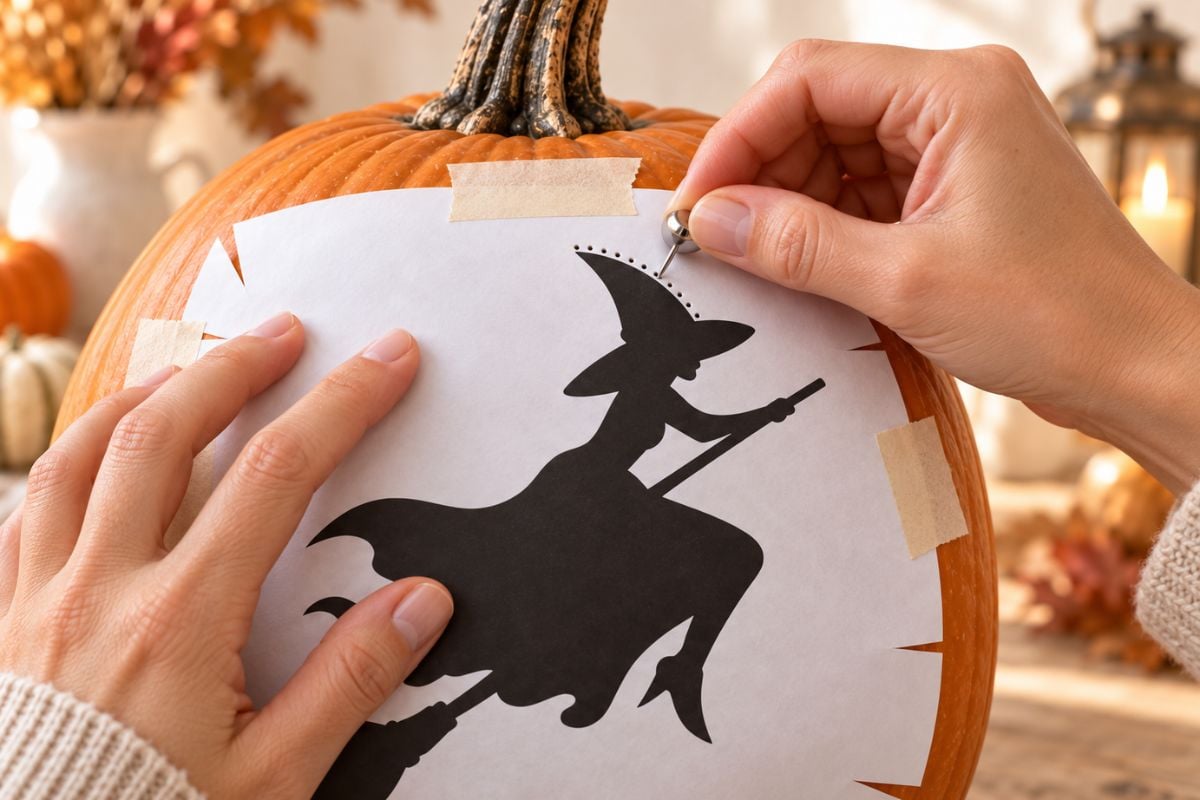
Use a pushpin or pumpkin stencil transfer tool to make closely spaced holes along the edges of the design. Once the complete pattern has been transferred, remove the paper and connect any difficult-to-see dots with a washable marker.
5. Decide What to Carve and What to Etch
Before cutting, examine the entire design for floating interior pieces. Add a narrow support bridge wherever an interior area needs to remain connected.
For intricate faces, moon details and thin broomsticks, consider etching away only the dark outer skin instead of cutting completely through the pumpkin. The thinner etched areas will still glow when the pumpkin is lit.
6. Carve the Small Details First
Use a small pumpkin saw and begin with the smallest interior details. Work slowly from the center of the pattern toward the outside. Save the largest openings for last so the pumpkin remains sturdy while you work.
7. Light Your Witch Pumpkin
Place a battery-operated LED light inside the finished pumpkin and watch your witch design glow. Warm white lights create a traditional jack-o'-lantern look, while purple or green lights can give your witch pumpkin an extra-magical effect.
Pumpkin Carving or Pumpkin Etching?
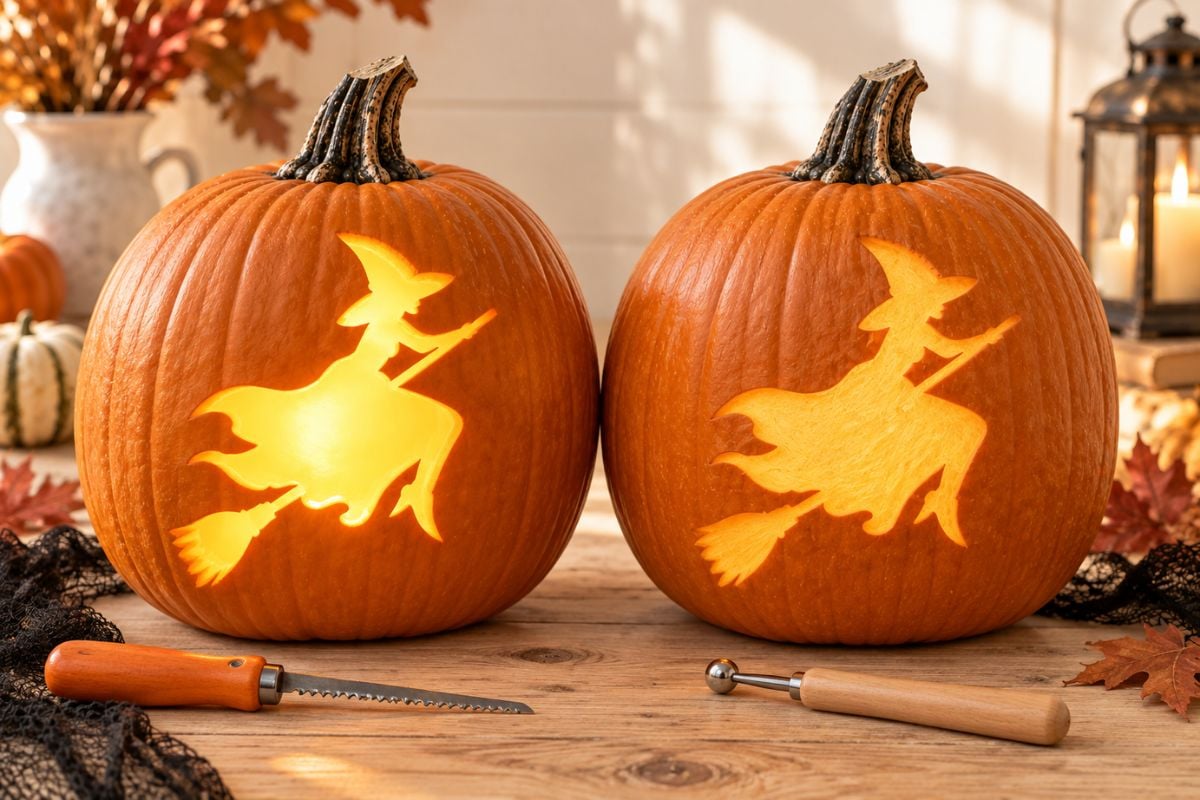
Traditional carving means cutting completely through the pumpkin wall. This creates the brightest glow and works well for bold silhouettes such as the simple witch, broom and witch hat.
Etching involves scraping away the dark outer skin while leaving some pumpkin flesh intact. Light shines softly through the thinner surface, making etching ideal for facial features, lettering, stars and other detailed sections.
Many of these witch pumpkin designs will look best when you combine the two techniques. Fully carve the large background areas, then etch smaller details that need additional support.
Helpful Pumpkin Carving Tools
Disclosure: This section contains Amazon affiliate links. As an Amazon Associate, I earn from qualifying purchases at no additional cost to you.
You do not need complicated equipment, but these supplies can make detailed pumpkin patterns much easier to complete:
- Pumpkin Carving Kit - Includes small saws, scrapers, and pokers designed specifically for precision cuts. Perfect for intricate stencils like the Detailed Feathered Owl or Intricate Night Owl.
- Serrated Pumpkin Saw or X-Acto Knife - A must-have for clean, controlled cuts, especially around delicate shapes like feathers or beaks.
- Pushpin or Thumbtack - Used to poke the stencil design into your pumpkin before carving.
- Painter's Tape - Holds your stencil in place without damaging the pumpkin skin, making it easier to work with curved surfaces.
- Large Spoon or Pumpkin Scoop - Helps remove seeds and pulp quickly and thin the pumpkin walls for easier carving.
- Cutting Board or Non-Slip Mat - Keeps your pumpkin steady while you work.
- LED Tea Lights or Fairy Lights - A safer alternative to candles that still give your owl pumpkin a warm, glowing effect.
- Optional: Printer & Cardstock - Printing your stencil on thicker paper makes it easier to handle and reuse year after year.
Tips for a Better Witch Pumpkin
- Choose the easiest design first. The simple witch, broom and witch hat contain larger shapes and fewer delicate details.
- Match the pattern to the pumpkin. A tall pumpkin suits a standing witch, while a wide pumpkin works better for the three-witch or full-moon designs.
- Make the stencil flexible. Small cuts around the paper's outer edge help it conform to the pumpkin's curved surface.
- Keep transfer holes close together. A clear dotted line is much easier to follow after the paper has been removed.
- Add support bridges. Never completely surround a section that needs to stay attached to the pumpkin.
- Use etching for tiny details. Stars, facial features and thin lettering are often more successful when etched.
- Carve shortly before Halloween. Your jack-o'-lantern will look its freshest when carved close to the day you plan to display it.
- Keep it cool. Store the finished pumpkin in a cool, shaded location when it is not on display.
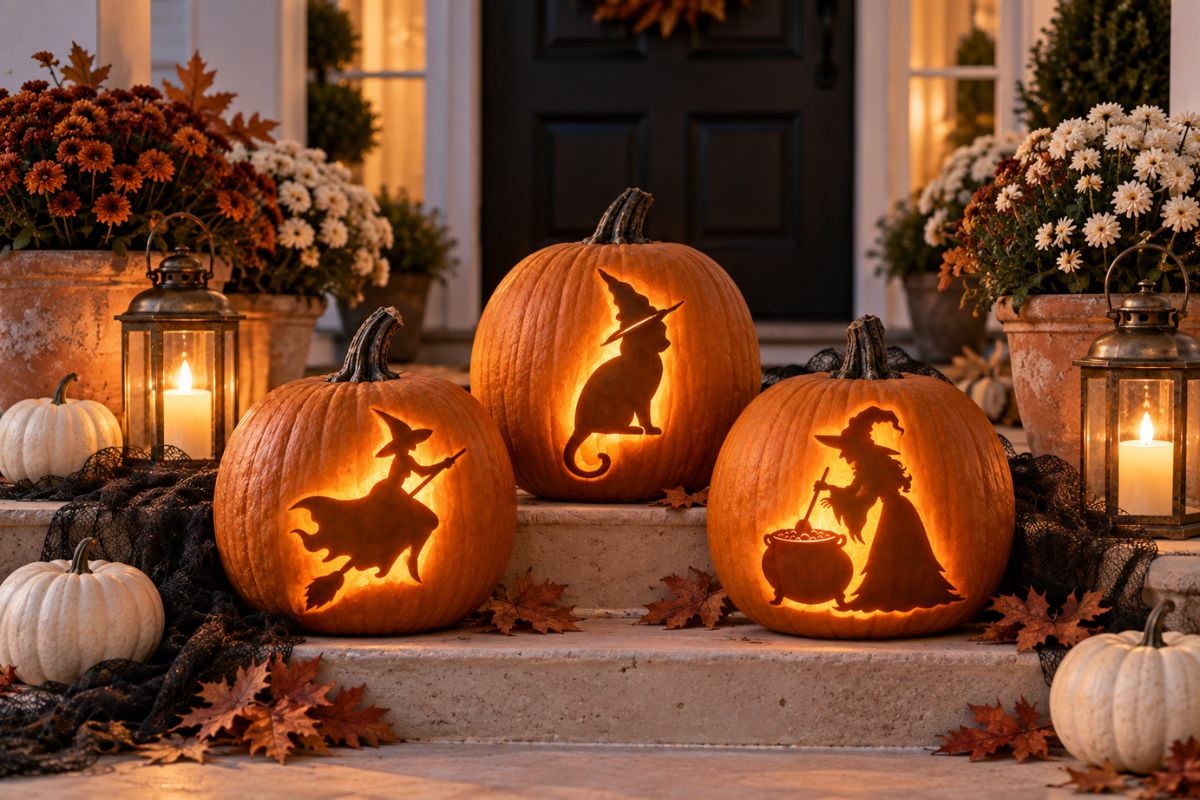
Pumpkin Carving Safety
An adult should always handle sharp pumpkin carving tools. Children can choose a witch stencil, scoop out the pumpkin, tape the pattern in place and help transfer the design.
Use a battery-operated LED light or glow stick instead of an open flame, particularly when displaying pumpkins near children, costumes or porch decorations. You can find additional pumpkin and Halloween safety guidance from the American Academy of Pediatrics.
Want Even More Pumpkin Carving Stencils?
If pumpkin carving is one of your family's favorite Halloween traditions, take a look at The Big Book of Pumpkin Carving Stencils.
The book includes 80 full-page pumpkin carving designs organized into Easy, Medium, and Advanced sections. It is perfect for family carving nights, Halloween parties, or anyone who wants a larger collection of cute, classic and spooky patterns.
Frequently Asked Questions
Yes. All 15 witch pumpkin carving stencils are included in one free printable PDF. No email sign-up or account is required to download the templates.
Click either download button in this post. The PDF will open in a new tab, where you can save it to your device or print the stencil pages you want to use.
Follow the key included with your printable. Before cutting, make sure every section that needs to remain is connected to the surrounding pumpkin. Add small support bridges or use shallow etching for floating and highly detailed areas.
The simple flying witch, witch broom and witch hat are the easiest designs for beginners. They use larger shapes and fewer delicate details than the full-moon, crescent-moon and cauldron patterns.
Yes. Adjust the scale in your printer settings before printing. Try 70% to 85% for a small pumpkin and 100% for a medium or large pumpkin.
Absolutely. Etching is recommended for intricate faces, lettering, stars, and thin sections that may break if cut completely through. You can also combine etched details with larger carved openings.
Children can choose a design, scoop out the pumpkin and help transfer the stencil. An adult should always handle sharp pumpkin carving tools. Younger children can also trace the witch pattern and decorate their pumpkins with washable paint or markers.
Yes, but use tools intended for craft or foam pumpkins and follow the manufacturer's instructions. Artificial pumpkins are especially useful if you want to keep your finished witch design and display it again next Halloween.
Thin the pumpkin wall, carve the smallest interior details first and work from the center outward. Leave narrow support bridges around floating pieces, and etch fragile sections instead of cutting through them.
Yes. You may print the templates for your own household or personal Halloween activities. Please do not sell, redistribute or upload the PDF or individual designs elsewhere.
More Halloween Printables You'll Love:
Keep planning your pumpkin carving night with these free Halloween ideas:
Create Your Witch Pumpkin
These free witch pumpkin carving stencils make it easy to create a magical Halloween jack-o'-lantern without drawing the design freehand. Choose a simple witch hat, an eerie flying witch, a bubbling cauldron or a detailed moonlit scene-and do not be afraid to combine traditional carving with etching for the best result.
Download the free PDF, choose your favorite witch pattern, and enjoy a cozy pumpkin carving night at home. Which design will you carve first?
Happy carving, beauties!



As Seen on TikTok
Come behind the scenes of our farmhouse build, decor projects, and cozy everyday life. Tap a video to watch, then follow @nikkisplate on TikTok for more.
Watch this video on TikTok
Watch this video on TikTok
Watch this video on TikTok

Bill Brigham says
Hi. I get it, these are Free but.. unless I'm missing something.. some of your ideas aren't realistic. Please don't misunderstand, I think some of them are Fantastic ideas but the reality of how you cut out the pieces hasn't been thought through. The 'Witch and Cat' is a good example. It's a Super cute picture but there are over 8 areas where the inner structure will just fall in, there are no supports to hold the pieces in place. I've got to assume that you haven't tried all of these ideas.
Specifically; the white areas underneath her left and right arms will just come out with the surrounding Black areas.
I'm quite familiar these 'Pumpkin Master' templates. We just carved 4 pumpkins last night. I do love your ideas and hope that you can test them, tweak them so that they work. Good luck. Bill
Nikki says
Hi Bill! Thank you so much for taking the time to share such thoughtful feedback — I really appreciate it. You make a great point about the “Witch and Cat” design! Some of these stencils are meant more as inspiration or starting points, so depending on the level of detail, they may need a few small tweaks (like bridges or support lines) before carving to make them fully functional.
Another option is to use them as etching or shaving templates instead of cutting all the way through — that way, you can still capture the fine details without losing the structure of the design. I love hearing from experienced carvers like you — it helps me improve future templates and make them more realistic for everyone who wants to try them out. Thanks again for the kind words and constructive note — happy carving! 🎃🖤