Insanely Handy Kitchen Appliance Care Tips; The best kitchen appliances can last for years if you take good care of them. Here are 47 tips to help you maintain your kitchen appliances.
Disclaimer: this post may contain affiliate links, and every purchase made through these links will give me a small commission (at absolutely no extra cost for you!) AS AN AMAZON ASSOCIATE AND REWARDSTYLE MEMBER, I EARN FROM QUALIFYING PURCHASES. See Privacy Policy for additional info.
Hi Beauties!
Looking for kitchen appliance care tips? I have you covered in this post! Everything you need to know about caring for your kitchen appliances and kitchen appliance maintenance!
Don't wait for the worst. There are simple steps you can take to prevent kitchen appliance issues. These steps range from changing the length of time you run the appliance to changing the way you use the appliance.
Looking after your appliance – from your fridge to oven – is key to it giving you years of service. Avoid needing to have appliance repairs done! Use them properly and take steps to care for them properly for a long and happy relationship.

Here are The Best Kitchen Appliance Care Tips:
Caring for a Refrigerator
Clean the refrigerator
Before cleaning, turn the fridge control to off and unplug the electrical cord. This is just a safety precaution you should always take before cleaning any appliance.
Clean the inside of your refrigerator with a soft cloth and warm water. I recommend using 2 tablespoons of baking soda to one quart of warm water. Don't use harsh chemicals, which can damage the finish on metal surfaces or leave behind a residue that may be toxic to you and your family members.
If there are some spots that are tough to clean, try rubbing hard with pure baking soda, letting it sit for 10 minutes, then rinse and wipe dry.
If you have a problem with mildew, wipe the area with plain white vinegar. Do not rinse it off. The vinegar will work to ward off any new mildew growth.
Wash removable shelves and glass parts with warm water and dawn soap. You can usually completely remove these parts form the fridge and wash right in your kitchen sink.
Rinse ice cub trays with plain water. Hot water or cleansers may make ice cubes stick to the container. Just use a cloth and wipe clean.
Line the vegetable bins with a single layer of paper towel. This will help absorb excess moisture and speed up clean up.
Check the top of the refrigerator for grease and dust. Remove it with a heavy duty all purpose cleaner or a solution of one part ammonia to 10 parts water. If you cover the top with plastic wrap or placemats, you can wash them as well. Opt for a disposable cover to make cleaning easier!
Keep the fridge smelling fresh by placing a bowl of baking soda in the back corner or cotton ball dipped in a lemon extract (in a cup) on the bottom shelf.
Vacuum the coils
Vacuum the condenser coils in your refrigerator every month (or more often if you have pets or live in an area where dust is prevalent). Caked-on dust can block airflow, increasing energy costs and eroding cooling efficiency. To remove dirt from these hard-to-reach areas, use a vacuum attachment designed for cleaning refrigerators, since you'll need extra reach to get into tight spaces between coils.
Make sure the door seal is clean and tight
Make sure there are no gaps around the door seals on either side of the fridge; otherwise cold air will escape from inside your fridge when it's not supposed to do so! If you find any gaps around these seals, use some silicone caulk or weatherstripping tape over them before replacing doors back onto hinges—this should keep cool air from escaping through those openings again!
Keep it Organized
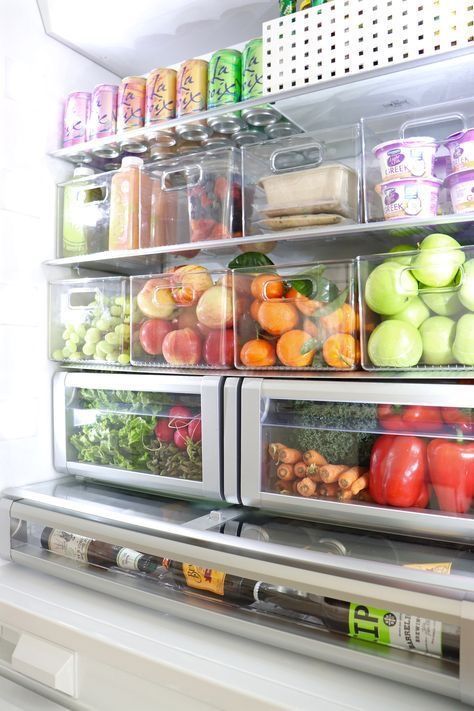
This may seem like a pain of a task but it will make such a difference in the long run! Categorize your entire fridge! Group related items, such as cheeses or veggies, and keep them on designated shelves. Plastic bins may come in handy here! Keep fruit and veggies in their own bins and store leftovers together in one place.
Arrange the things you use most often on the door shelves. That will make it easy to see what you have on hand, avoiding those annoying search missions!
Put leftovers in clear plastic or glass containers and make sure to date them. You can use dissolvable sticker labels or white board markers. Try and keep the oldest items closest to the front so you don't forget to use them up!
Put mustards, pickles, and other condiments you don't use all that often on turntables to prevent them from being pushed to the back of the fridge and forgotten forever!
Caring for a Microwave Oven
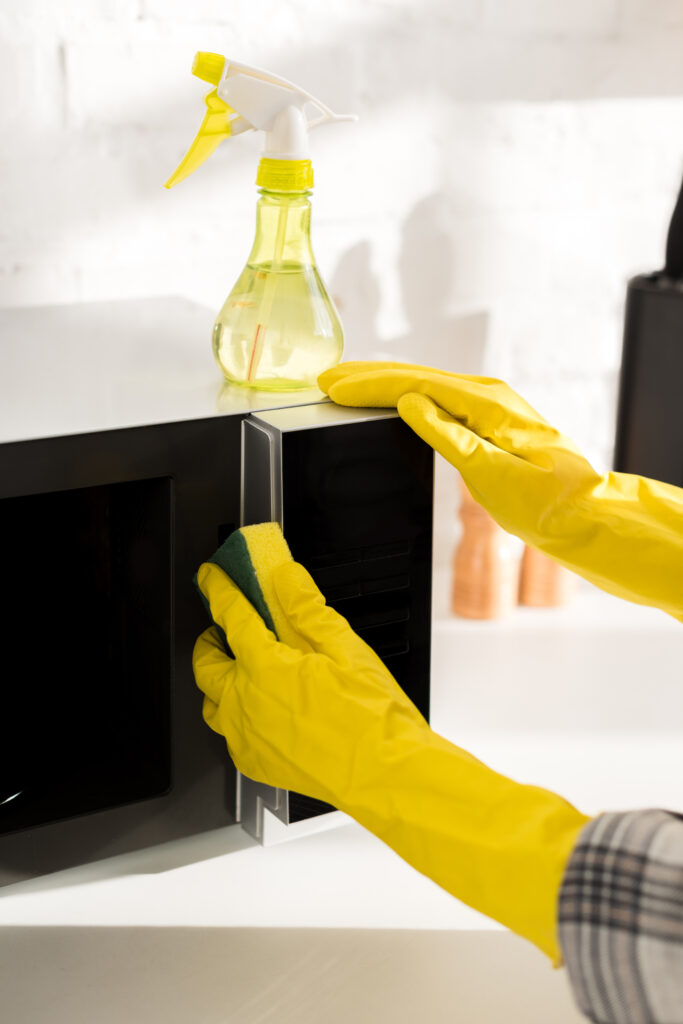
- Clean the inside of microwaves by using a damp cloth. Try to wipe spills as soon as they happen to avoid them from hardening on. Wash regularly with a mild detergent and water. For a more natural option, try vinegar or warm lemon water! Check out my microwave cleaning hack here!
- If you need to clean it more thoroughly, use a non-abrasive cleaner and wipe down the interior surfaces with a sponge or cloth. Never use abrasive pads or powders on the microwave!
- Make sure that you're careful when cleaning around buttons and dials on the front of your oven: they can easily be broken off if bumped!
- A burned microwave smell an be neutralized by combining 1 cup water, a grated peel and juice of one lemon, and several whole cloves in a microwavable glass dish. Place in the microwave and run on high for about 3 minutes, then let it sit until cool.
Caring for a Freezer
Keeping your freezer functioning at its best is an easy task. After all, it doesn't have a lot of moving parts that would require maintenance; instead it's full of energy-saving insulation. Here's what you should do to care for your freezer:
Keep it Clean
- Defrost your freezer at least once a year. You will know it is time to defrost when ice builds up on top and sides to more than ¼ inch. Make sure the temperature probe is working properly and then defrost when necessary with cool water from a garden hose or bucket (don't use hot water as it can damage the compressor). You may need to defrost more frequently if you have an older model with fewer coils or if you live in a very humid area where frost builds up quickly.
- Clean the inside and outside of the unit with warm soapy water on a cloth at least once every 6 months; then dry completely before turning back on. You can also use a solution of 2 tablespoons baking soda mixed with one quart water.
- To remove odors, sprinkle baking soda onto dampened cloths and wipe over surfaces inside; repeat if necessary until odor disappears (or just leave some open containers inside). If there are any spills or leaks, clean them up immediately before they dry into anything sticky!
- Make sure it is complete dry before turning back on or any left over moisture will freeze and potentially cause damage.
Keep It Organized
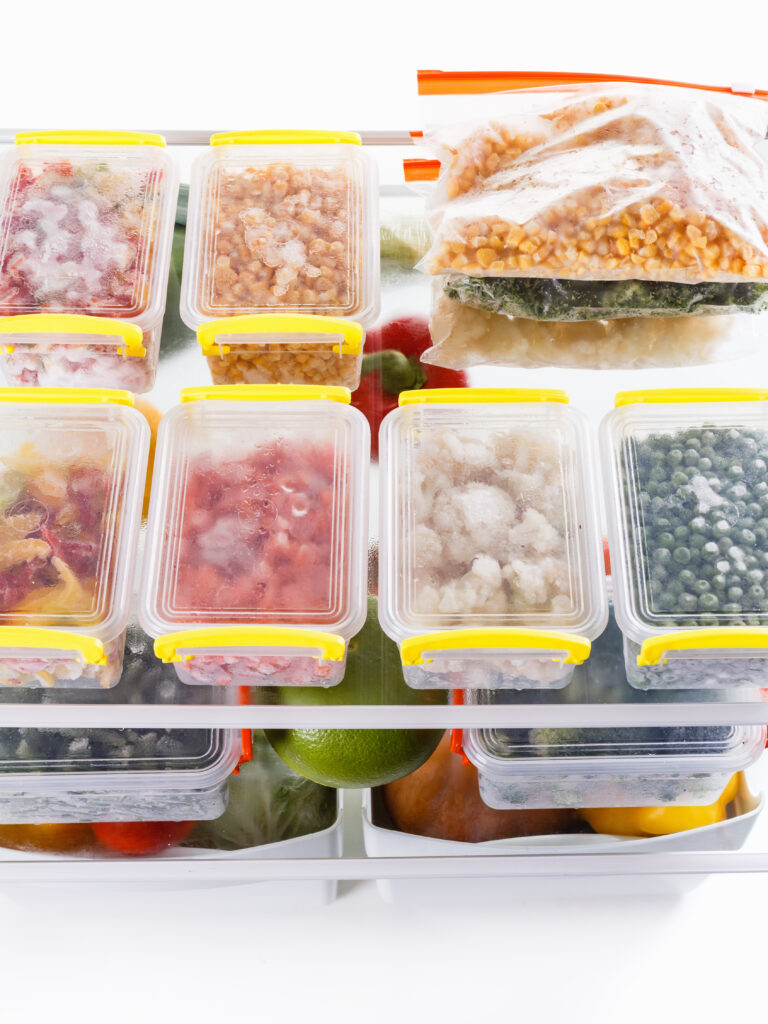
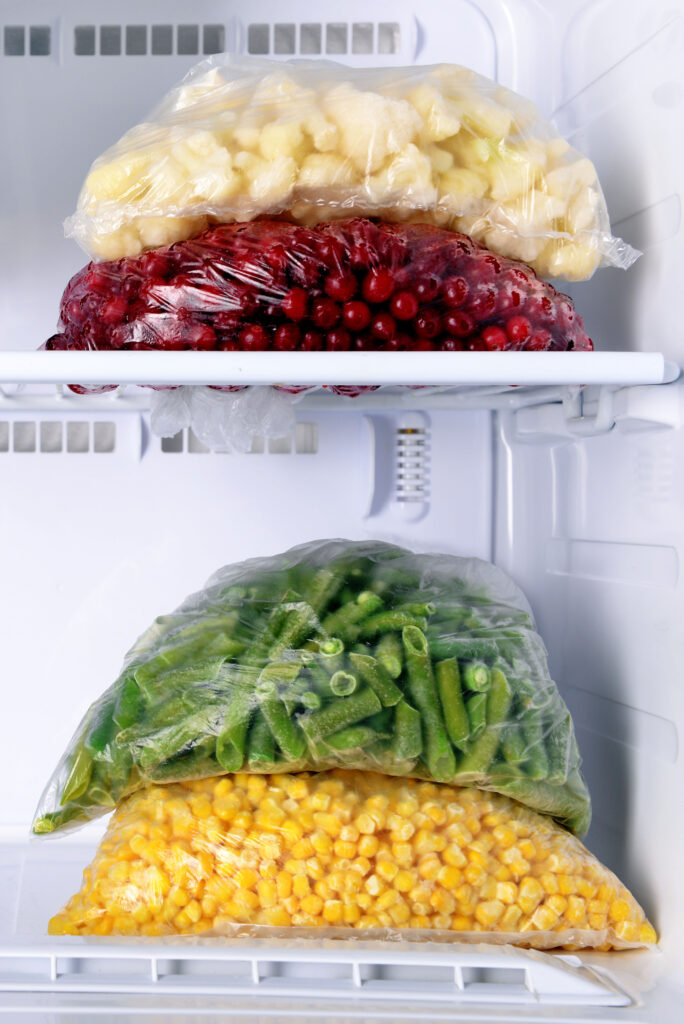
- Double wrap all freezer items and use color coded labels to identify and date packages. Arrange them so you can read the labels without having to dig around and throw everything.
- When you are stocking your freezer, put fresh new items at the back/bottom. That way you are more likely to grab an older item to use up before it goes bad or become freezer burnt.
- Label and date everything in your freezer. If you are using freezer ziplock bags or vacuumed sealed bags, label it all.
- If you have a very full freezer, it may be handy to have a list of everything in your freezer and tape it to the back of the door or keep it in a near by binder. This will save time and keep you from leaving the freezer door open too long looking for whats inside.
- Use plastic coated or metal wire racks to add shelf space. They are lightweight and wont black your view!
- Try and store all the contents logically. Place poultry together and veggies or fruit together. This will again save time when looking for things which means less cold air is escaping!
Check for Damages
Check door gaskets regularly for tears or rust spots which could lead to leaks around seals over time (especially important considering how much moisture exists inside this appliance at all times!).
Replace damaged parts as needed. This can save money since many companies only offer limited warranties against defects causing leaking-so check yours carefully before buying anything else new besides replacement parts when possible.
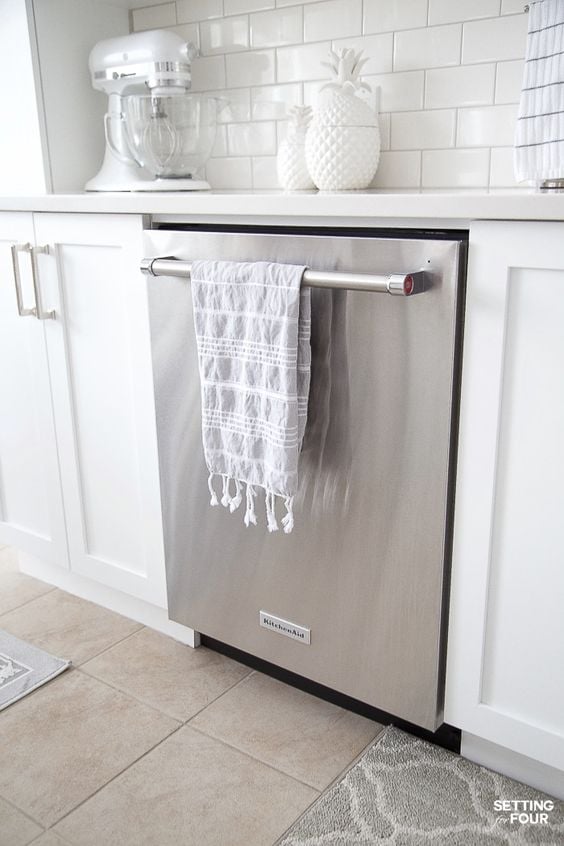
Caring for a Dishwasher
How often should you empty the dishwasher?
The rule of thumb is that you should empty your dishwasher after every cycle. If you don't do this, there may be food particles left behind in the bottom of the machine, which can make it harder for your dishes to dry and could even lead to mildew growth.
How often should you clean your dishwasher?
You should clean out your dishwasher every three months or so (or if there's some sort of problem). This will help ensure that it works properly and does not become clogged with food or detergent residue. This also helps prevent odors from developing inside. You can clean out a standard top-mount or front-load model in about ten minutes using these tips:
- Turn off power at breaker box before starting any cleaning process involving water; don't just pull plug out of socket!
- For top loaders: remove racks first; then open door fully so both doors are up slightly off ground level - this allows water/detergent solution to drain completely into sink below without leaving any standing water on bottom surface when finished cleaning cycle; then let sit overnight upside down on countertop (you'll hear gurgling sound coming from inside drum).
- For front loaders: remove racks first; leave door closed while opening drain hose located underneath lower rear corner where hose connects into base cabinet area behind machine - watch where liquid flows downward from here so no spills occur onto floor below (if necessary); use bucket(s) filled with warm/hot tap water mixed half/half with white vinegar until bucket(s) are full enough not only contain all dirty liquid but also cover entire bottom surface area inside dishwasher machine itself when placed directly underneath opening point where drainage occurs during normal cycles without overflowing onto countertop around base cabinet area near back panel wall.
For odors in the dishwasher. Between loads, sprinkle about ½ cup of baking soda along the bottom. This will help eliminate those unwanted smells!
Use a powder detergent within one to two months of purchase. Close the spout after each use and store in a cool dry place!
How to Load your Dishwasher
- Position dishes and pans so the soiled areas are facing the hot water spray. Never put antiques, wooden items, cast iron, tin or anything plated with gold, silver or platinum in the dishwasher.
- Do not put stainless steel and silver flatware in the same basket. If they touch, the silver can be stained.
- Plastic cup trick: To keep them from flipping over, place them near the outside of the rack where the water spray is the weakest.
- Put small items like lids and straws in a mesh bag to keep them from flying around and lodging into the mechanics. Secure the loop with a rubber band to make sure it does not get tangled around anything.
- Place platters and cookie sheets along the back wall of the dishwasher rack to avoid them blocking the flow of water.
Always check to make sure whatever dishes you are putting into the dishwasher are dishwasher safe. You can usually find this information on the bottom of the item or on the box they came in.
Caring for a Stove
Common Stove Solutions
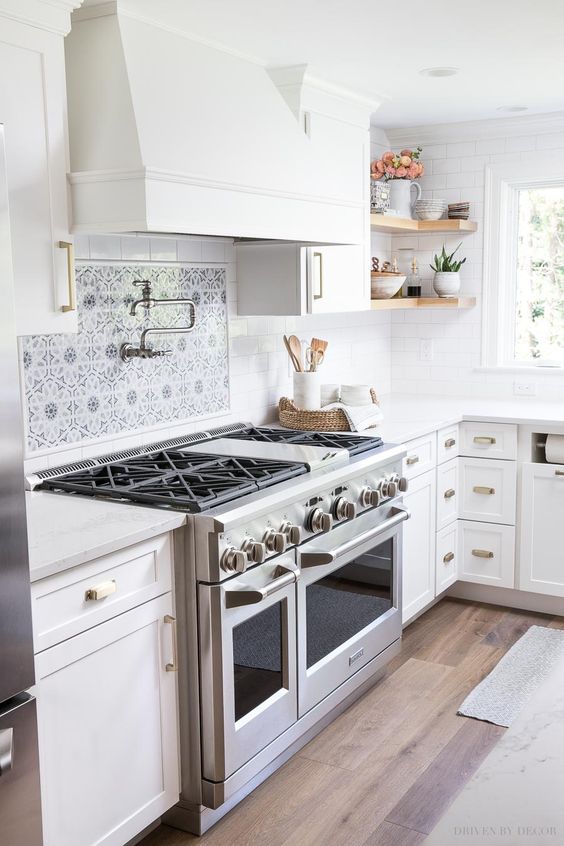
Use all purpose degreaser to wipe off the range or according to manufacturer's instructions. You can use a toothbrush to clean around knob holes. It is super important to keep the interior and exterior clean with a mild solution. Maintaining the cleanliness will help ensure the longevity of your stove.
Clean the stove top. Clean your stovetop regularly (at least once a month), and use a non-abrasive cleaner on it to keep it looking shiny and new for as long as possible. Don't forget about the cooking grates—they should be cleaned after every use, too!
If your stove has them, remove grates and control knobs. Soak in soapy water in your kitchen sink. Dawn dish soap seems to work the best!
Clean any drip pans in the dishwasher. To loosen burnt on food, spray with an all purpose cleaner and let sit for at least 30 minutes before scrubbing it off.
If something spills in the oven, sprinkle some salt on it after the oven is turned off. The spill will bind to the salt particles and you can easily remove the mixture with a spatula or damp sponge (after it has cooled).

Exhaust Fan
Turn off the fan and make sure it is cool to touch before doing any cleaning. It is recommended to clean the hood, fan and blades with a soft cloth sprayed with a degreaser or cleaner. Like stated earlier, always check with the appliance's manual before using any products on it, but regular cleaning exhaust fan and range hood/vent hood is recommended usually! Try making a cleaning schedule that works for you!
There you have it folks. Believe it or not, there were 47 Kitchen Appliance Care tips in this post! I hope you learned something new maintenance tips for all your appliance needs in this article!
Until next time









Leave a Reply