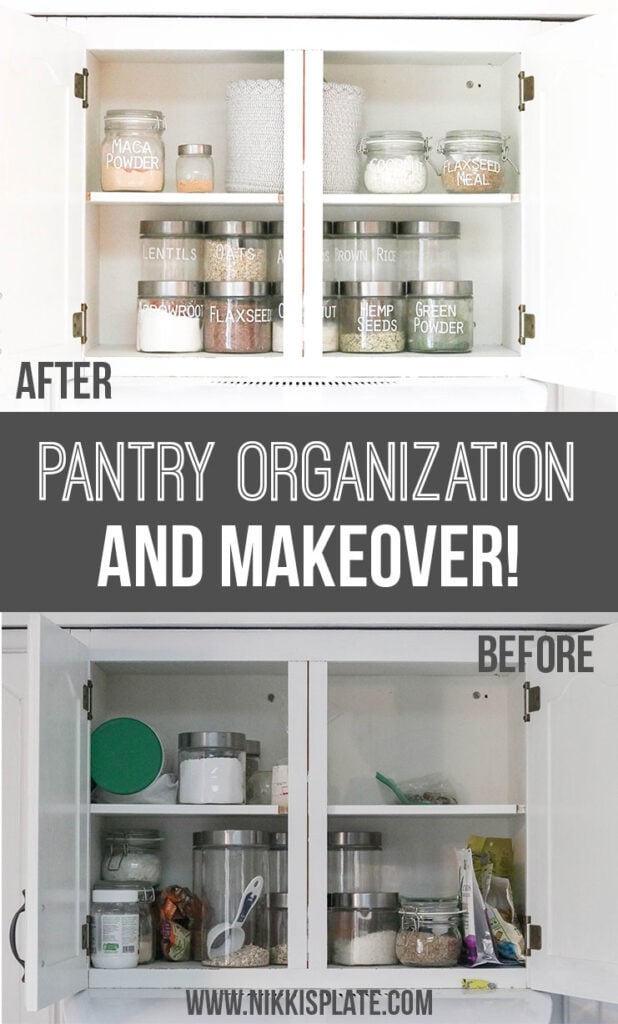
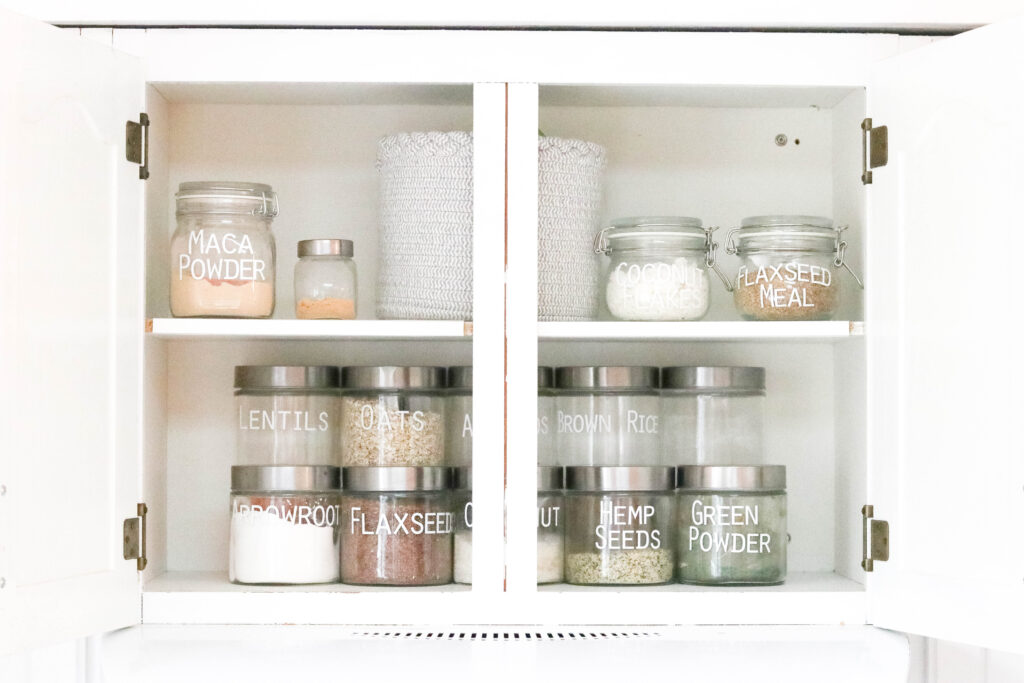
Pantry Organization with Large Labels; Reorganizing our small healthy pantry above our oven. Easy Cricut decal label for every jar!
Disclaimer: this post may contain affiliate links, and every purchase made through these links will give me a small commission (at absolutely no extra cost for you!) AS AN AMAZON ASSOCIATE AND REWARDSTYLE MEMBER, I EARN FROM QUALIFYING PURCHASES. See Privacy Policy for additional info.
Hi beauties!
Do you ever wake up on a Sunday and just know its going to be a productive day? That was me today. My husband and I took our daughter to church at 9am but when we got back home it was go time. I knew I wanted to get something checked off my to-do list so I picked one thing to tackle... and today it just happened to be pantry organization with large labels!
My health pantry is a pantry above our oven that has a lot of things I use daily such as oats, almonds, hemp seeds, etc. I wanted to organize it and make it look pretty. This was actually something on my to-do list from mat leave but I never go around to do it.
This project took me about 2 hours to complete. Which was a little bit longer then I was expecting but I wasn't exactly sure how I wanted my labels to look so it took me a while to figure that out. I hit Pinterest for some inspiration and then got out all my Cricut supplies.
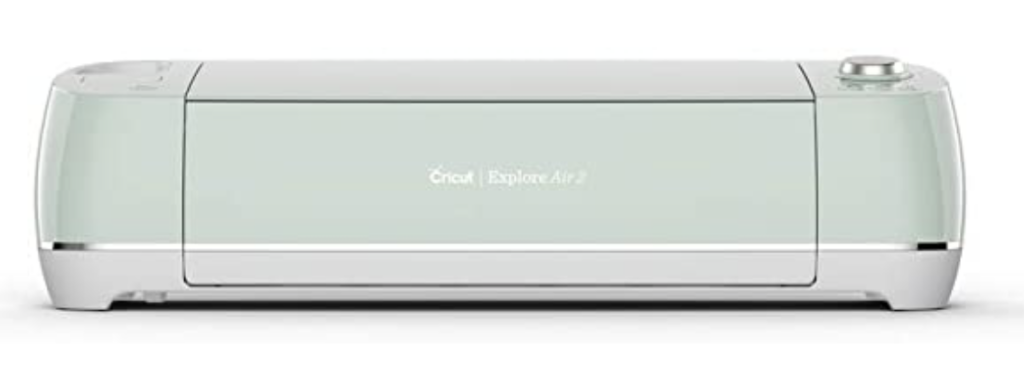
I am so obsessed with this machine. To the point where I almost started another blog completely my Cricut projects. But then I opted to keep pouring my DIY projects into this blog instead hehe.
For those who aren't aware what a Cricut Machine is.. its a DIY cutting machine! Some other projects I have done with my Cricut can be found below:
- EASY FOIL VINYL IRON ON DECAL TANK TOP
- OUR LOVE STORY SIGN
- DIY BRIDESMAID TANK TOPS
- DIY BRIDE DECAL GLASS
Anyways. Back to this project!
My pantry was a mess. I needed to organize it in a big bad way. So I started by taking EVERYTHING out of it. Once everything was out, I vacuumed the shelves and gave them a good wipe down.
Once they were clean, laid everything out on the counter to try and decide what things could be grouped together and what things needed to go into jars with labels. Anything that was packaged was going into a basket. Everything else was going into a labeled jar.
I already had my jars from the dollar store. And a few jars from Ikea.. But I did find some similar jars on amazon for you all! These glass jars actually look identical to the ones I used. One day I will have a massive pantry filled with so many pretty labeled jars!
Let's jump into the steps on how I made these large white labels for my jars.
Pantry Organization with Large Labels:
Time needed: 2 hours
Pantry organization with large labels; Easy Cricut decal label for glass jars!
- Collect your materials
- Cricut Machine
- glass jars
- White vinyl
- Painters Tape (or Cricut Transfer Tape)
- Cricut Weeding Tools
- Cricut Cutting Mat - Prep Your Jars
If they are new jars, I would suggest washing them before using. I put mine in the dishwasher which also sterilized them. If you put them in the dishwasher, make sure they cool down before you apply the vinyl labels.
- Design Your Large Labels
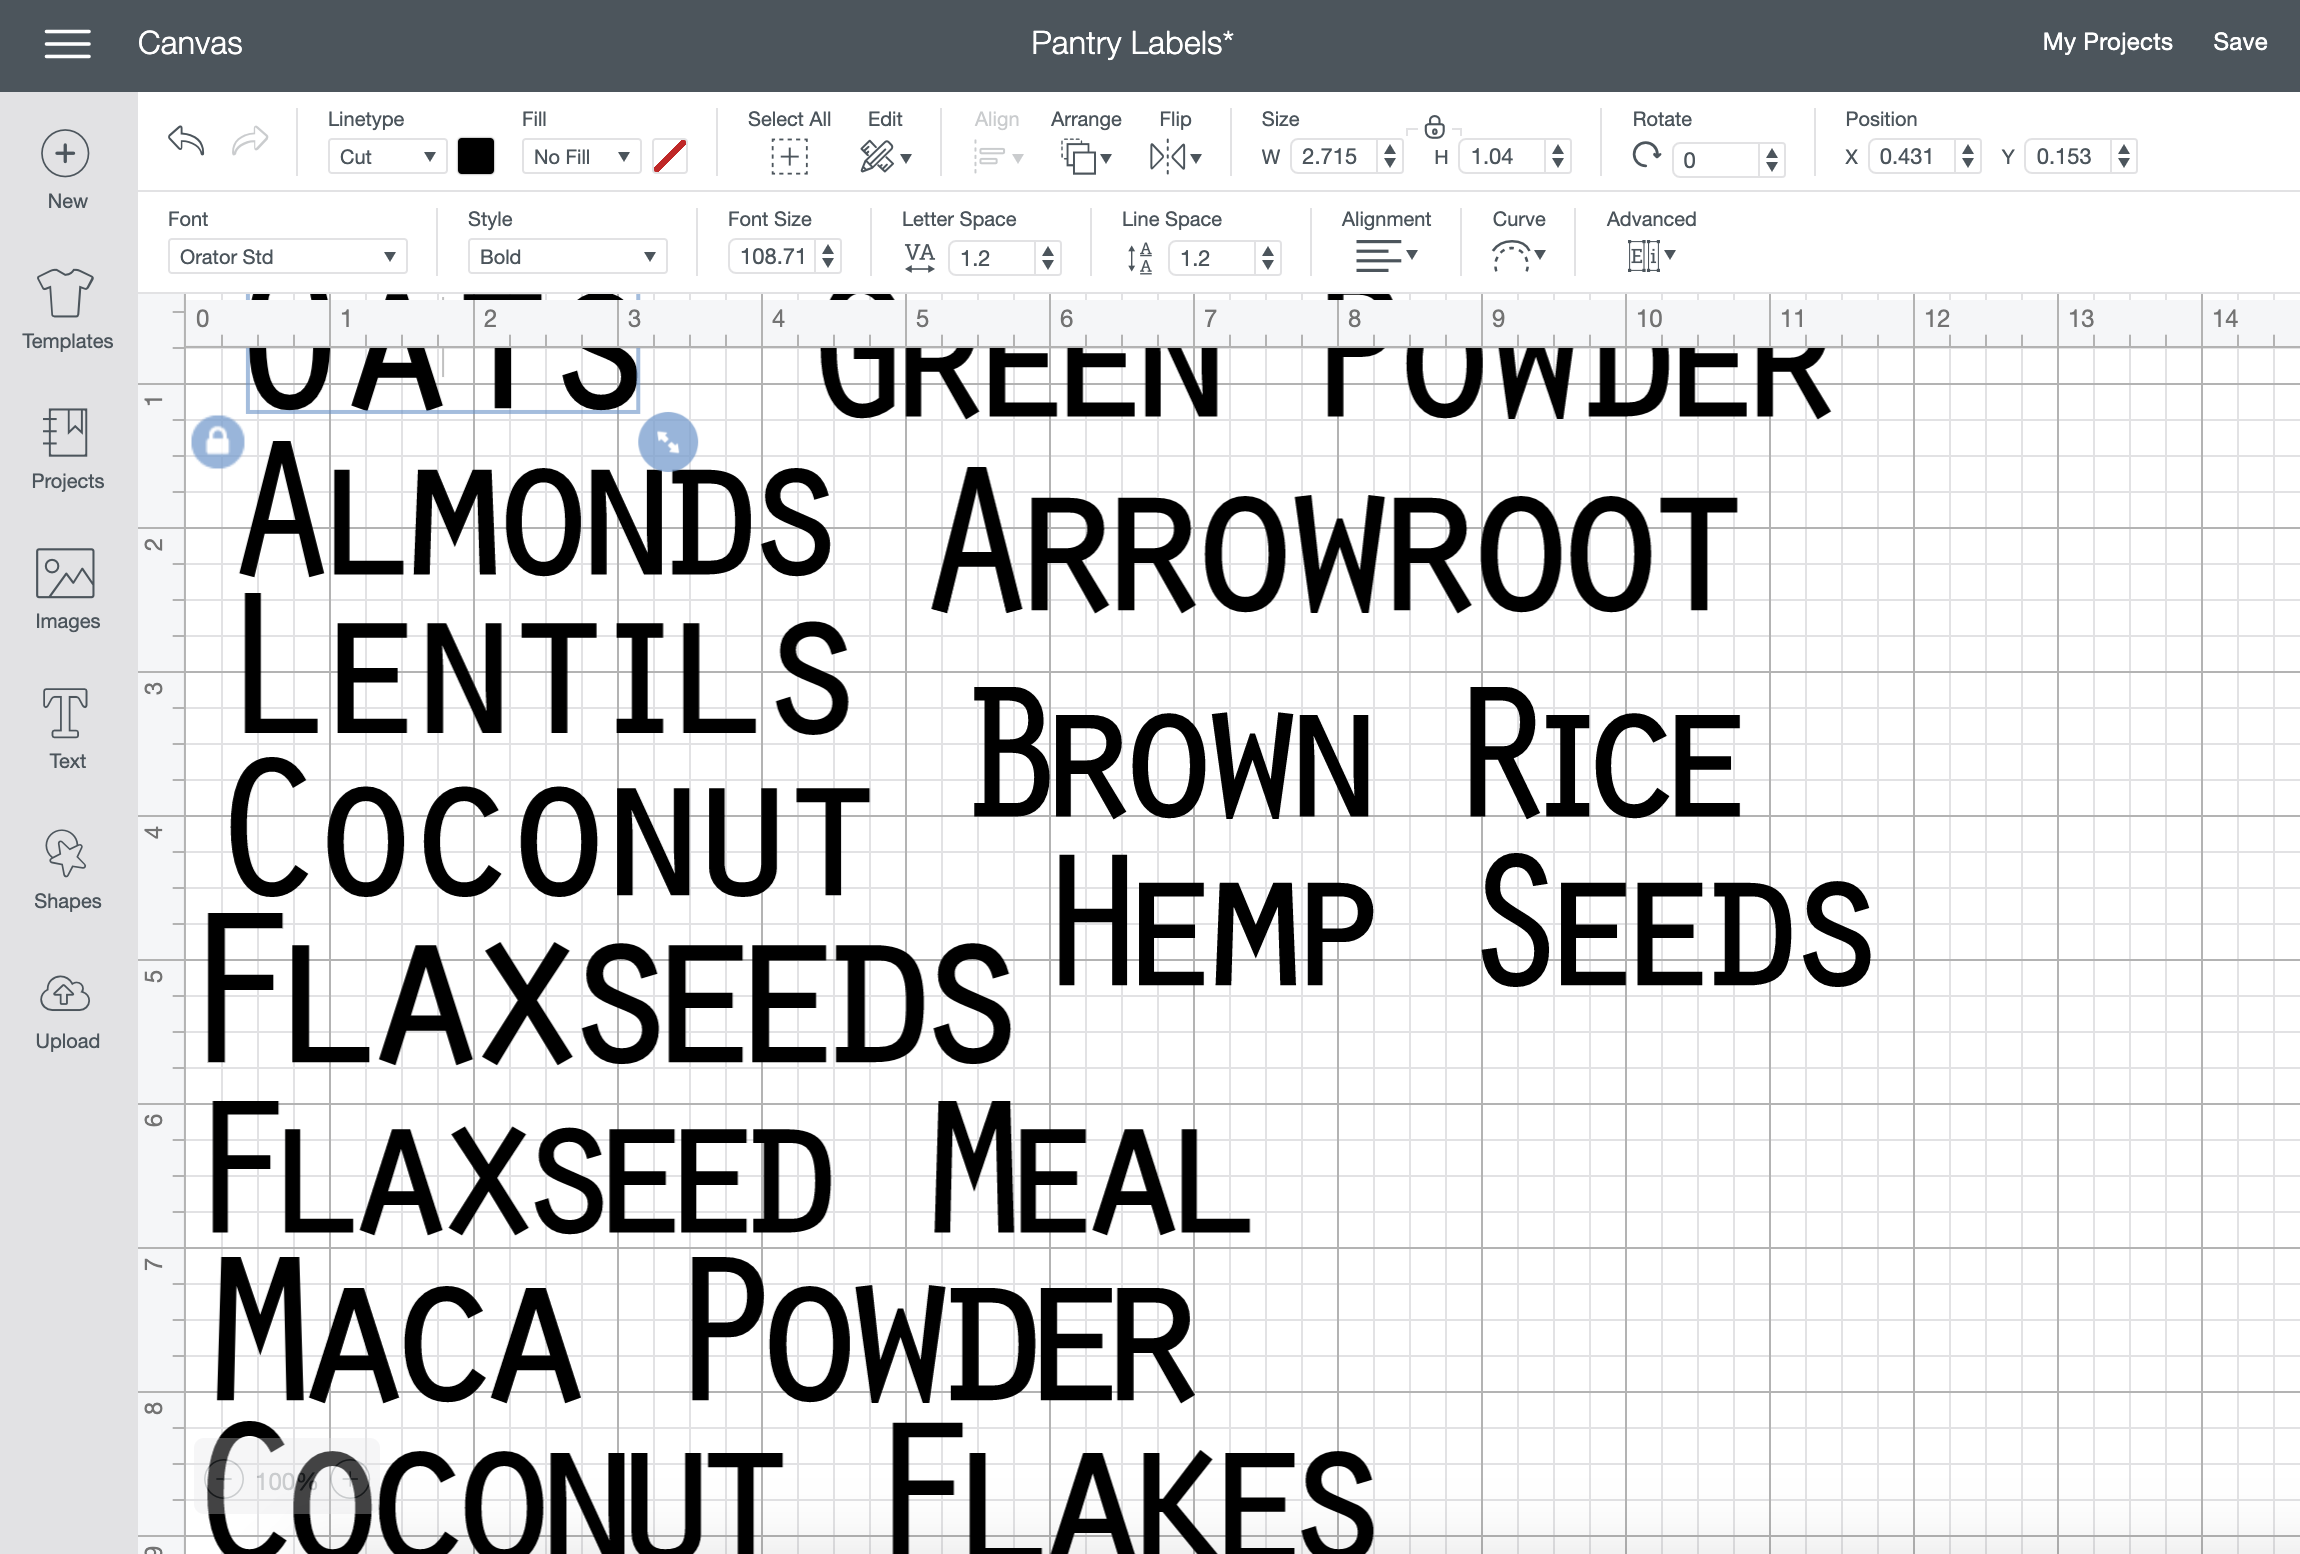
I am not going to go into details on how to use a Cricut machine because this isn't a post on how to use one. To print your labels, head to your Cricut design space. Create a new project and start typing out what you would like the lab
els to say "Almonds" or "Brown Rice" etc. The font I used was Orator Std in bold. - Print Your Labels
Using whatever colour of vinyl you'd like (I obviously used a white vinyl), prep your machine with it. Shiny side of the vinyl paper should be down on the cutting matt (shiny side to the sticky side). Make sure your machine is set to "vinyl" for cutting. Once your mat is loaded, hit the go button and watch your machine cut away!
- Weed Your Lettering
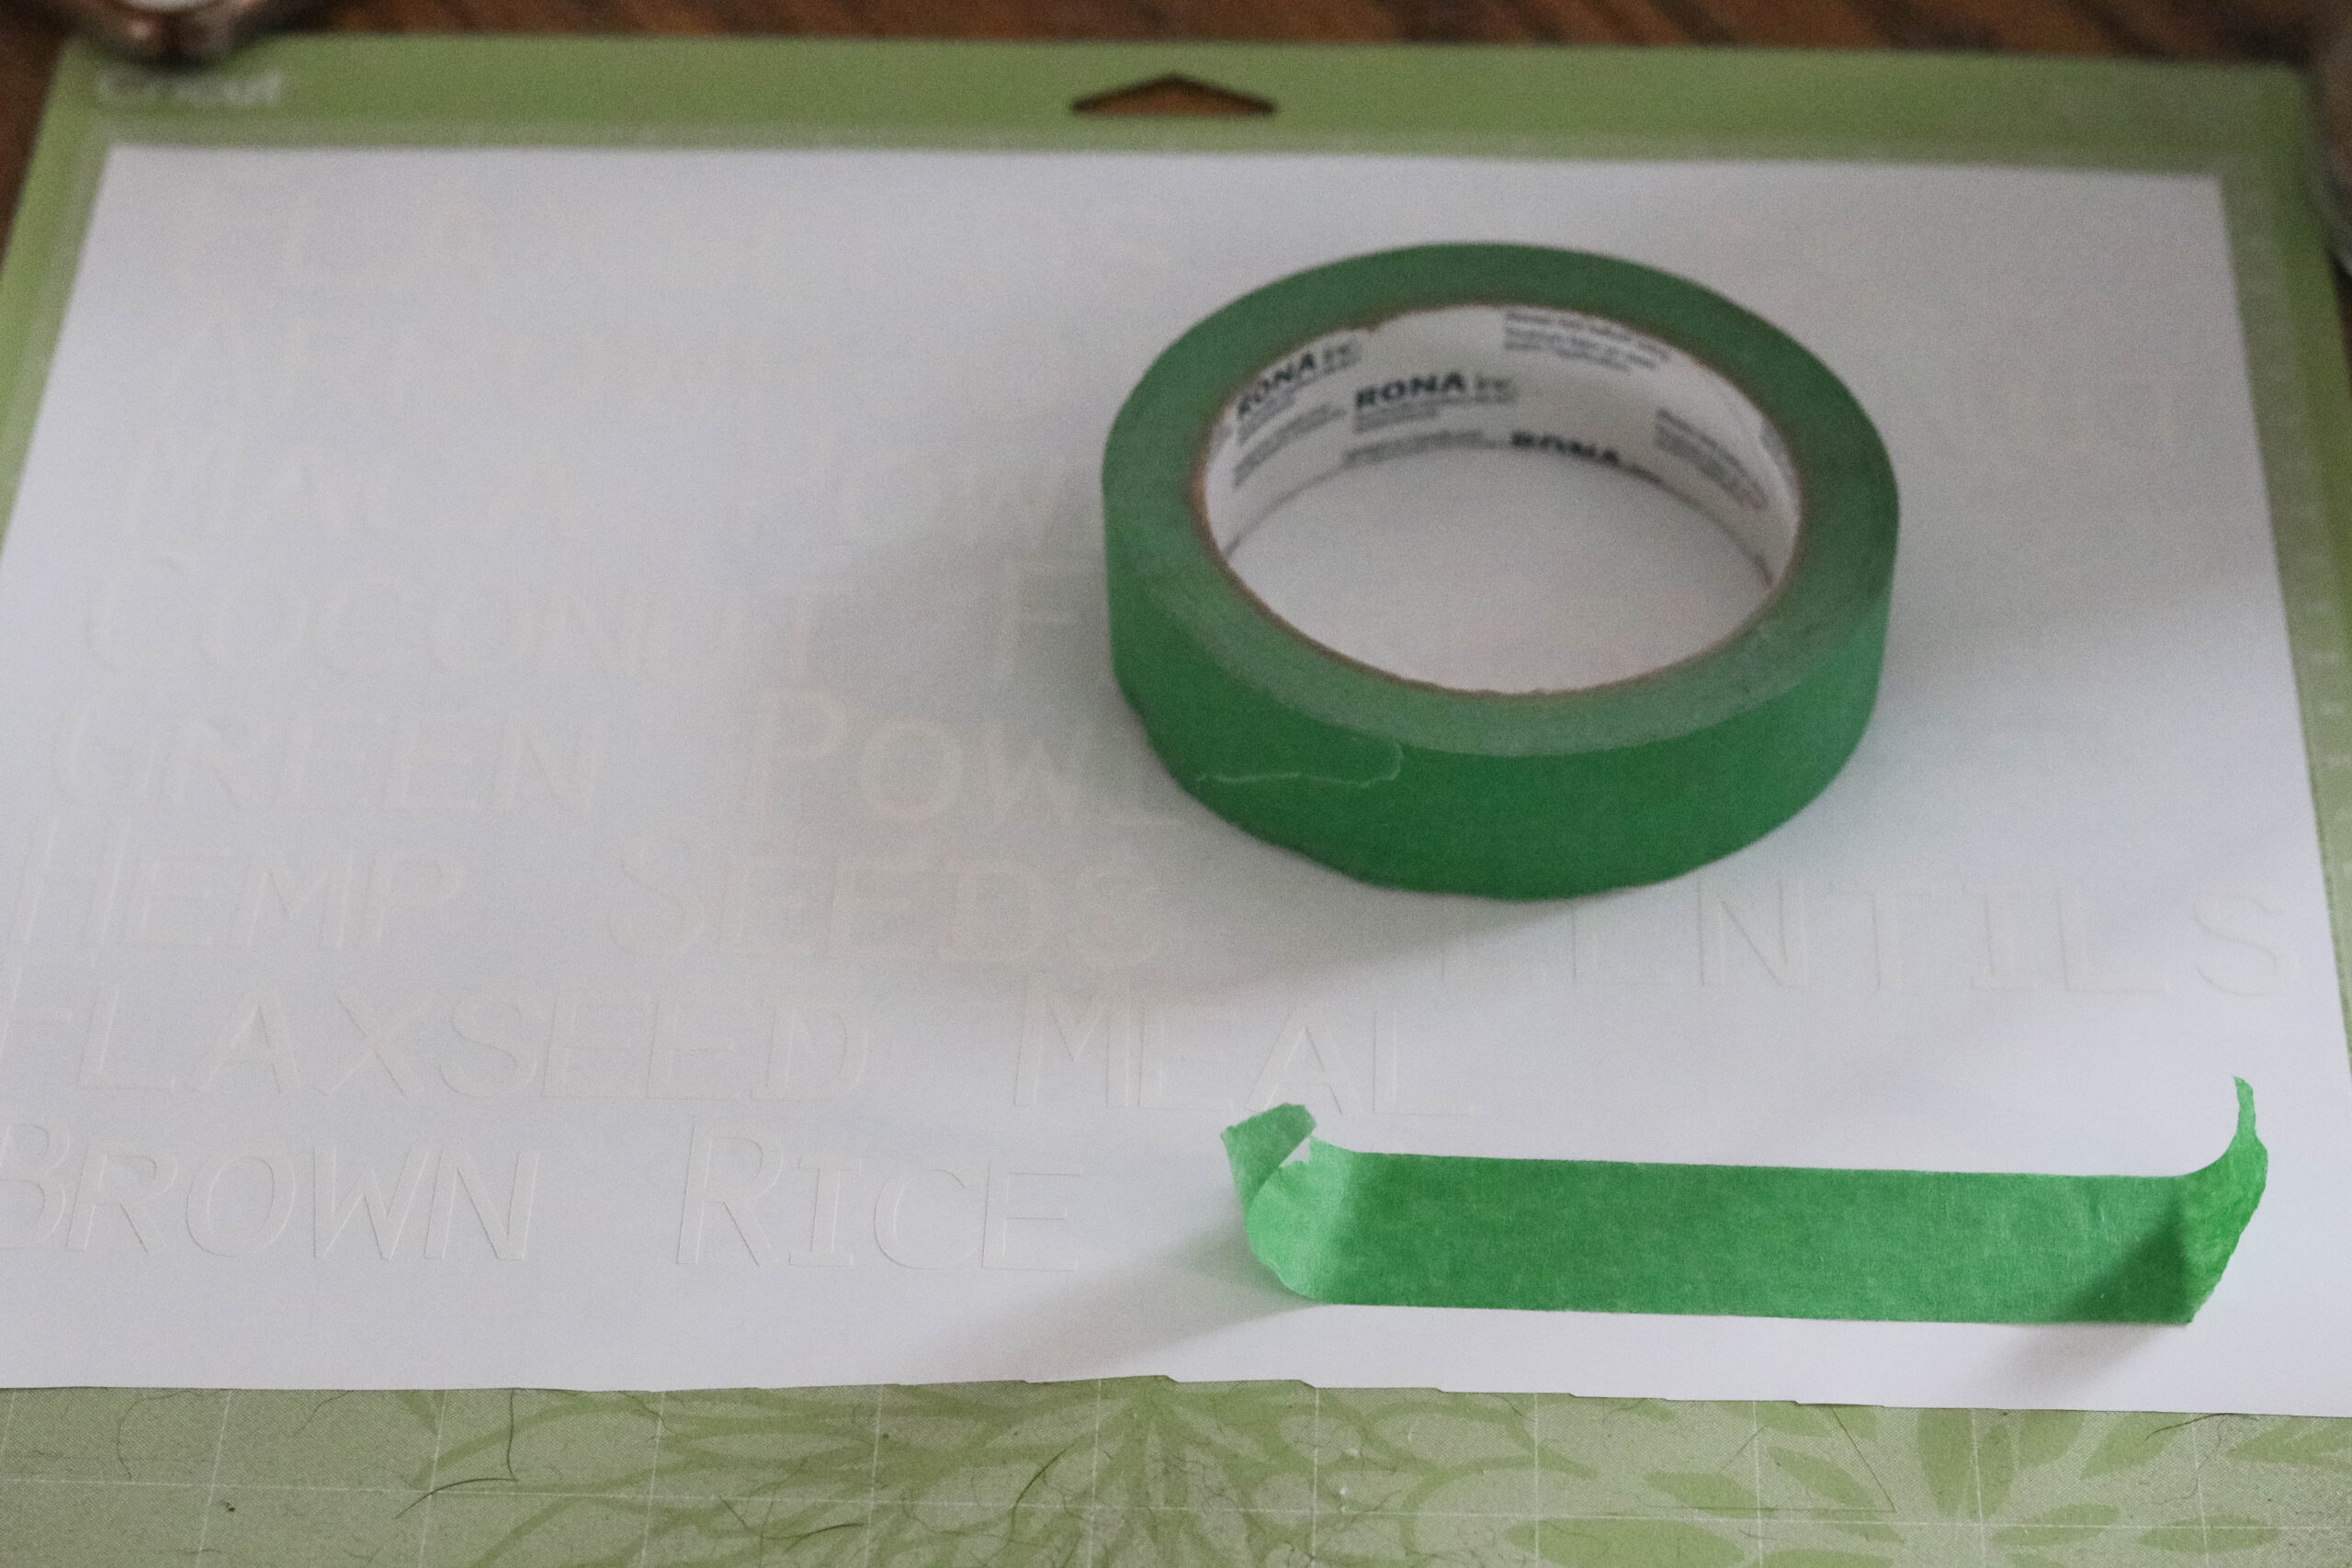
Once your machine has cut the labels out, its your turn to start weeding your lettering.. meaning you need to pull away all the leftover vinyl so it is just the words you attach to your jars. You can use tweezers if you don't have an actual Cricut Weeding Tool.
- Transfer Labels to Jars
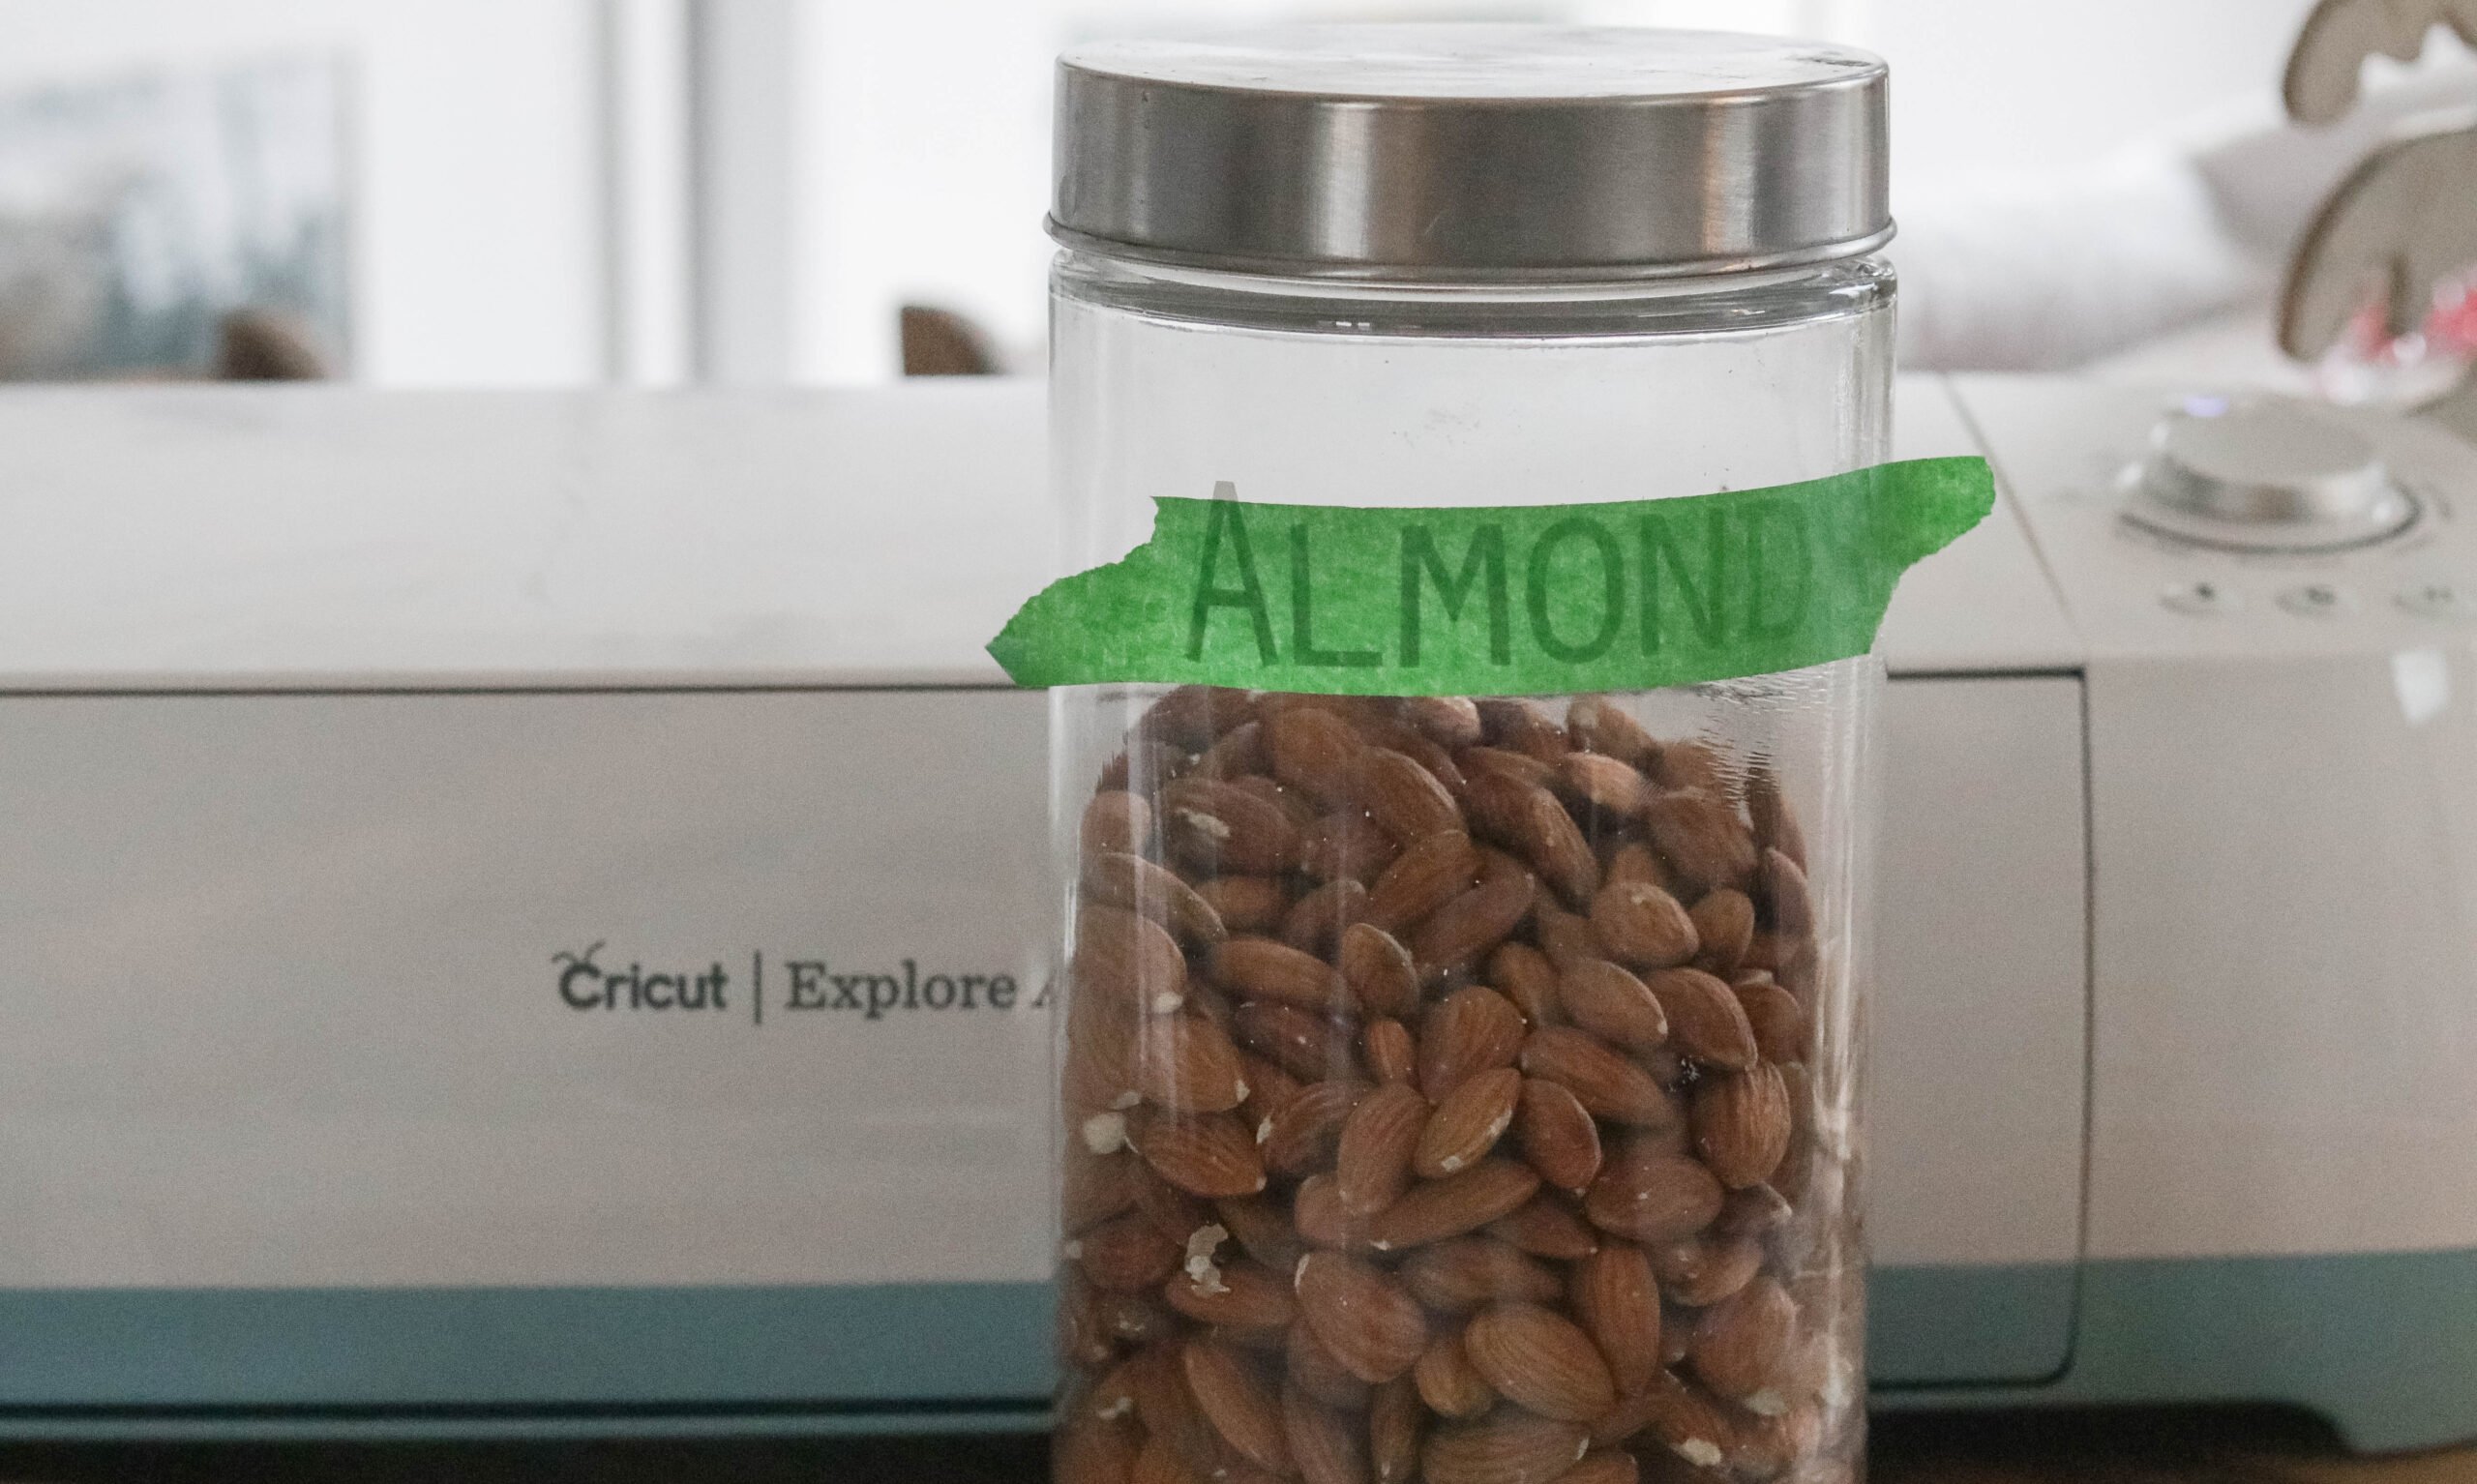
Once you have weeded out all the extra vinyl, it is time to transfer the labels to the jars. I love using painters tape to transfer because it is so much cheaper and I find it actually molds better to jars/cups. Definitely give the painters tape a try if you haven't yet!
- Remove Tape Once Labels Are On Jars
Once you have transferred the labels to the jar you have to carefully pull back the painters tape to remove the tape only, leaving the white label on the jar. Make sure all the letters of the label are securely pressed down onto the jar.
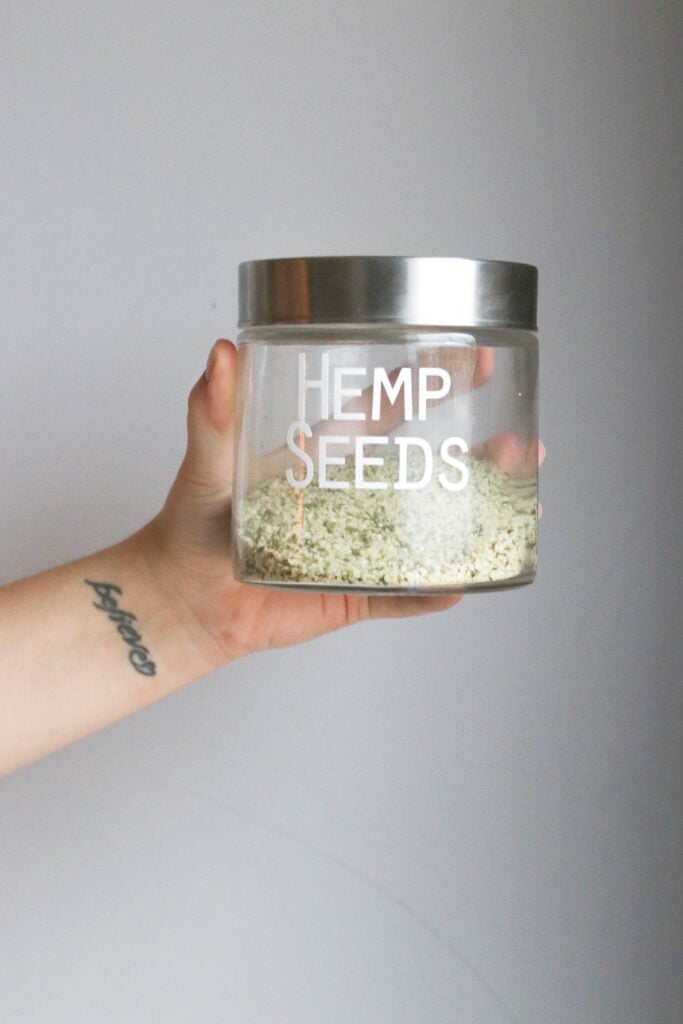
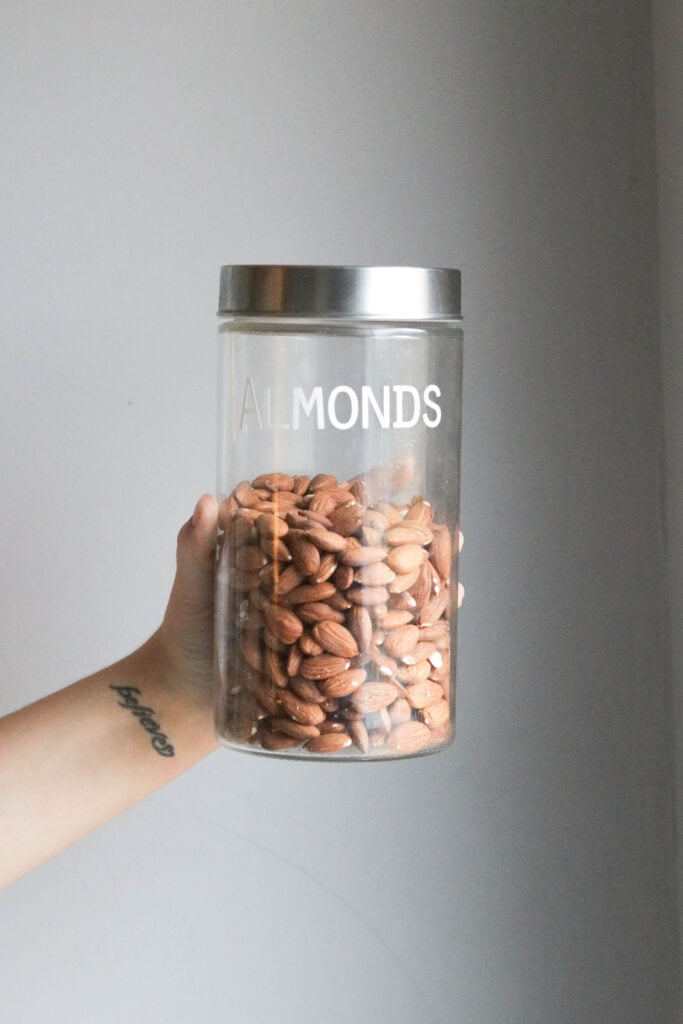
There you have it folks! Simple way to add labels to your pantry jars! YAY I love how this turned out so much. I was a little worried that I maybe made the labels a little too big but they jars are on a top shelve pretty far up so I am loving the size of the labels, way easier to see the words!
I have seen some pantry labels tiny, which is super cute, but you wouldn't be able to see them from where my jars are stored.
Hope you enjoyed this DIY project! Make sure you tag me in your organized pantry with these labels! I love seeing all your work! Time for some Pantry Organization with Large Labels!
Until next time friends!

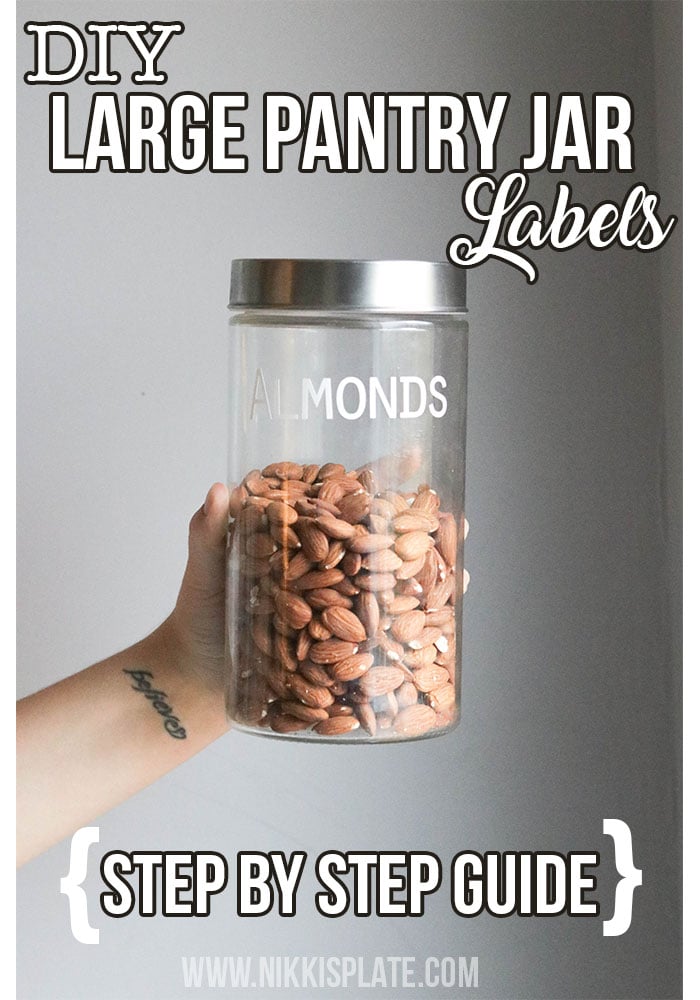
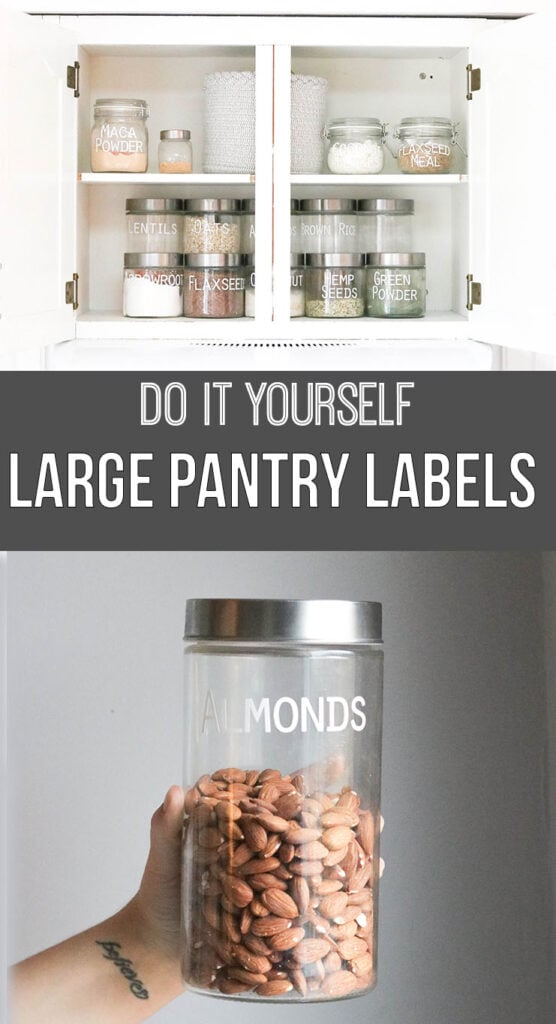
Pantry Organization with Large Labels; Reorganizing our small healthy pantry above our oven. Easy Cricut decal label for every jar!






Leave a Reply