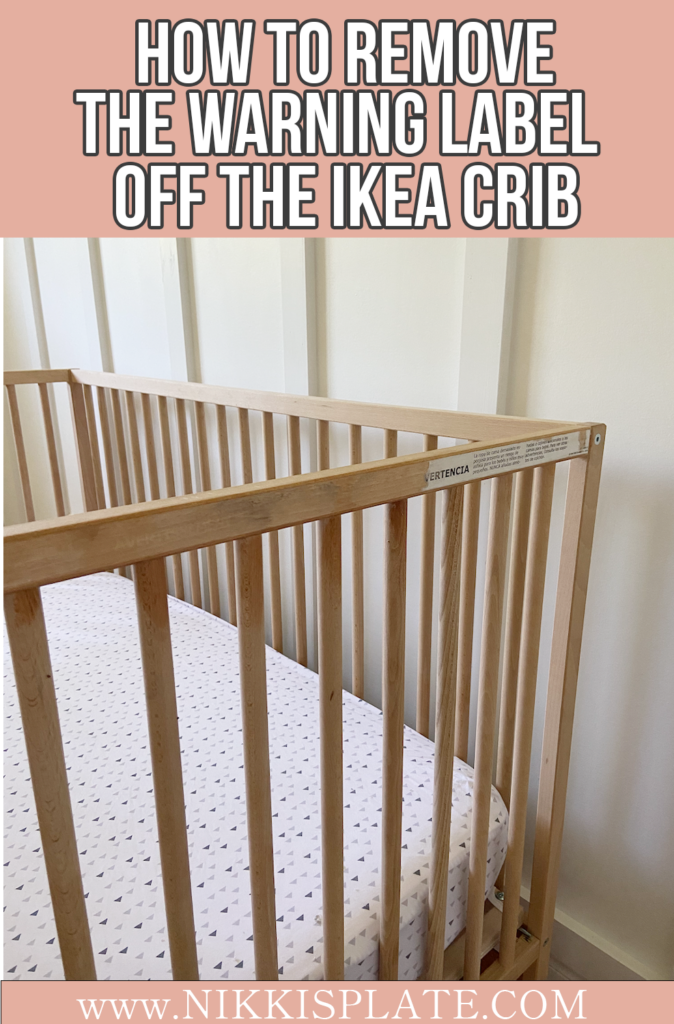
How to Remove the Warning Label off the Ikea Crib; simple tricks to remove the large sticker on the side of the SNIGLAR ikea crib
Disclaimer: this post may contain affiliate links, and every purchase made through these links will give me a small commission (at absolutely no extra cost for you!) AS AN AMAZON ASSOCIATE AND REWARDSTYLE MEMBER, I EARN FROM QUALIFYING PURCHASES. See Privacy Policy for additional info.
Hi Beauties!
With the completion of Lennon's nursery, I am finally starting to write some of the posts I have been meaning to since she was born.. I know I know.. it has only taken me five months to get on it, but life gets busy! I thought I would start by posting about how I removed the warning label off her crib.
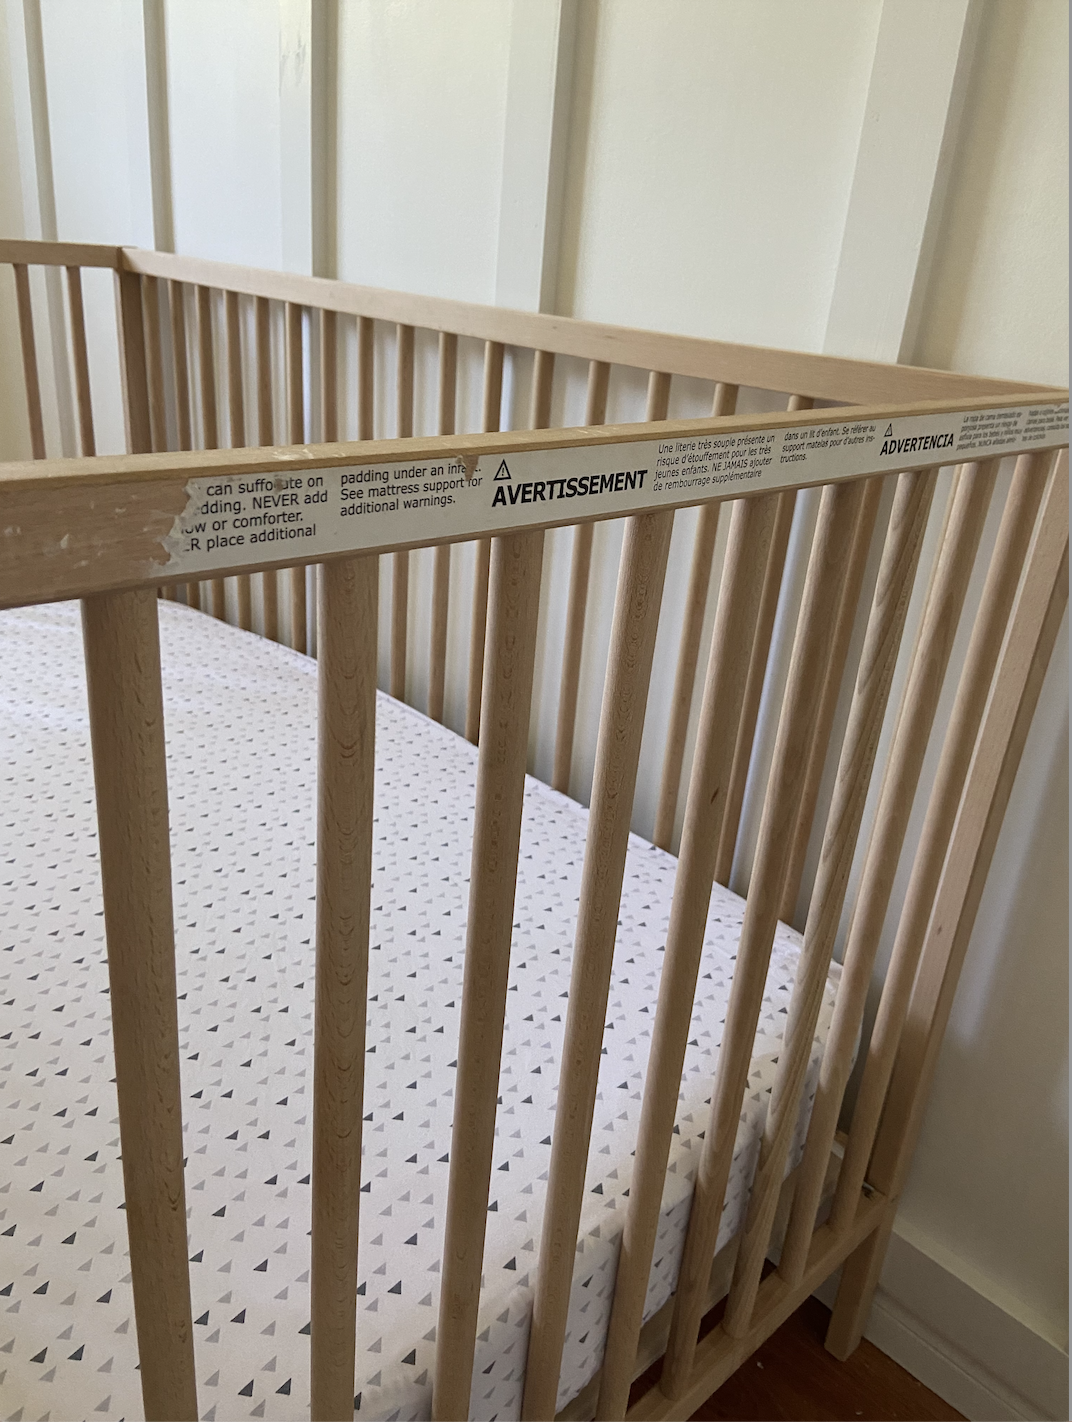
Why? Because it was freaking hard! And when I googled it, nothing came up. So I figured that if I some how manage to get the label off the crib without breaking anything or merely throwing the crib out, then I would share it with all you other mamas out there!
So without any more rambling, lets jump into this post. First lets talk about this crib.
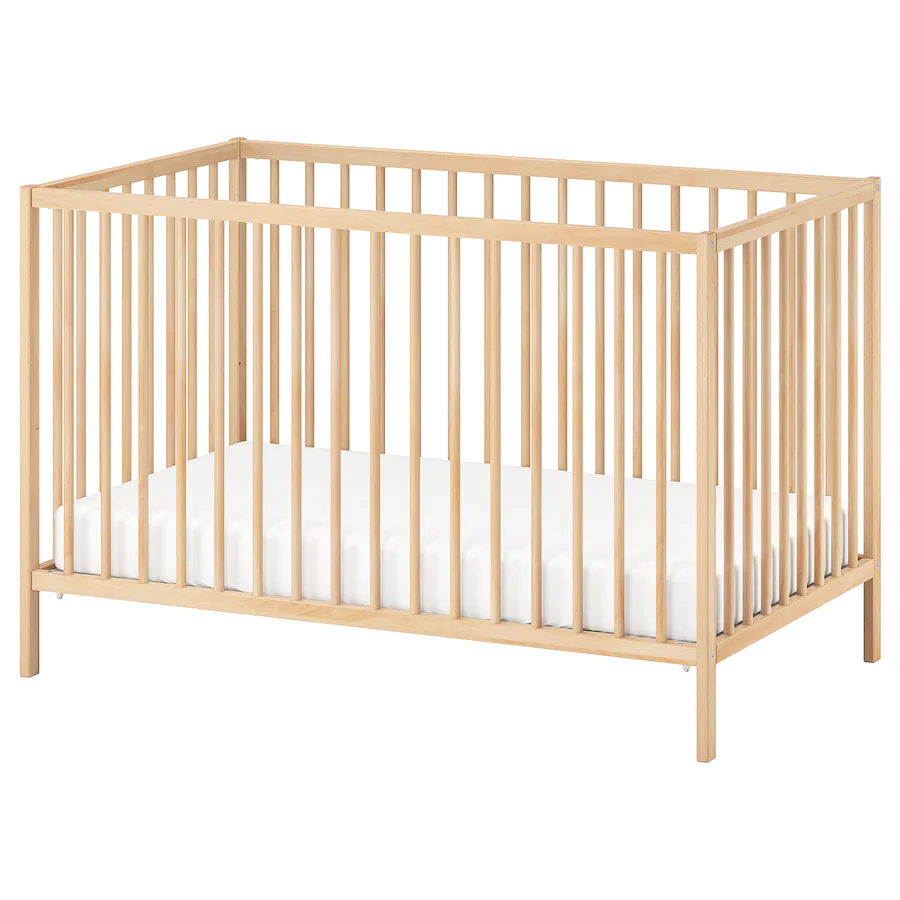
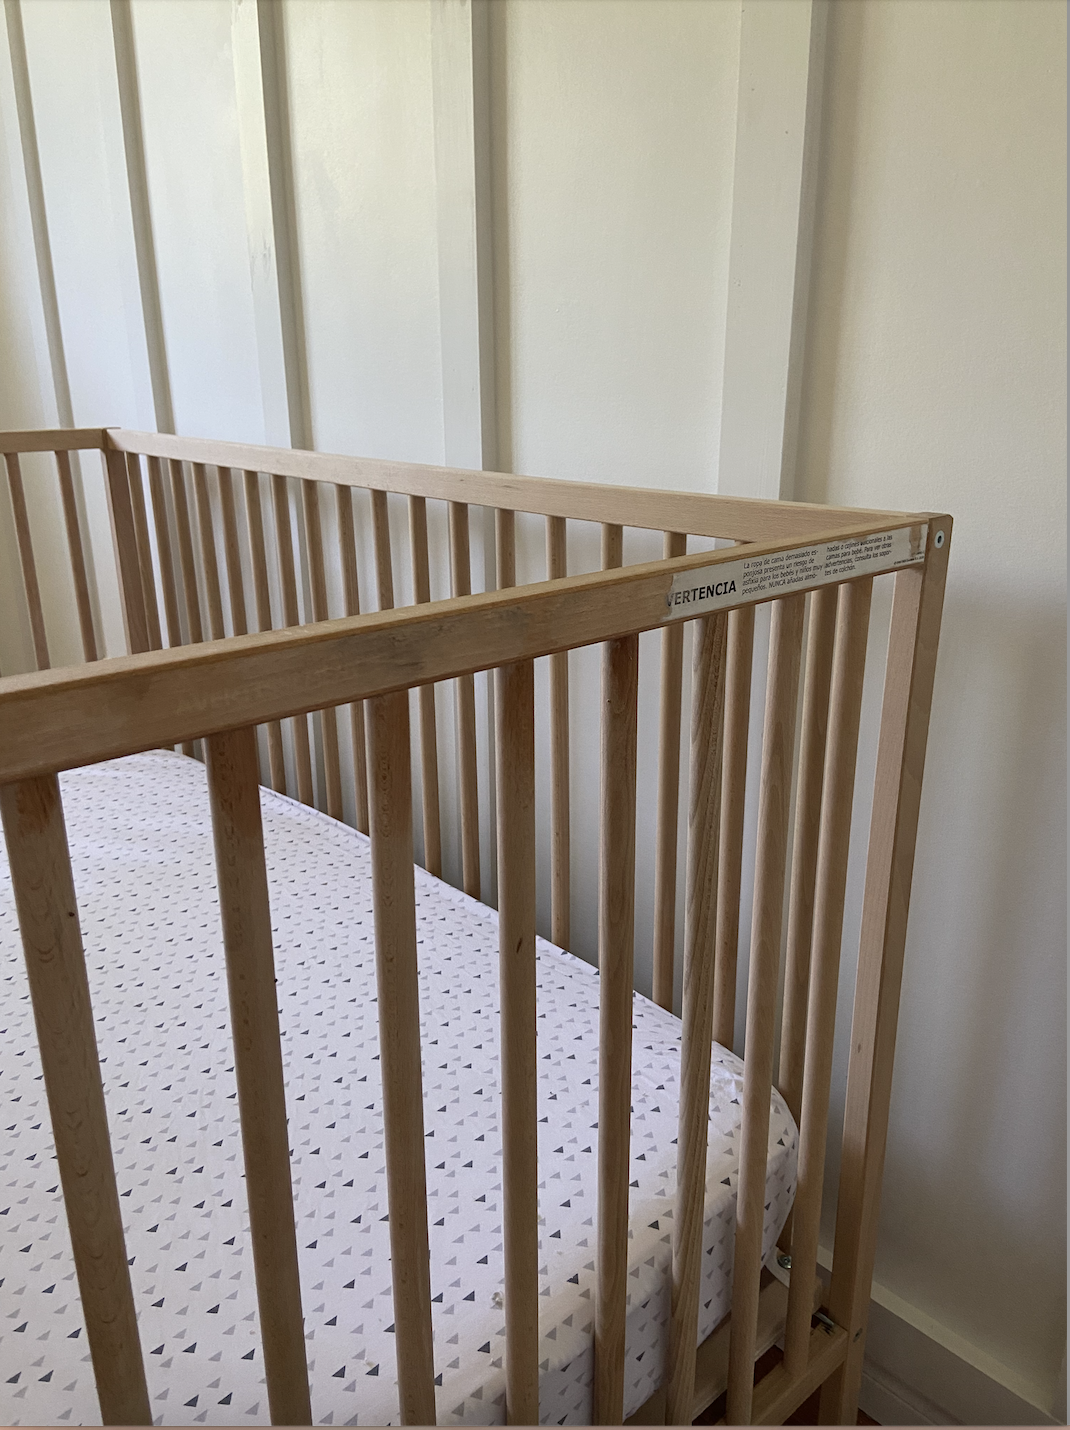
The SNIGLAR Ikea Crib
I was a little nervous to use this crib because IKEA isnt known for the HIGHEST quality furniture.. but let me tell you, I am super impressed with this crib. It is sturdy and seems like nice wood.
The only things about this crib I would note, if you haven't bought it yet, is the mattress holder is only held on by pegs. So you definitely cant climb in the crib with your child haha
We also did not buy the mattress from IKEA, we purchased a high quality super safe mattress and I am so glad we did. The IKEA mattress just wasn't as nice and made me SIDS worried. So we purchased The Graco Mattress Amazon instead.
How To Remove the Warning Label off the Ikea Crib
Time needed: 10 minutes
Remove the Warning Label off the Ikea Crib in 4 easy steps!
- Wipe With Warm Water
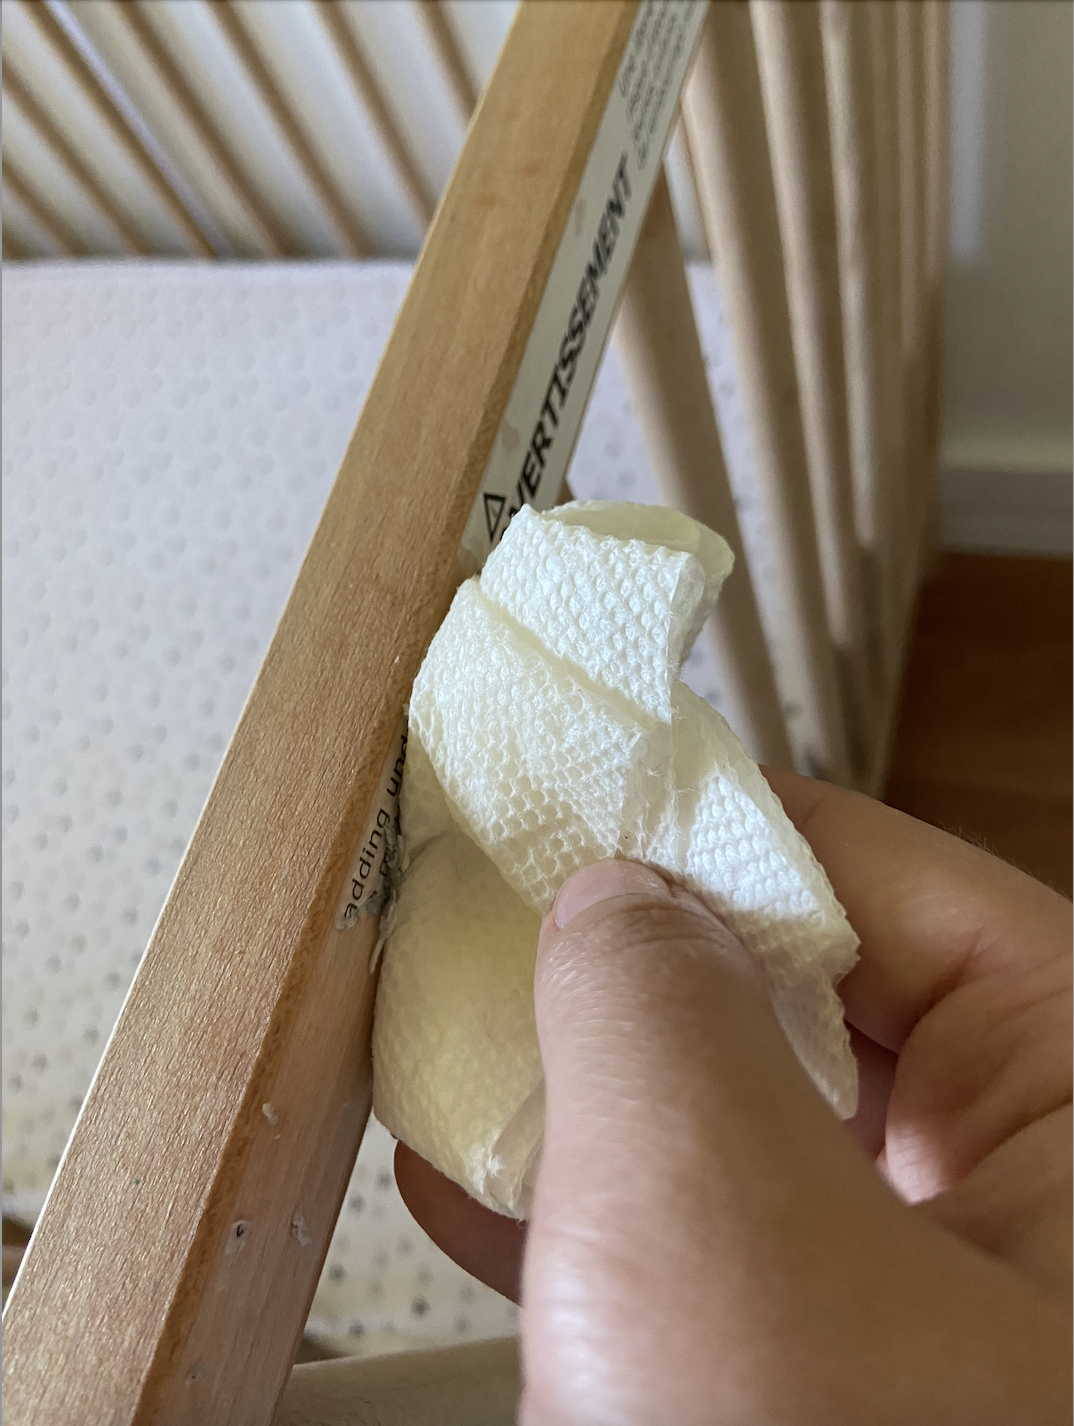
I always start with washing the item I am about to work on. So to start, grab a warm wash cloth and just give the label and handle a quick wipe down to remove any unwanted dust or product on it.
- Apply Goo Gone
Goo Gone is the holy grail of removing all stickers and labels. It honestly works magic on this crib. This is not sponsored, I just truly LOVE this product. To apply it, I used an old rag, dipped it in the goo gone then rubbed it along the label. I first tried using paper towel but it didnt work well at all! So use a rag!
- Scrub with a Rag
You are going to have to put in a bit of elbow grease here! I used the old rag and scrubbed the label until it started to flake off. You will notice it continuously get thinner and thinner until it disappears.
- Clean off Area
Once the label is completely gone and no longer sticky (yes if you keep scrubbing the sticky material will come off as well), you will need to wash it. Wash it to remove any Goo Gone left. Why? Because someday your baby will be able to reach up and grab this part of the crib and you don't want them grabbing Goo Gone. To wash, I used water and dawn dish soap. I am sure you could use any soap that is safe for wood material but this is just what I had on hand!
There you have it folks!
Super simple and easy way to remove the warning label off the ikea crib. This is what worked for me. I am sure there are other methods of removing it but it was the easiest option I tried.
If you liked this post, you can check out our first daughters nursery here! The two rooms are completely different, one is white and girly, this new one is yellow with a boho touch. Either way I had so much fun designing both!
If you REALLY liked make sure you subscribe to my newsletter to follow along with my daughters nursery reveal! COMING SOON! Slowly getting the posts together for you now!
How to Remove the Warning Label off the Ikea Crib; simple tricks to remove the large sticker on the side of the SNIGLAR ikea crib






Leave a Reply