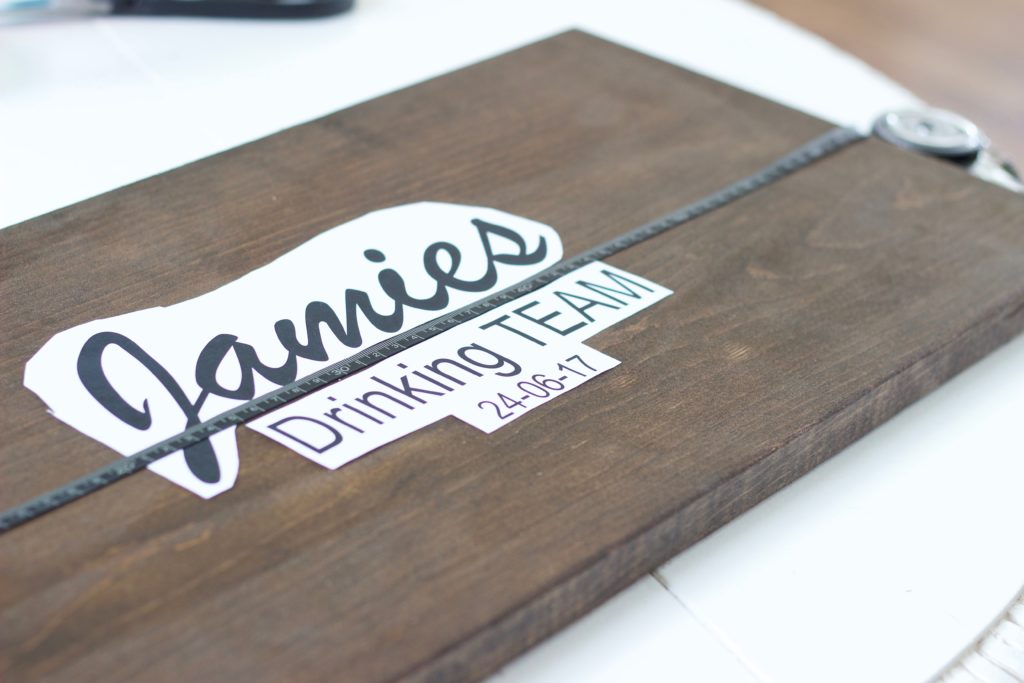
This bride's drinking team sign was actually one of my favourite things to make for the bachelorette party.
Disclaimer: this post may contain affiliate links, and every purchase made through these links will give me a small commission (at absolutely no extra cost for you!) AS AN AMAZON ASSOCIATE AND REWARDSTYLE MEMBER, I EARN FROM QUALIFYING PURCHASES. See Privacy Policy for additional info.
The idea of this came from something I saw on Pinterest. It was a photo frame that had a picture from a bachelorette party with "Bride's Drinking Crew" written on the top with everyones signature. I knew right away I needed to do something like this for our bride to be!
Our bride to be is a down to earth country girl. So I wanted to make the sign look rustic but still girly.
I also wanted to personalize it so she knew we made it just for her, instead of buying it from a store. Which is why I went with "Jamies Drinking Team" instead. Then we had everyone sign it when we arrived to our Airbnb.
These boards are super easy to make and look great when finished. Here is how I made this one:
WHAT YOU WILL NEED:
- Wood panel from Home Depot or Lowes (size of choice)
- Sanding paper
- Small can of MiniWax Stain (colour of choice)
- Old sock or t-shirt for staining
- Print out of the words to put on board
- Tape to secure print out
- Measuring tape to center accurately
- Pencil
- White acrylic paint (and any additional colours you would like, I added in blue too)
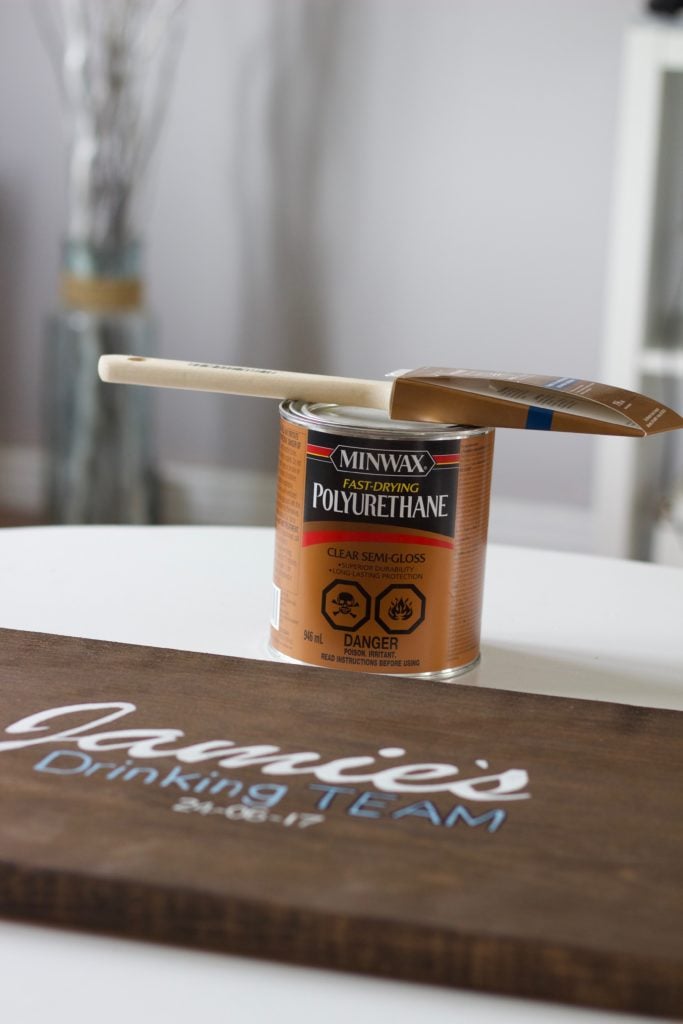
- Mini Wax Polyurethane (optional)
- Paint brush
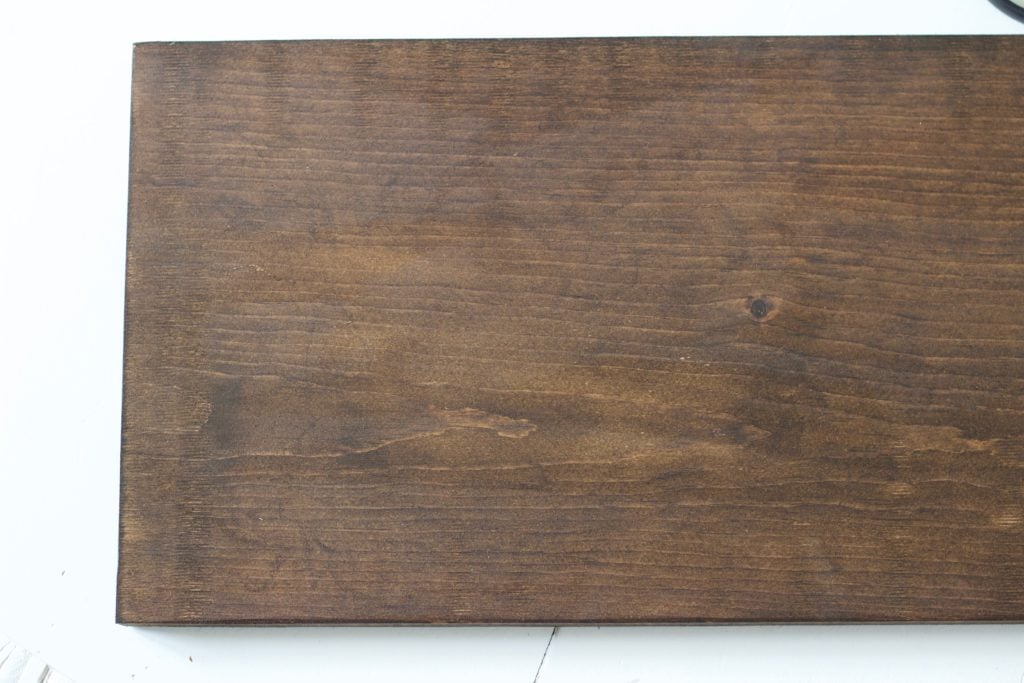
STEP ONE:
Cut a board to the size you would like. We just used a regular hand saw. Once cut, sand entire board until smooth on the side you will be using. Stain board colour of choice.
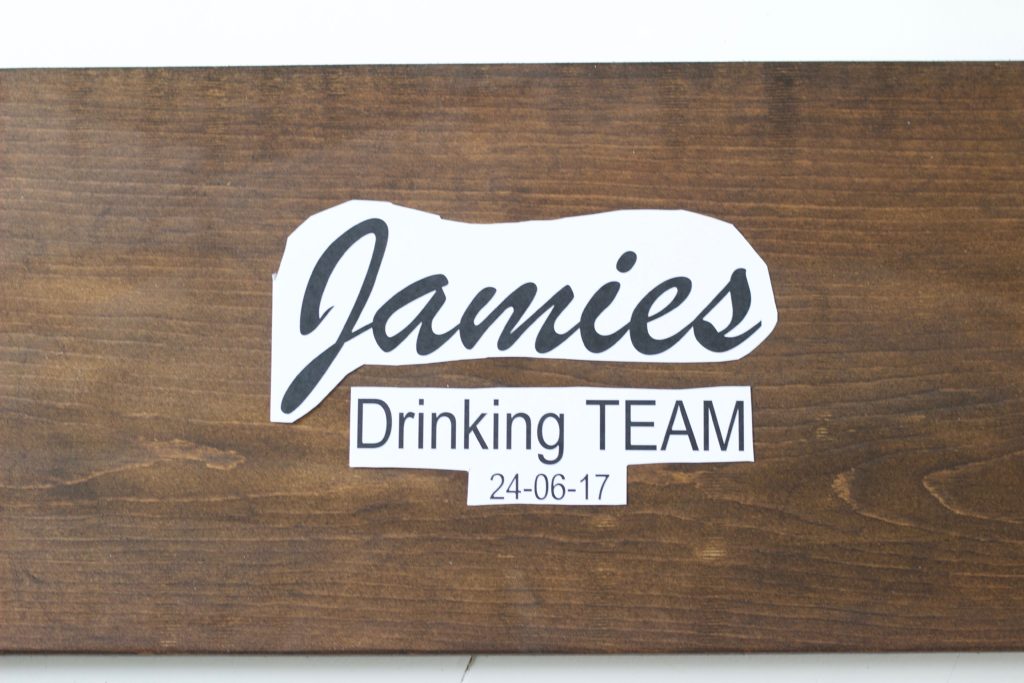
STEP TWO:
Arrange print out of words on board exactly where you want them. Make sure you measure so they are centred both left to right and top to bottom. Tape them in place!
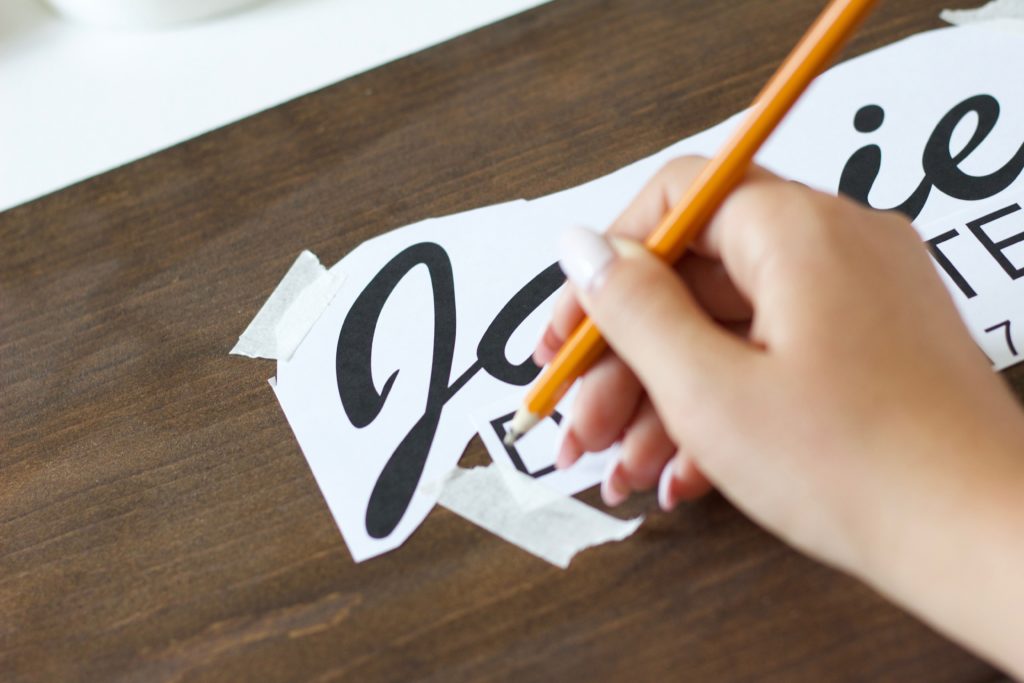
STEP THREE:
Trace with a sharp pencil. Push hard.
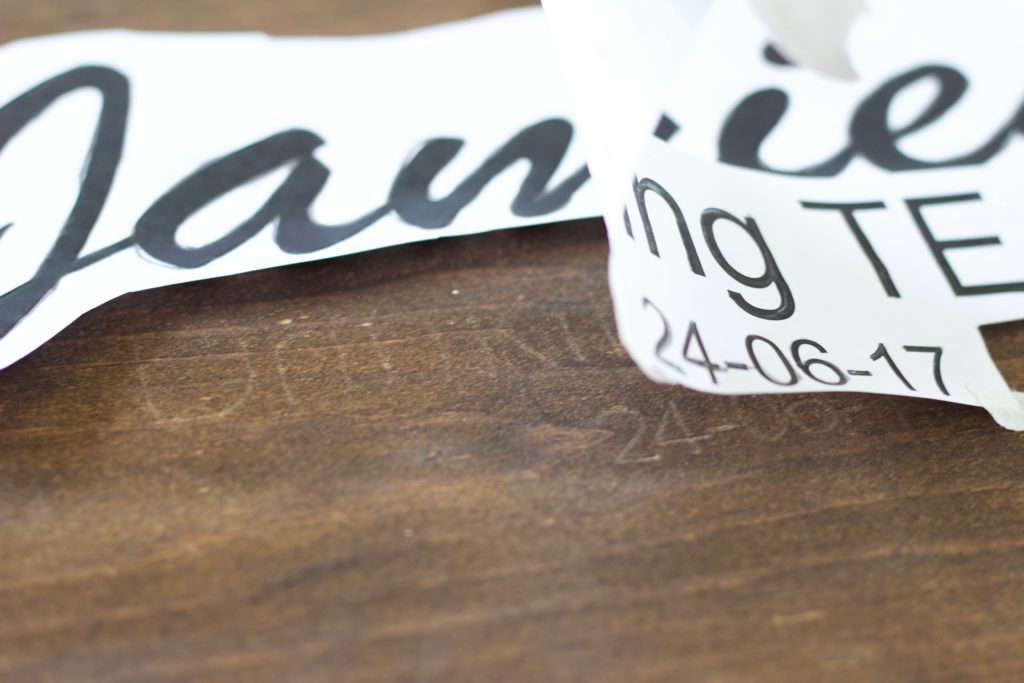
STEP FOUR:
Remove paper slowly, ensure pencil accurately engraved the board as shown here..
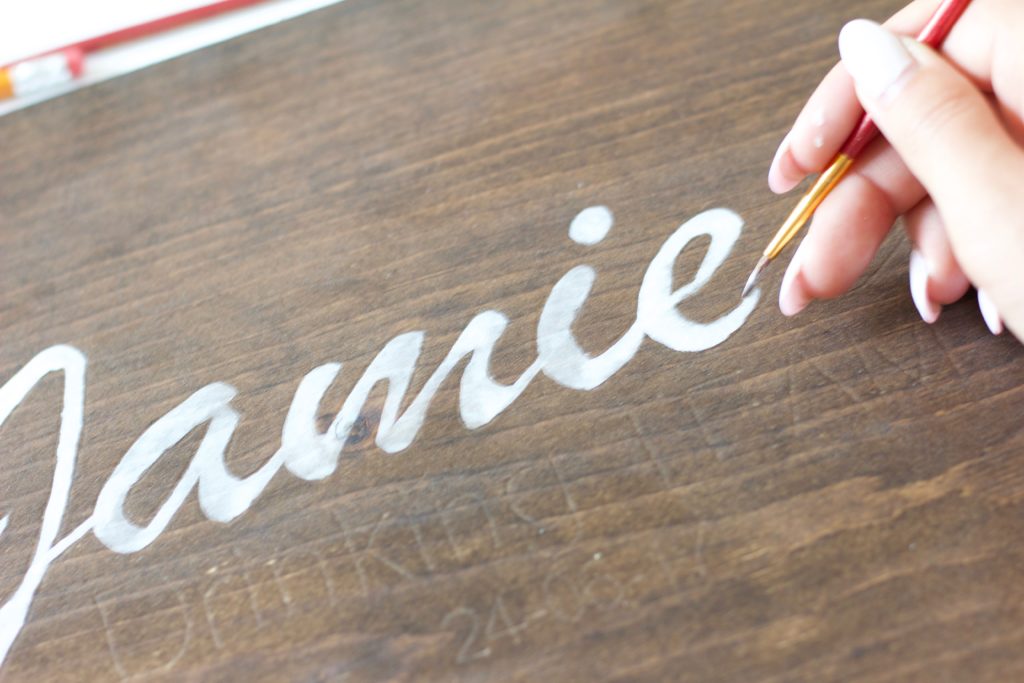
STEP FIVE:
Paint in the lines. Let dry. May take 2-4 coats.
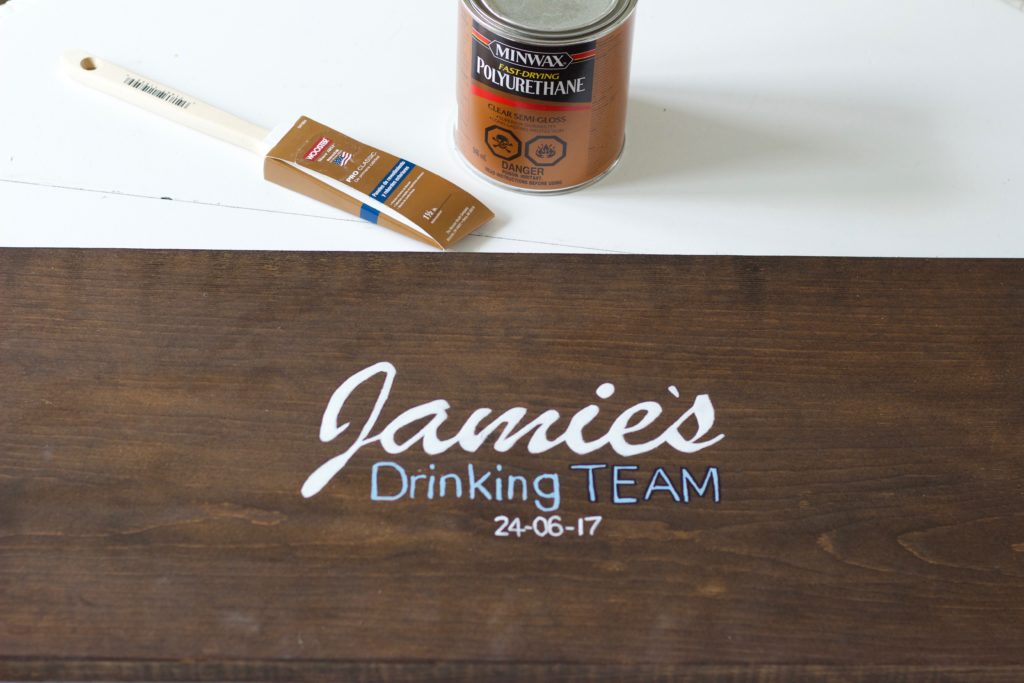
STEP SIX:
Paint on polyurethane. This is just a protective coat over the board BUT I found it turned the white lettering yellow.. SO you may want to do this BEFORE painting the letters.
And thats it! Easy and fun.
Get everyone to sign it and your done.
Hope your bride enjoys!


As Seen on TikTok
Come behind the scenes of our farmhouse build, decor projects, and cozy everyday life. Tap a video to watch, then follow @nikkisplate on TikTok for more.
Watch this video on TikTok
Watch this video on TikTok
Watch this video on TikTok


Leave a Reply