
Streamline your DIY home upgrades with our 5 essential steps for organization. Get practical tips on planning, budgeting, tool organization, creating timelines, and tracking progress for a stress-free renovation experience
Disclaimer: this post may contain affiliate links, and every purchase made through these links will give me a small commission (at absolutely no extra cost for you!) AS AN AMAZON ASSOCIATE AND REWARDSTYLE MEMBER, I EARN FROM QUALIFYING PURCHASES. See Privacy Policy for additional info.
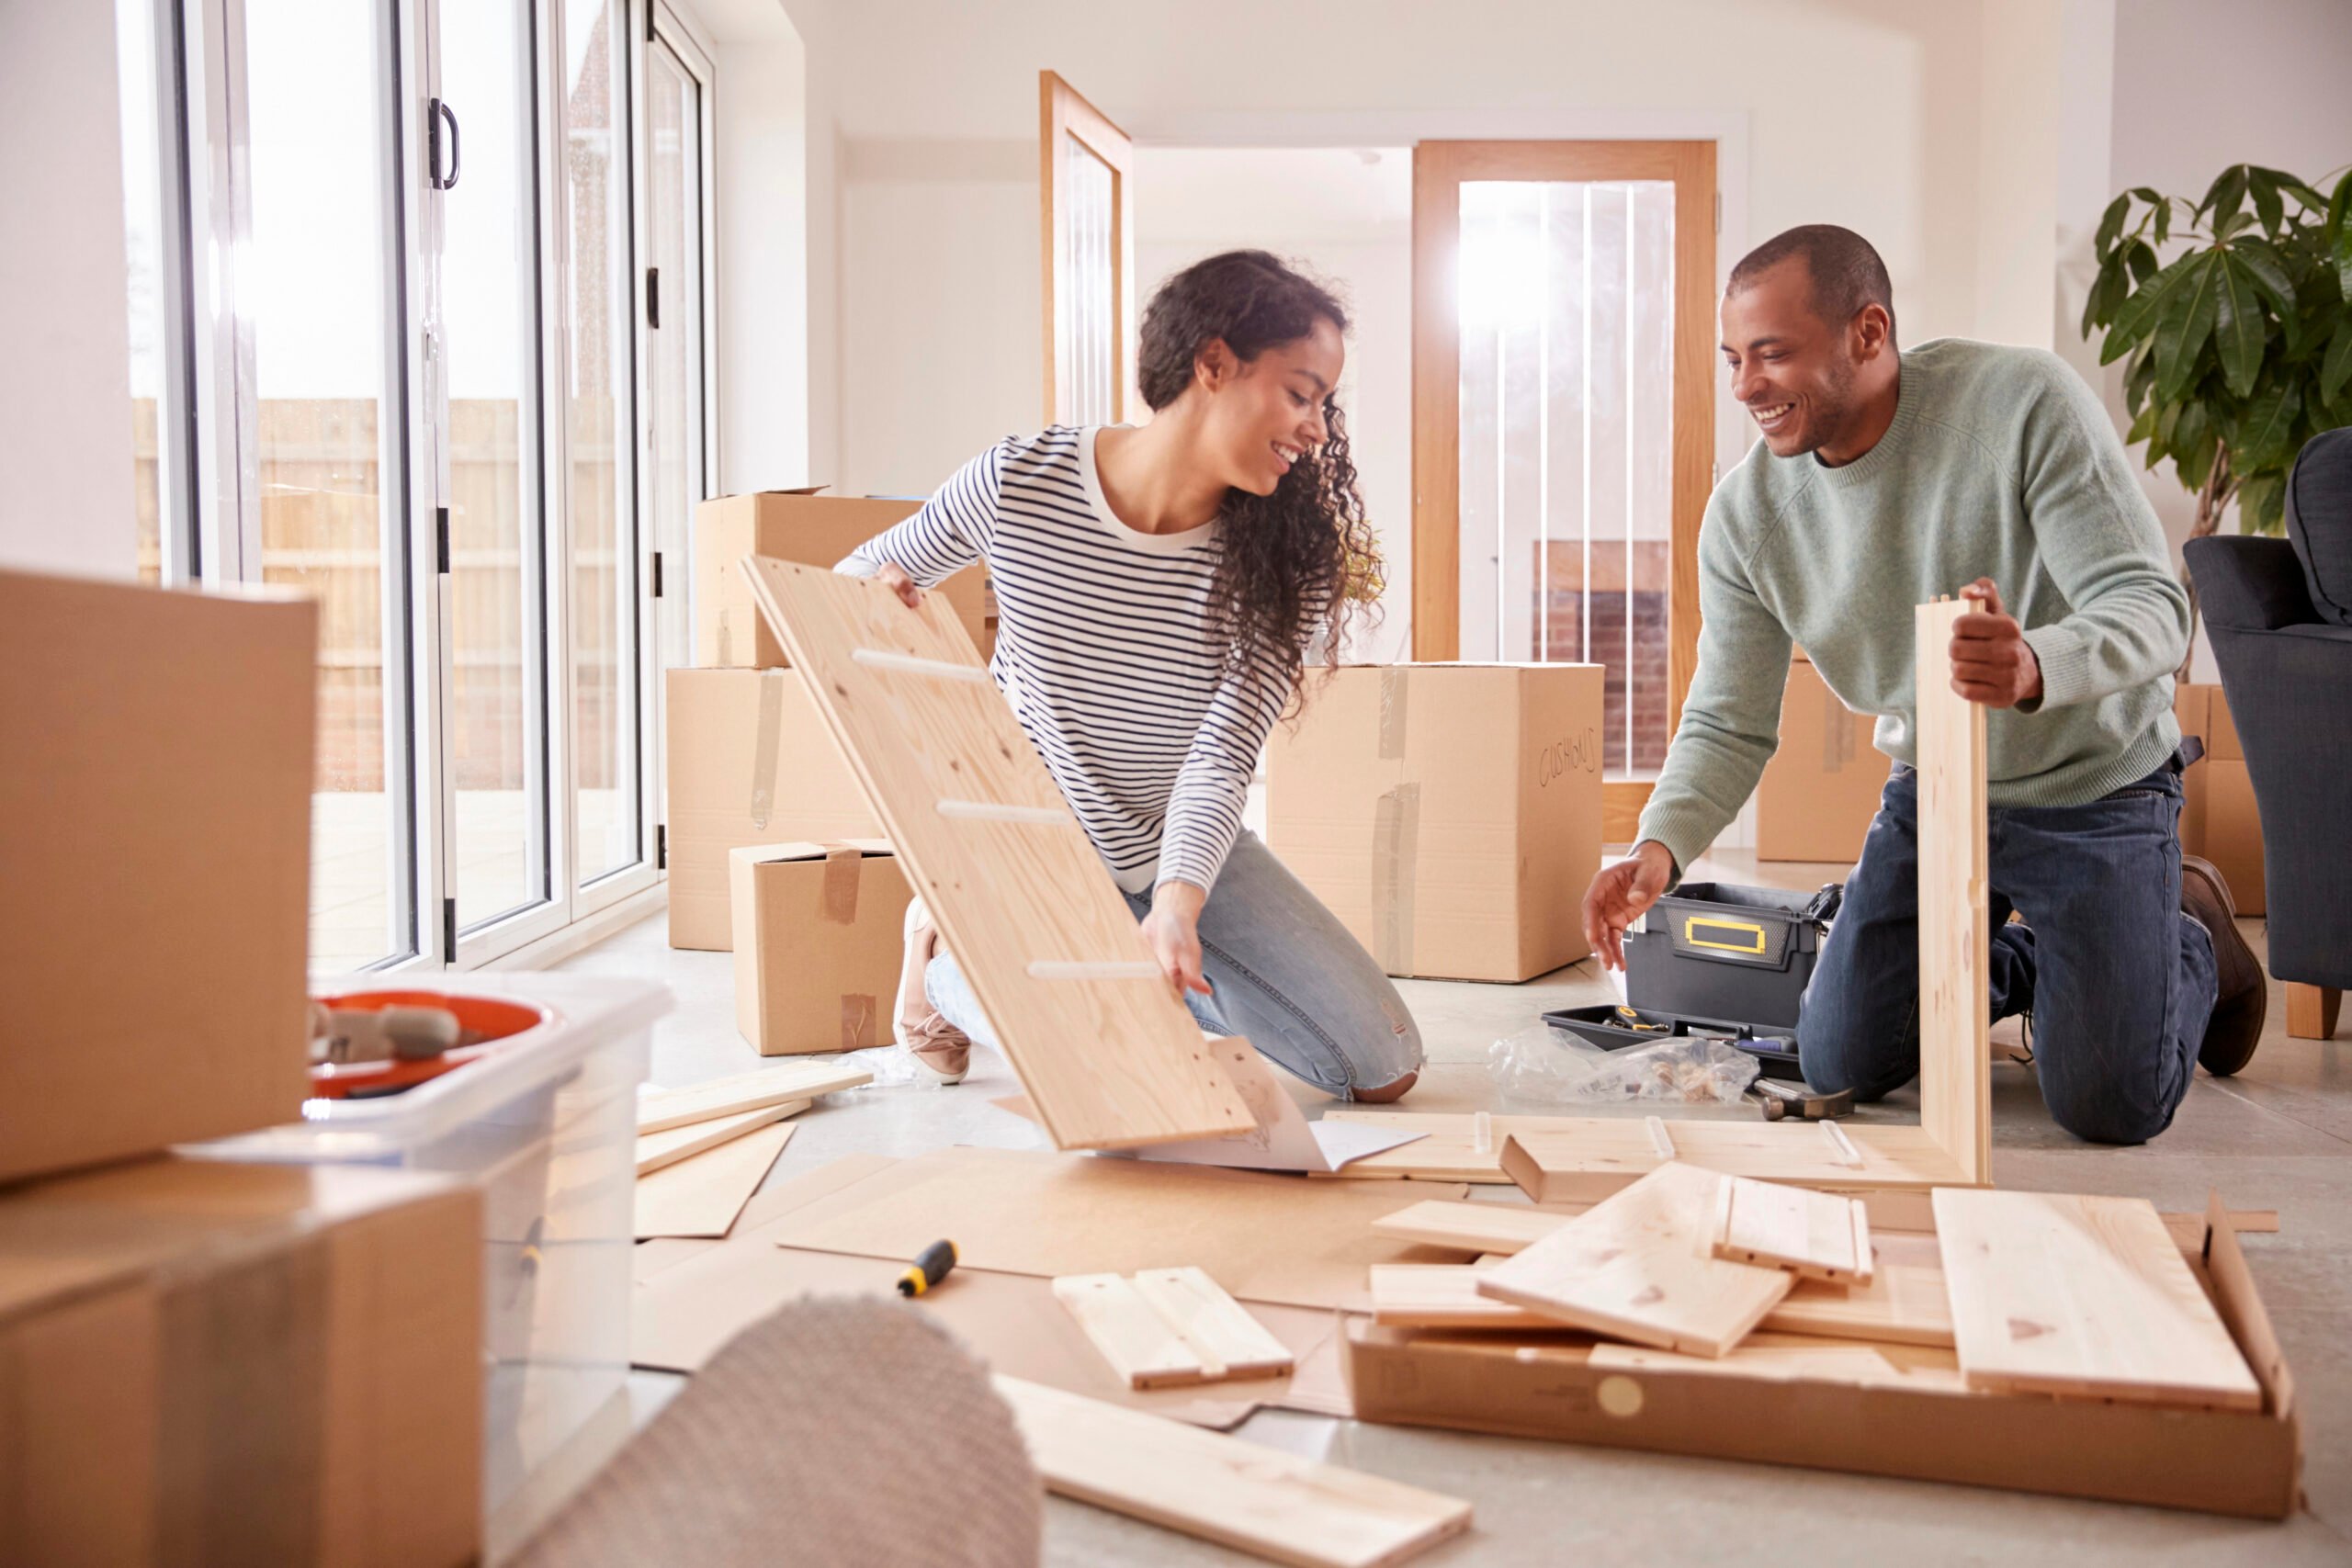
Taking on a DIY home upgrade can be exciting, but without proper planning, it can quickly feel overwhelming. From budget mishaps to losing track of tools, disorganization often leads to unnecessary stress and delays. The good news? With the right strategies, you can streamline your renovation process and keep everything running smoothly.
By focusing on clear plans, smart budgeting, and efficient timelines, you'll not only stay on top of your project but also enjoy the journey more. Let's explore some practical ways to stay organized and make your DIY upgrades both manageable and successful!
5 Steps to Organize Your DIY Home Upgrades Efficiently
Step 1: Start with a Clear Plan
Before diving into your DIY home upgrade, take the time to map out your plan in detail. Think about what you want to achieve and write it down step by step.
Identify all the individual tasks within your project so nothing gets missed. A clear plan acts as your blueprint, guiding you through each stage of the renovation process.
It's also helpful to estimate costs upfront for materials and tools you'll need along the way. If you're juggling multiple tasks or managing larger upgrades, using tools like construction invoicing software can streamline expense tracking and organization. The clearer your plan is from day one, the smoother and less stressful your entire project will be.
Step 2: Set a Realistic Budget
Budgeting is one of the most important steps in planning your DIY home upgrade.
Before you buy anything, do some research to understand the costs of materials, tools, and supplies you'll need. Factor in any unexpected expenses as well - things rarely go exactly as planned. Be realistic about what you can afford and balance quality with cost where possible.
Prioritize spending on items that matter most for durability or safety while looking for savings elsewhere. It's also wise to track every expense throughout the project so you stay on budget. Whether it's a small project or a bigger renovation, having a clear financial plan helps avoid overspending and keeps things running smoothly from start to finish.
Step 3: Organize Your Tools
Before starting your DIY home upgrade, make sure all your tools are in one easily accessible place. Having a designated space, like a toolbox or a specific area in your garage, can save you from wasting time searching for equipment mid-project.
Sort and group tools by type - measuring tools, cutting tools, fasteners - so you know exactly where everything is when you need it. If you're working on multiple projects, consider labeling bins or shelves for extra clarity. Regularly check if you have the right tools before getting started to avoid interruptions later on.
Keeping things organized not only reduces stress but also ensures efficiency throughout the project. Remember: an organized workspace leads to organized work!
Step 4: Create a Timeline
Having a timeline for your DIY home upgrade keeps you focused and prevents procrastination. Start by estimating how long each task will take, considering their complexity and the time you have available daily or weekly.
Break big projects into smaller phases with deadlines to make progress more manageable. Be realistic - things can sometimes take longer than expected, so build in some buffer time. Write out your schedule or use a calendar app so you can easily track progress.
Sticking to a timeline helps avoid project burnout while giving you clear goals along the way. A well-thought-out timeline turns an intimidating renovation into smaller, doable steps that fit smoothly into your routine.
Step 5: Track Progress Regularly
As you work through your DIY home upgrade, take the time to track your progress consistently. After completing each task or milestone, review what's been done and what's still left on your list. This helps you stay motivated and keeps everything moving forward.
Using a checklist or marking tasks off on a calendar can give you a clear visual of how far you've come. It's also an opportunity to adjust timelines or priorities if unexpected delays arise - being flexible is key!
Celebrate small wins along the way, as it makes the process more enjoyable and less stressful. Tracking progress not only helps avoid mistakes but also ensures you remain organized throughout the entire project journey.
Use These Tips to Organize Your Home Upgrades
Taking on DIY home upgrades can be exciting, but without proper planning, it can quickly feel overwhelming. From budget mishaps to losing track of tools, disorganization often leads to unnecessary stress and delays. The good news? With the right strategies, you can streamline your renovation process and keep everything running smoothly.

As Seen on TikTok
Come behind the scenes of our farmhouse build, decor projects, and cozy everyday life. Tap a video to watch, then follow @nikkisplate on TikTok for more.
Watch this video on TikTok
Watch this video on TikTok
Watch this video on TikTok


Freda Nehemiah says
Solid explanation. I’ll be sure to recommend this to a few friends.
Nikki says
Glad you enjoyed! 🙂