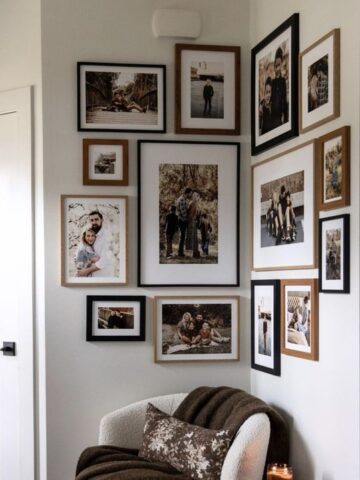
Photo Gallery Wall reveal with tips and tricks for putting up your very own picture galleries! {DIY + Wall Makeover}
Disclaimer: this post may contain affiliate links, and every purchase made through these links will give me a small commission (at absolutely no extra cost for you!) AS AN AMAZON ASSOCIATE AND REWARDSTYLE MEMBER, I EARN FROM QUALIFYING PURCHASES. See Privacy Policy for additional info.
Hi beauties!
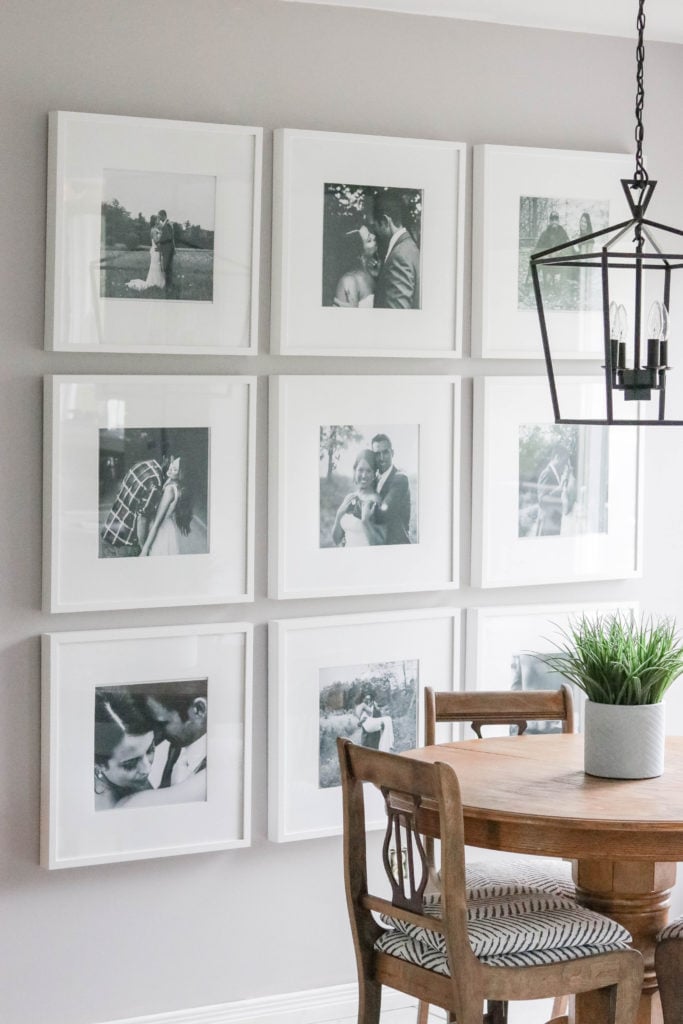
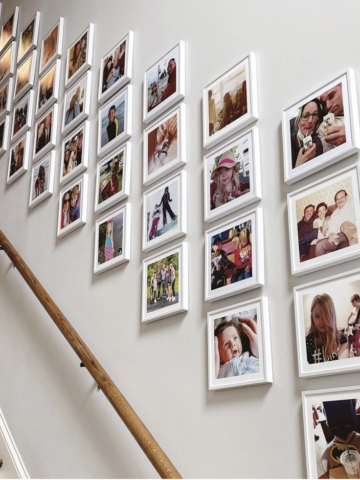
If you follow my instagram (which you totally should because sometimes I do super awesome and fun things), you would have seen my installation of our photo gallery wall the other day!
I have been waiting FOREVER to get our wall renovated so I could install this photo gallery wall. I found the most perfect frames at Ikea, and have been holding on to them for probably 6 months... yes 6 months, our renovation skills are SO SLOW. We are just super busy at the moment so a lot of our renovations are either super slow or completely at a standstill. We are still hoping to finish our basement by the end of this winter... but we will see!
This photo gallery wall has been on my to-do list for so long. I even wrote a blog post a while back just to spark some inspiration for it!
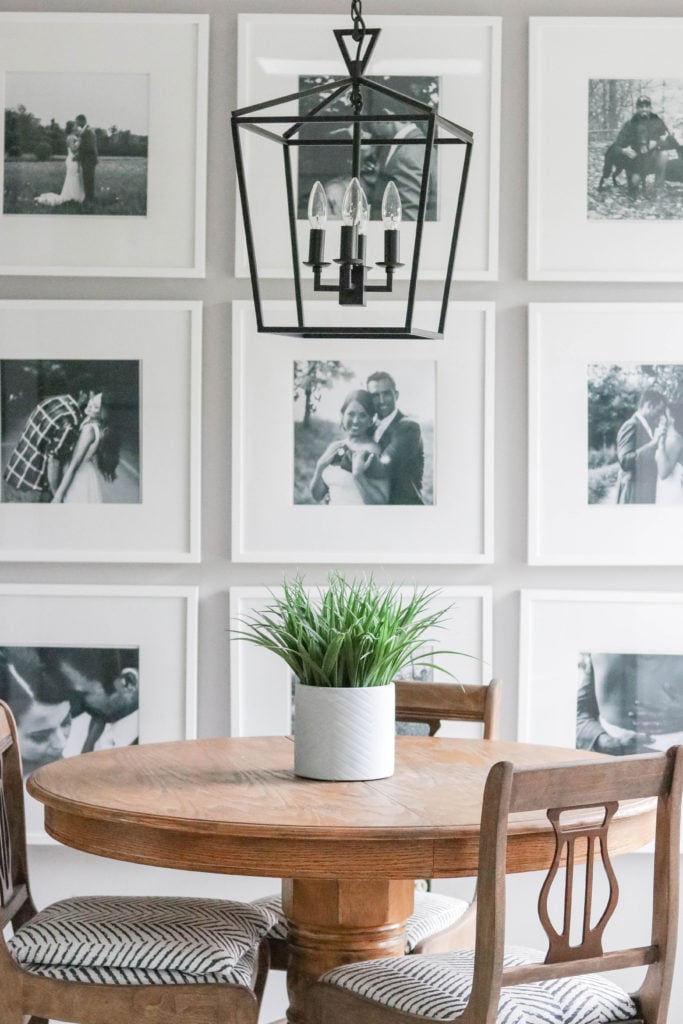
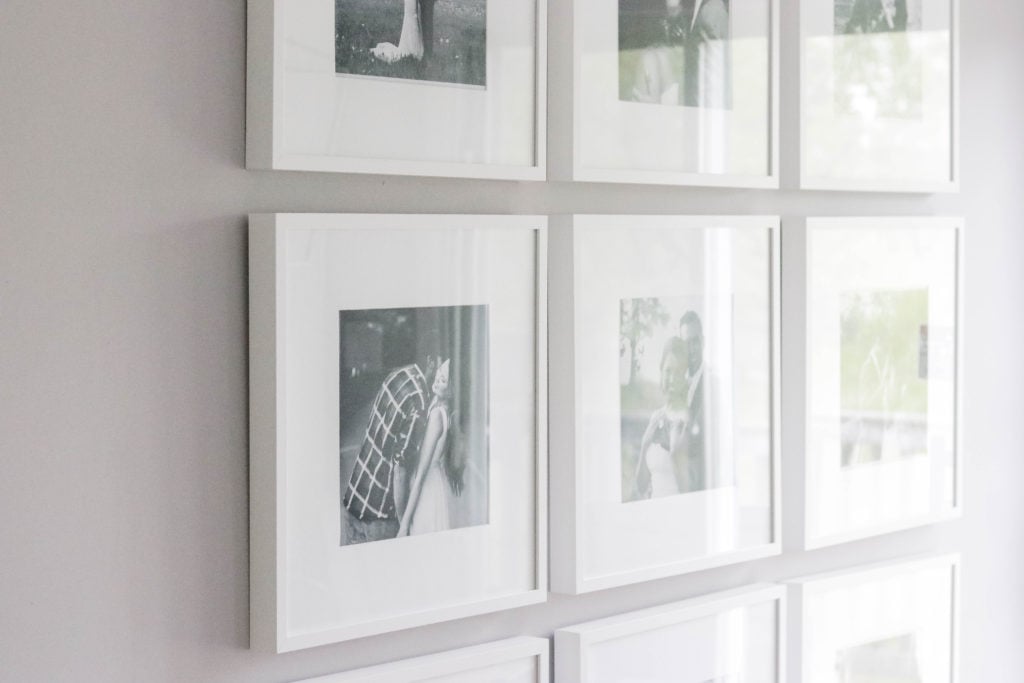
In this post, I am going to show you exactly how I achieved this look AND the easiest/fastest way to put it up. It took me under an hour to get these photos up on the wall and I didn't have to take any down or readjust any of them!
I did some research before putting up these frames because I knew it would take me a while to get them up and I didn't want to have to redo them if they weren't in line properly. SOOOOO this was the best process I came up with and OMG it worked AMAZING.
So lets jump into the details shall we?
How to Create a DIY Photo Gallery Wall: Tips & Tricks
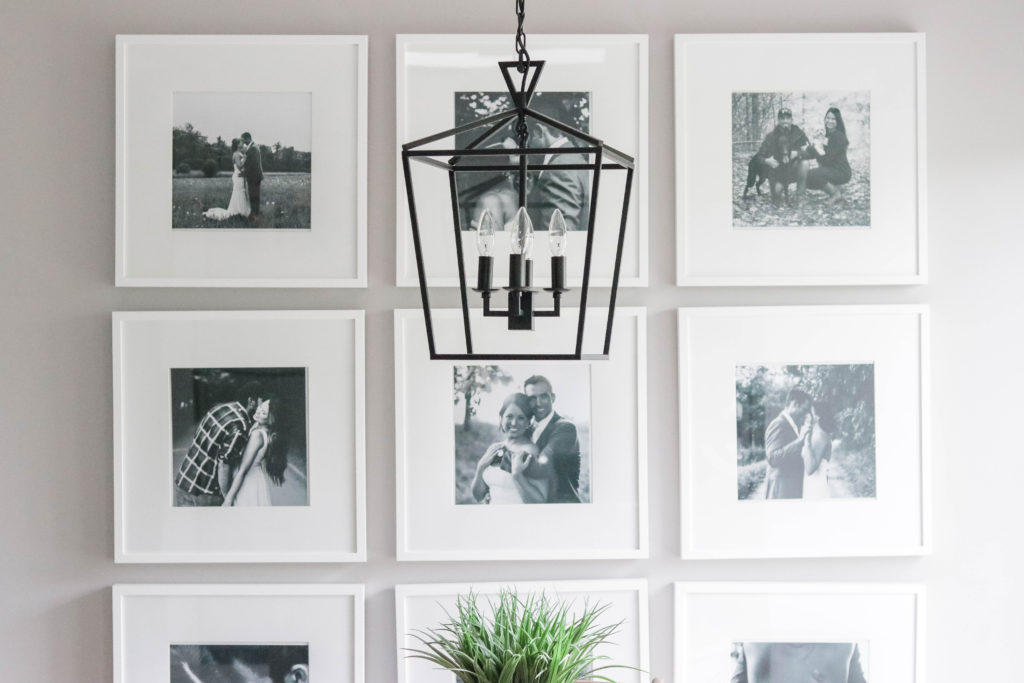
Tip 1: IKEA has a great selection of affordable picture frames.
So these frames are from Ikea. They had the BEST price for the biggest frames. I also find that if you're on the hunt for any frames, Ikea has the best selection for great prices.
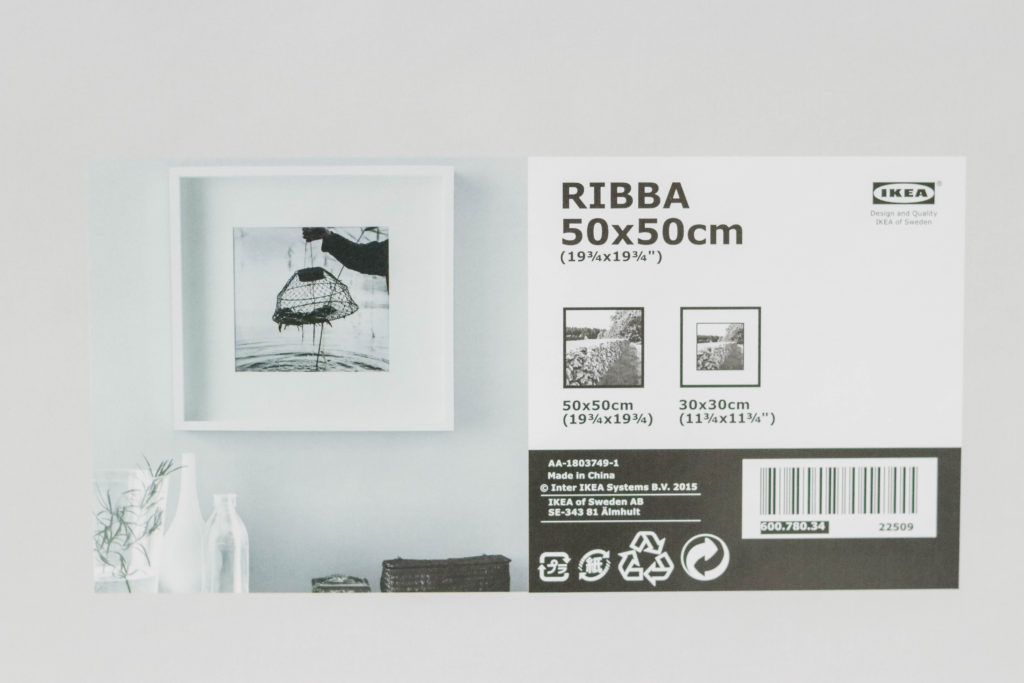
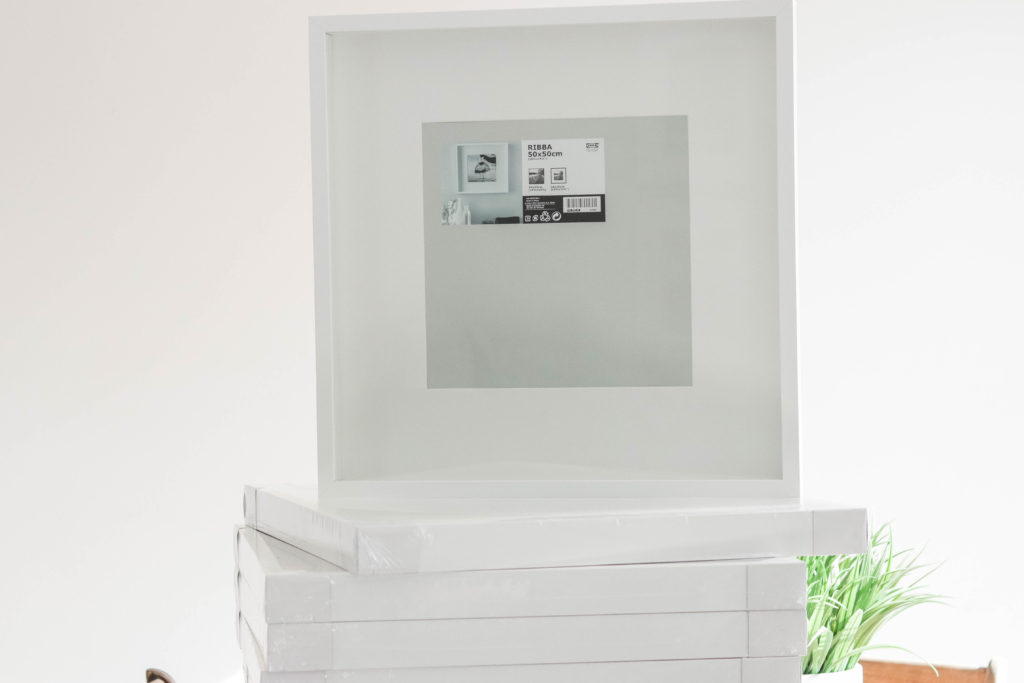
These are the 50cm x 50cm RIBBA frames.
I picked up 9 of these beauties.. I think they cost me $150 Canadian.
Tip 2: Use the picture frame paper inserts to plan your gallery wall.
I then took out the paper inserts in each frames.
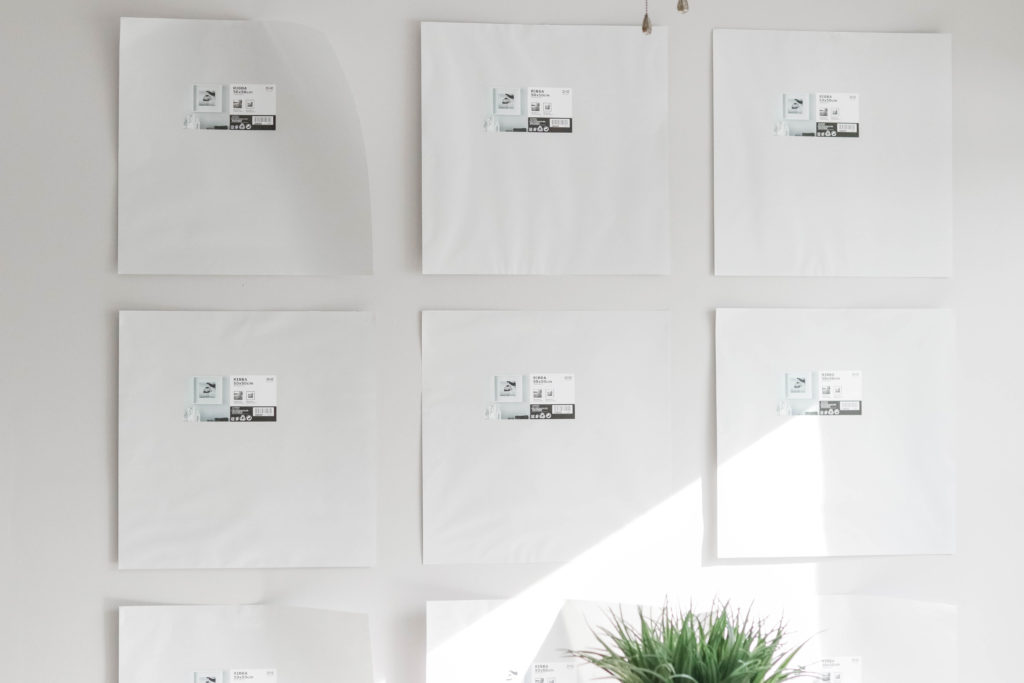
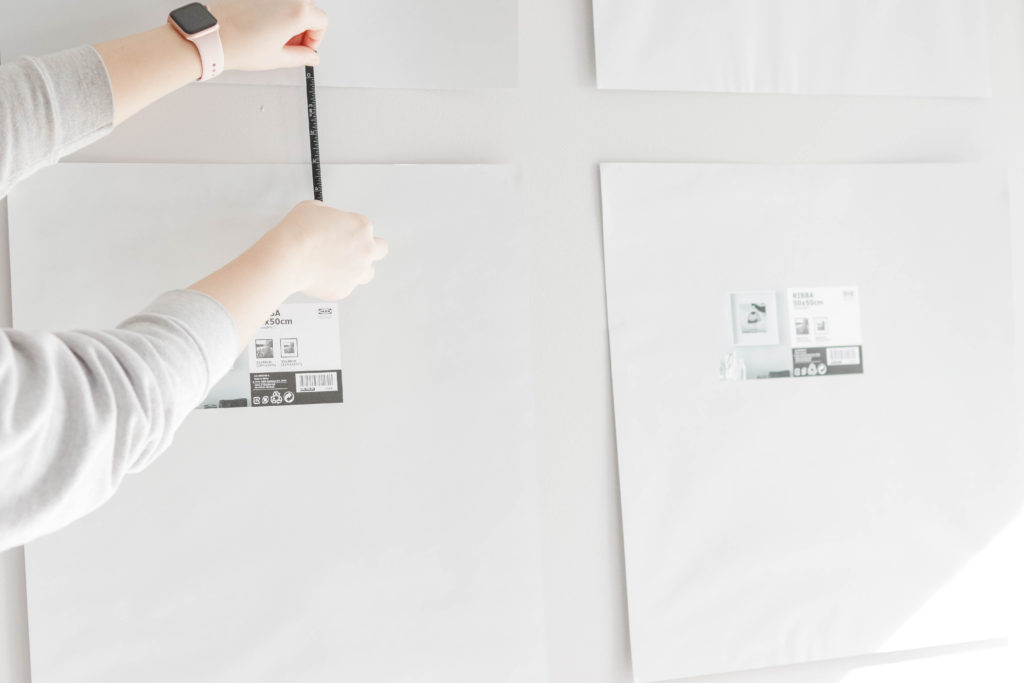
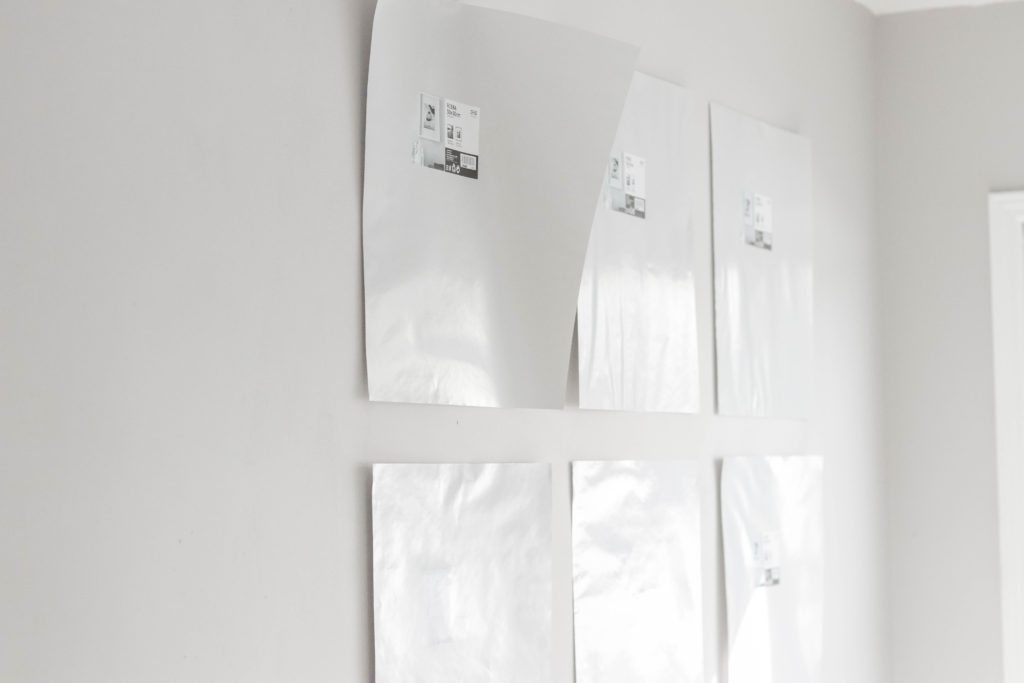
I then put these papers on the wall (with painters tape to make sure I didn't ruin my wall). I measured in between each paper to make sure I had the exact same distance on each side and in between.
Tip 3: Take time to review and replan your wall before bringing out the nails!
Once you have these on the wall, make sure you step back and analyze the wall. Make sure of the following:
- It's centred on the wall
- It is equal distance from the floor and the ceiling
- The distance between each frame is the looking you are trying to achieve
- The papers are all straight and not on an angle
Tip 4: Mark out where to insert the nails on the picture frame papers.
Once you are satisfied with the look, measure each paper and place an X on the centre. This is where you will place the nail.
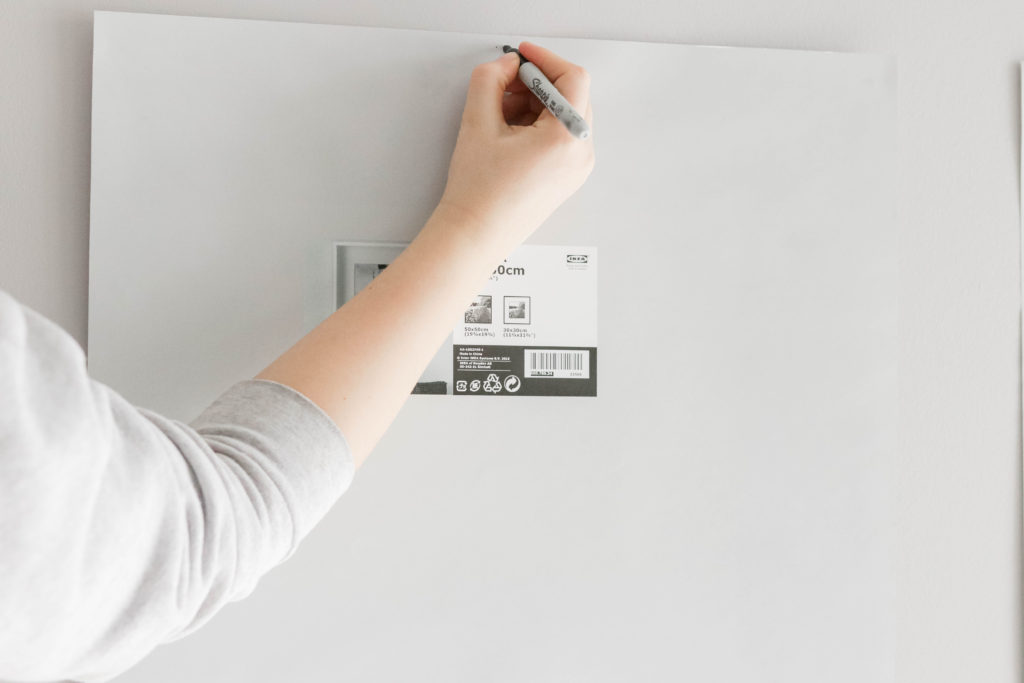
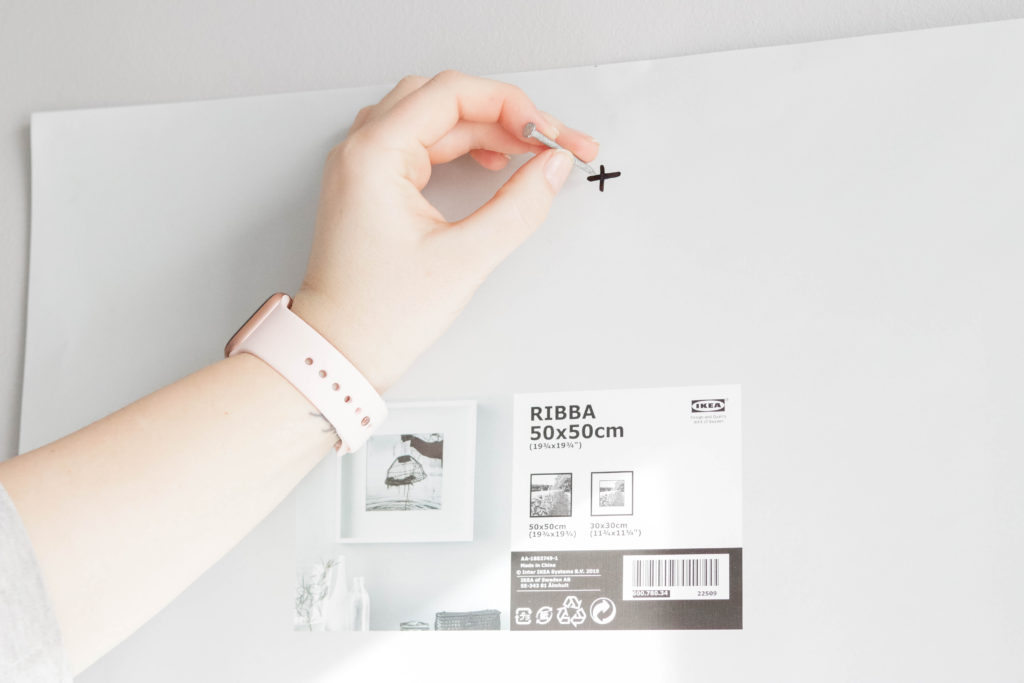
Hammer the nail in to each X
Once the nail is in place... rip the paper off the wall and you are ready to hang the frames!
Each frame should be perfectly aligned once you put them on the nails
And thats it!
You'll be so happy with this gallery wall. Every time I look at ours, it makes me so happy!
If you have any questions, make sure you comment below or email me so I can help you out 🙂
Until next time!
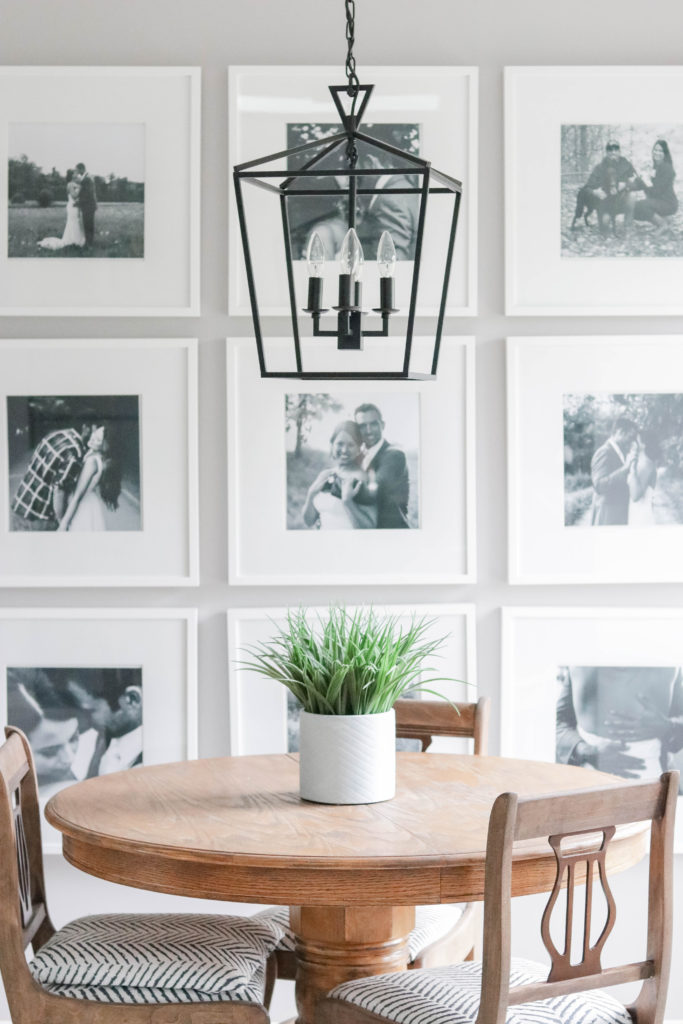

Photo Gallery Wall reveal with tips and tricks for putting up your very own picture galleries! {DIY + Wall Makeover}




Jackie
I want to do a photo wall like this! What size is the actual photos? Where did you get them printed? I’m not sure if I can use landscape and vertical prints and just crop them to the correct size. Any advice?
Nikki
I did 12 x 16 photos and there is a tiny white space on either side but you cant tell unless you look close. You could totally print bigger and crop though! That would make more sense haha