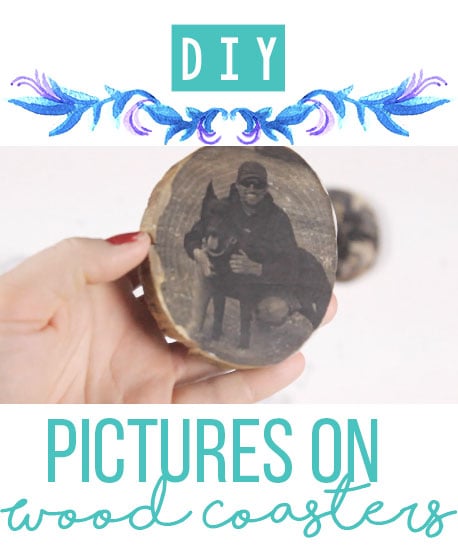
DIY Pictures on Wood Coasters; How to make wood photo coasters, easy step by step instructions. Everything you need and video visuals to help you create these wood photo coasters!
Disclaimer: this post may contain affiliate links, and every purchase made through these links will give me a small commission (at absolutely no extra cost for you!) AS AN AMAZON ASSOCIATE AND REWARDSTYLE MEMBER, I EARN FROM QUALIFYING PURCHASES. See Privacy Policy for additional info.
Hi beauties!
These coasters were the easiest gifts I have ever made for our family. I love being creative with gifts that are personalized and unique. I find that it shows that I care and that I put effort into putting together a gift for someone. Anyone can go out and get a gift card (don't get me wrong, a gift card is a great gift too), but I enjoy creating something worth while.
I originally watched a video on YouTube about transferring photos onto wood plaques to hang on the wall. So I wanted to put my own spin on it and create little log photo coasters.
It was actually quite simple to do, even though it looks complicated! I did put together a youtube video so you guys can watch the whole process too! Scroll to the bottom of this post to watch it 🙂
This post is about DIY Pictures on Wood Coasters
DIY Pictures on Wood Coasters Project Materials:
- Log/Wood pieces for the coasters - I got Dylan to slice up my log for me but I am pretty sure you can purchase these pieces at Michaels, or buy them off Amazon.
- Mod Podge - great crafting glue, many different variations, I used the satin gloss finish. You can pick it up at michaels, walmart or here on Amazon.
- Paint Brushes - any small paint brushes will work.
- Photos - It is extremely important that you print your photos using a LASER PRINTER. The majority of us have ink printers which will not work. Go to staples and get your photos printed there. Ask for thin paper too! You can use colour photos too but I preferred the look of black and white.
Steps to Make these DIY Wood Photo Coasters:
DIY Pictures on Wood Coasters; How to make wood photo coasters
- Cut and Sand Wood Log
If you are not using store bought wood, you will need to cut your log into coasters and sand them right down. You want to make sure they are as smooth as possible!
- Print Photos, Size Them For The Wood Pieces
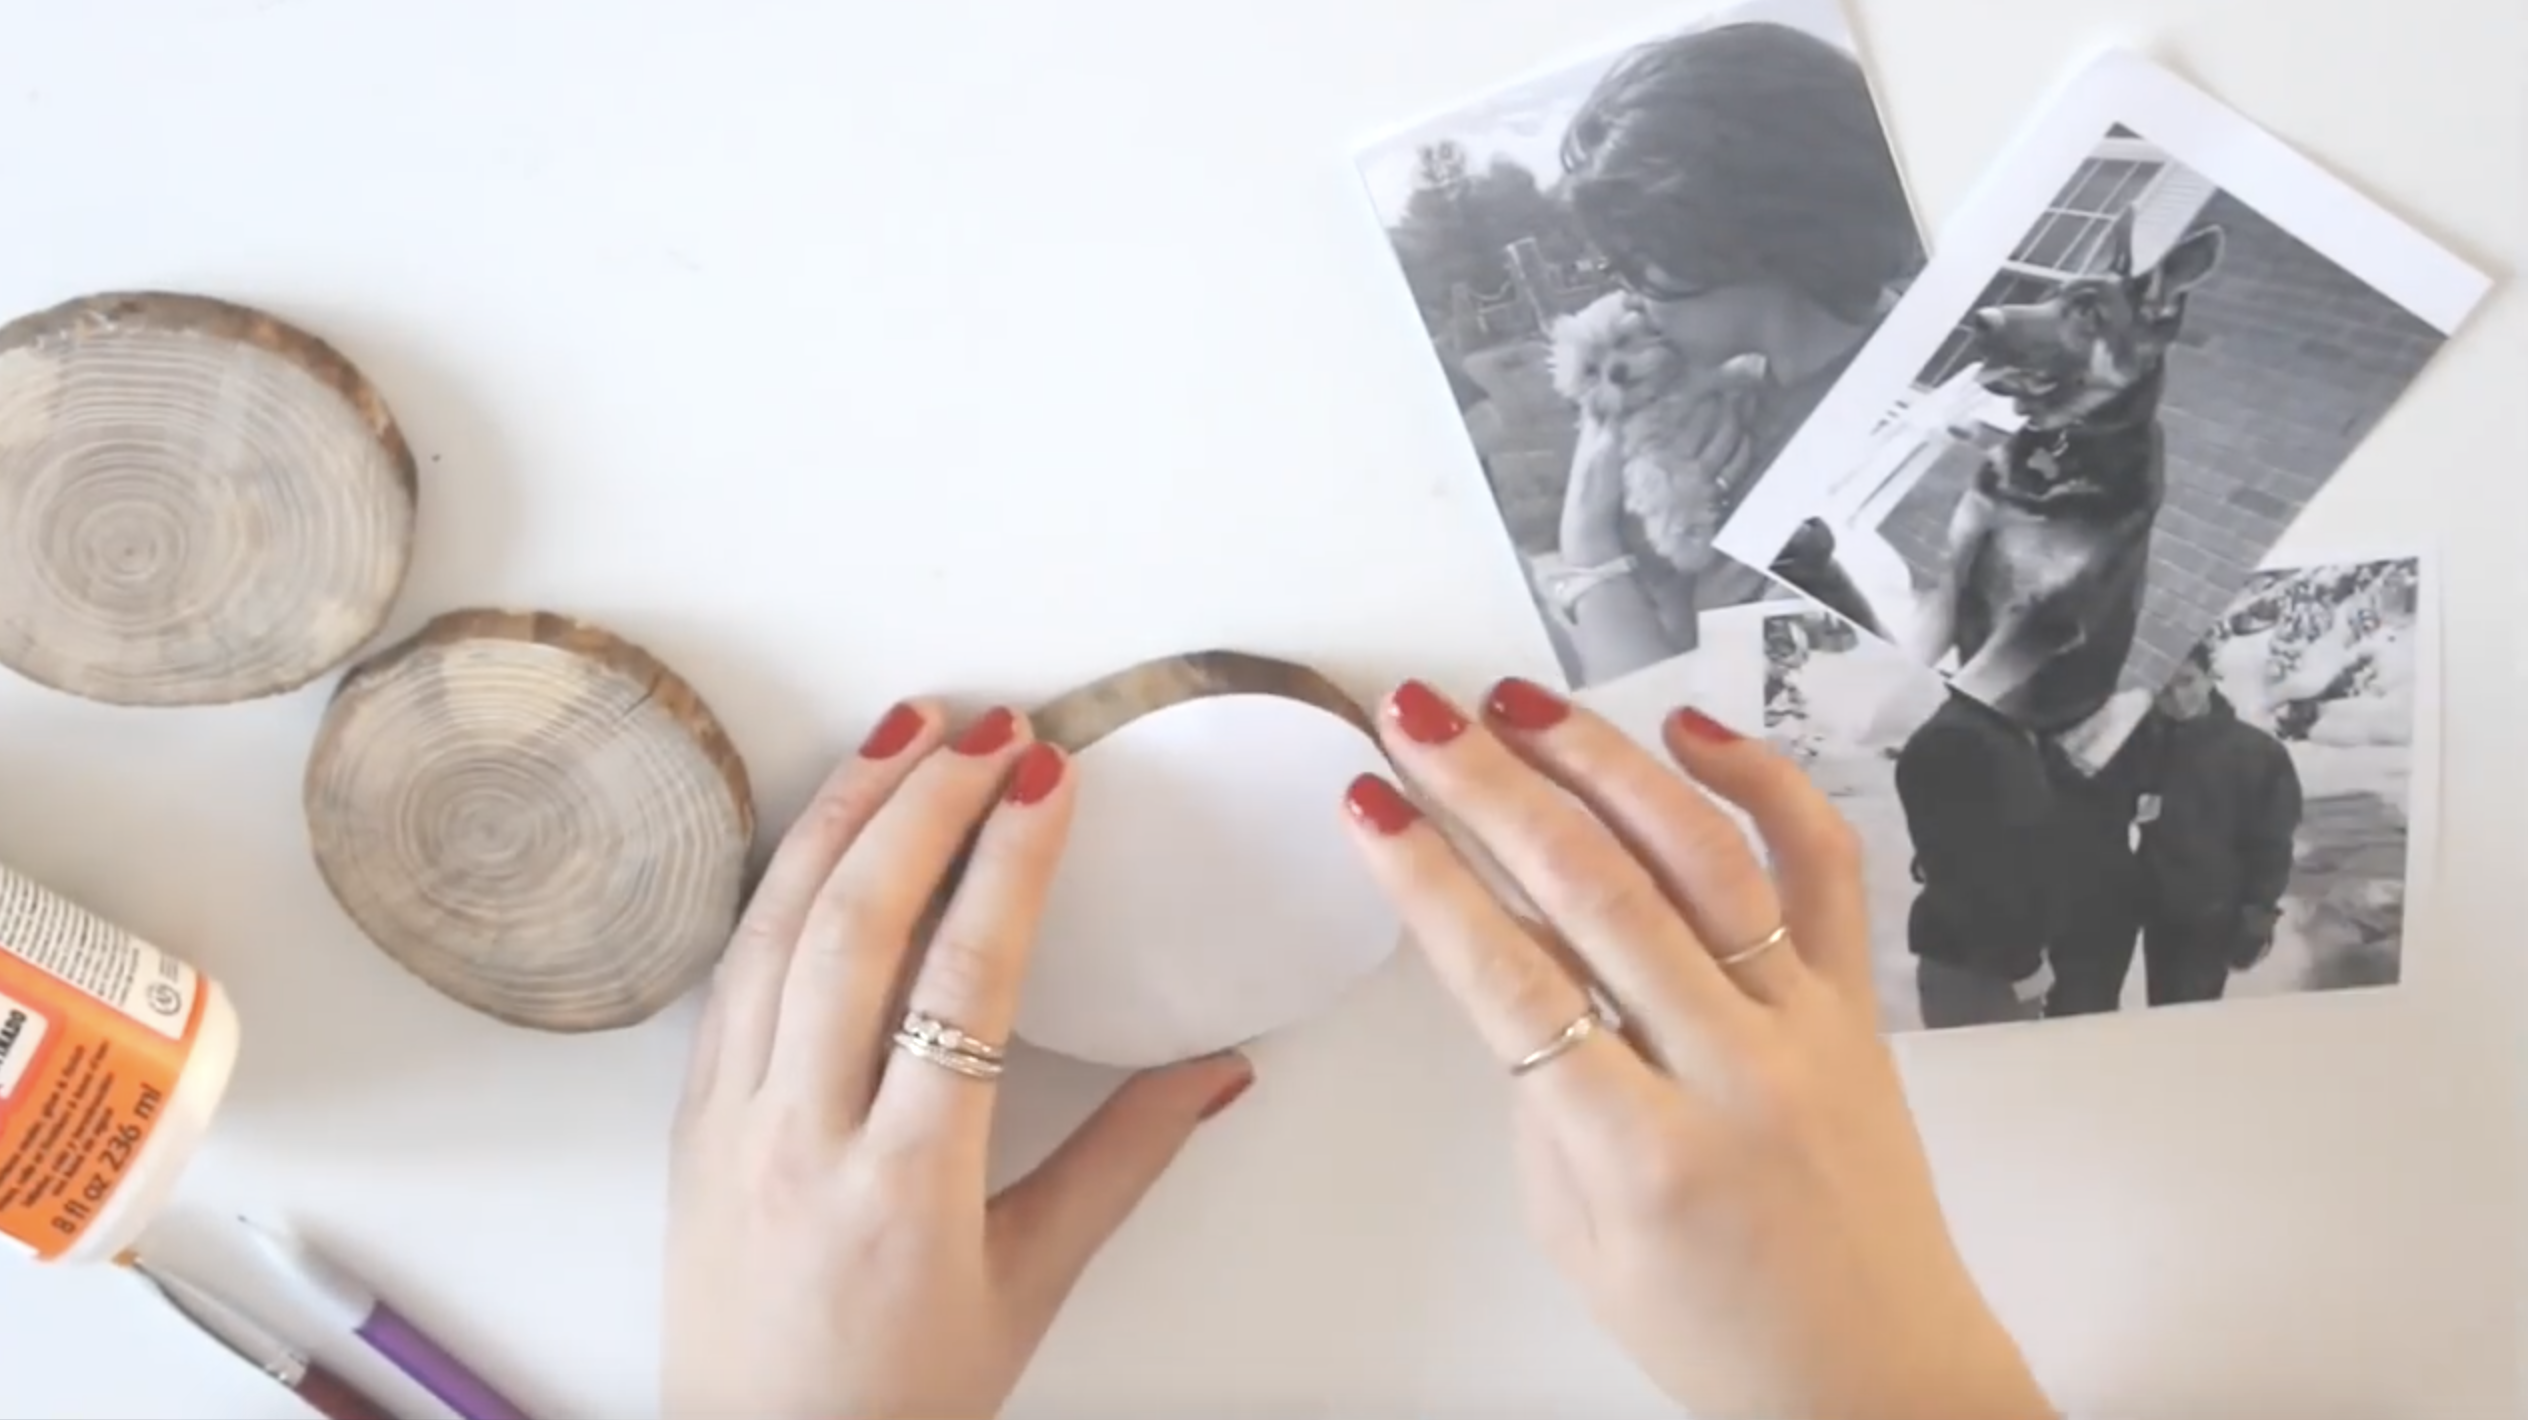
Print your photos using a laser printer. Make sure they fit the wood pieces. Once printed, trim them to fit right over the wood.
- Mod Podge the Wood
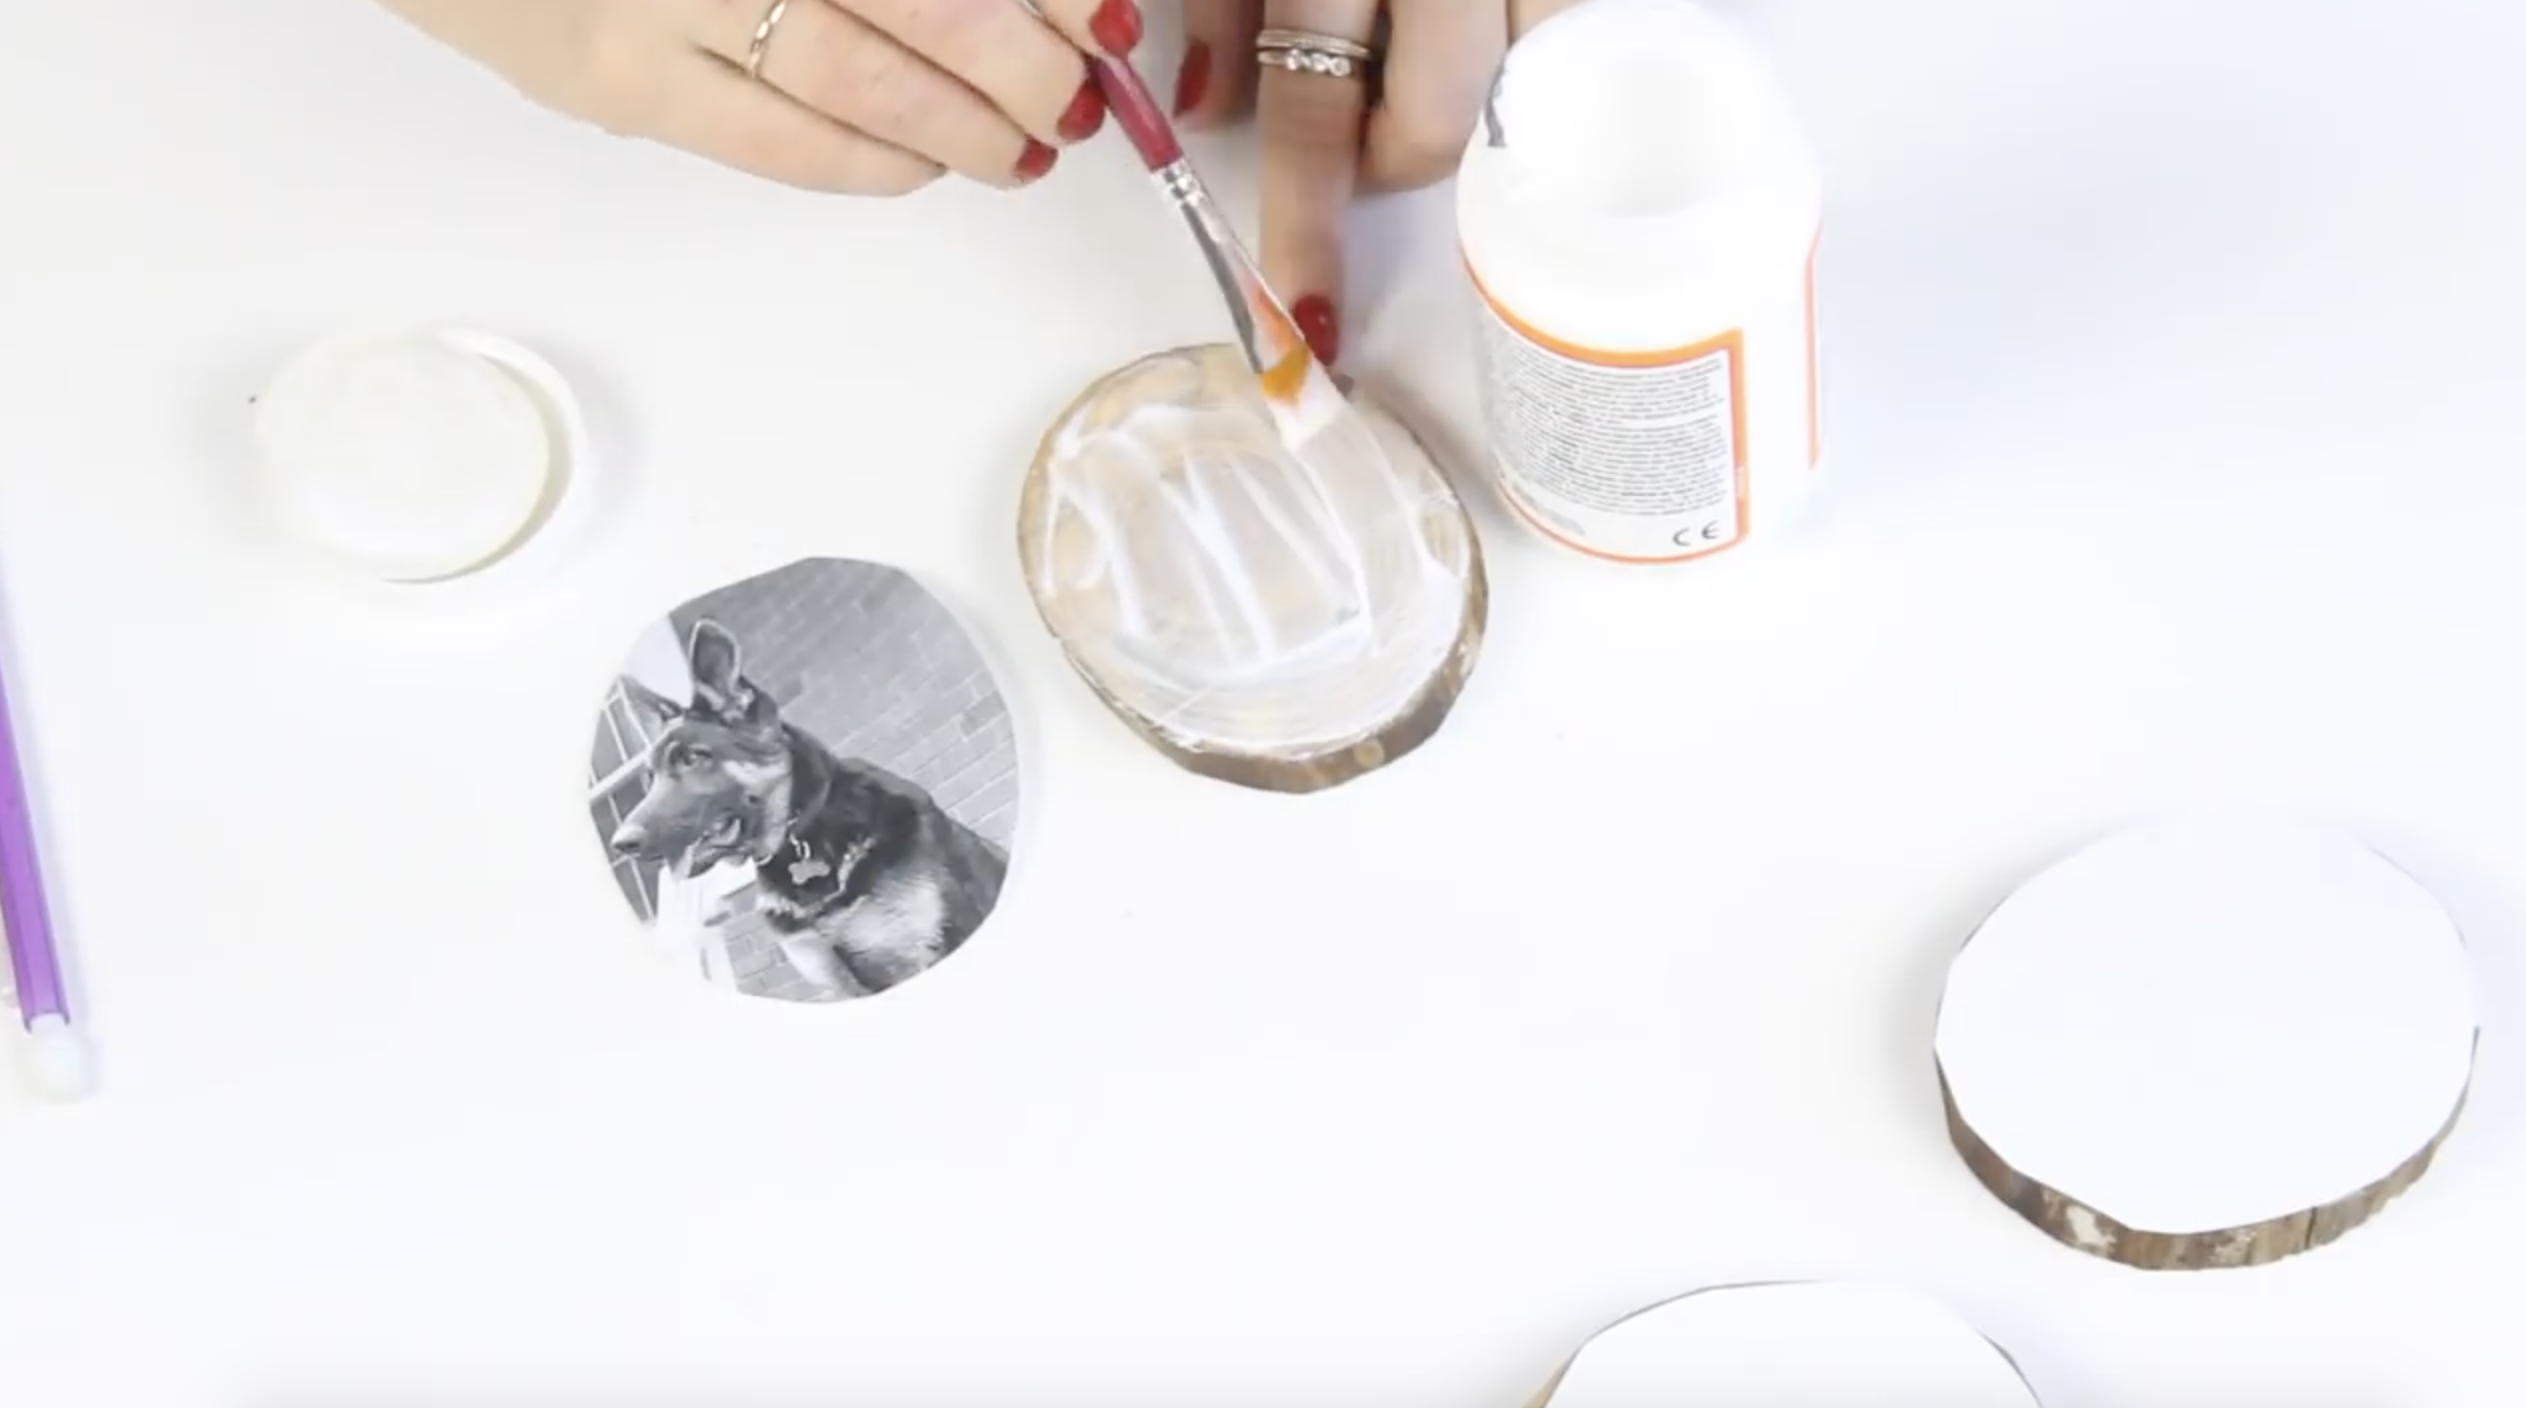
Paint a very thick layer of white Mod Podge on top of the wood.
- Press Photos onto Mod Podge Covered Wood
Place the photo over the Mod Podge RIGHT AWAY. Do not wait for it to dry! Press the photo down onto the wood and make sure to smooth out any air bubbles. I used an old rewards card.
- Let Sit for at least 8 Hours
Put them aside for at least 8 hours, I left mine overnight.
- Drape a Wet Cloth over Coasters
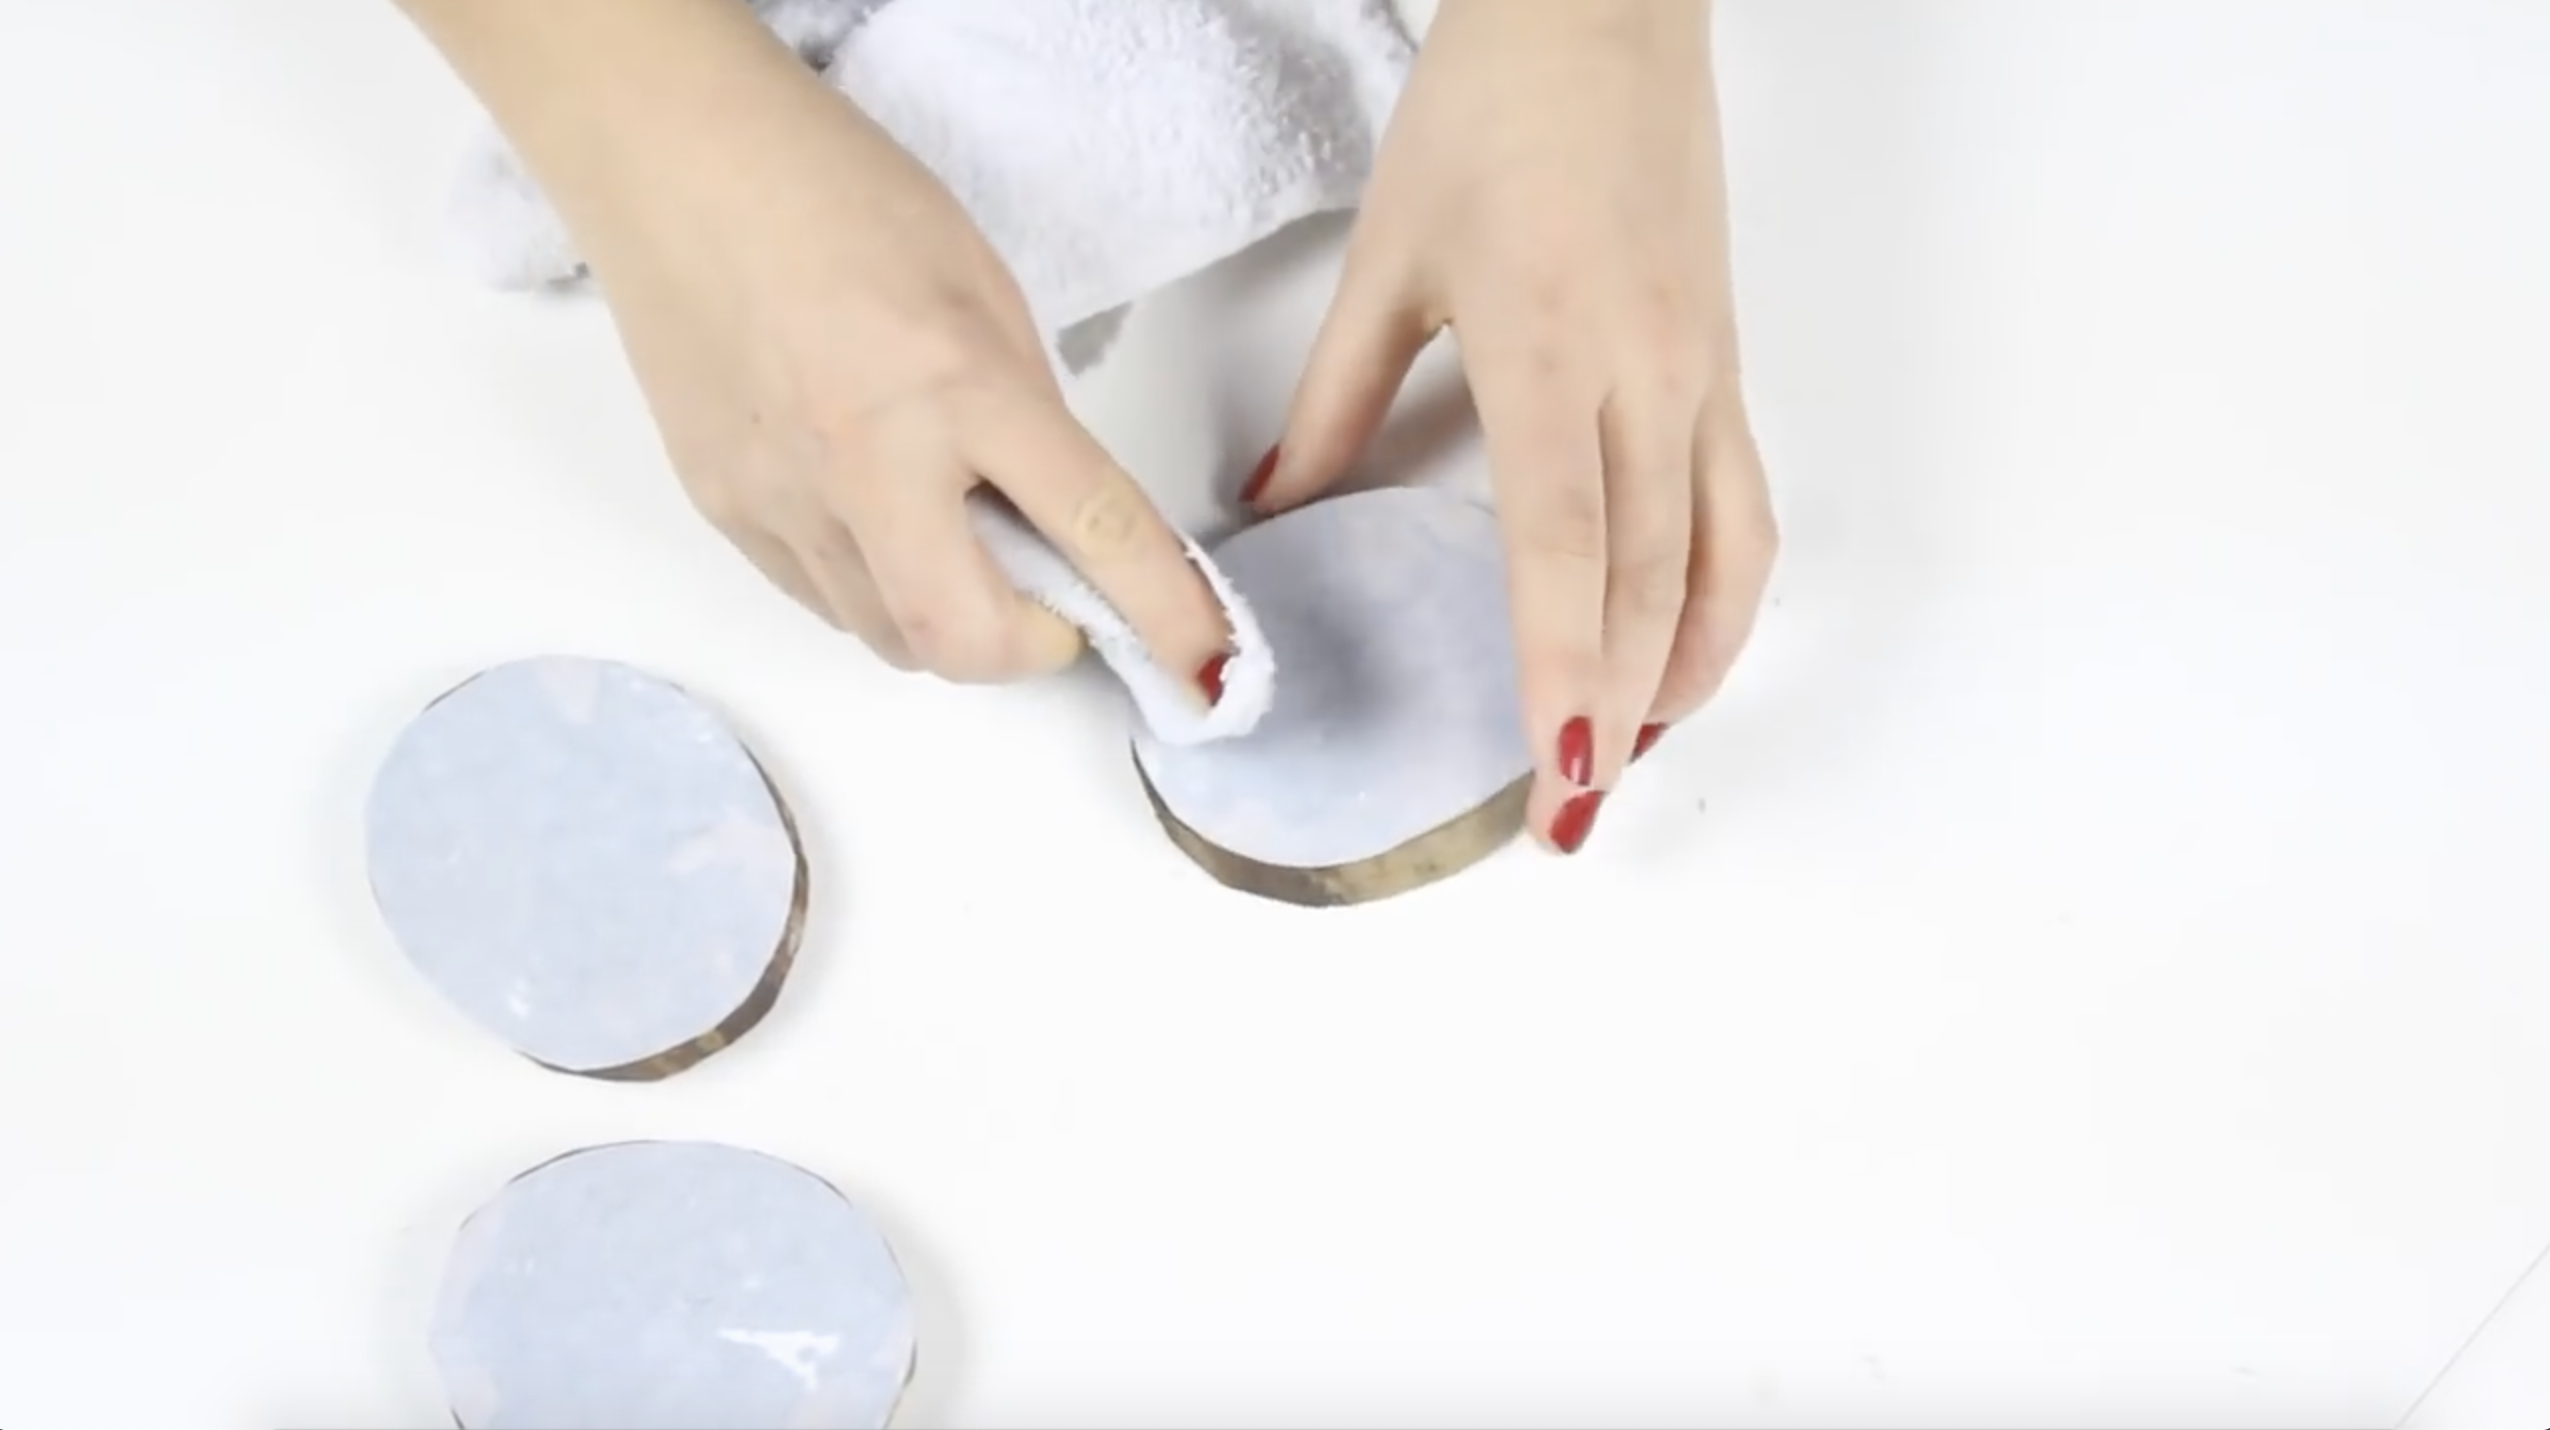
Drape a wet cloth over them for 5 minutes.
- Scrub Away Paper
Lightly scrub the paper away in circular motions. Make sure you scrub lightly!! ... oh and sorry about the mess this makes hehe
- Let Dry Completely
I set them aside for an hour so they would completely dry before the final coat.
- Clear Wood Glaze
I used a clear wood glaze coat on top to make them shine (optional).
I hope you enjoyed this DIY wood photo coasters post!
If you have any questions about this DIY, leave it in the comment section below and I'll make sure to get back to you on it!
If you make any of my DIY projects please tag your photos with #nikkisplate so I can see your beautiful creations! Any feedback in the comments below is greatly appreciated. I hope you have fun!
This post is about DIY Pictures on Wood Coasters
If you liked this post, you will LOVE these too!:
- HOW TO TRANSFER PHOTOS TO WOOD PLAQUES
- DIY BARNWOOD PICTURE BOARD
- EASY DIY FRAMED QUOTES








Leave a Reply