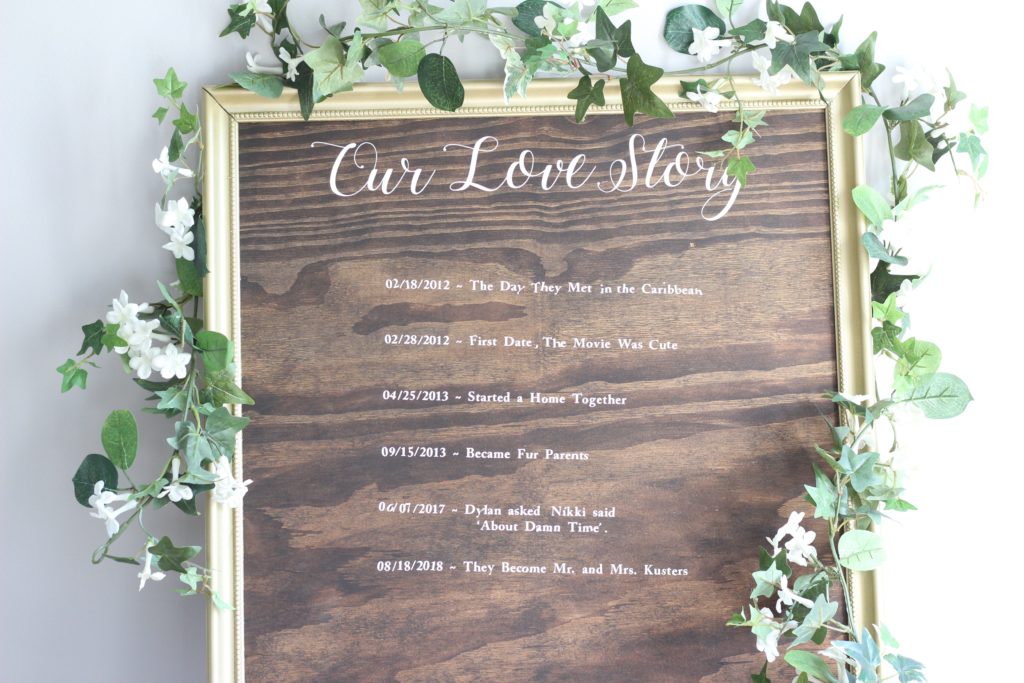
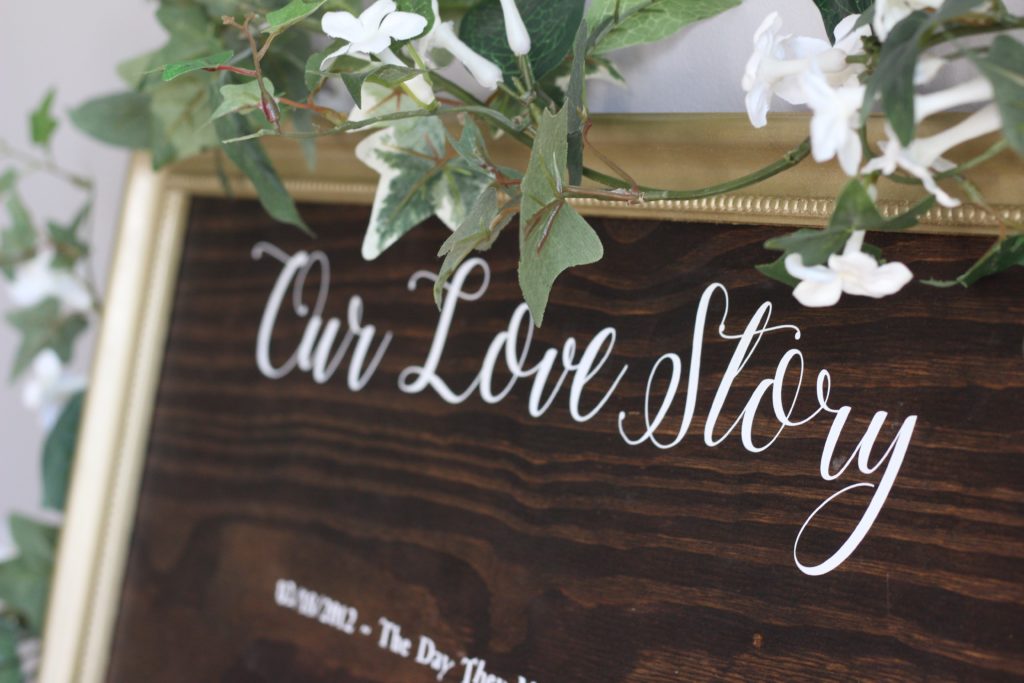
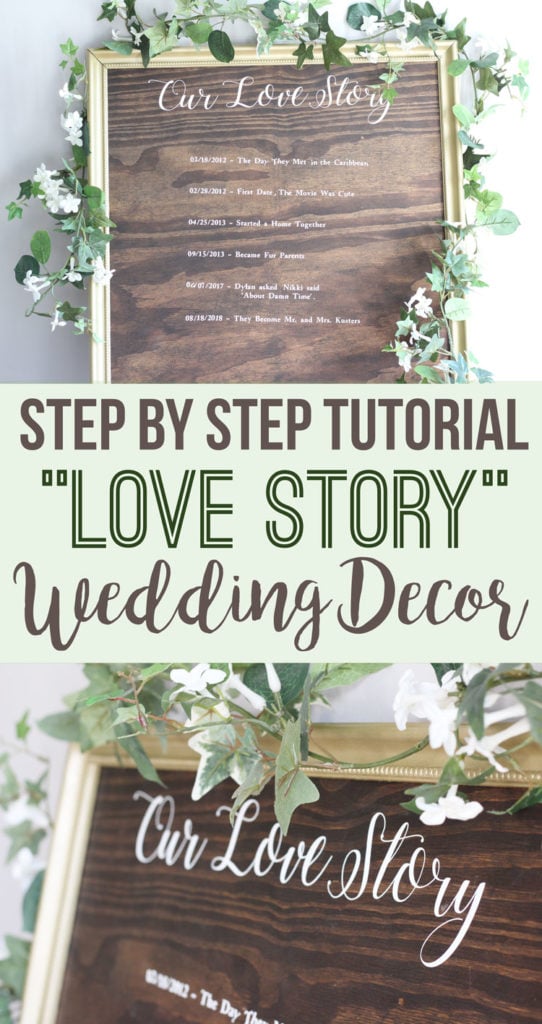
As you may already know, our engagement party was last month. I made this "Our Love Story" sign for the party!
Disclaimer: this post may contain affiliate links, and every purchase made through these links will give me a small commission (at absolutely no extra cost for you!) AS AN AMAZON ASSOCIATE AND REWARDSTYLE MEMBER, I EARN FROM QUALIFYING PURCHASES. See Privacy Policy for additional info.
I will also be using it at our wedding but just wanted to show everyone how I made it because it was super easy and SO INEXPENSIVE compared to the ones you see for sale online and at the stores. I'll give you a price break down at the bottom just to prove it to you!
I will confess though, I originally saw this sign on Pinterest and thought it was the cutest thing ever! What a fun way to tell your love story to your friends and family.
So lets jump right into the DIY behind this adorable sign. Ready set GO:
How to Make Your Own "Our Love Story" Sign
Step One: Gather materials for the project
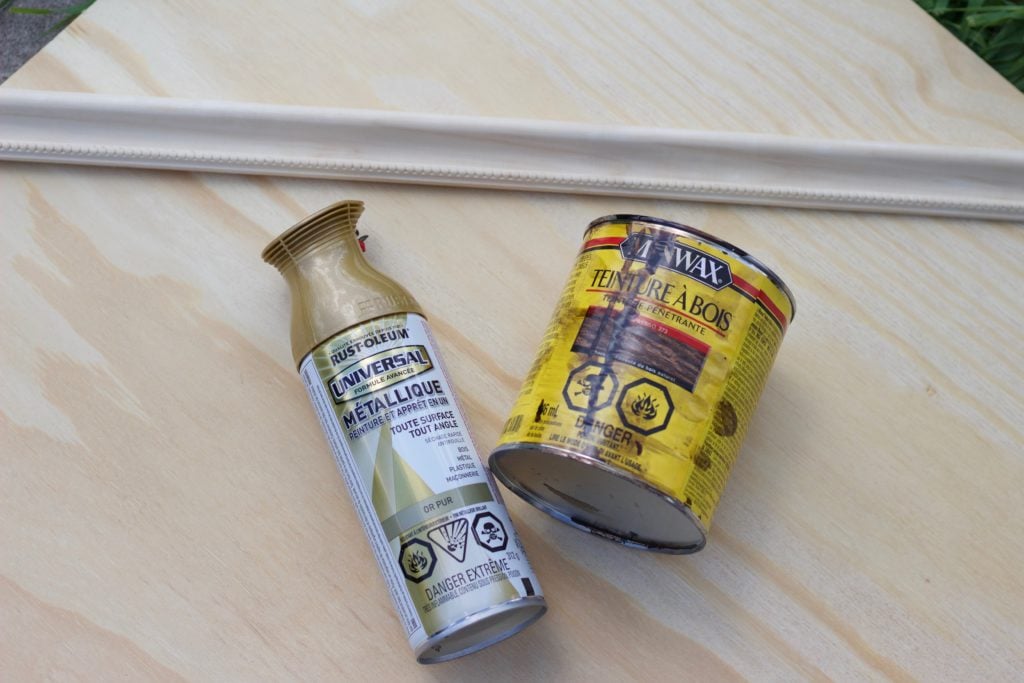
You will need the following:
- Small can of MiniWax Stain (colour of choice, I used Dark Walnut)
- Small square of plywood (Size of choice)
- Trim of choice to use as the frame
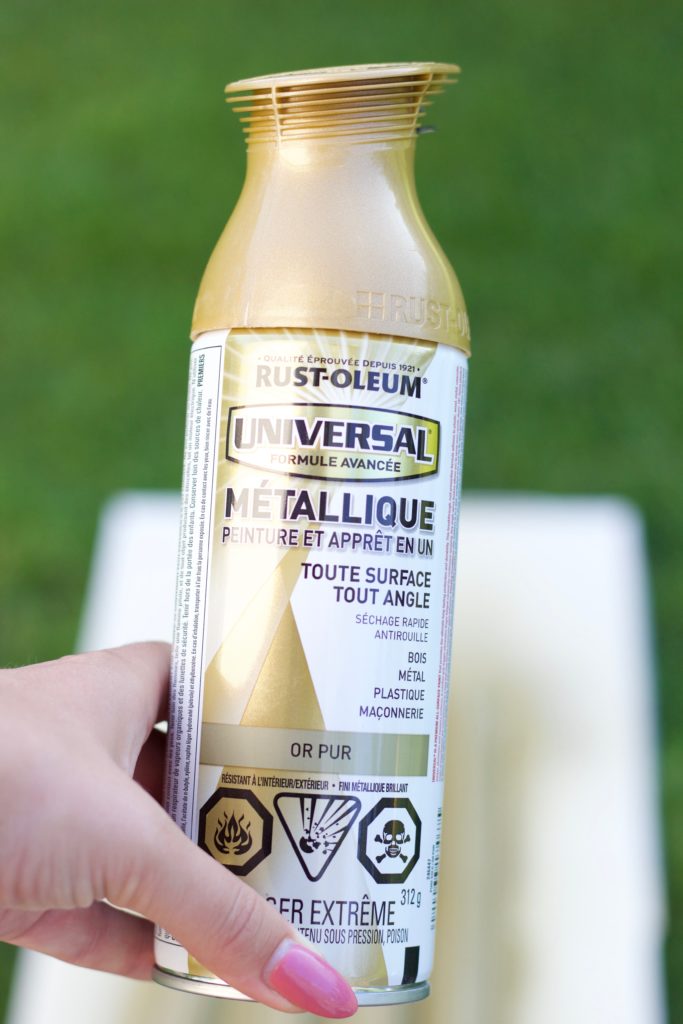
- Universal Metallic Spray Paint in Gold
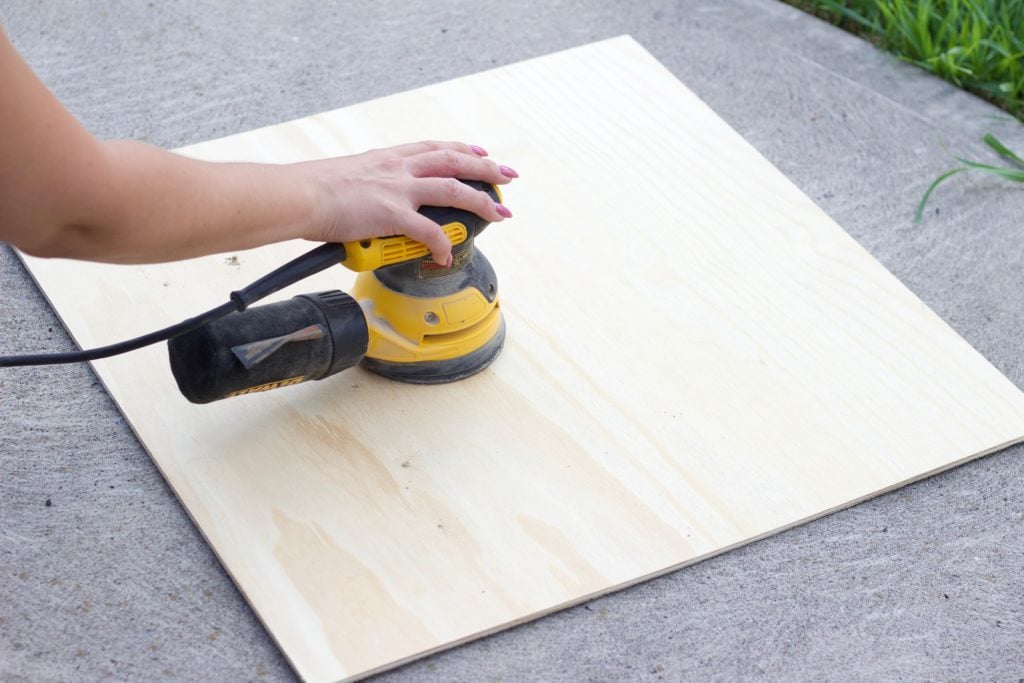
- Orbital Sander
- Strong Carpenters Glue
Step Two: Sand down the plywood so it is smooth for staining
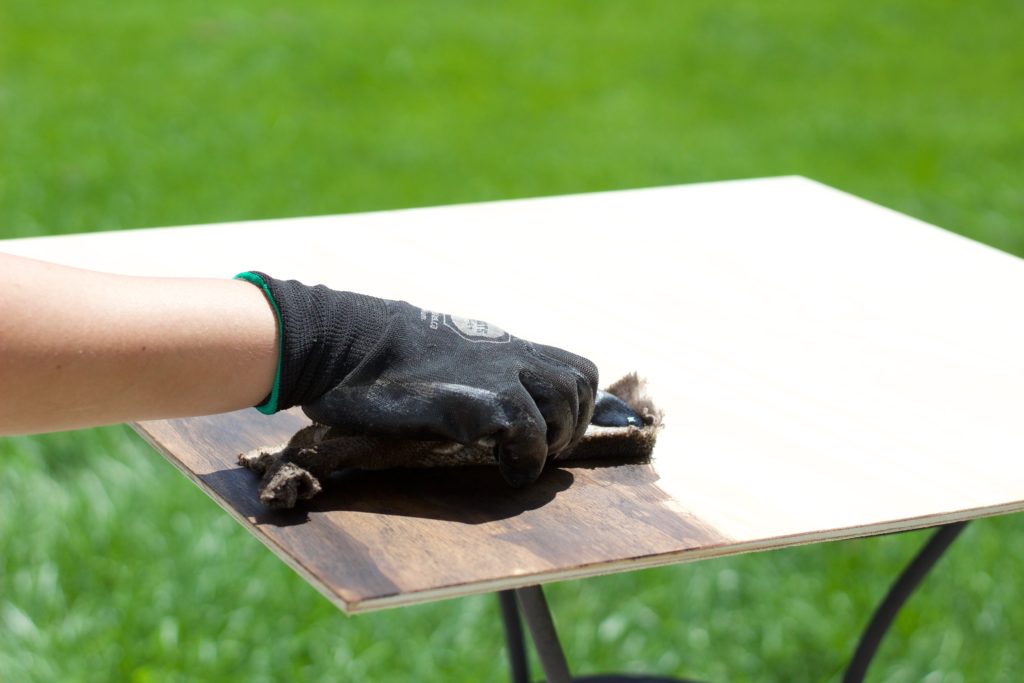
Step Three: Stain the board
Use an old rag or an old sock and smear the stain onto the plywood evenly. I prefer this method rather than using a paintbrush or a roller. I find it just allows you to see the natural wood grain better. You make need to do more than one layer, depending on how dark you want the sign to be.
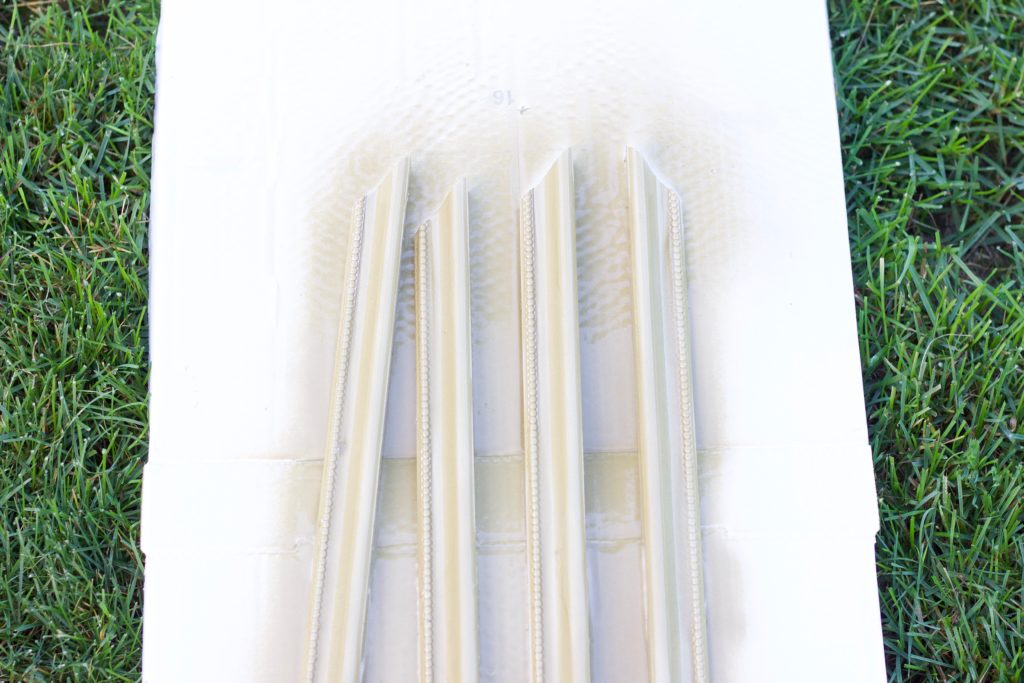
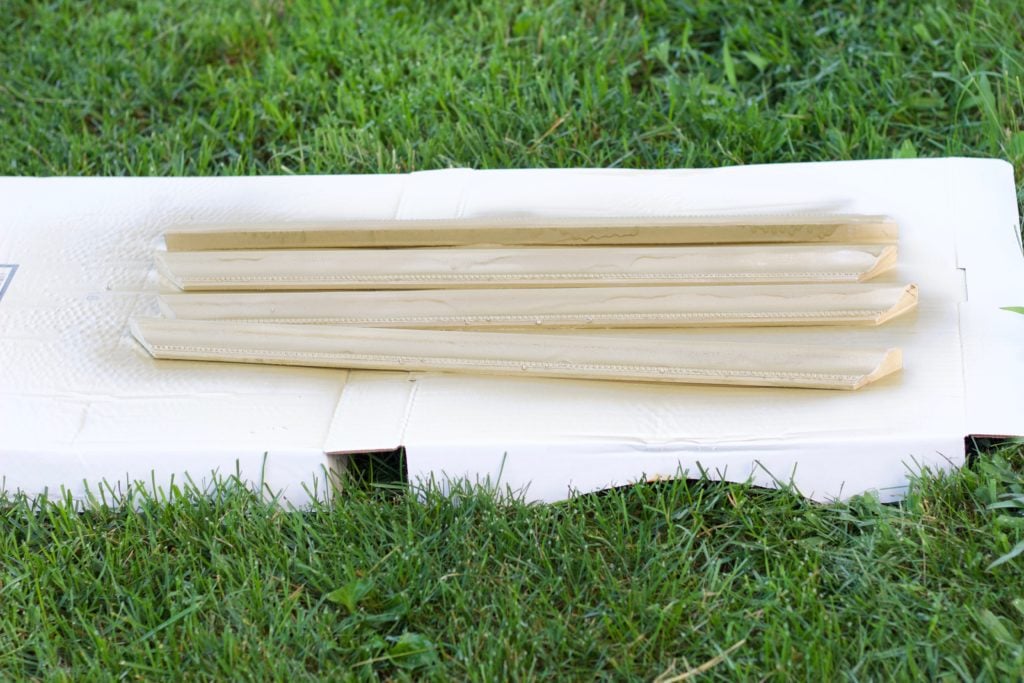
Step Four: Cut and spray the frame
Once you have the staining done, time to work on the frame. Measure and cut your trim to resemble a frame. Make sure you angle each end to fit together.
I also used an old pizza box that Dylan left laying around the garage (yes, EW.) as the backdrop for spraying. When I was redoing our shutters on the house, I sprayed them right on the grass (newbie mistake) and we had the outline of the shutters sprayed into the grass for a few weeks. OPPS. Never again.
I waited 24 hours until everything was dried before gluing the frame to the plywood. Ok, Dylan glued it for me... he just used heavy duty carpenters glue, and it has held together perfectly.
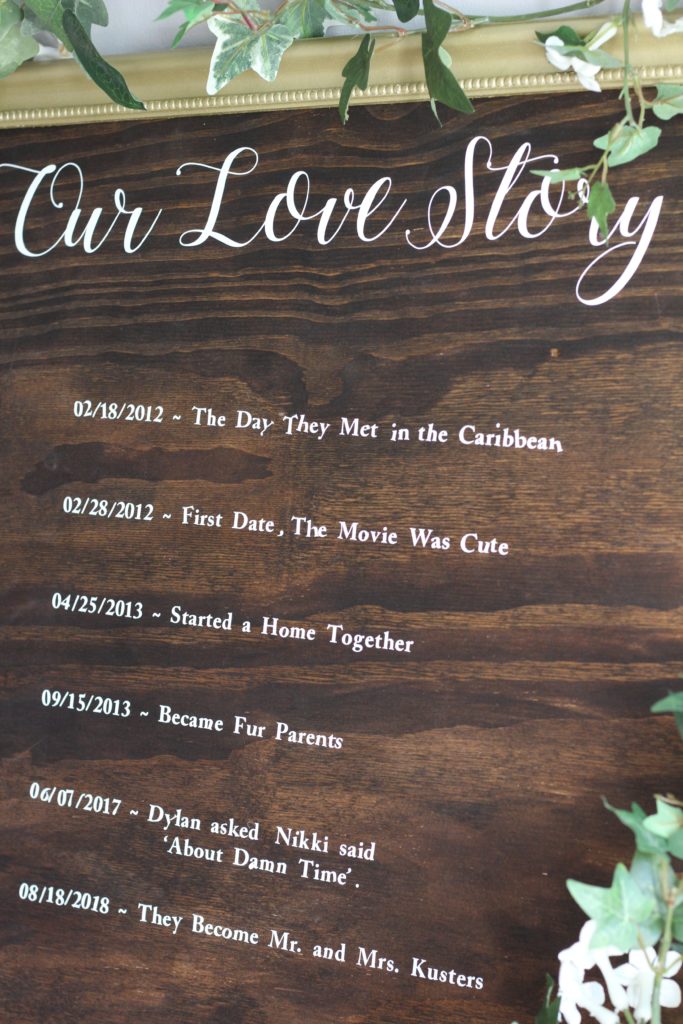
Step Five: Use paint or a Cricut Machine to put the words on the sign.
I used my Cricut machine for mine and accidentally put the timeline on an angle. I was so upset and had no way to change it. So make sure you draw a temporary line so it is all straight or you will regret it!








Leave a Reply