Our Backyard Playset Makeover; Check out how a little hard work and a few dollars can completely change the look of any playground for kids!
Disclaimer: this post may contain affiliate links, and every purchase made through these links will give me a small commission (at absolutely no extra cost for you!) AS AN AMAZON ASSOCIATE AND REWARDSTYLE MEMBER, I EARN FROM QUALIFYING PURCHASES. See Privacy Policy for additional info.
Hi Beauties!
So excited to share today's post with you! We updated our kid's backyard playset! This super simple upgrade me our backyard look SO MUCH BETTER! I am extremely happy with the way it turned out and would do it again in a heartbeat! So if you are looking for a sign to redo your old playset in your backyard, this is it!! Time to grab a paintbrush and some outdoor fabric and get to work!
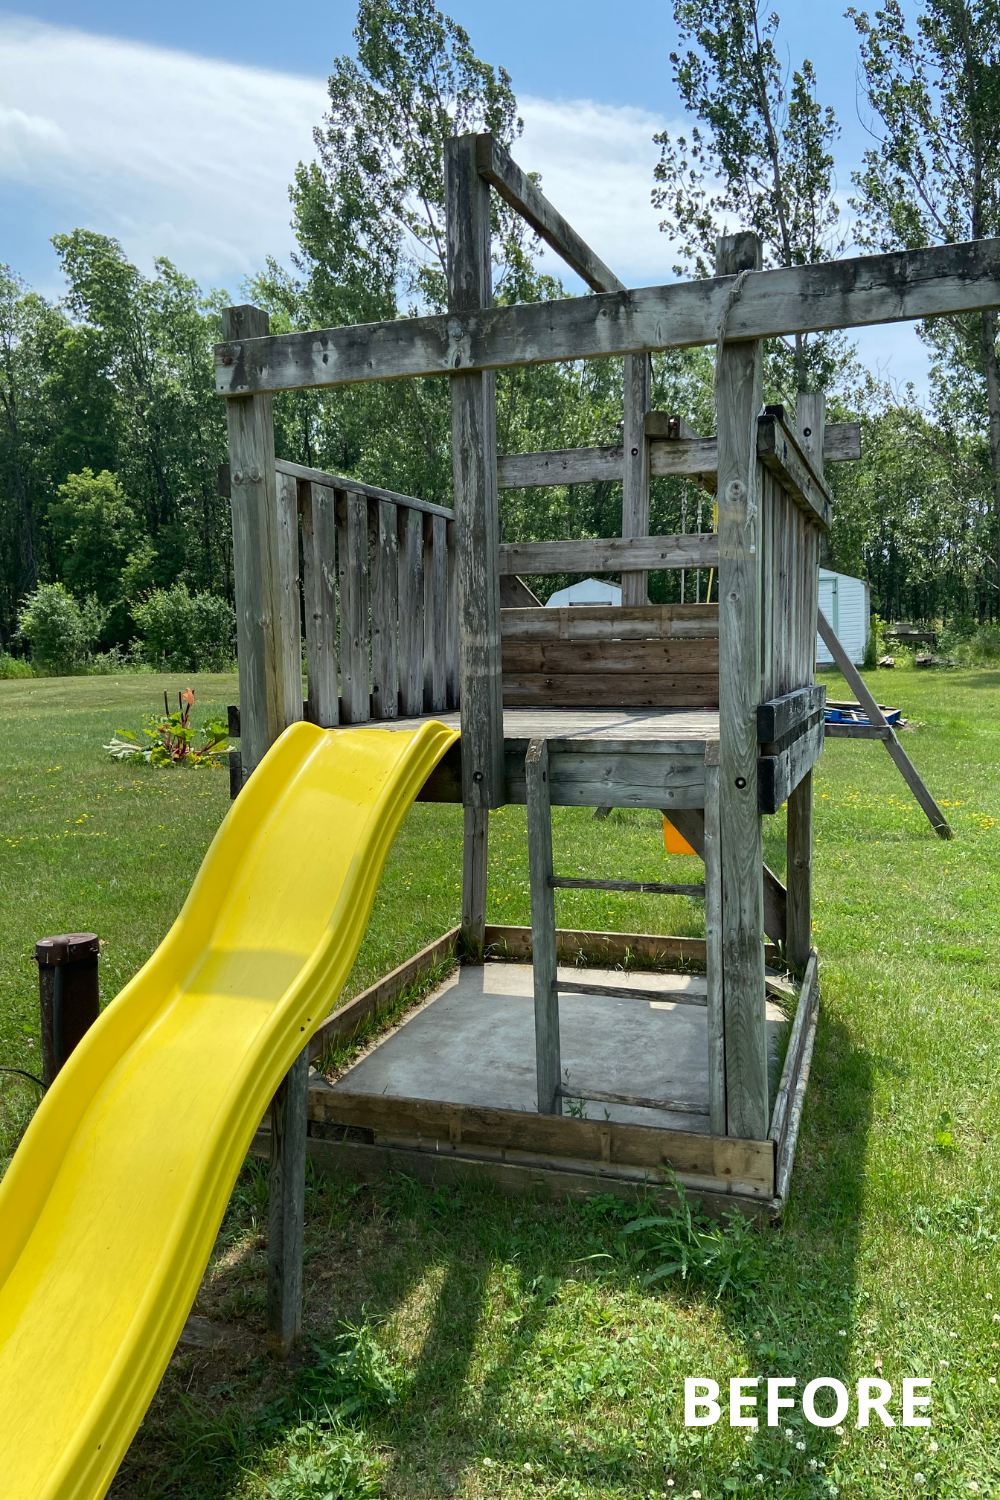
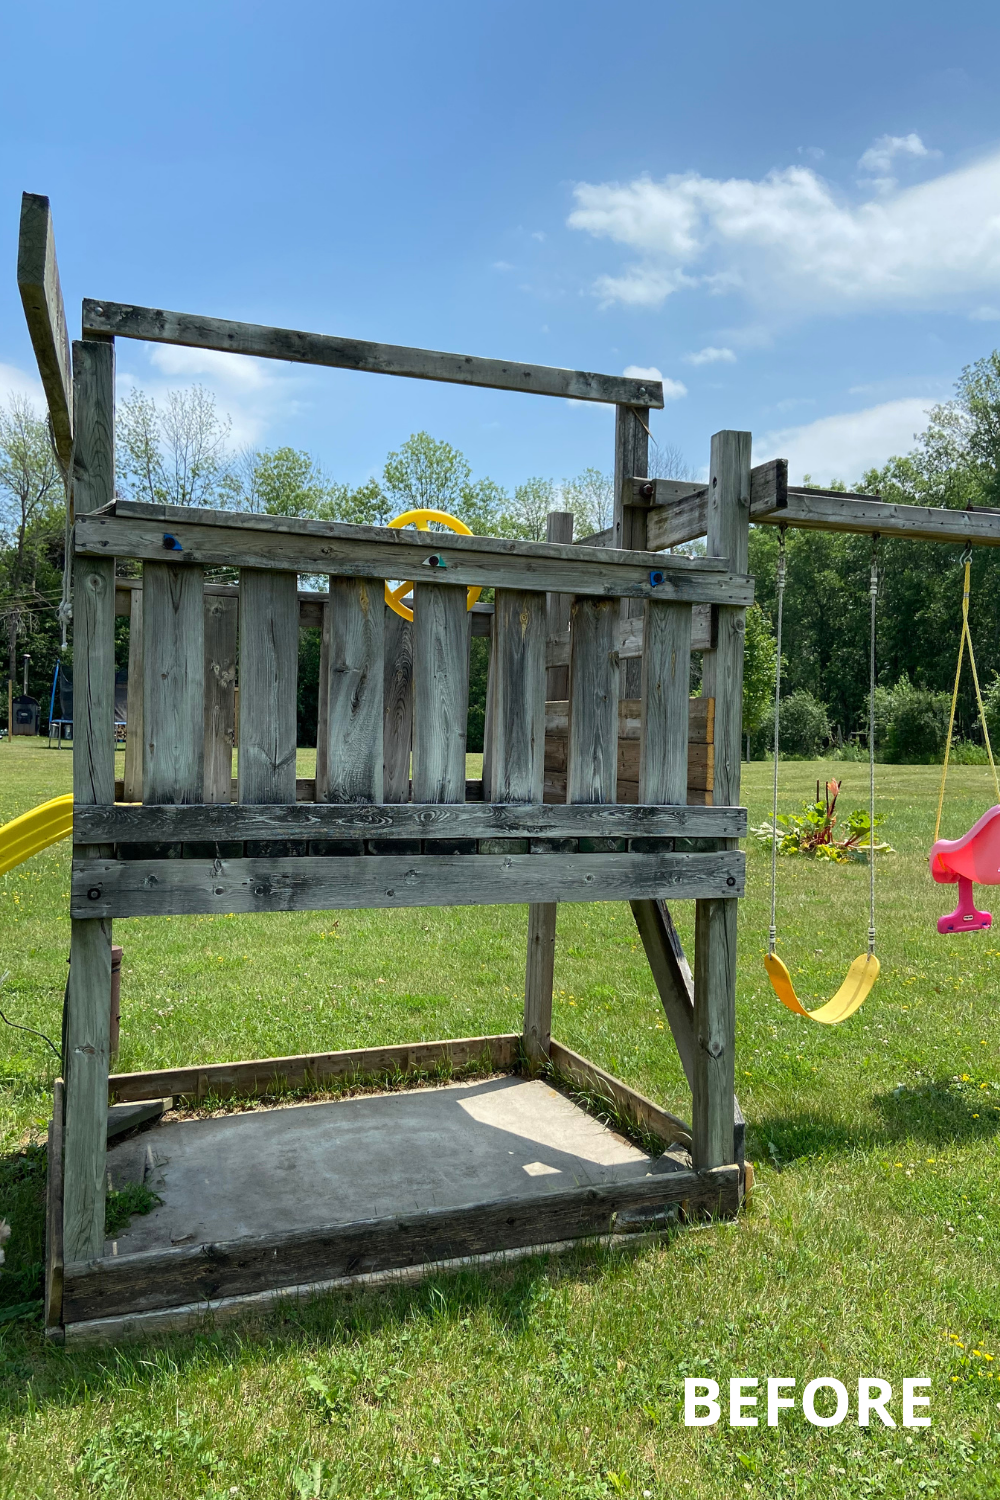
So let's start off talking about our playset here. It's old, I am pretty sure it is at least 15-20 years old. When we bought our house 7 years ago it was already on the property and the kids in the house prior to us moving in were around 10 years old... so my investigative work says it's 15-20 years old haha
With that being said, it is still SO STURDY, the wood is in great condition but just weathered. My husband (being a carpenter) was able to do some tests to see if it was safe for the kids to play on. If you have an extremely old playset, please please please make sure it is safe and worth giving a makeover before you start.
Our Backyard Playset Makeover:
Before I started, I obviously went to Pinterest and Instagram for some inspiration! So many cute swing set makeover inspo! So many fun projects to browse through.
Exterior Paint:
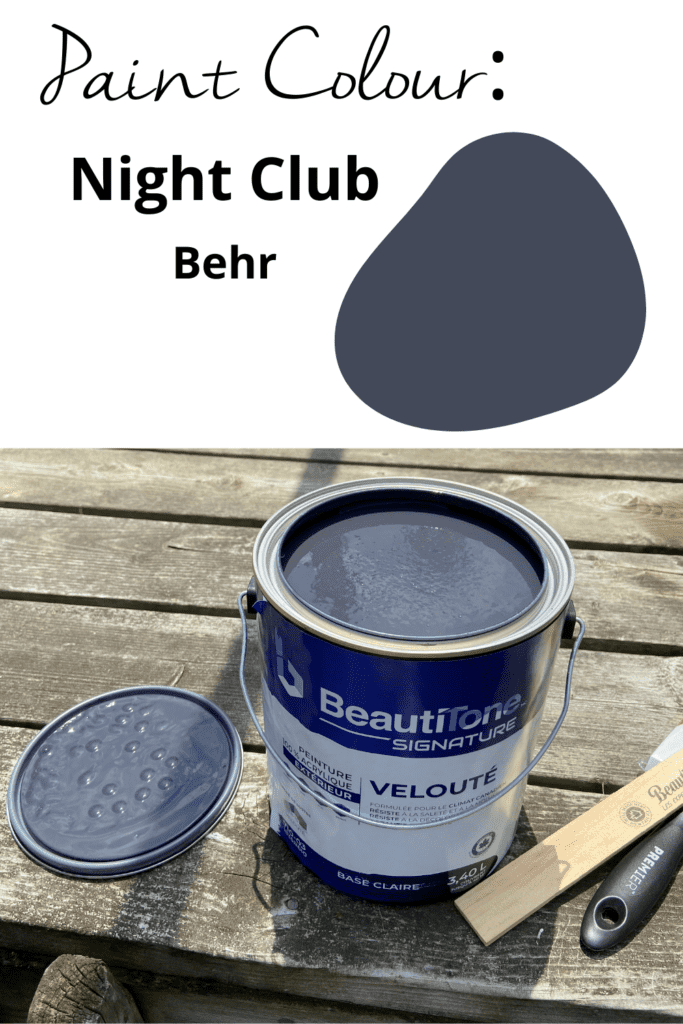
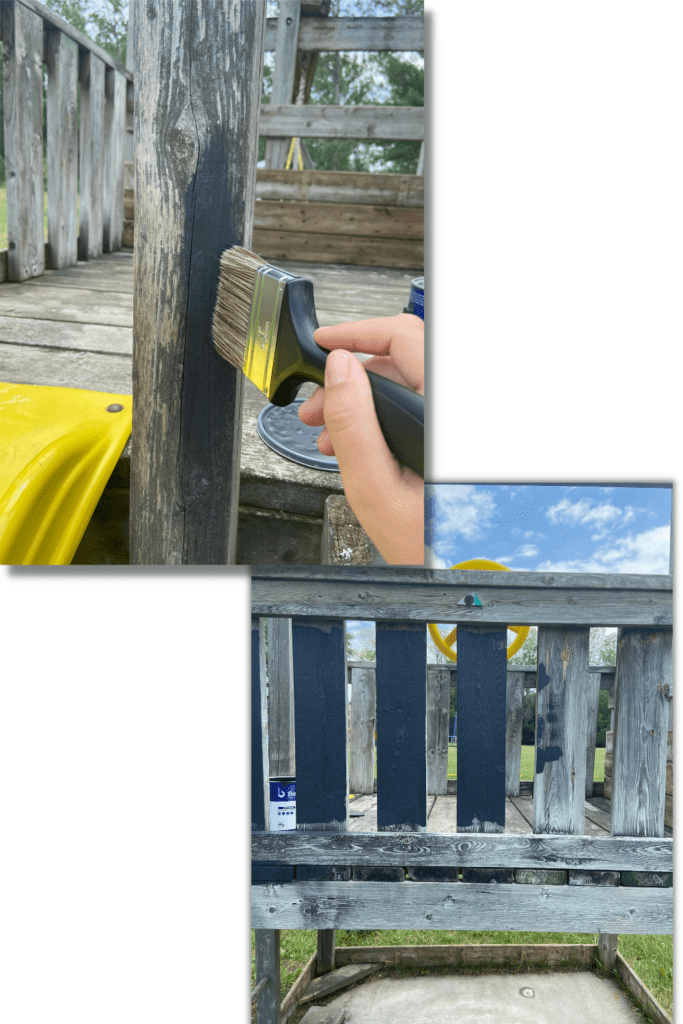
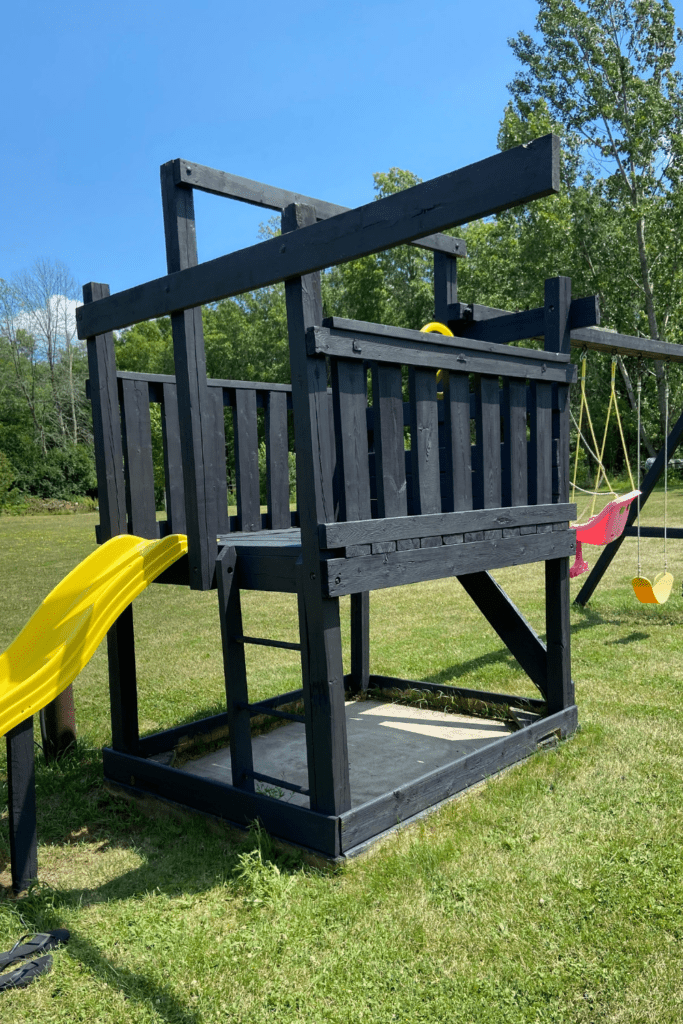
The fun part! I decided to paint the playset Night Club by Behr. I really liked the idea of having it painted a dark color to hide any dirt or weathering. The paint I chose had primer built into it which was an additional cost but saved on time. If you are worried about choosing the right outdoor paint, talk to the people that work at your paint store, they are usually so informative! This was just exterior paint.
I opted to not use our paint sprayer for this project, I just used a paintbrush & roller and went at it. It could have been easier to use spray paint but I didn't want to have to prep everything, cover the slide, take down the swings, etc.
I don't know if it saved extra time, either way, to be honest! After the first coat, which took several hours, I had to do a second coat. It took about two days to get all the painting done. All the nooks and crannies took a while to paint.
I did not prep the wood at all. If there was much dirt, debris, bugs, cobwebs or even weeds, I just removed them. I did not sand or use a power washer. I painted the entire frame avoiding the slide, steering wheel, swings, and other accessories.
This paint went on so smooth and thick. It was easy to paint using the paintbrush. I am glad I decided to paint it instead of stain it. I knew the paint would probably chip after a few years of use but I think it looks way better and like a new playset!
New Roof:
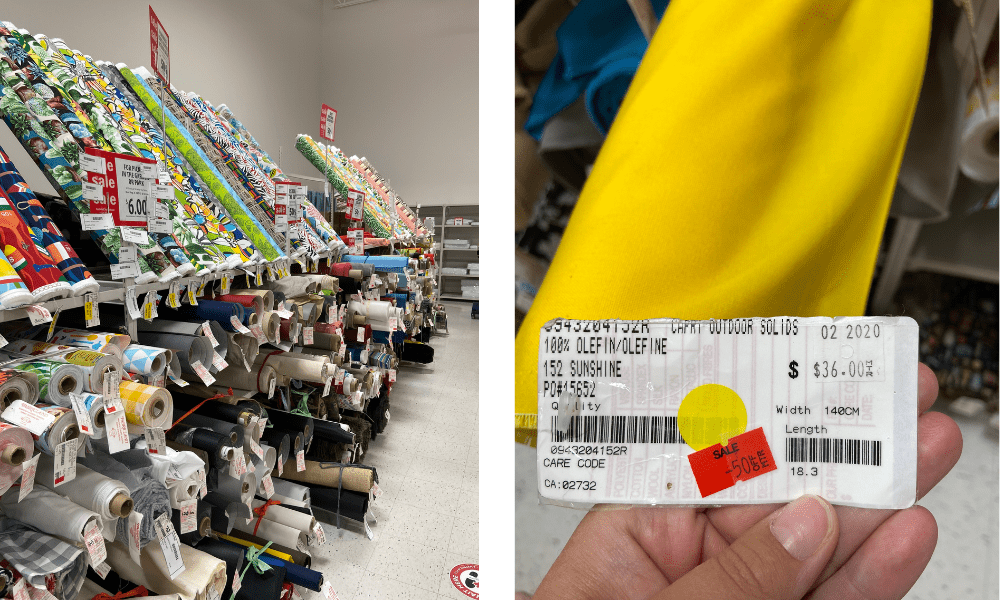
Next was picking a fabric for the roof. Originally I had wanted to do a metal roof but decided to do fabric because it lets in more light. I didn't want the interior to be dark and gloomy. So I hit our local fabric store!
I decided to purchase a yellow outdoor fabric. Originally I wanted something with stripes or a fun design but I couldn't pass up on the price of this one! I ended up needing two meters so it ended up costing around 40 bucks. I was ok with this because it was high-quality outdoor fabric that would last a long time. Harsh winters and crazy hot summers were an influence on my fabric choice too.
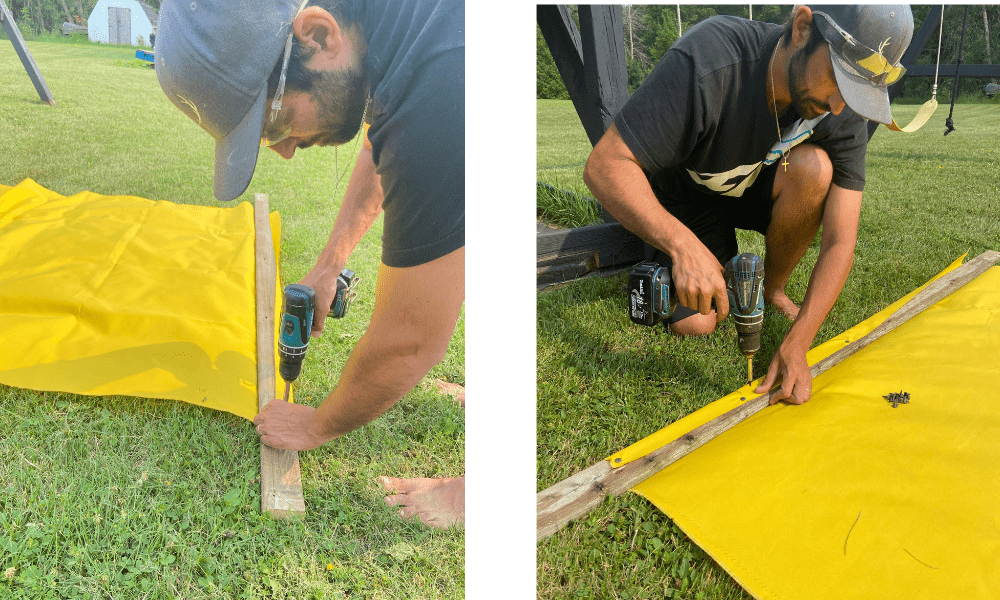
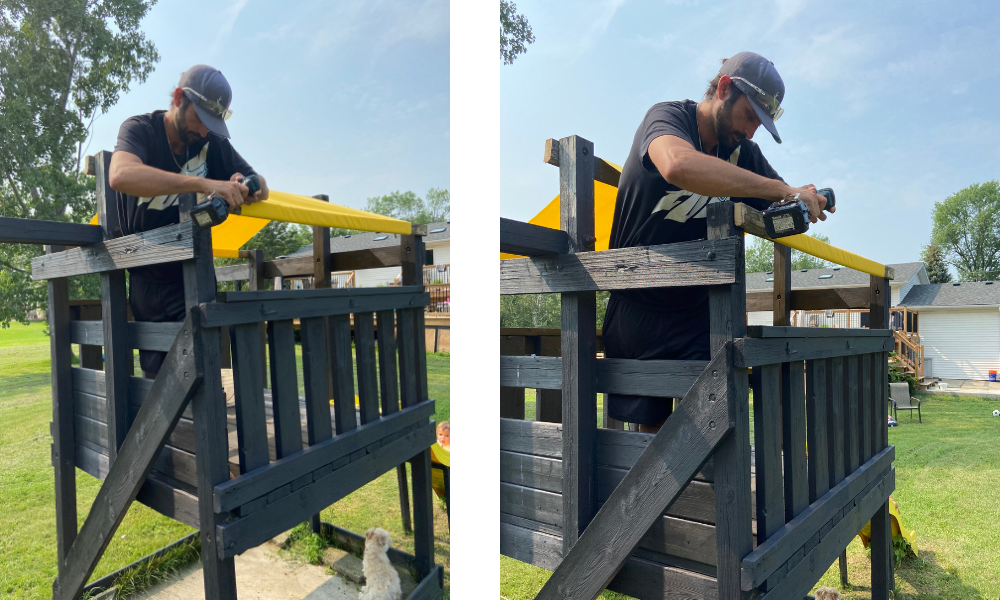
To secure the fabric to the play structure, my husband bolted it to a 1x2 board using a few screws and then we secured it to the play structure on either side. We used a used board because you wouldn't see it anyways.. a money-saving tip! If you do this, make sure you pull it extra tight because it will most definitely loosen over time!
We could still see a little bit of that board so we also plan to paint that as well! The fabric worked like a new awning on both sides. Overall this project was super affordable, we didn't need to buy too many additional things. We kept the same swings instead of buying a new swing set because the old swing set was already in great condition!
We are still planning on turning the bottom into a sandbox and making a cover for it with plywood so stay tuned for that project too! We also need to add a few handles to the ladder so our toddler is able to independently climb up to the main deck area. We also have a few pink swings to add-in for the baby!
I am hoping we do not need any power washing done in the future. Having a dark color makes such a huge difference in appearance! I am so excited for our girls to enjoy this updated playset!
If you liked this post, let me know in the comments below! Make sure you subscribe to my blog or follow on Instagram to see any updates we do (hint hint landscaping)! End result coming soon!

If you liked this playset makeover... check out these posts!
- HOW TO BUILD AN OUTDOOR GARBAGE BOX
- 15 GENIUS LANDSCAPING IDEAS FOR FRONT OF HOUSE
- 9 GORGEOUS LUXURY SWIMMING POOLS



Leave a Reply