Learn how to whitewash wood like a pro with these easy and quick steps! Transform any wood into a bright rustic country piece! DIY + Step by step instructions made simple!
Disclaimer: this post may contain affiliate links, and every purchase made through these links will give me a small commission (at absolutely no extra cost for you!) AS AN AMAZON ASSOCIATE AND REWARDSTYLE MEMBER, I EARN FROM QUALIFYING PURCHASES. See Privacy Policy for additional info.
Hi Beauties!
This is something I have always struggled with.. getting the perfect whitewash on wood to give that beautiful antique look everyone loves.
I have tried so many different techniques over the years and I have finally found an easy way to get that desired look! And I am going to show you exactly how I did it!
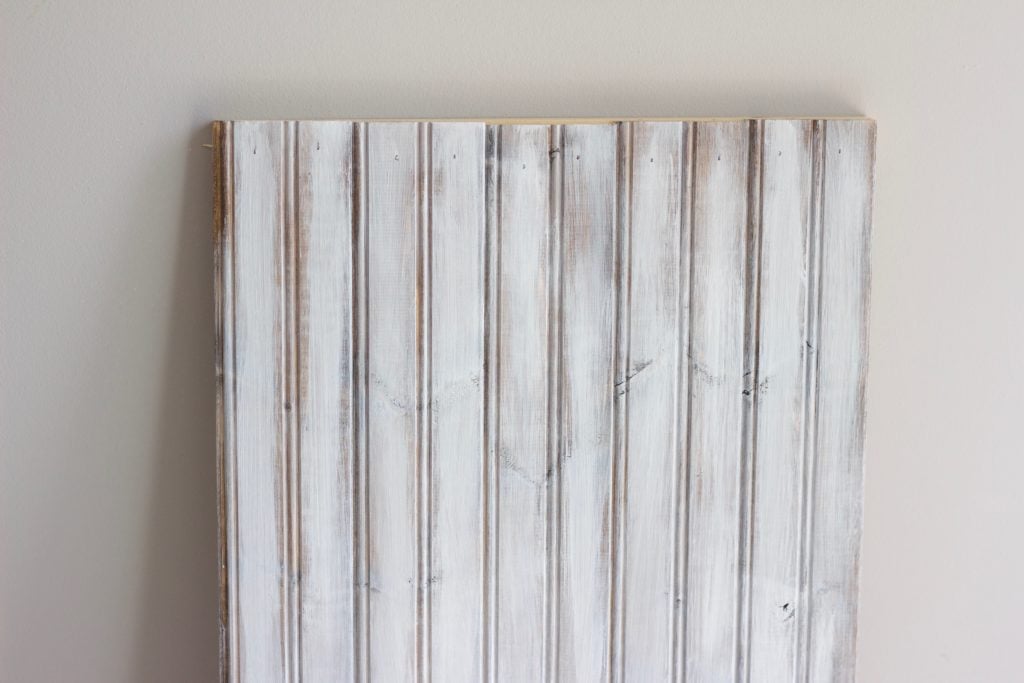
I decided I wanted my food photography backdrop antiqued white. I loved the beautiful stain on this board but my style is more white and light. I found the wood piece didn't fit in with my theme. So... I whitewashed it.
I love the idea of making new wood look old and beautiful with lots of character. There is just something about vintage antiques that warms my heart. I have always had a soft spot for old antique decor and furniture.
The idea of one piece having a story is so interesting to me. Which is why I try to give new pieces an old look. Its like cheating history!
SO lets jump right into it. Here is how I whitewashed my food photography board:
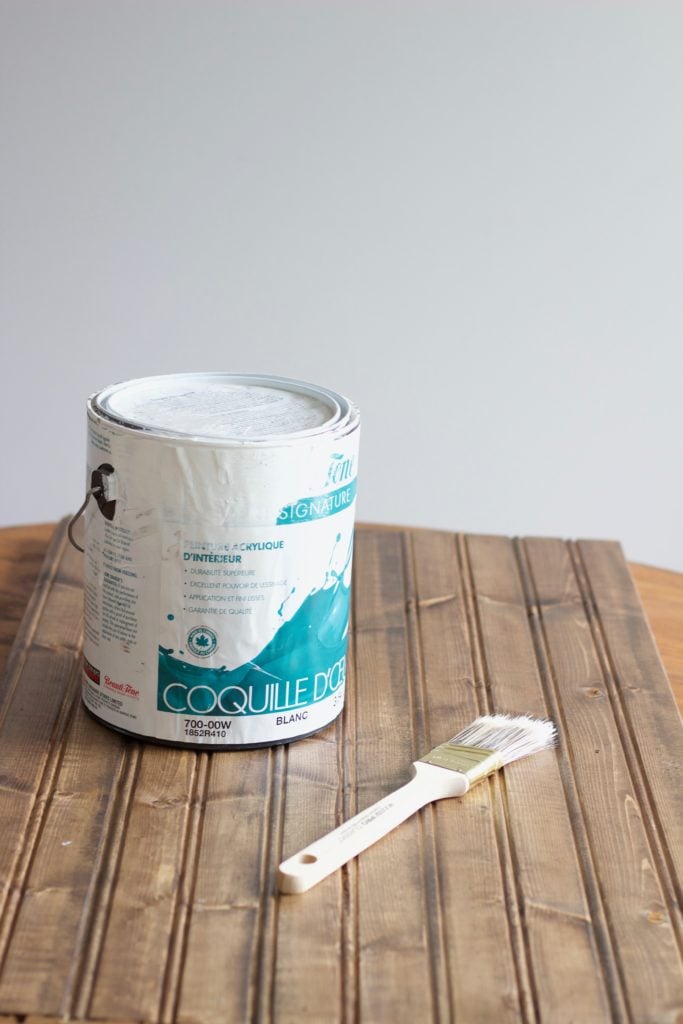
What you will need to whitewash wood:
- White matte paint (I used leftovers)
- Mini Wax stain
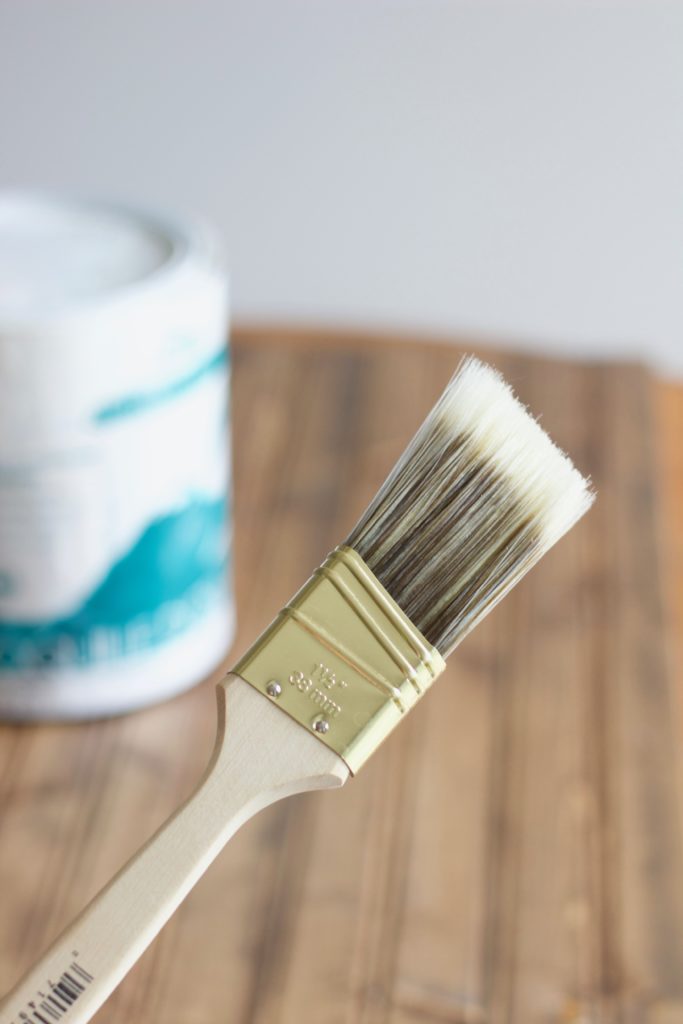
- Stiff paintbrush
- Your wood
- Sand Paper (if using)
STEP ONE: Stain the Wood
Leave to dry for atlas 24 hours. I just used an old rag and rubbed the stain into the wood. I found this worked better than using a sponge or a brush because it left the wood looking even and light enough to see the natural wood grain.
The stain I used was MinWax wood finish in Dark Walnut.
This is actually leftover stain from my DIY Farmhouse Table Transformation! I can’t believe how long this little can lasts! Still have at least half left… so many more DIYs to come!
STEP TWO: Lightly Paint
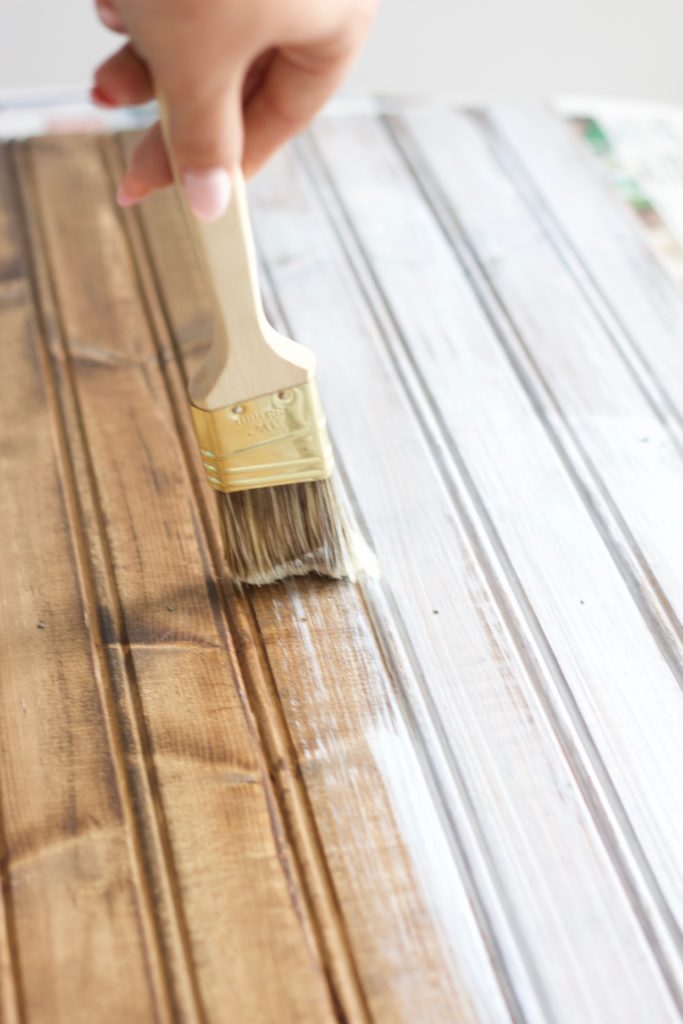
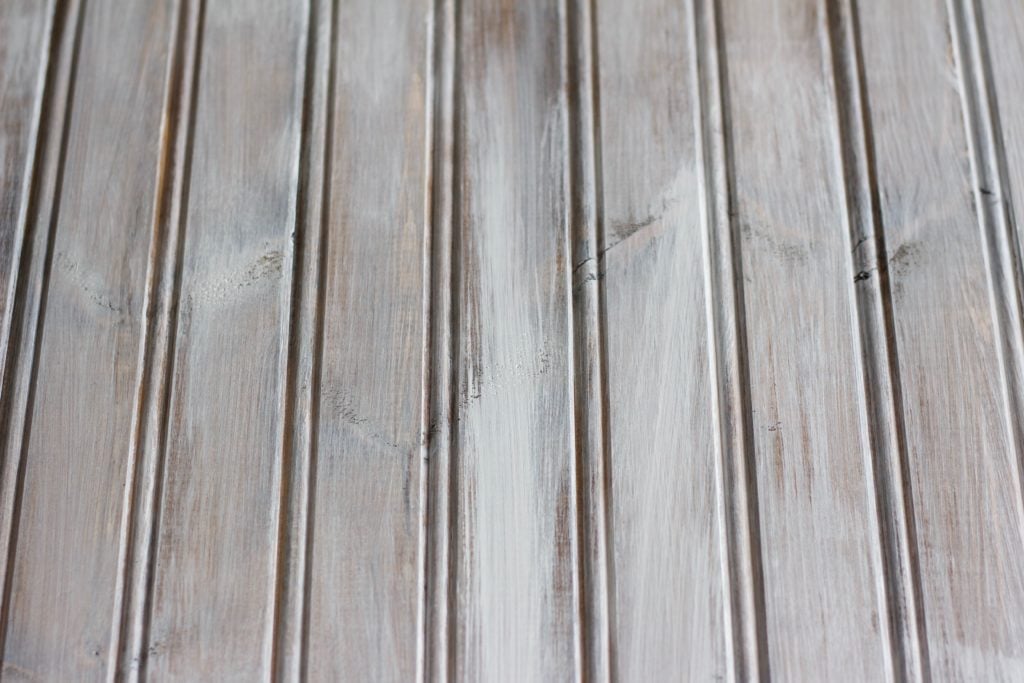
This is key. Make sure your paint is VERY thin on the paintbrush and lightly brush the board. Make sure you make it uneven and leave some parts of the wood unpainted.
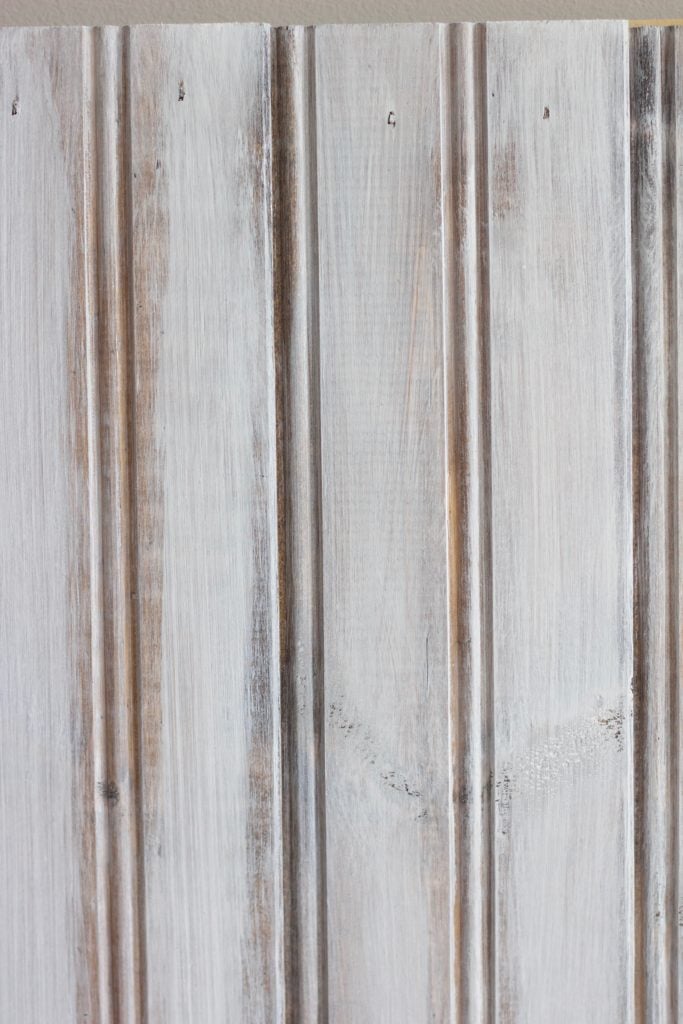
When you are done with this step, you can go in again with the paintbrush and add some thicker painted areas. I only did a few along some of the main boards (see picture below).
Do what you think looks antique. Get creative. If you put to much paint in one area... don't panic, you can fix it in step three.
STEP THREE: Sand a Few Areas
If needed, go back in once the paint has dried and sand some areas.
DONE!
Hope your enjoyed this whitewashing tutorial.
Make sure you share you work with me by tagging #nikkisplate
If you have any questions, leave it in the comments below!
Until next time 🙂
Learn how to white wash wood like a pro with these easy and quick steps! Transform any wood into a bright rustic country piece! DIY + Step by step instructions made simple!







Leave a Reply