
This post is for all my food blogger friends out there! Check out this easy DIY backdrop for your food.
Disclaimer: this post may contain affiliate links, and every purchase made through these links will give me a small commission (at absolutely no extra cost for you!) AS AN AMAZON ASSOCIATE AND REWARDSTYLE MEMBER, I EARN FROM QUALIFYING PURCHASES. See Privacy Policy for additional info.
P.s Don't mind my man hands in this post..
...okay okay... caught me... it's my boyfriend. BUT I told him what to do, so basically, this DIY was all me 😉
WE made this photo backdrop for my food posts and I am absolutely loving it. I might actually make a couple more in different colours because they come out beautifully on camera.
Here is what you will need for this food photography backdrop:
- Pine tongue and groove (three feet worth of boards)
- 1 ½ inch piece of pine wood
- Wood glue
- Brad nailer
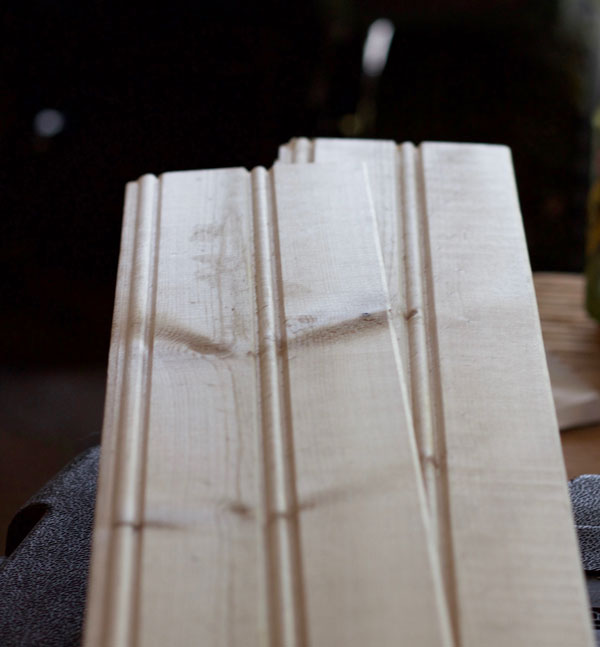
Here is the pine tongue and groove I used:

Step 1: Measure your backdrop out.
I kept mine small, about 3 feet wide and 4 feet long. This size fits my style of food photography best so I went with this.
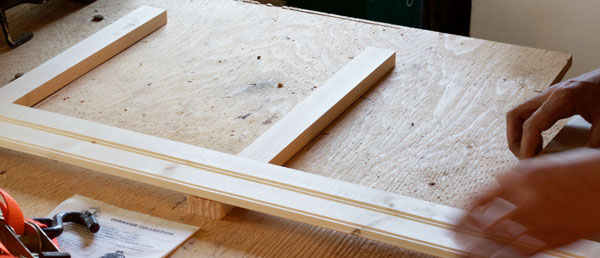
Step 2: Cut your 1 ½ inch pine into 3 feet (x 3) pieces.
These are what will hold together the tongue and groove pieces. Tongue and groove do click together but I find that having this 1 ½ inch pine piece behind them really secures them and makes them more sturdy when taking photos.
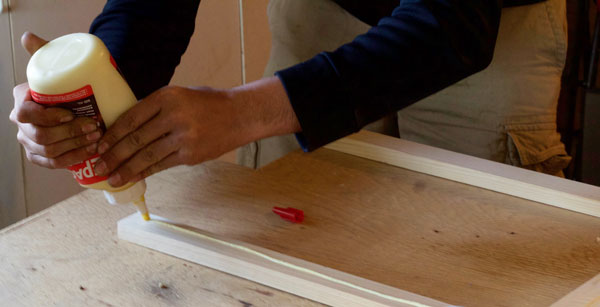
Step 3: Apply one strip of wood glue to the 1 ½ inch pine pieces.
To be honest, I'm not sure why Dylan did this step... but he is a carpenter so I didn't argue. Ha!
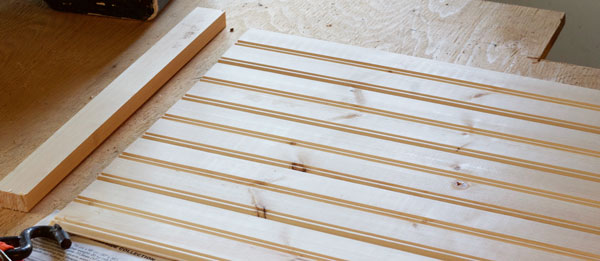
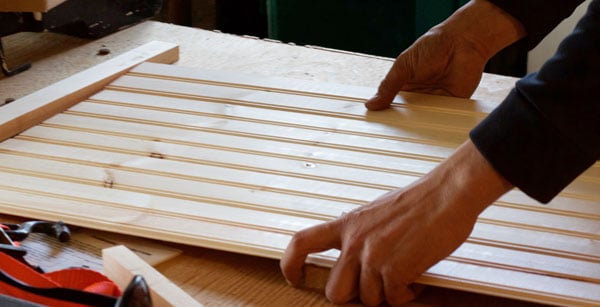
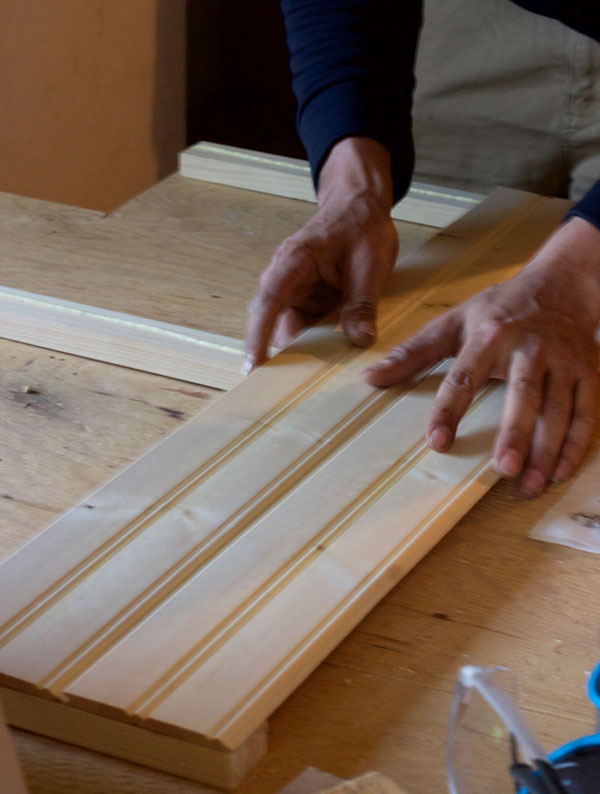
Step 4: Line the tongue and groove pieces on top of the 1 ½ inch pine pieces.
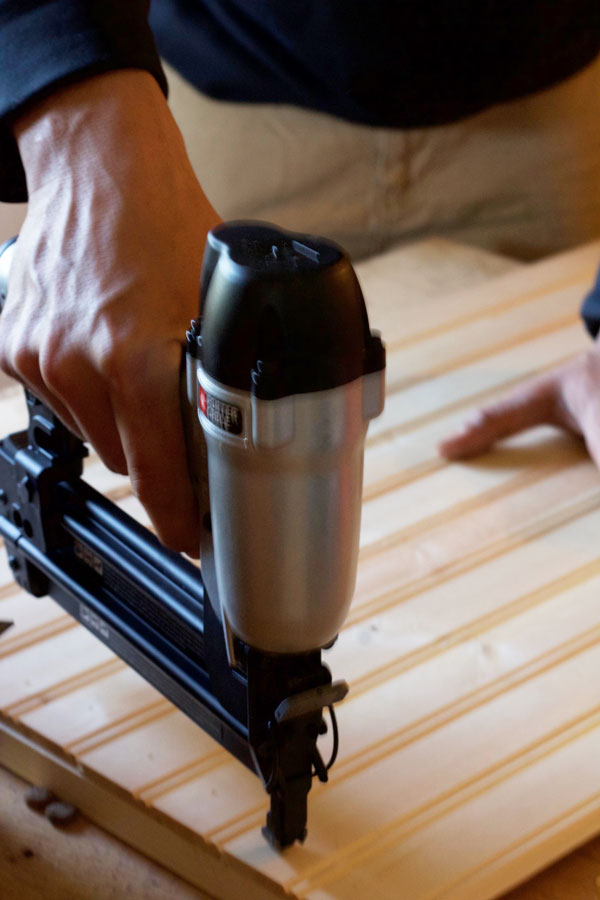
Step 5: Secure to them using a brad nailer.
If you don't have a brad nailer, just use finishing nails and a hammer.
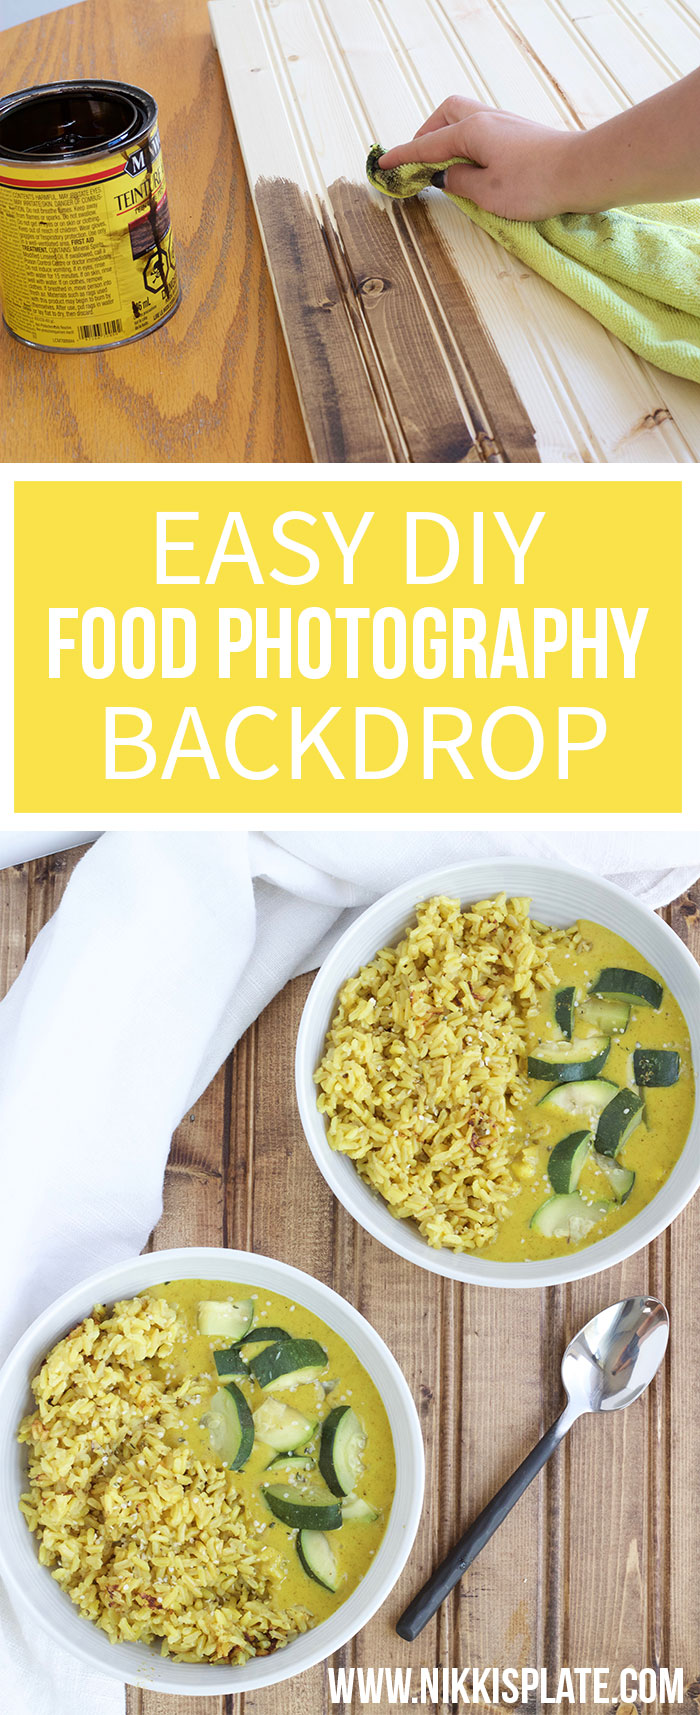
Step 5: Nikki takes over - Stain the thing!
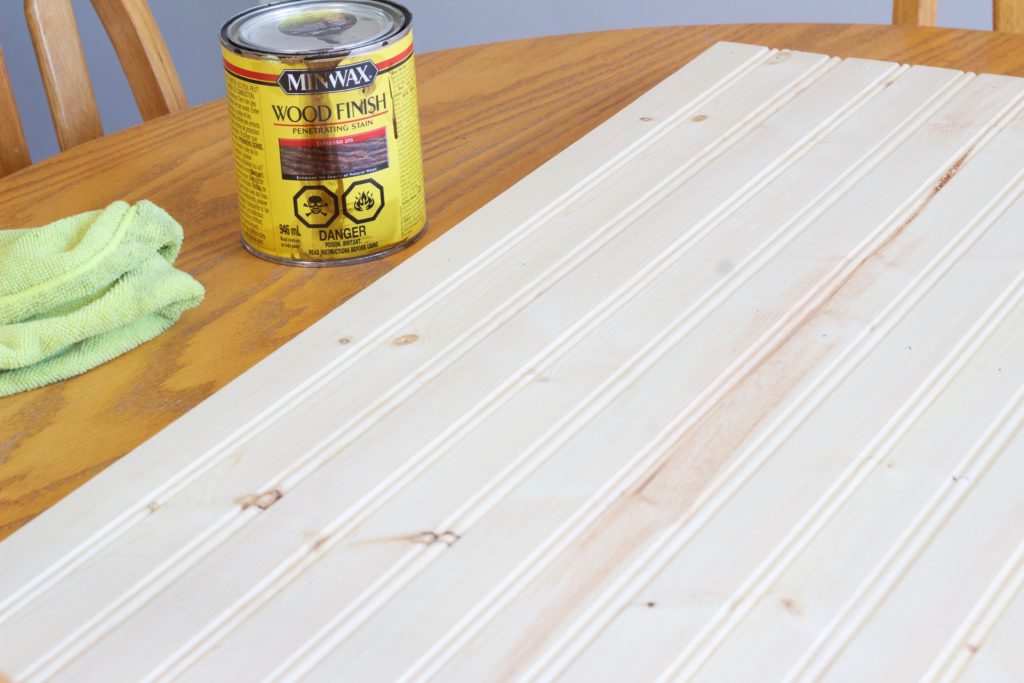
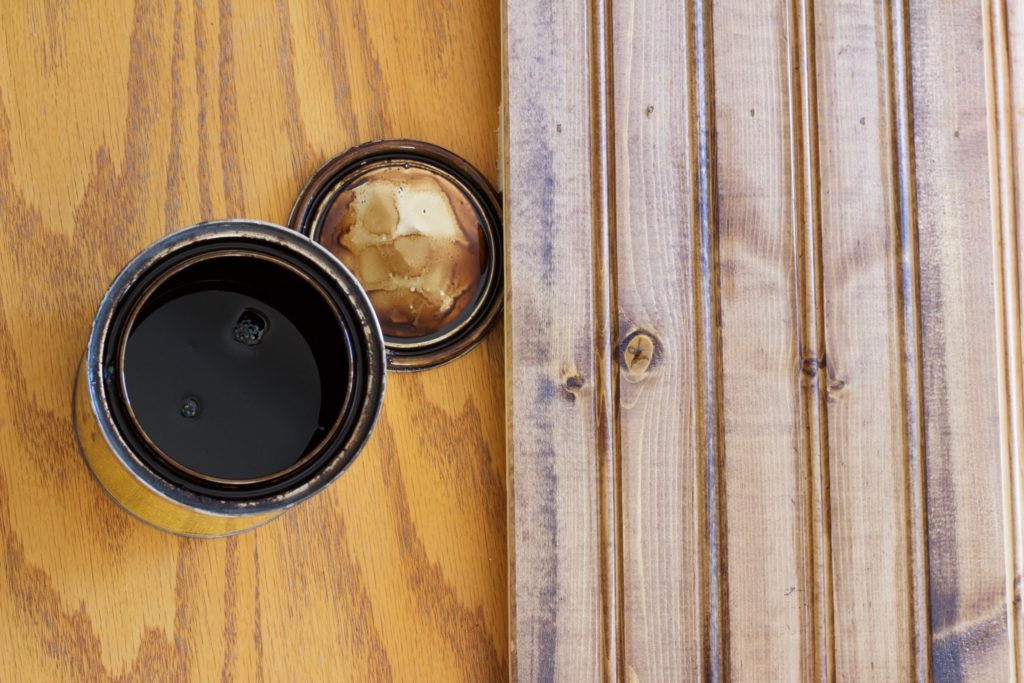
The stain I used was MinWax wood finish in Dark Walnut.
This is actually left over stain from my DIY Farmhouse Table Transformation! I can't believe how long this little can lasts! Still have at least half left... so many more DIYs to come!
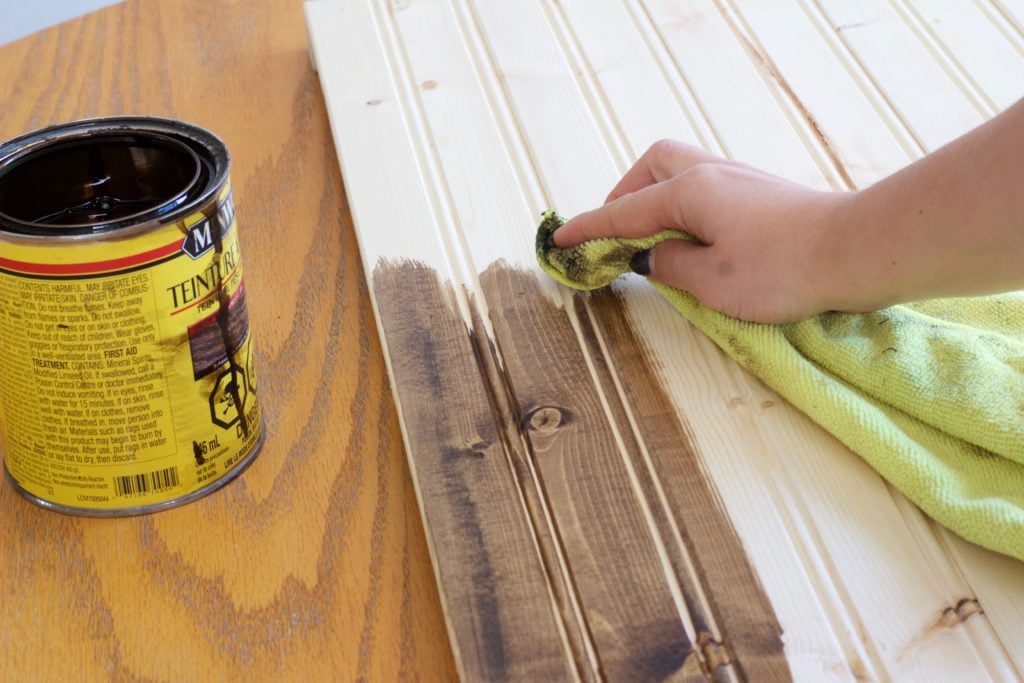
I just used an old rag and rubbed the stain all over the board. And I only did one coat!
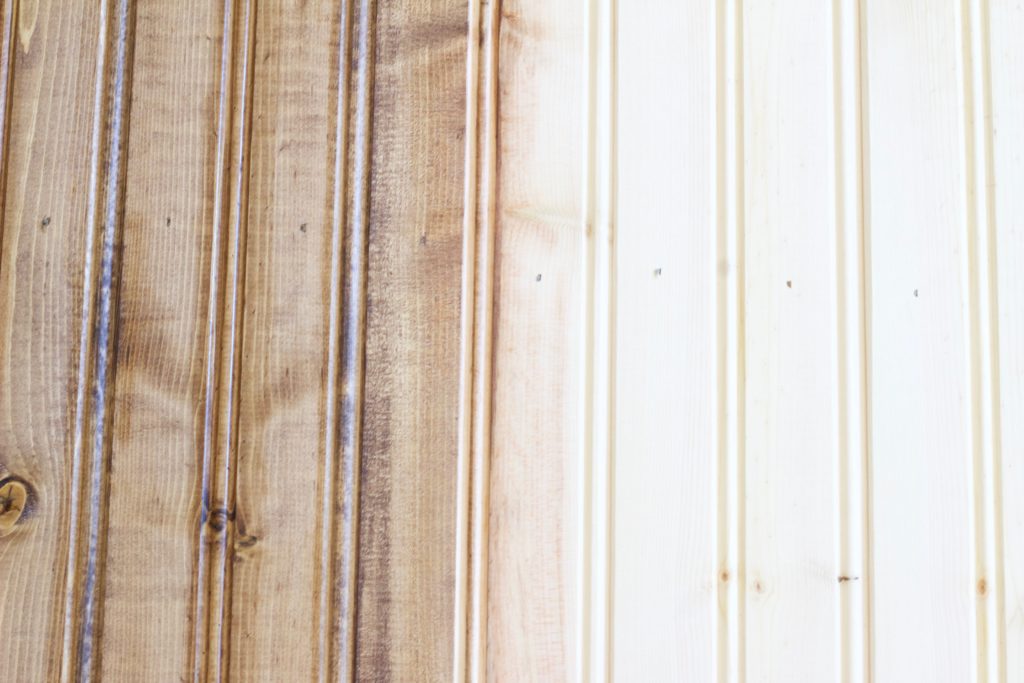
Let it dry for 24 hours, then your free to use it!
I love it.
Here is an example of me using it in one of my recipe posts:
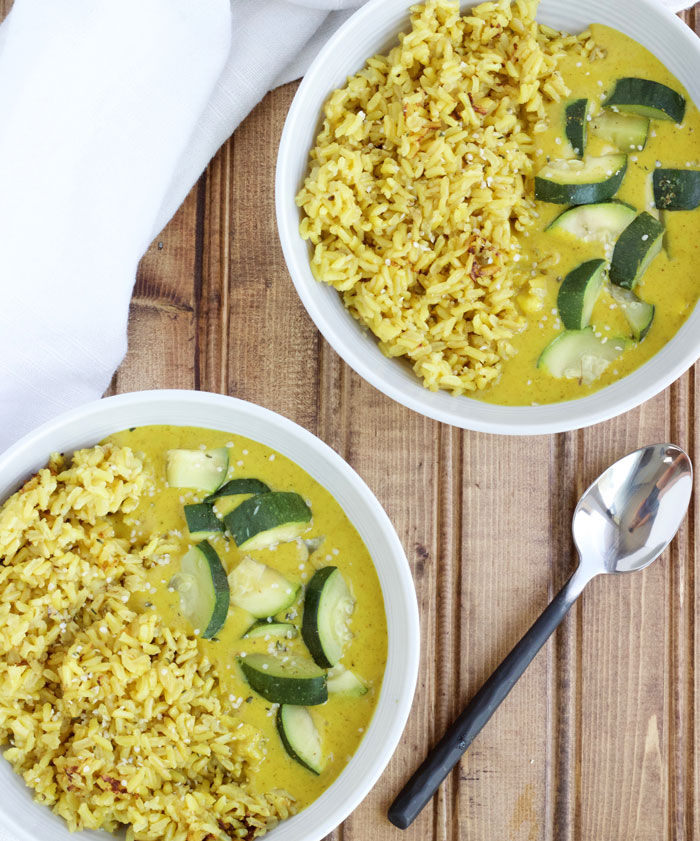
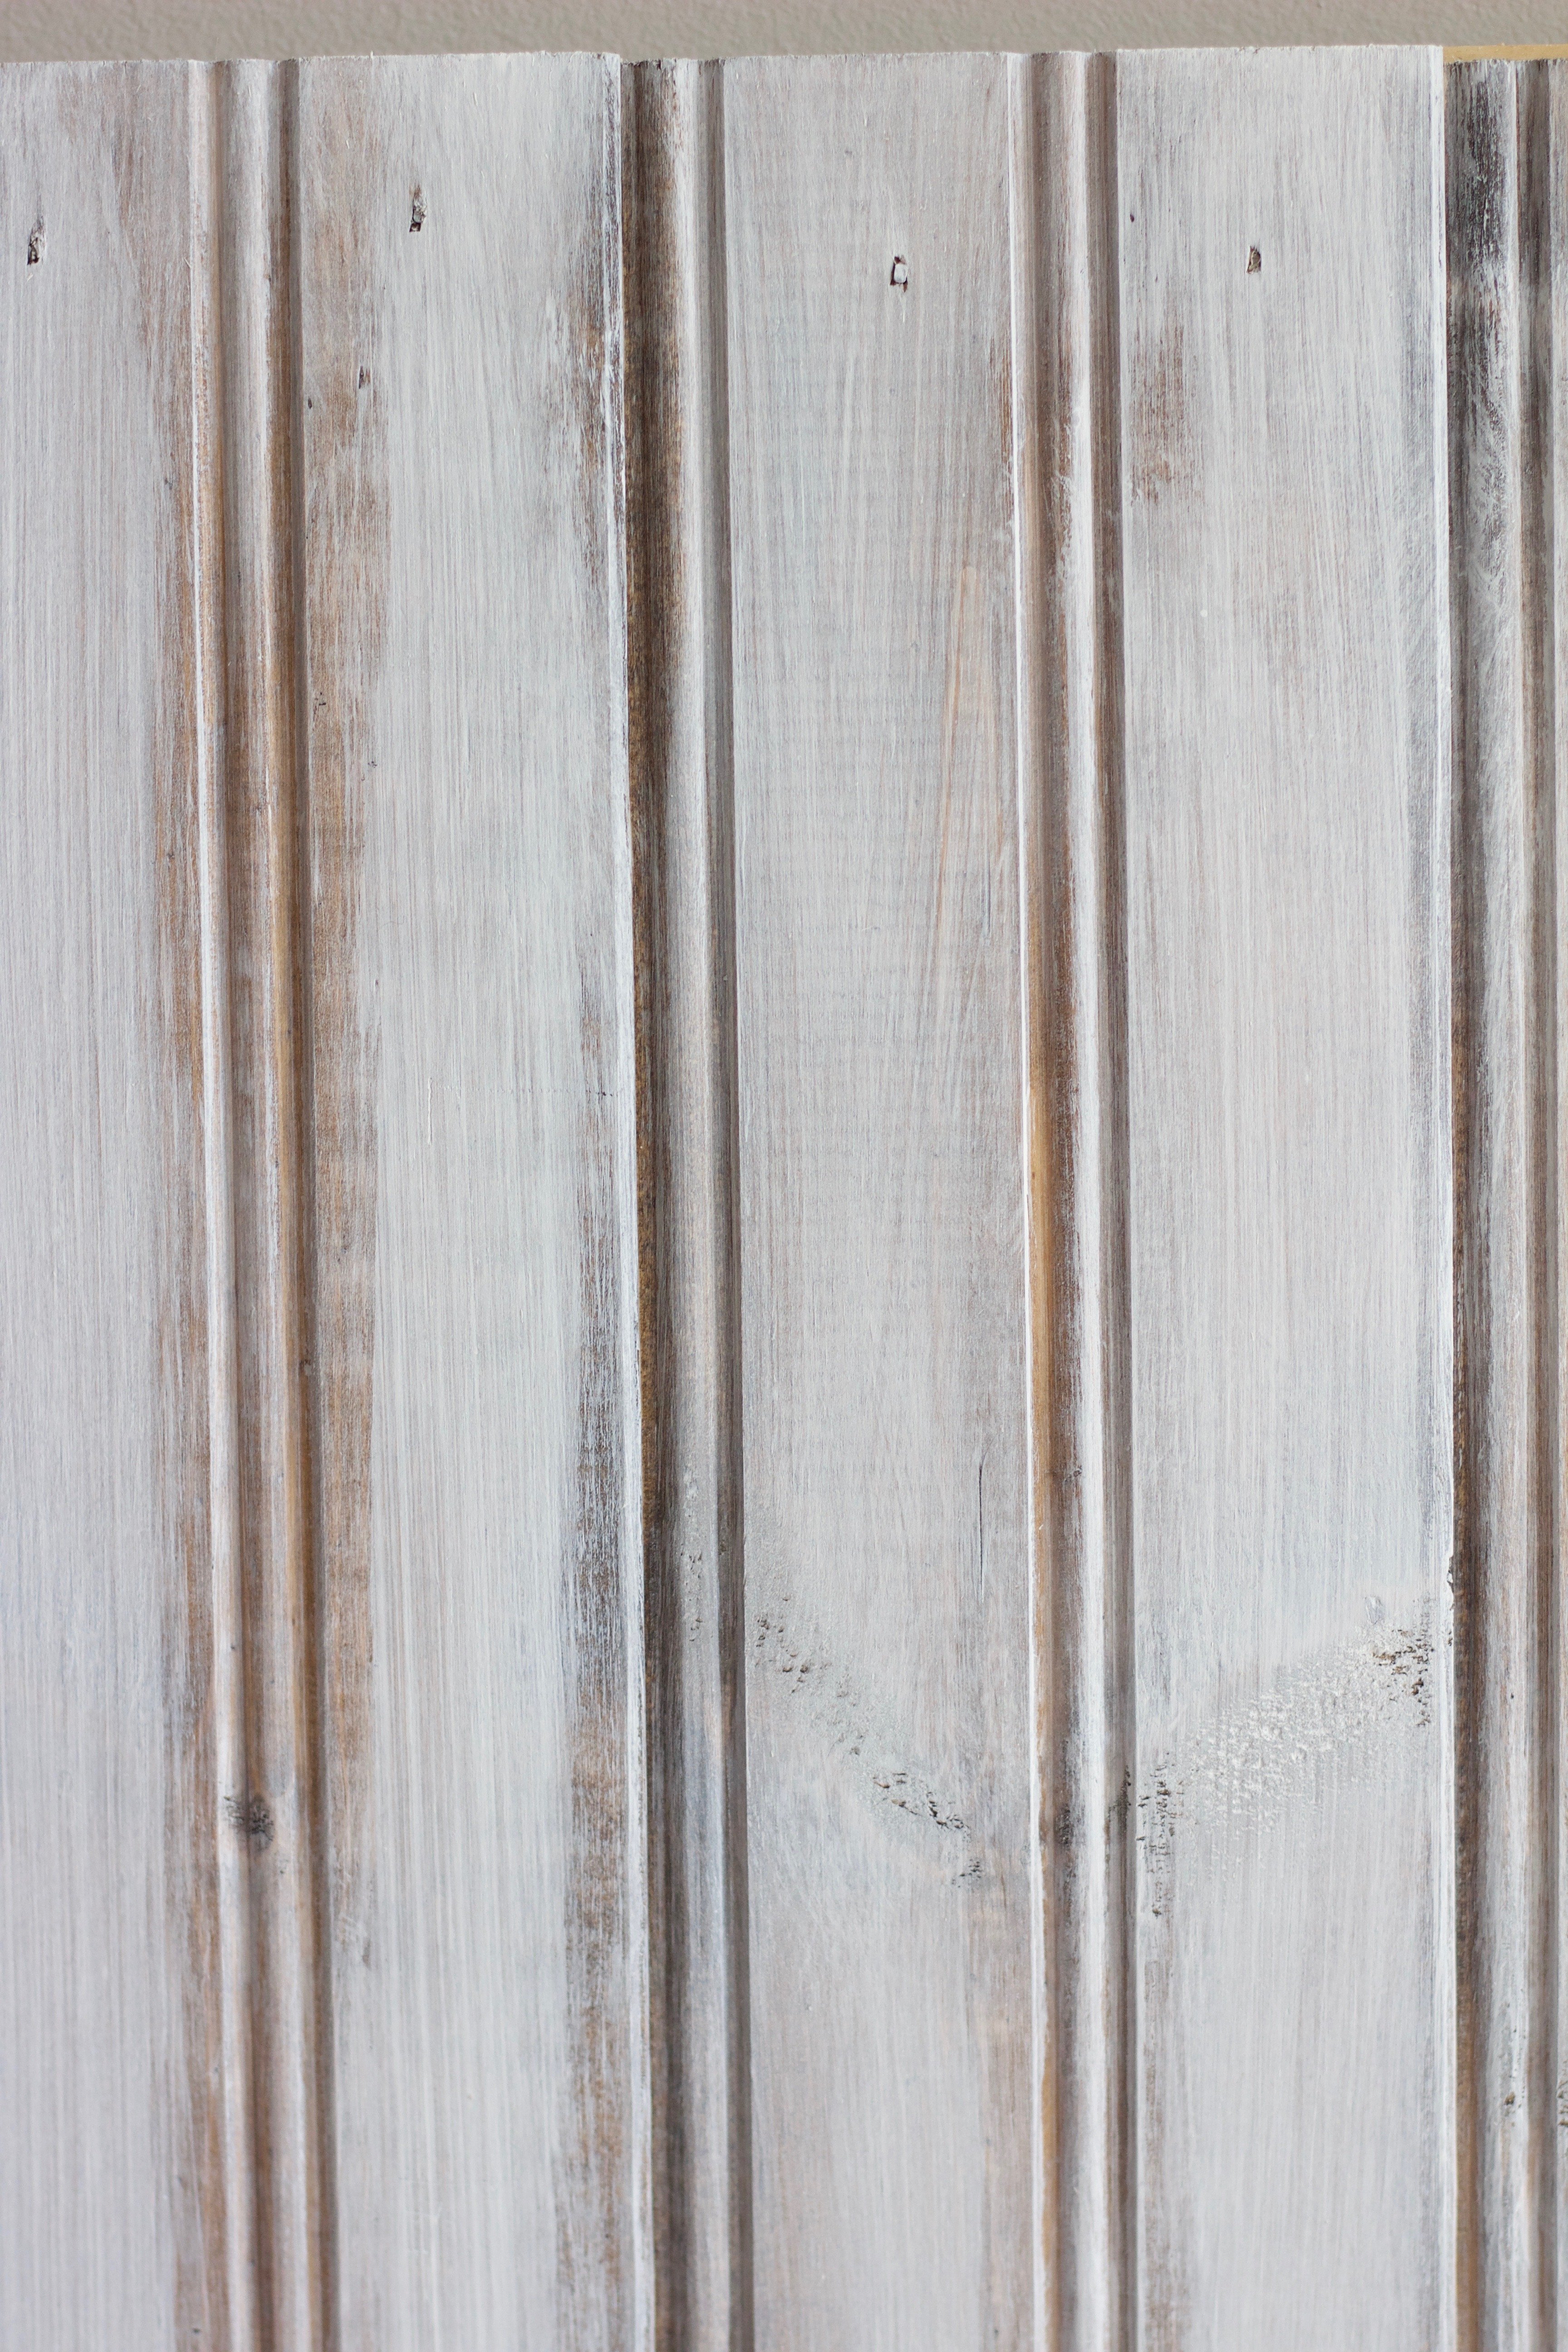
So perfect! I think I am going to make one in white.. Like a rustic antiqued white. Let me know what you all think and also what yours look like!
I would love to see photos of your DIY food photography back drops. #DIYwithNikki
See you beauties Friday for my next income report!! This one will blow your mind!! Okay not actually but its an exciting one.

My Favourite Blogging Tools:
Bluehost - My current hosting company. They are reliable, fast and most importantly affordable. Their support staff is also helpful and answer all my questions. Check out my easy step by step guide: How to Start a Blog
Tailwind - My all time favourite scheduling tool for sharing your content on Pinterest and Instagram! Tailwind saves SO much time and increases your traffic and followers. BEST. TOOL. EVER.
Foodie Pro Theme - This is my current blog theme used on Nikki’s Plate. I am so obsessed with it. It took my blog to the next level. Its easy to use and has so many additional features that make blogging easy. This is a Genesis Framework Theme
Food Blogger Pro - learn how to start, grow and make money with your food blog!
WP Tasty - Handcrafted WordPress plugins made by experts in the field!
Share a Sale - This is a great place to find tons of affiliate programs so you can start earning money on your blog by just adding a link!
ConvertKit - This is a VERY popular email newsletter provider. Many bloggers love using covert kit to grow their email list!
OptinMonster - This tool is a great way to grow your email list. Easy way to turn visitors into subscribers and costumers!
Other Favourites:
Ebates - I love making money while I shop. Who wouldn’t! Ebates offers cash back when you make purchases through their website! How awesome is that!?


Leave a Reply