I have a confession to make.. I bought a Circut.. and I'm OBSESSED.
Disclaimer: this post may contain affiliate links, and every purchase made through these links will give me a small commission (at absolutely no extra cost for you!) AS AN AMAZON ASSOCIATE AND REWARDSTYLE MEMBER, I EARN FROM QUALIFYING PURCHASES. See Privacy Policy for additional info.
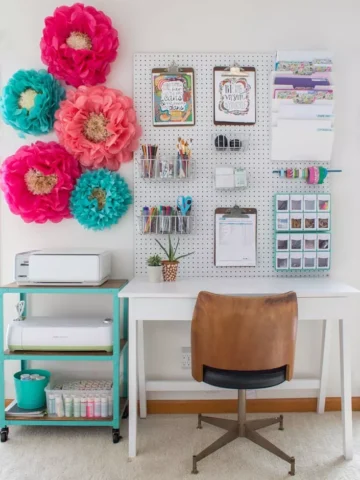
To be honest, obsessed is an understatement. I can't get enough of this thing.. and why did no one tell me about this before? My inner DIY goddess is unleashed and I couldn't be more excited about it.
I bought the original Explore Circut machine. I did some investigating and found that the only difference between this Circut machine and the Explore Air 2 was that the newer model just cut 2x faster but was $50 more expensive! So I decided to to go with the older version and save some money for the accessories.
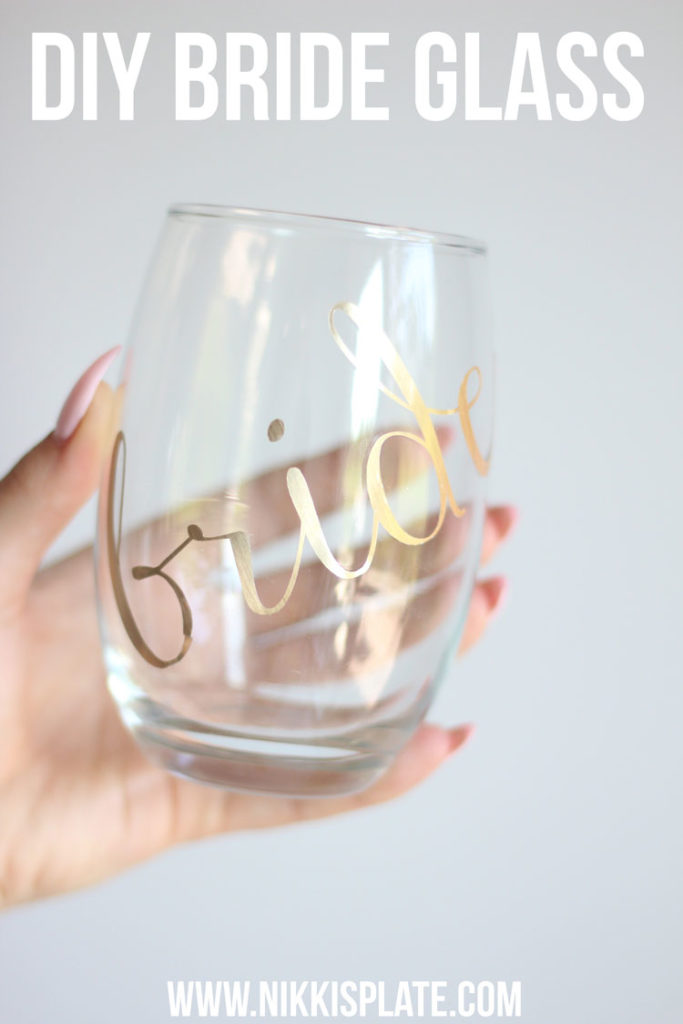
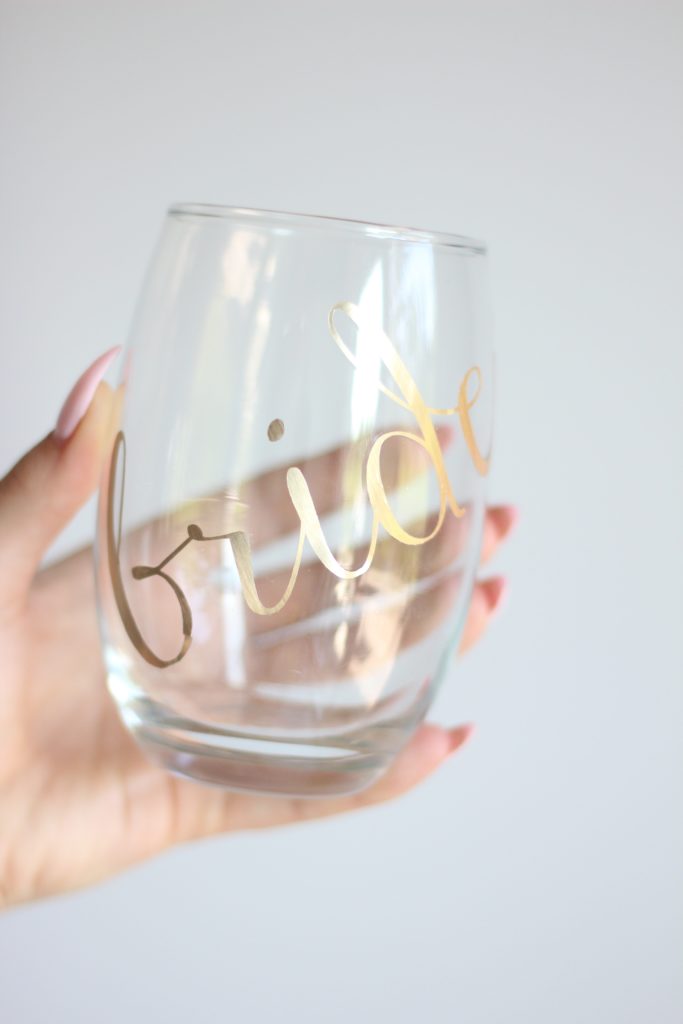
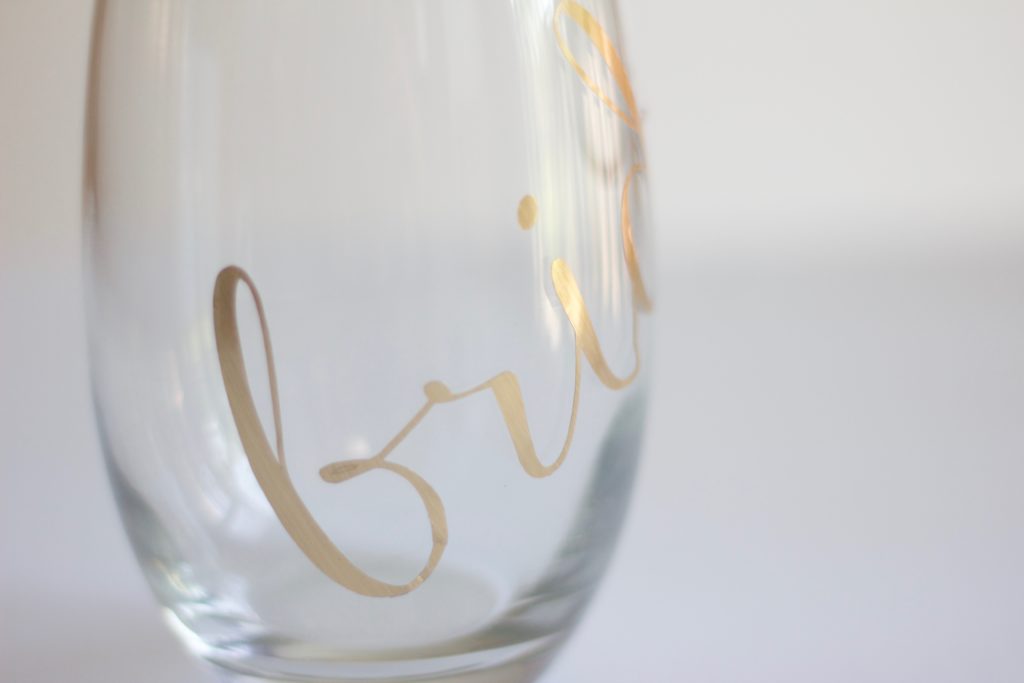
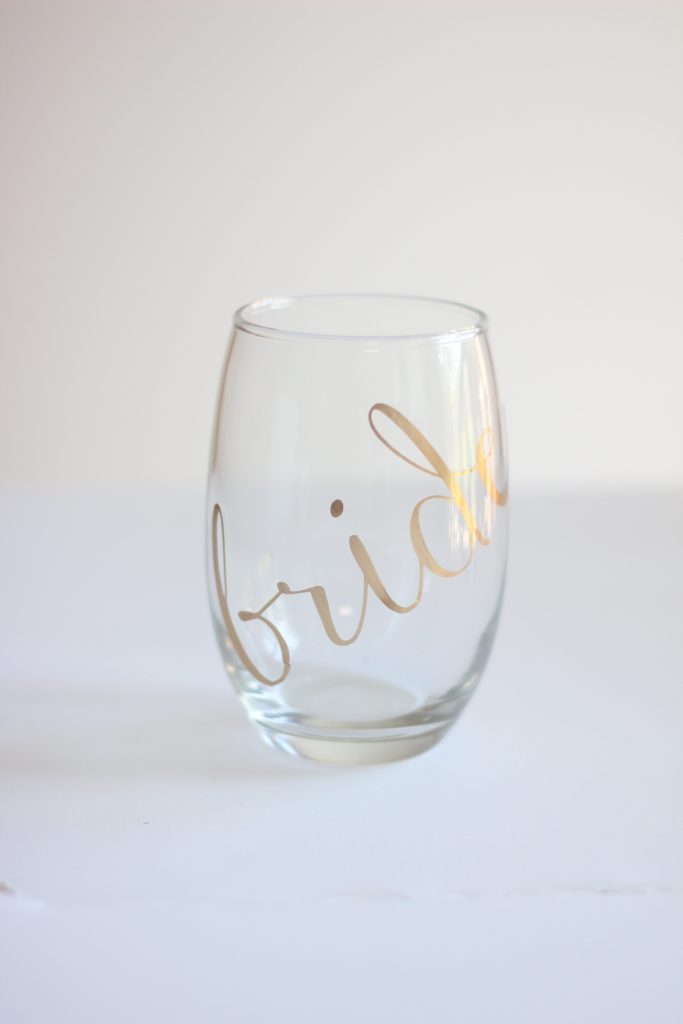
So here is the first project I made.. a DIY Bride Wine Glass.
STEP ONE:
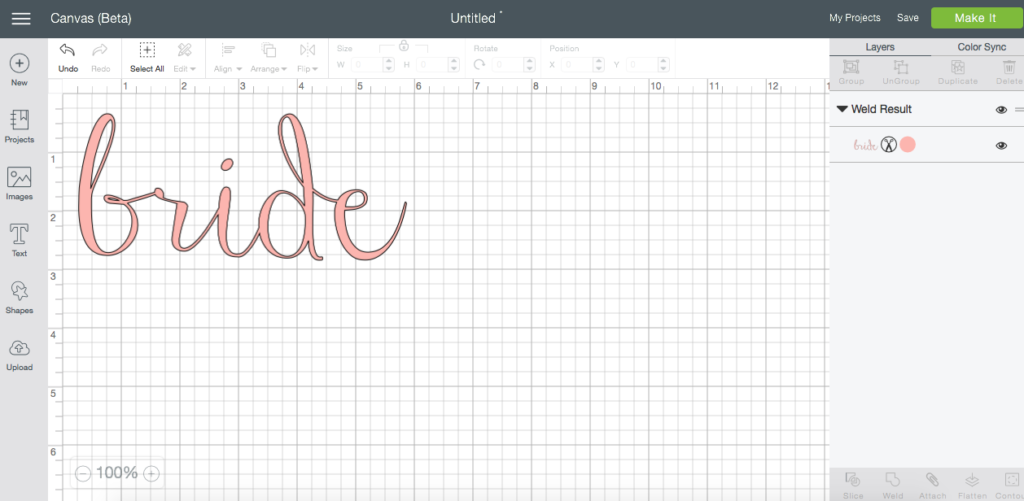
Design your decal for the glass in the Circut Design Space. You can access this through the app, or on the website. Measure out how large of a decal you can fit onto your glass by counting the squares on the Circut mat. The mat matches the online design space exactly. I love how everything lines up perfectly!
Make sure you have welded the letters together which is found in the bottom right corner of the design space. I also like turning the colour of the image so you can make sure the welding was done perfectly.
STEP 2
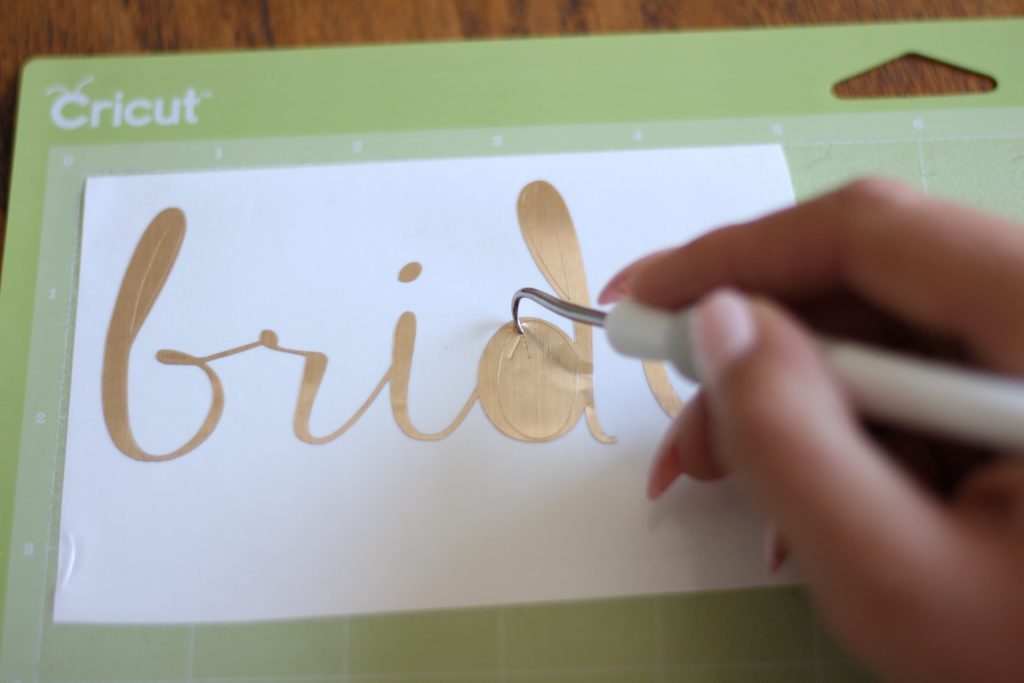
Print your decal. I used Circut Adhesive Foil. It actually worked amazing! I really debated using Circut Vinyl but the foil was so pretty compared to the vinyl.
Once you print/cut it. You weed the unwanted areas off the sheet. Be careful not to pull off any of the letters!
STEP 3:
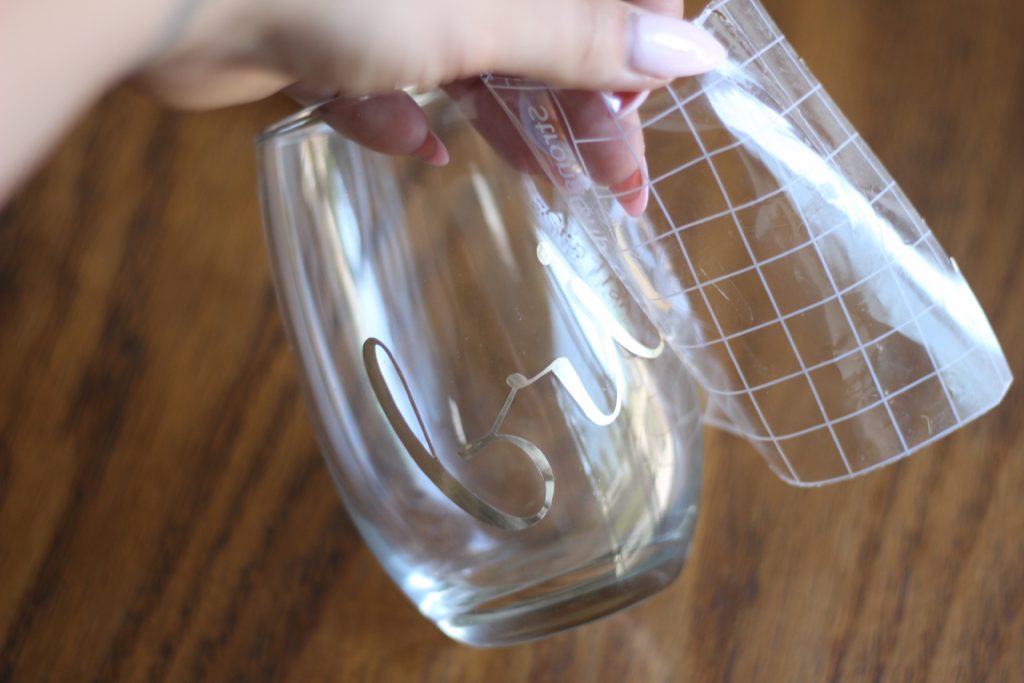
Use transfer tape to pull the decal off the paper and put it on your glass so it is perfect. These part takes the longest time for sure.
Step 4:
LOVE IT & ENJOY IT
Need more help? This video really helped me:
Enjoy your decal glass!






Leave a Reply