
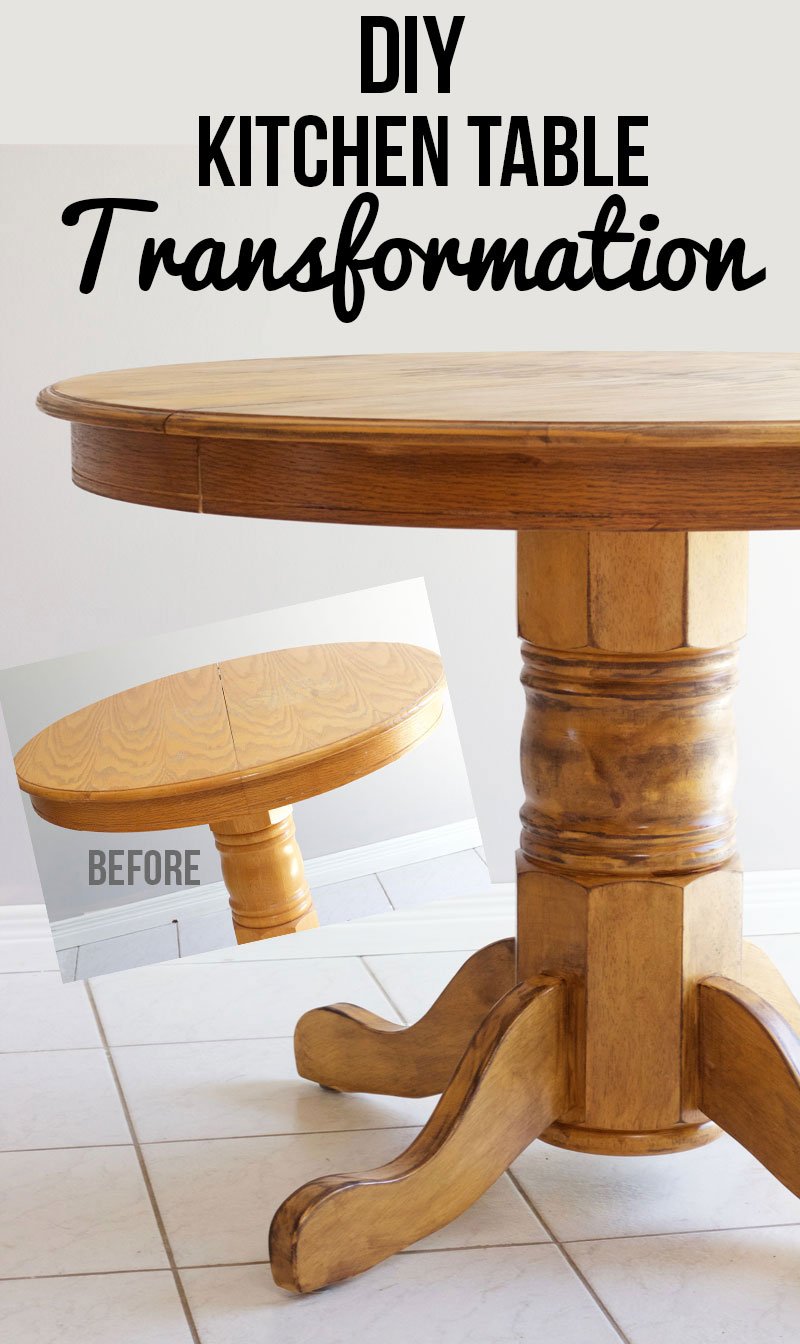
I refinished our kitchen table!
Disclaimer: this post may contain affiliate links, and every purchase made through these links will give me a small commission (at absolutely no extra cost for you!) AS AN AMAZON ASSOCIATE AND REWARDSTYLE MEMBER, I EARN FROM QUALIFYING PURCHASES. See Privacy Policy for additional info.

This is something I have been meaning to do for a while now, and finally tackled it this past weekend.
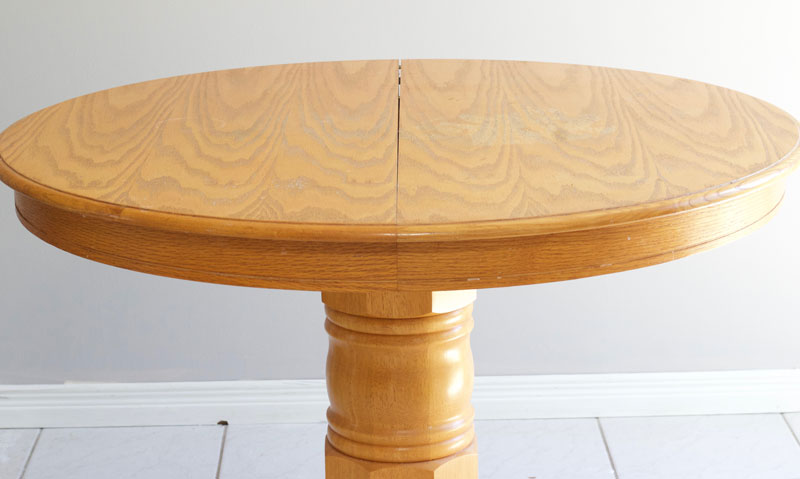
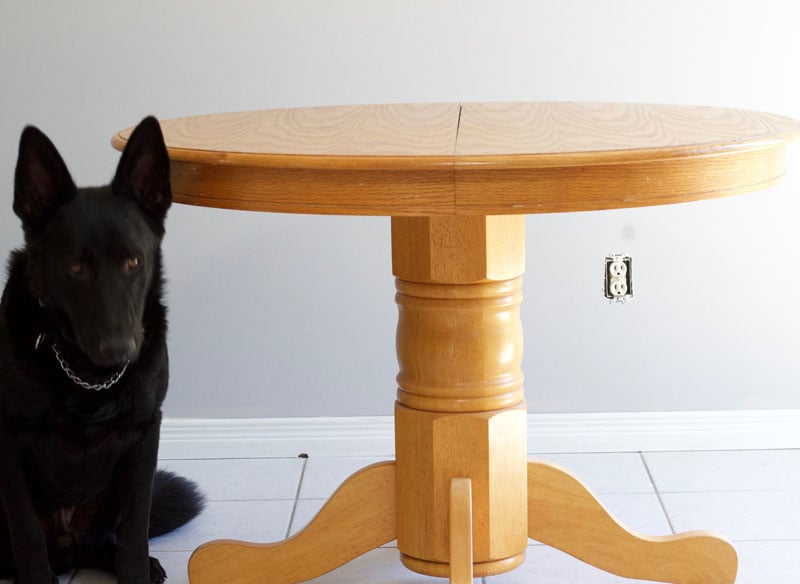
Dylan and I bought this table off Kijiji back when we lived in our apartment. We got this table and six chairs used for $60. It was perfect back then because it was cheap and we needed a solid table to eat on. It did the trick, that's for sure.
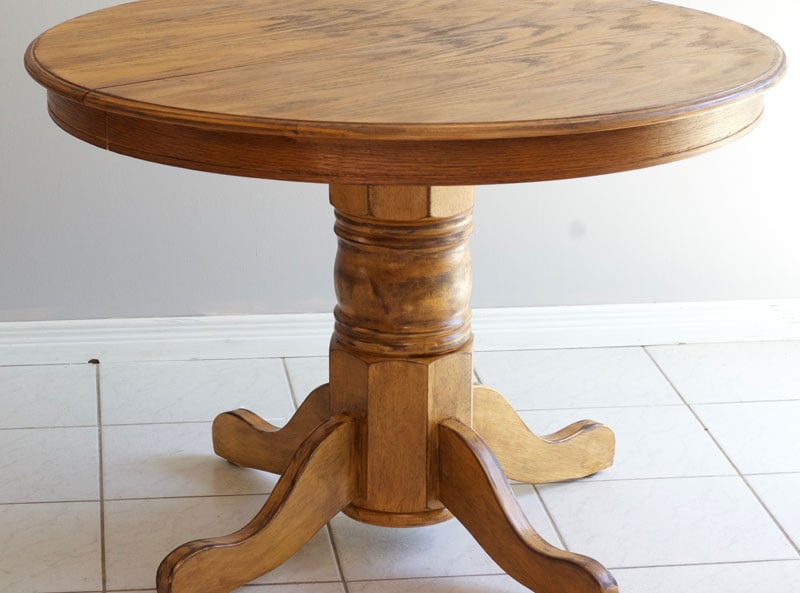
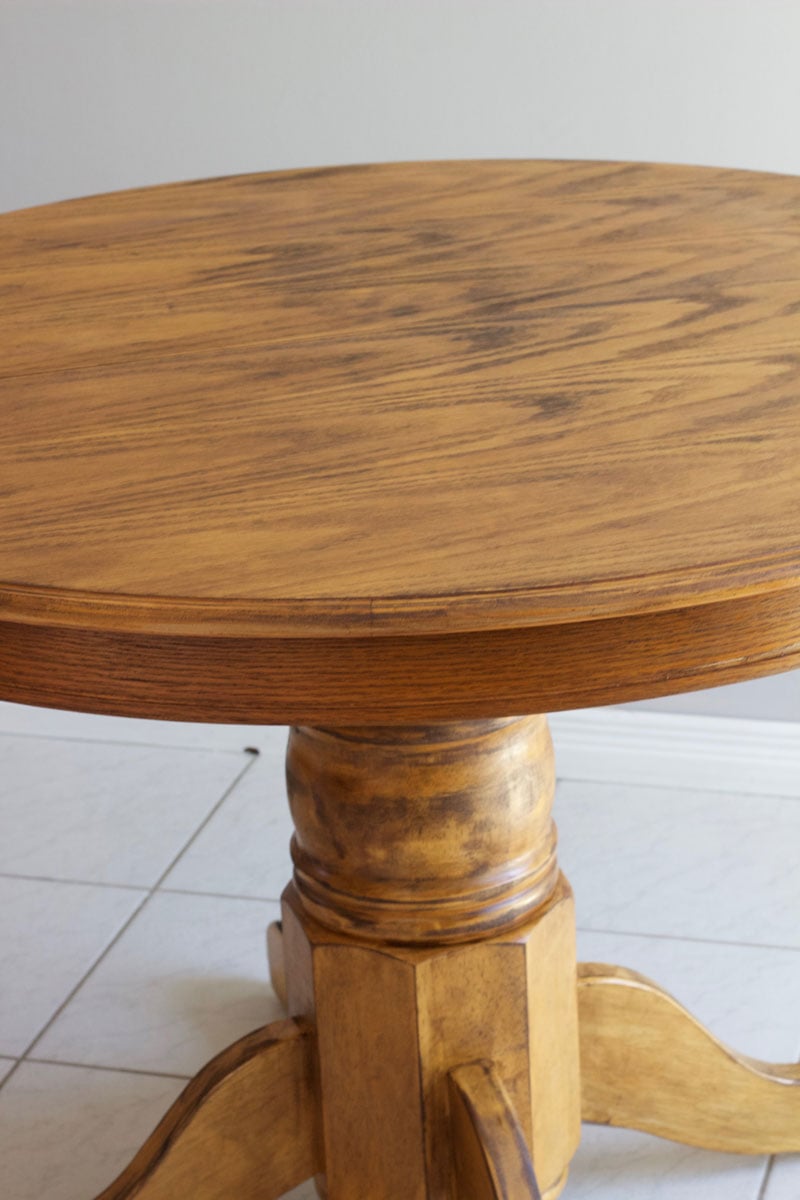
But now that we are slowly updating our house, this light oak table didn't really fit our style. So I decided to refinish it. Originally I wanted to paint the legs white then stain the top super dark but when I saw how beautiful this stain was turning out, I decided to just stain the entire table instead.
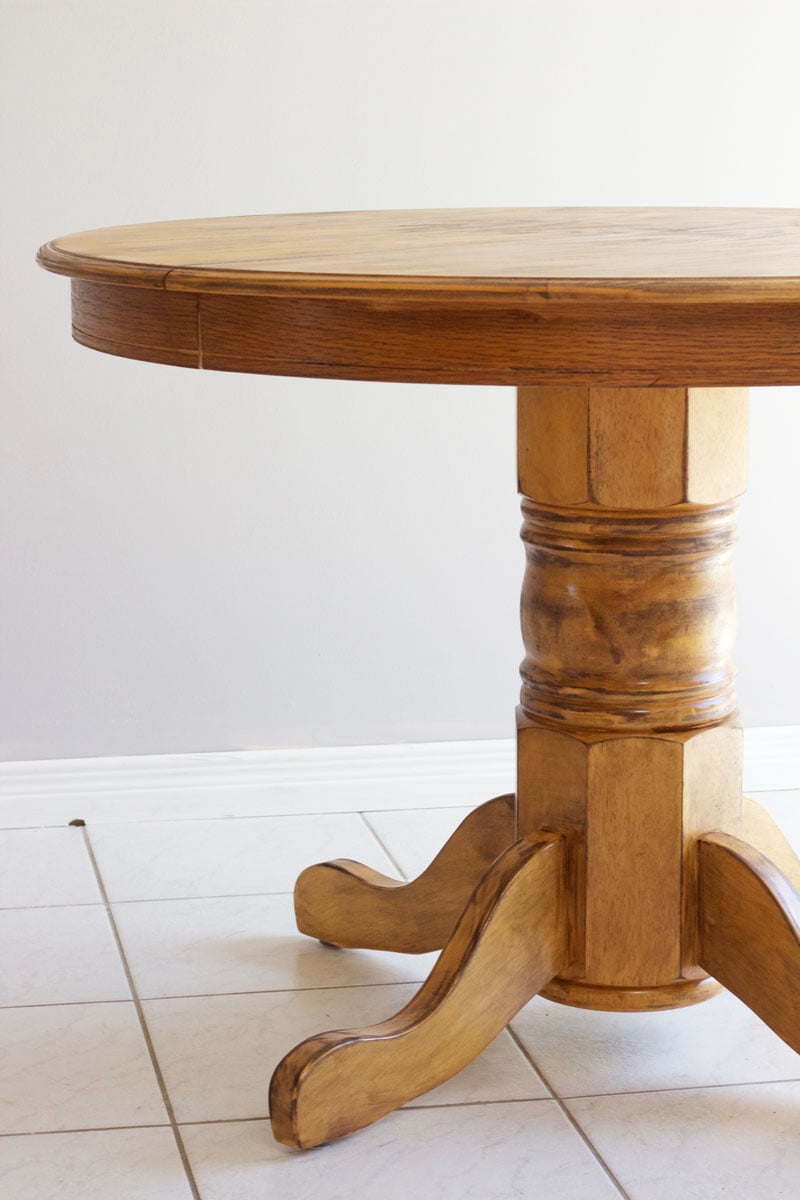
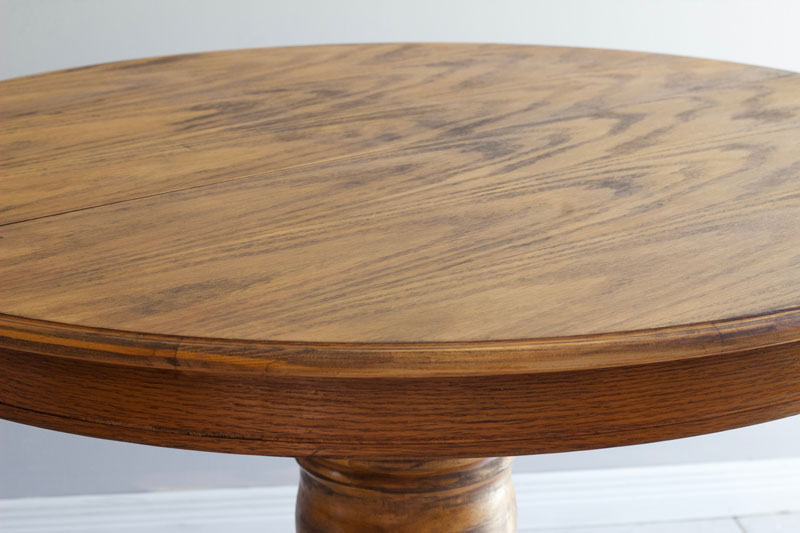
I'm so happy with how it turned out! It's a rustic farmhouse look, which is beautiful. I love the imperfections of the stain, especially because our walls are a classic chic grey colour, so the rustic table adds warmth and charm.
This project took me three hours to do. Yes, that's it! So here is how I did it.
How to Refinish a Dining Room Table for a Rustic New Look
Step 1: Sand her down.
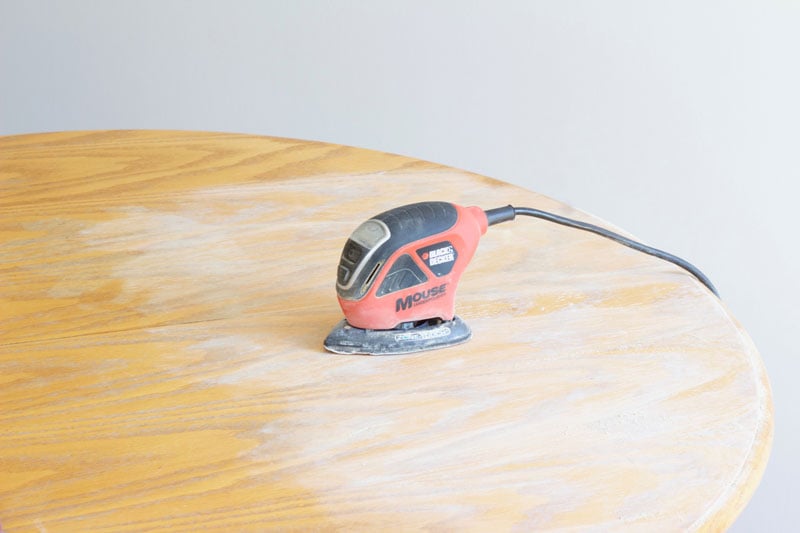
I started by sanding down the table to remove the old stain and shiny coat. Make sure you sand in the direction of the wood grain. If you sand in circles the stain will bring out these scratches, so make sure you sand in the same direction as the wood.
I used this electric sander, but you can use just regular sanding paper (it might just take you longer to completely remove the old stain). I would start with 100-grit sanding paper and then go over once with 220-grit paper to really smooth it all out nicely.
Also make sure you wipe the table down with a DRY rag to get rid of the sanding dust. I wiped it all down then vacuumed... because I sanded it down in the house. OPPS! Don't tell Dylan hehe
Step 2: Stain the table
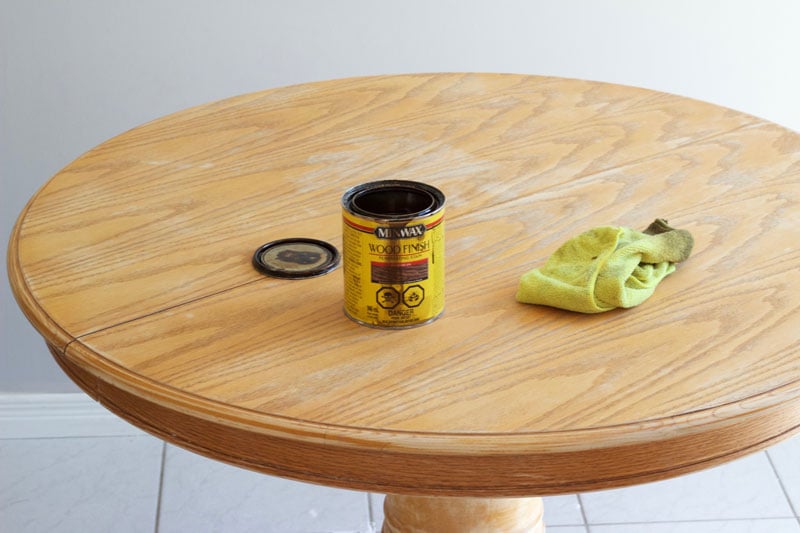
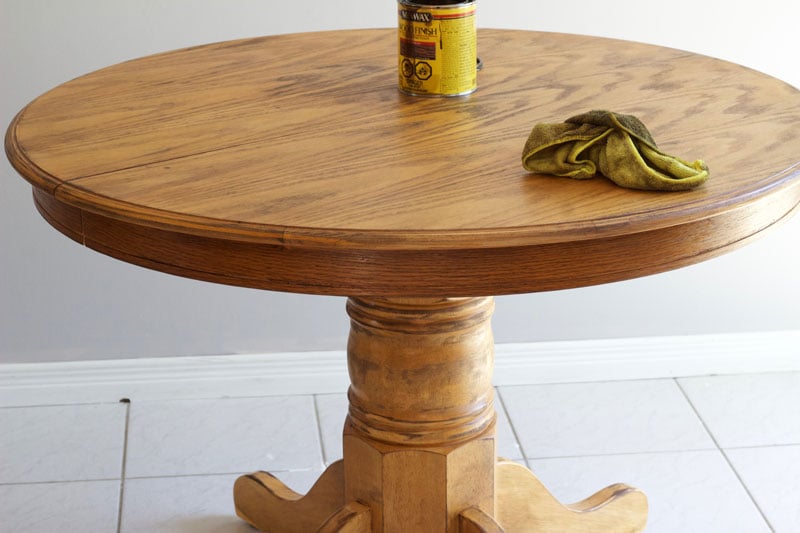
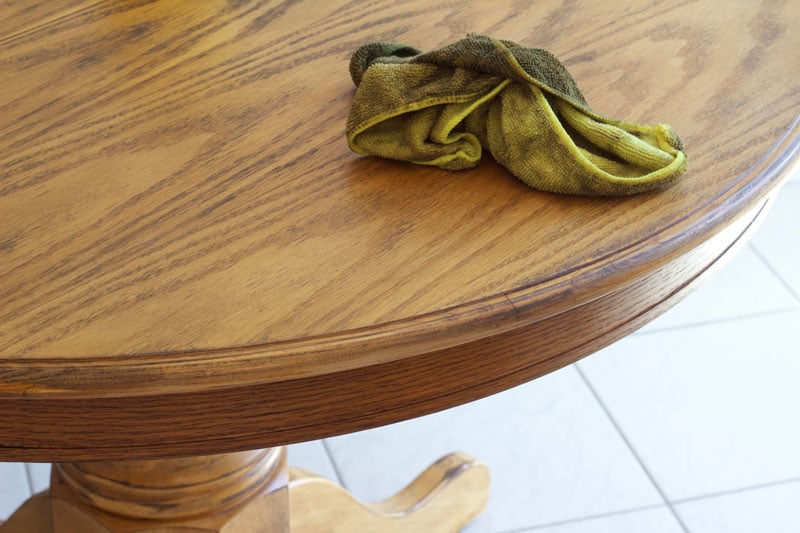
I applied the stain with this yellow rag and rubbed it into the wood rather then using a brush. I also wiped off any excess stain to avoid streaks. I wanted it to look rustic and weathered, so I made sure to add more stain on some edges.
The stain I used was MinWax wood finish in Dark Walnut. I did three coats, waiting 30 minutes in between each one.. you probably should wait a little longer in between each coat but I'm not a very patient person.. Still turned out for me though!
I did nothing else after the stain. Some people use a final protective coat but I skipped that step because I don't mind if the table gets a little bit beat up.. I love the rustic antique look! More character the better.
And that's it! Easy transformation. Hope you enjoyed it and don't forget to tag me in your transformations!

Check out more fun DIY projects & furniture makeovers here:


As Seen on TikTok
Come behind the scenes of our farmhouse build, decor projects, and cozy everyday life. Tap a video to watch, then follow @nikkisplate on TikTok for more.
Watch this video on TikTok
Watch this video on TikTok
Watch this video on TikTok


Leave a Reply