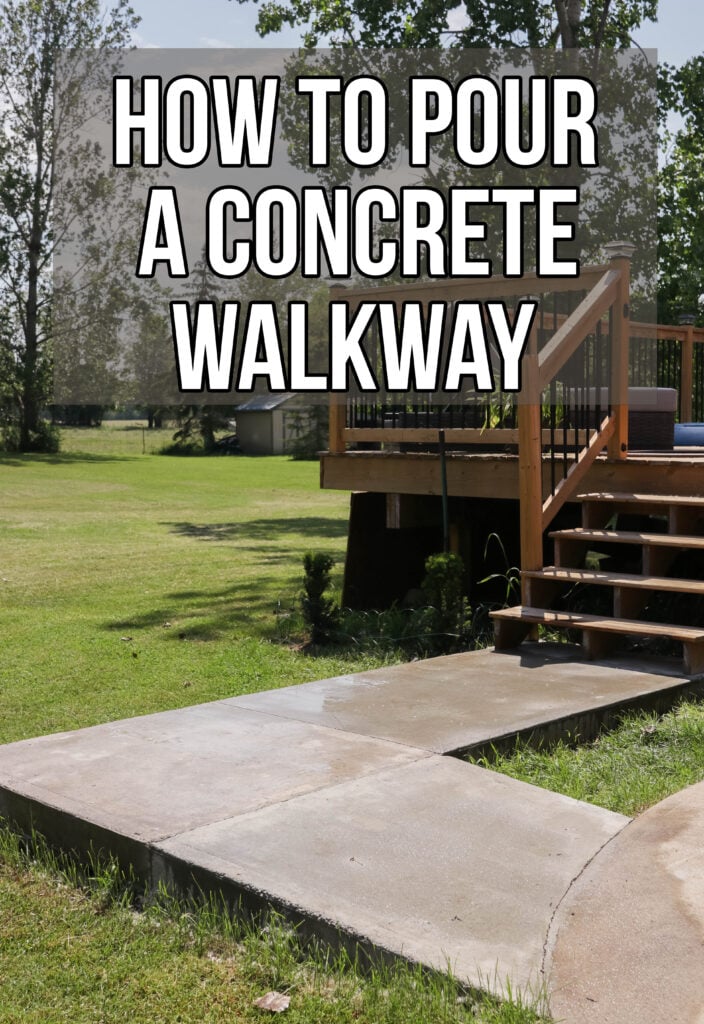
How to Pour a Concrete Walkway; Do it yourself concrete sidewalk using framing and a concrete mixer. {DIY Concrete Project}
Disclaimer: this post may contain affiliate links, and every purchase made through these links will give me a small commission (at absolutely no extra cost for you!) AS AN AMAZON ASSOCIATE AND REWARDSTYLE MEMBER, I EARN FROM QUALIFYING PURCHASES. See Privacy Policy for additional info.
Hi Beauties!
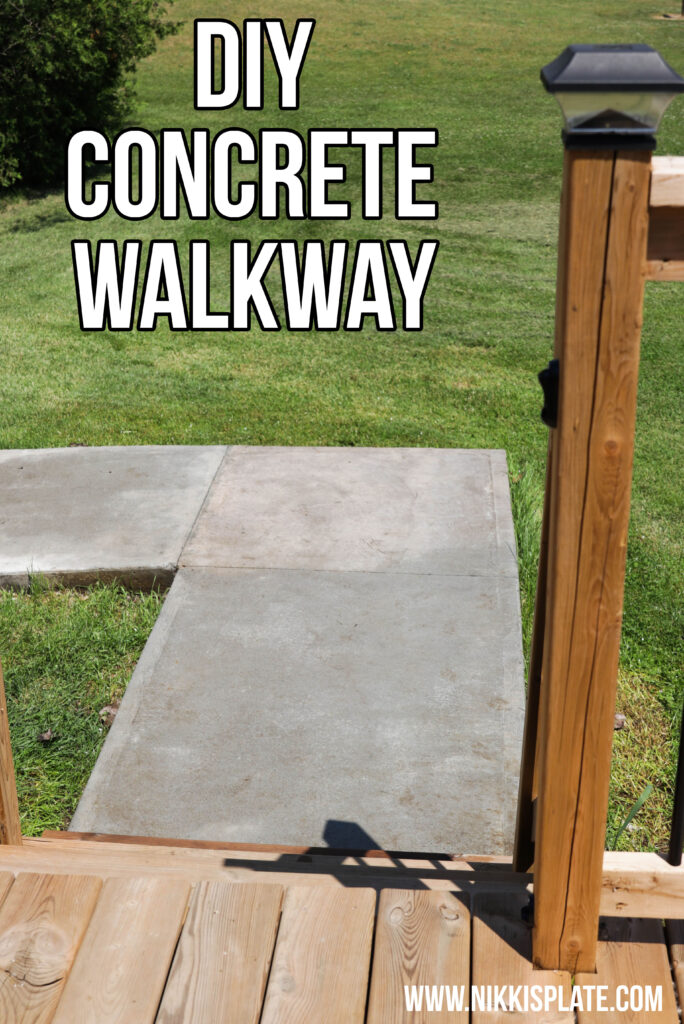
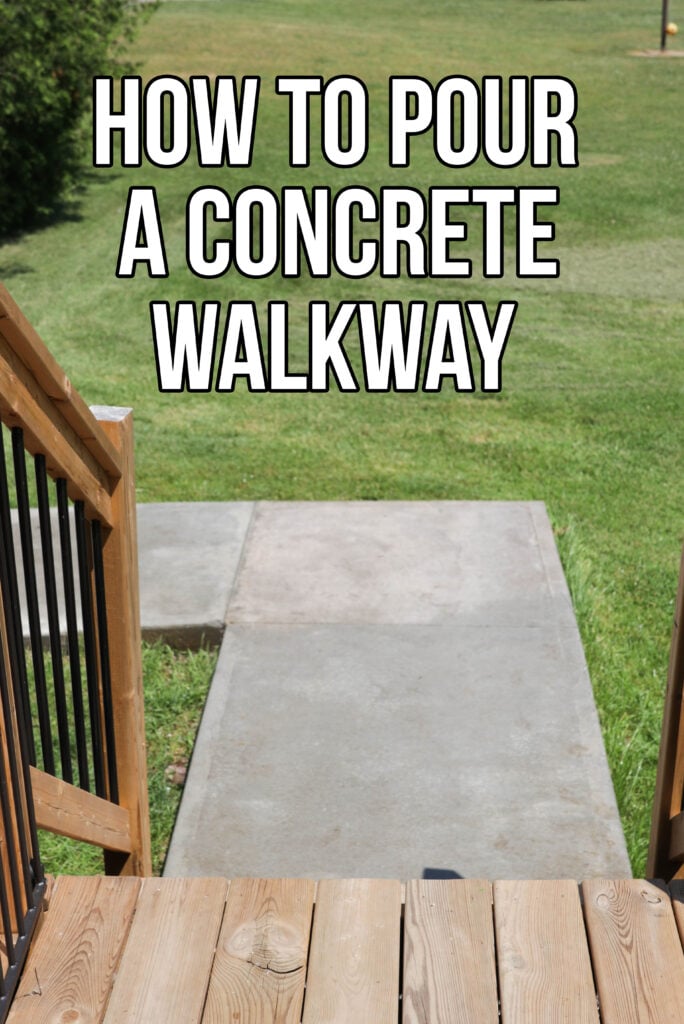
Now that our actual deck is finished I can start showing you some of the projects we did along the way, including this DIY concrete walkway! It was super easy to do and looks SO GOOD. It really completed our deck entrance and I am so happy with it. Pouring concrete is a lot easier than it seems, so follow the steps below to see how to pour a concrete walkway!
This tutorial will go through the steps on how to pour a concrete walkway over an area previously occupied by grass. We go through the steps to remove the grass, prep the area, and pour concrete. Do not follow this tutorial if you are looking to pour concrete in another area, as it may not turn out exactly as ours did for this area.
Before I begin I should probably make it known that my husband is a carpenter and has poured concrete walkways many times before. He knows what he is doing and I am going to show you how it is done from a professional's point of view! Obviously I had no help in this project but it was fun to watch him do this! He also helped me put together this post.
Therefore this isn't a typical do it yourself'er. If you want to know how to pour a concrete slab PROPERLY, you have come to the right place my friends!
How to Pour a Concrete Walkway
Time needed: 2 days
Step by step guide on how to pour a concrete walkway. Instructions for pouring a concrete sidewalk:
- Plan Walkway
Measure and outline where the walkway will be. The first step may be an obvious one.. you need to plan out your walkway and decide how big you want it and where you would like it to go.
Planning is crucial, this isn't something you can wing in the moment. You need to plan because you need to know how many bags of concrete you will need to complete the project. This isn't a DIY hat you can just "run to the store" if you need to get more bags. Why? Because you once the concrete is set, you can not add to it. Concrete hardens within 12 hours so you need to work fast and complete the project in one go. - Gather Supplies
You will need the following supplies:
- 2x6 boards for forming
- gravel (or crushed stone)
- concrete bags
- concrete mixer (not needed if you are mixing by hand, another option here)
- wheelbarrow & shovel
- hose or water access
- concrete trowel
- old broom (to create slip proof grip)
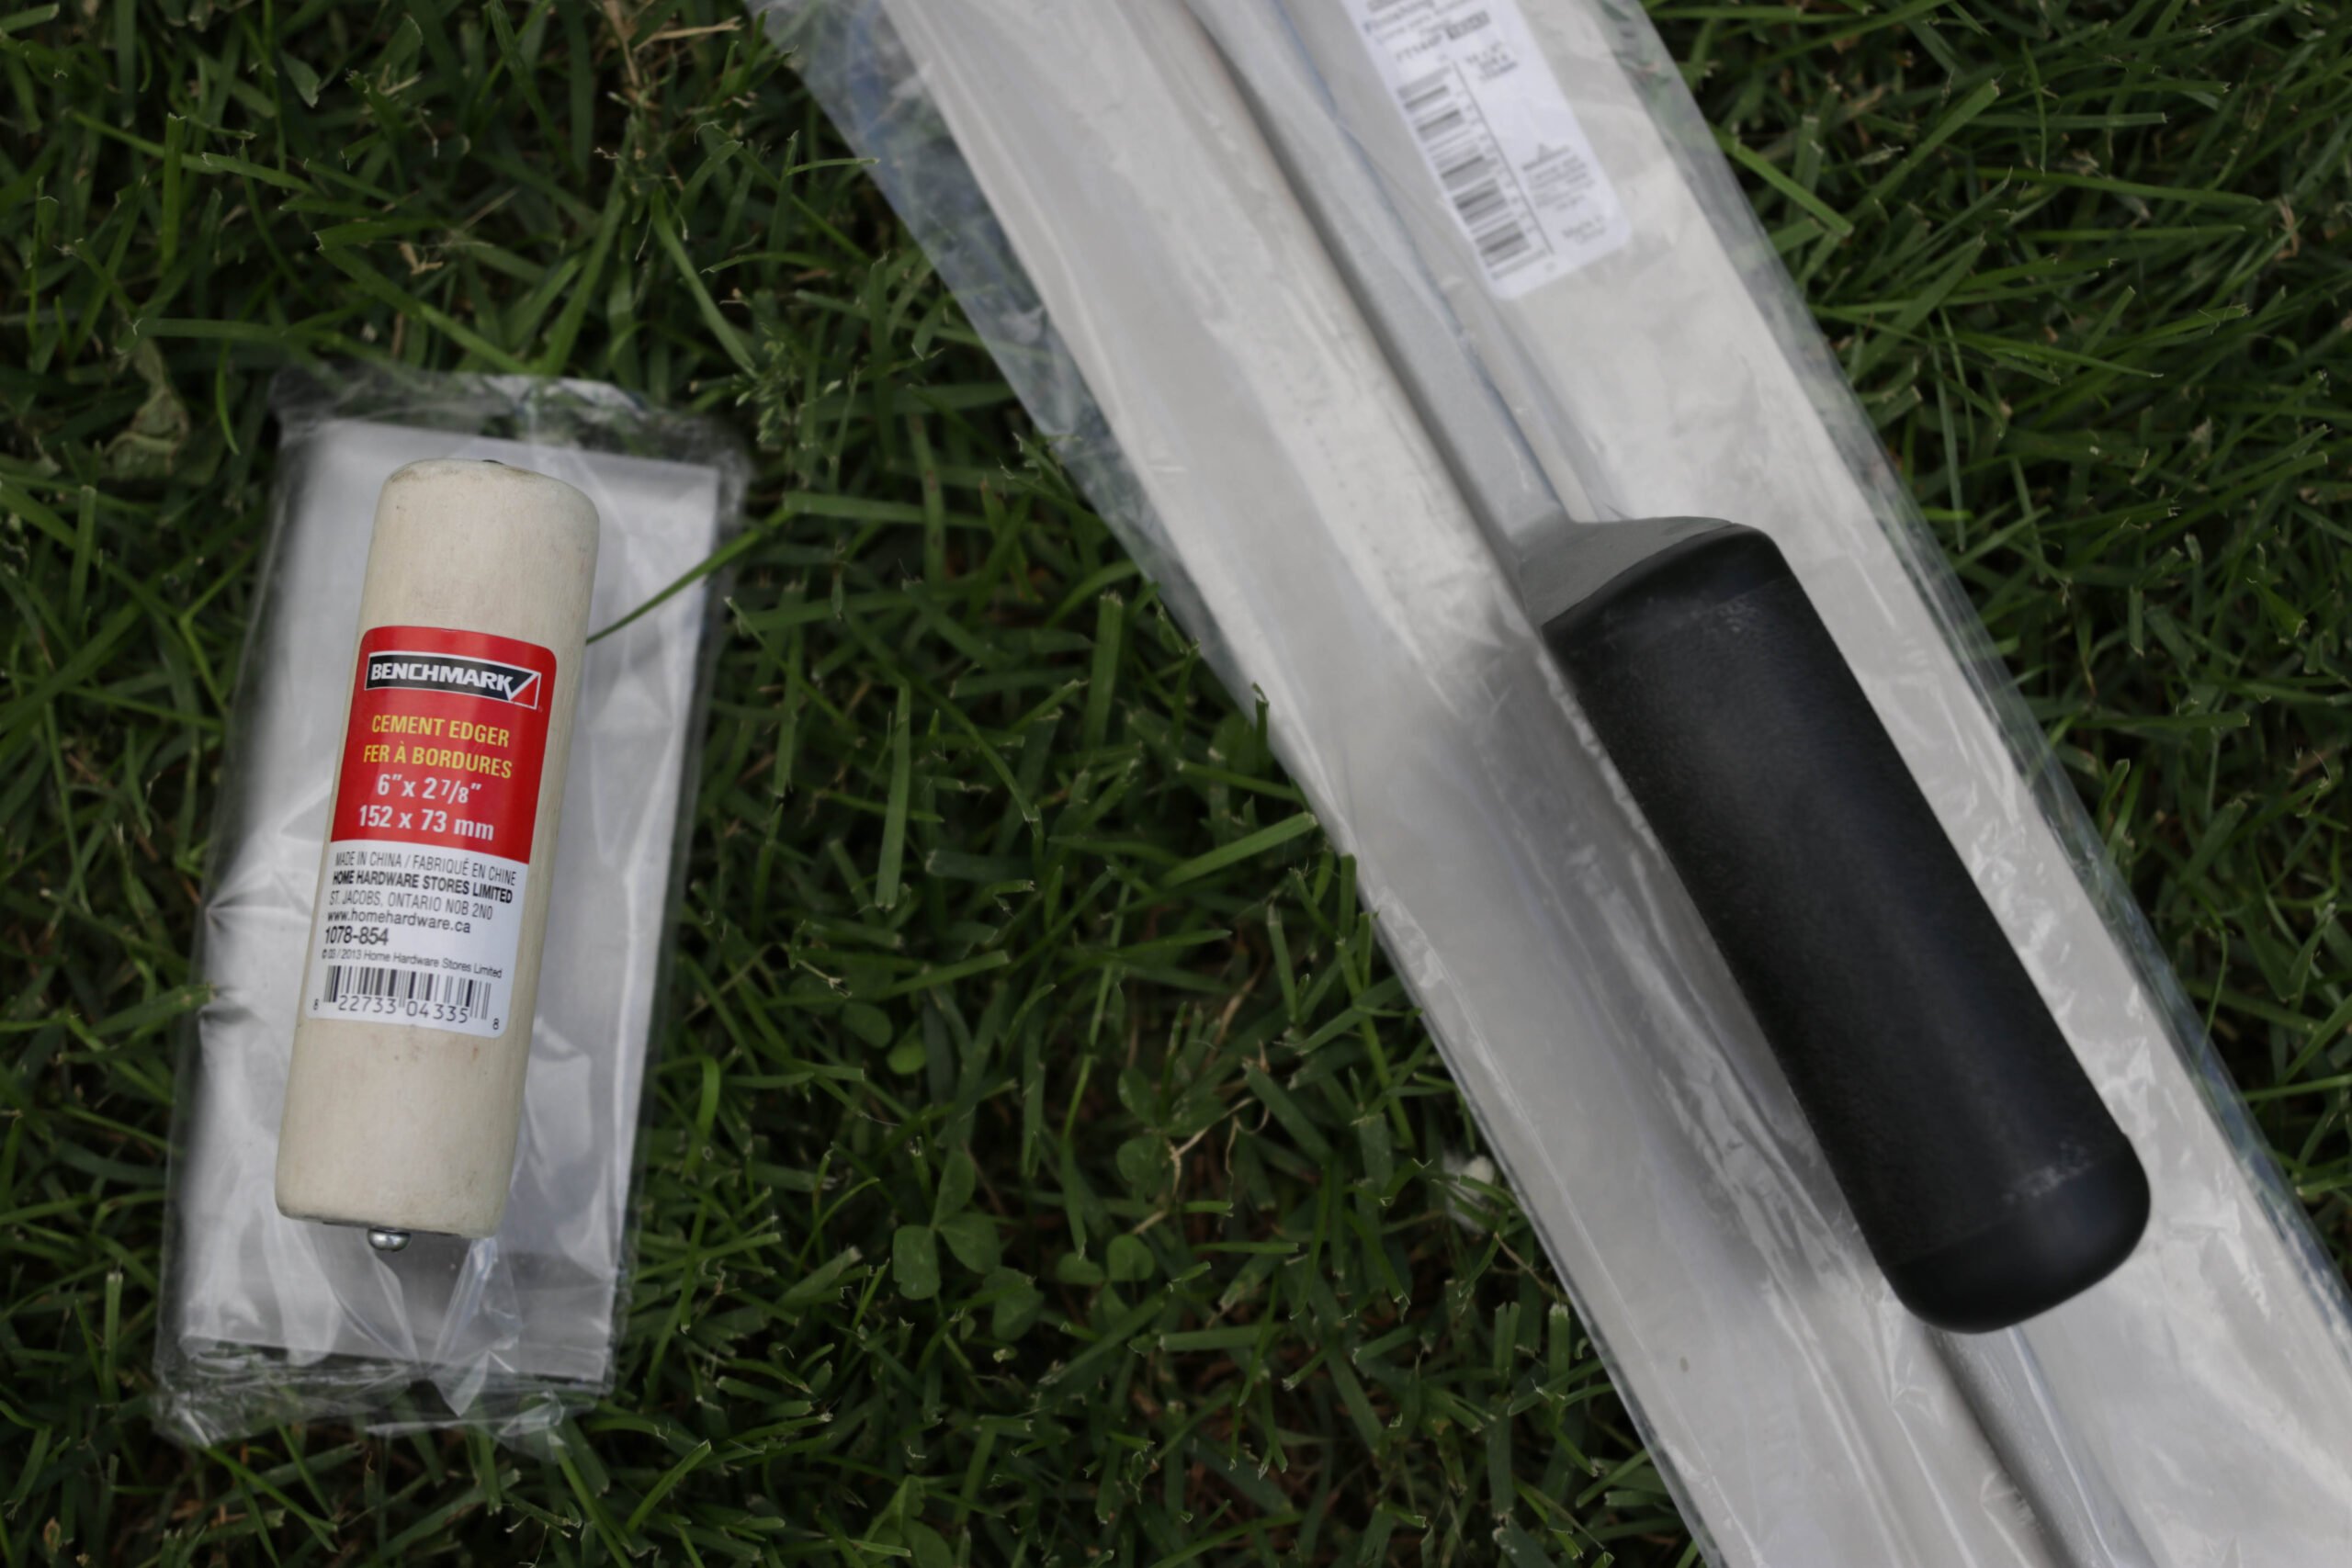
- concrete edger (optional but gives a nice finish) - Excavating Area
Once you have planned where you want your concrete walkway to be, you need to excavate the area. Remove grass using a shovel. It is recommended to excavate 5-6 inches down. Make sure your area is level and free of roots. Tree roots can cause a lot of issues down the road for concrete slabs.
- Forming for Concrete Pour
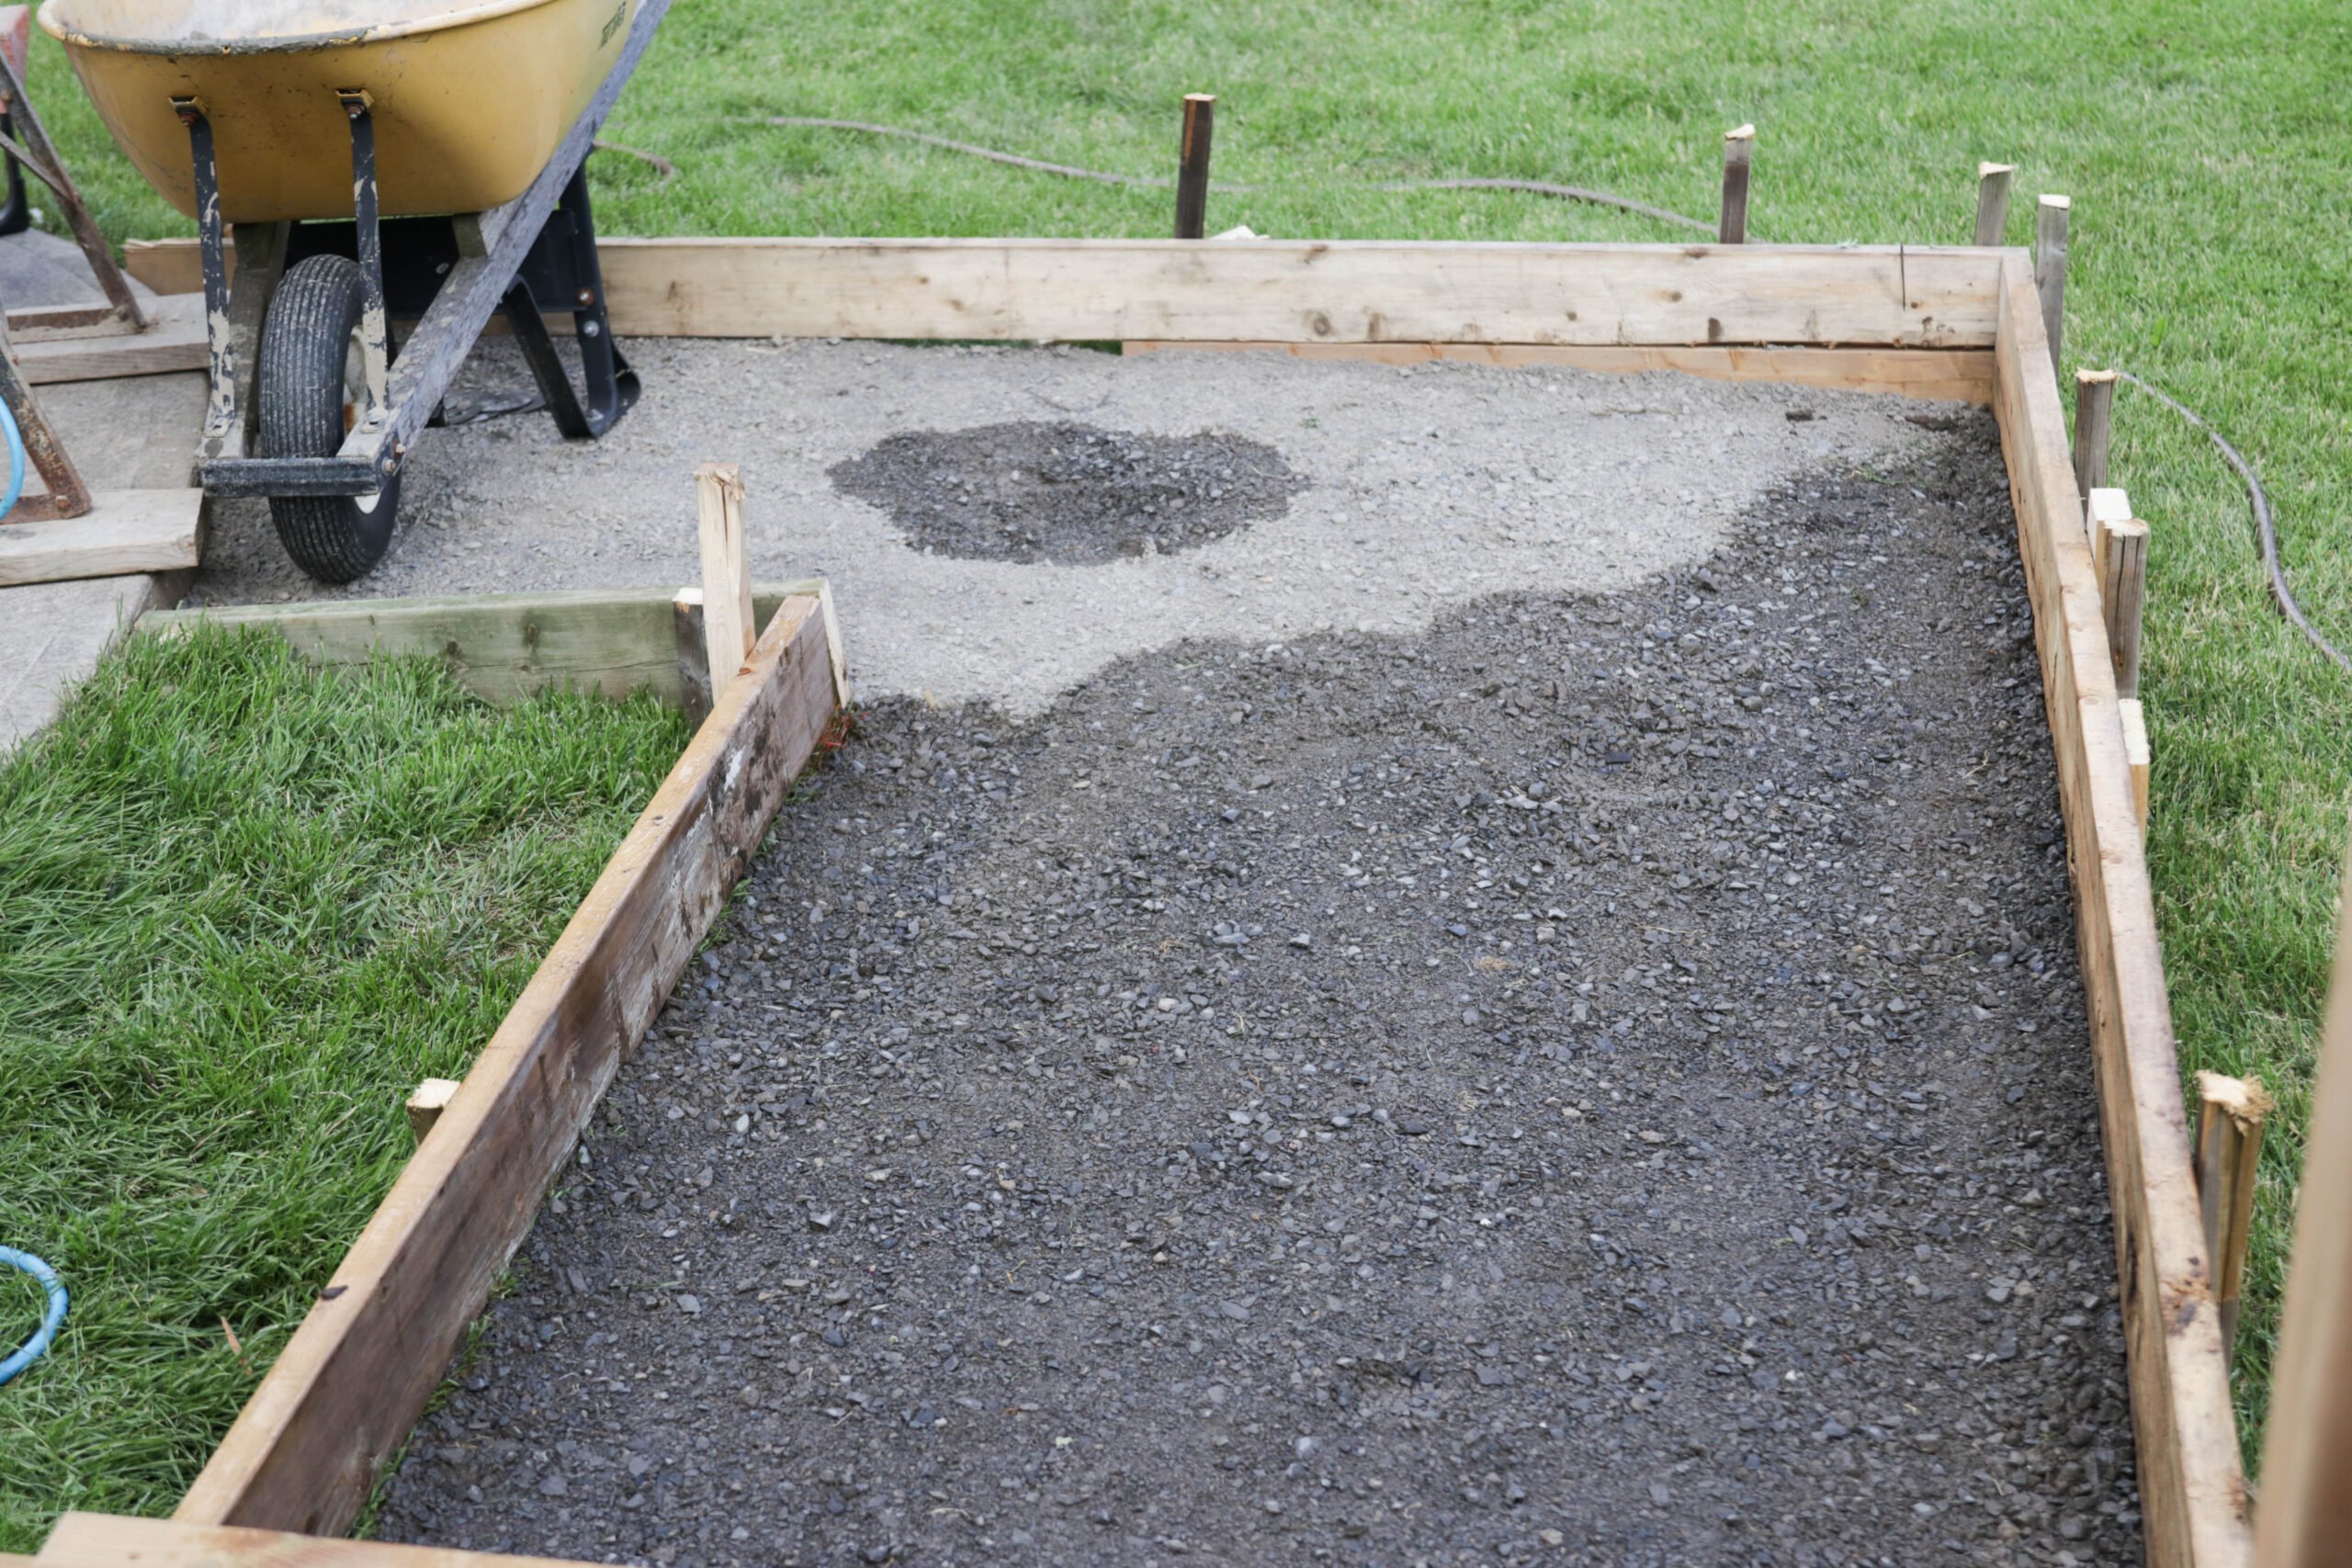
Once you have planned where you want your concrete walkway to be, you need to form it in. We use 2x6 boards. You can use a leveler to make sure it is perfectly straight. We put some gravel down in the framed area to ensure the concrete settles properly, this is technically not necessary but it worked really well for us.
- Mix Concrete
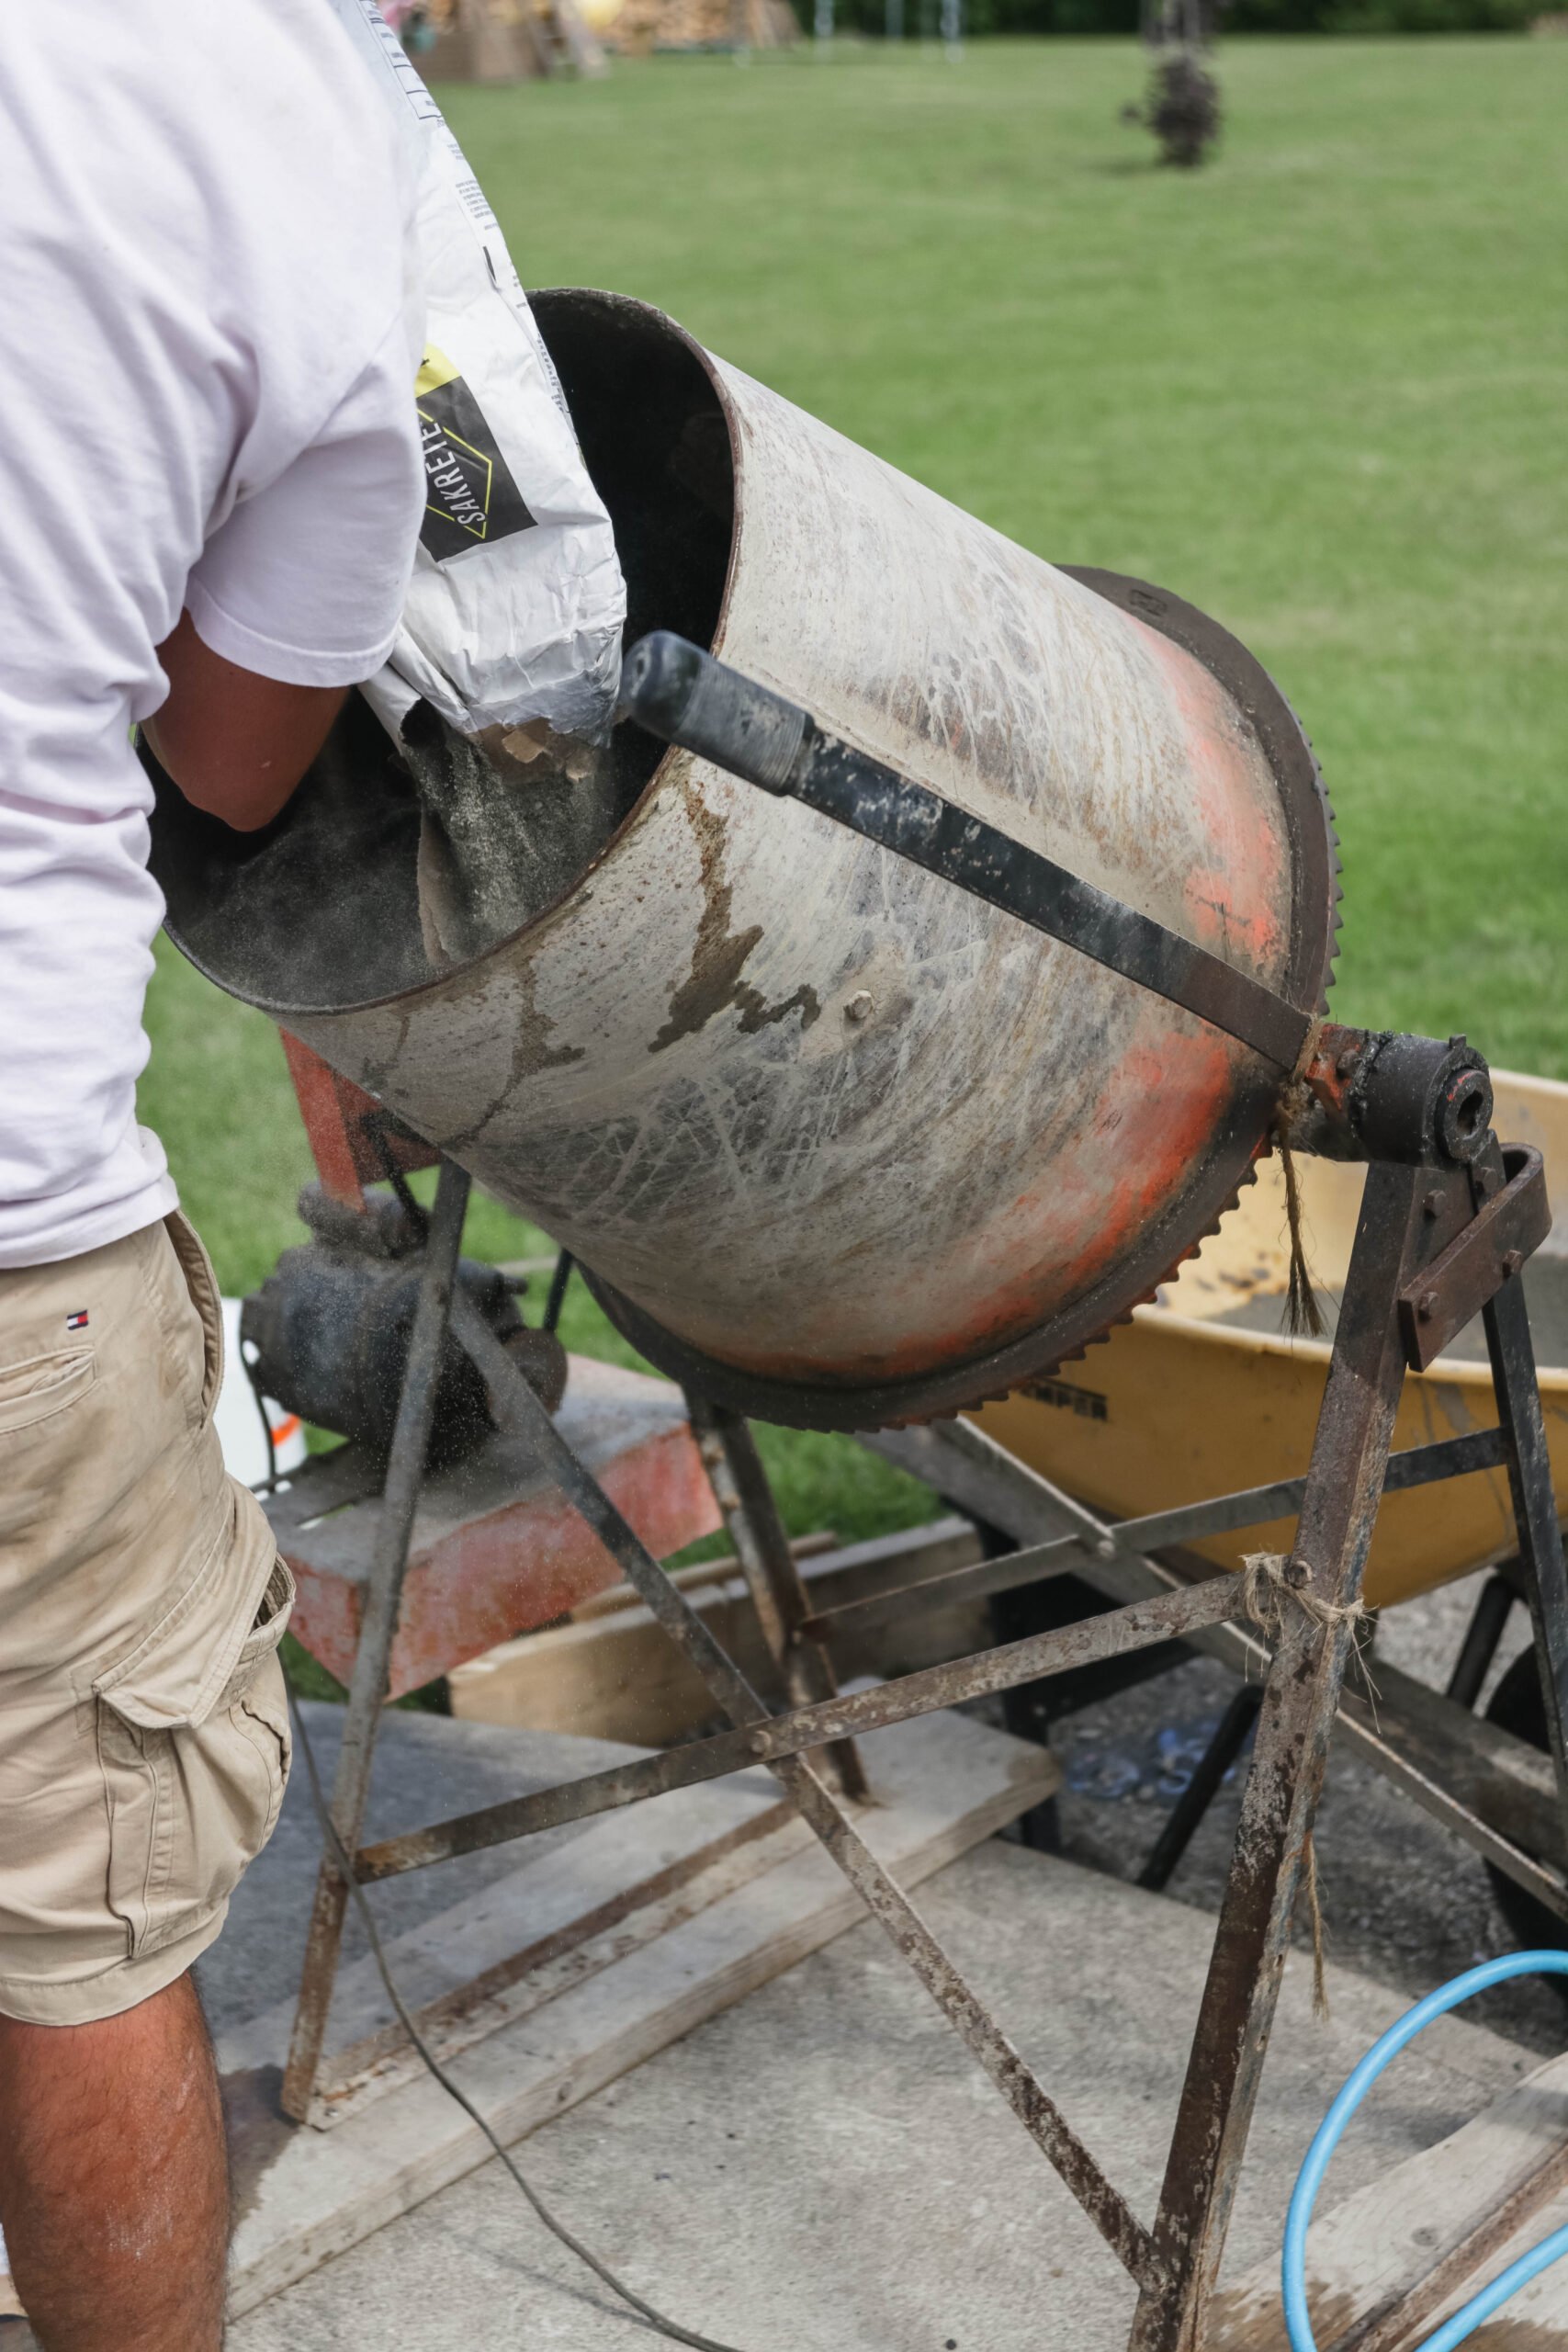
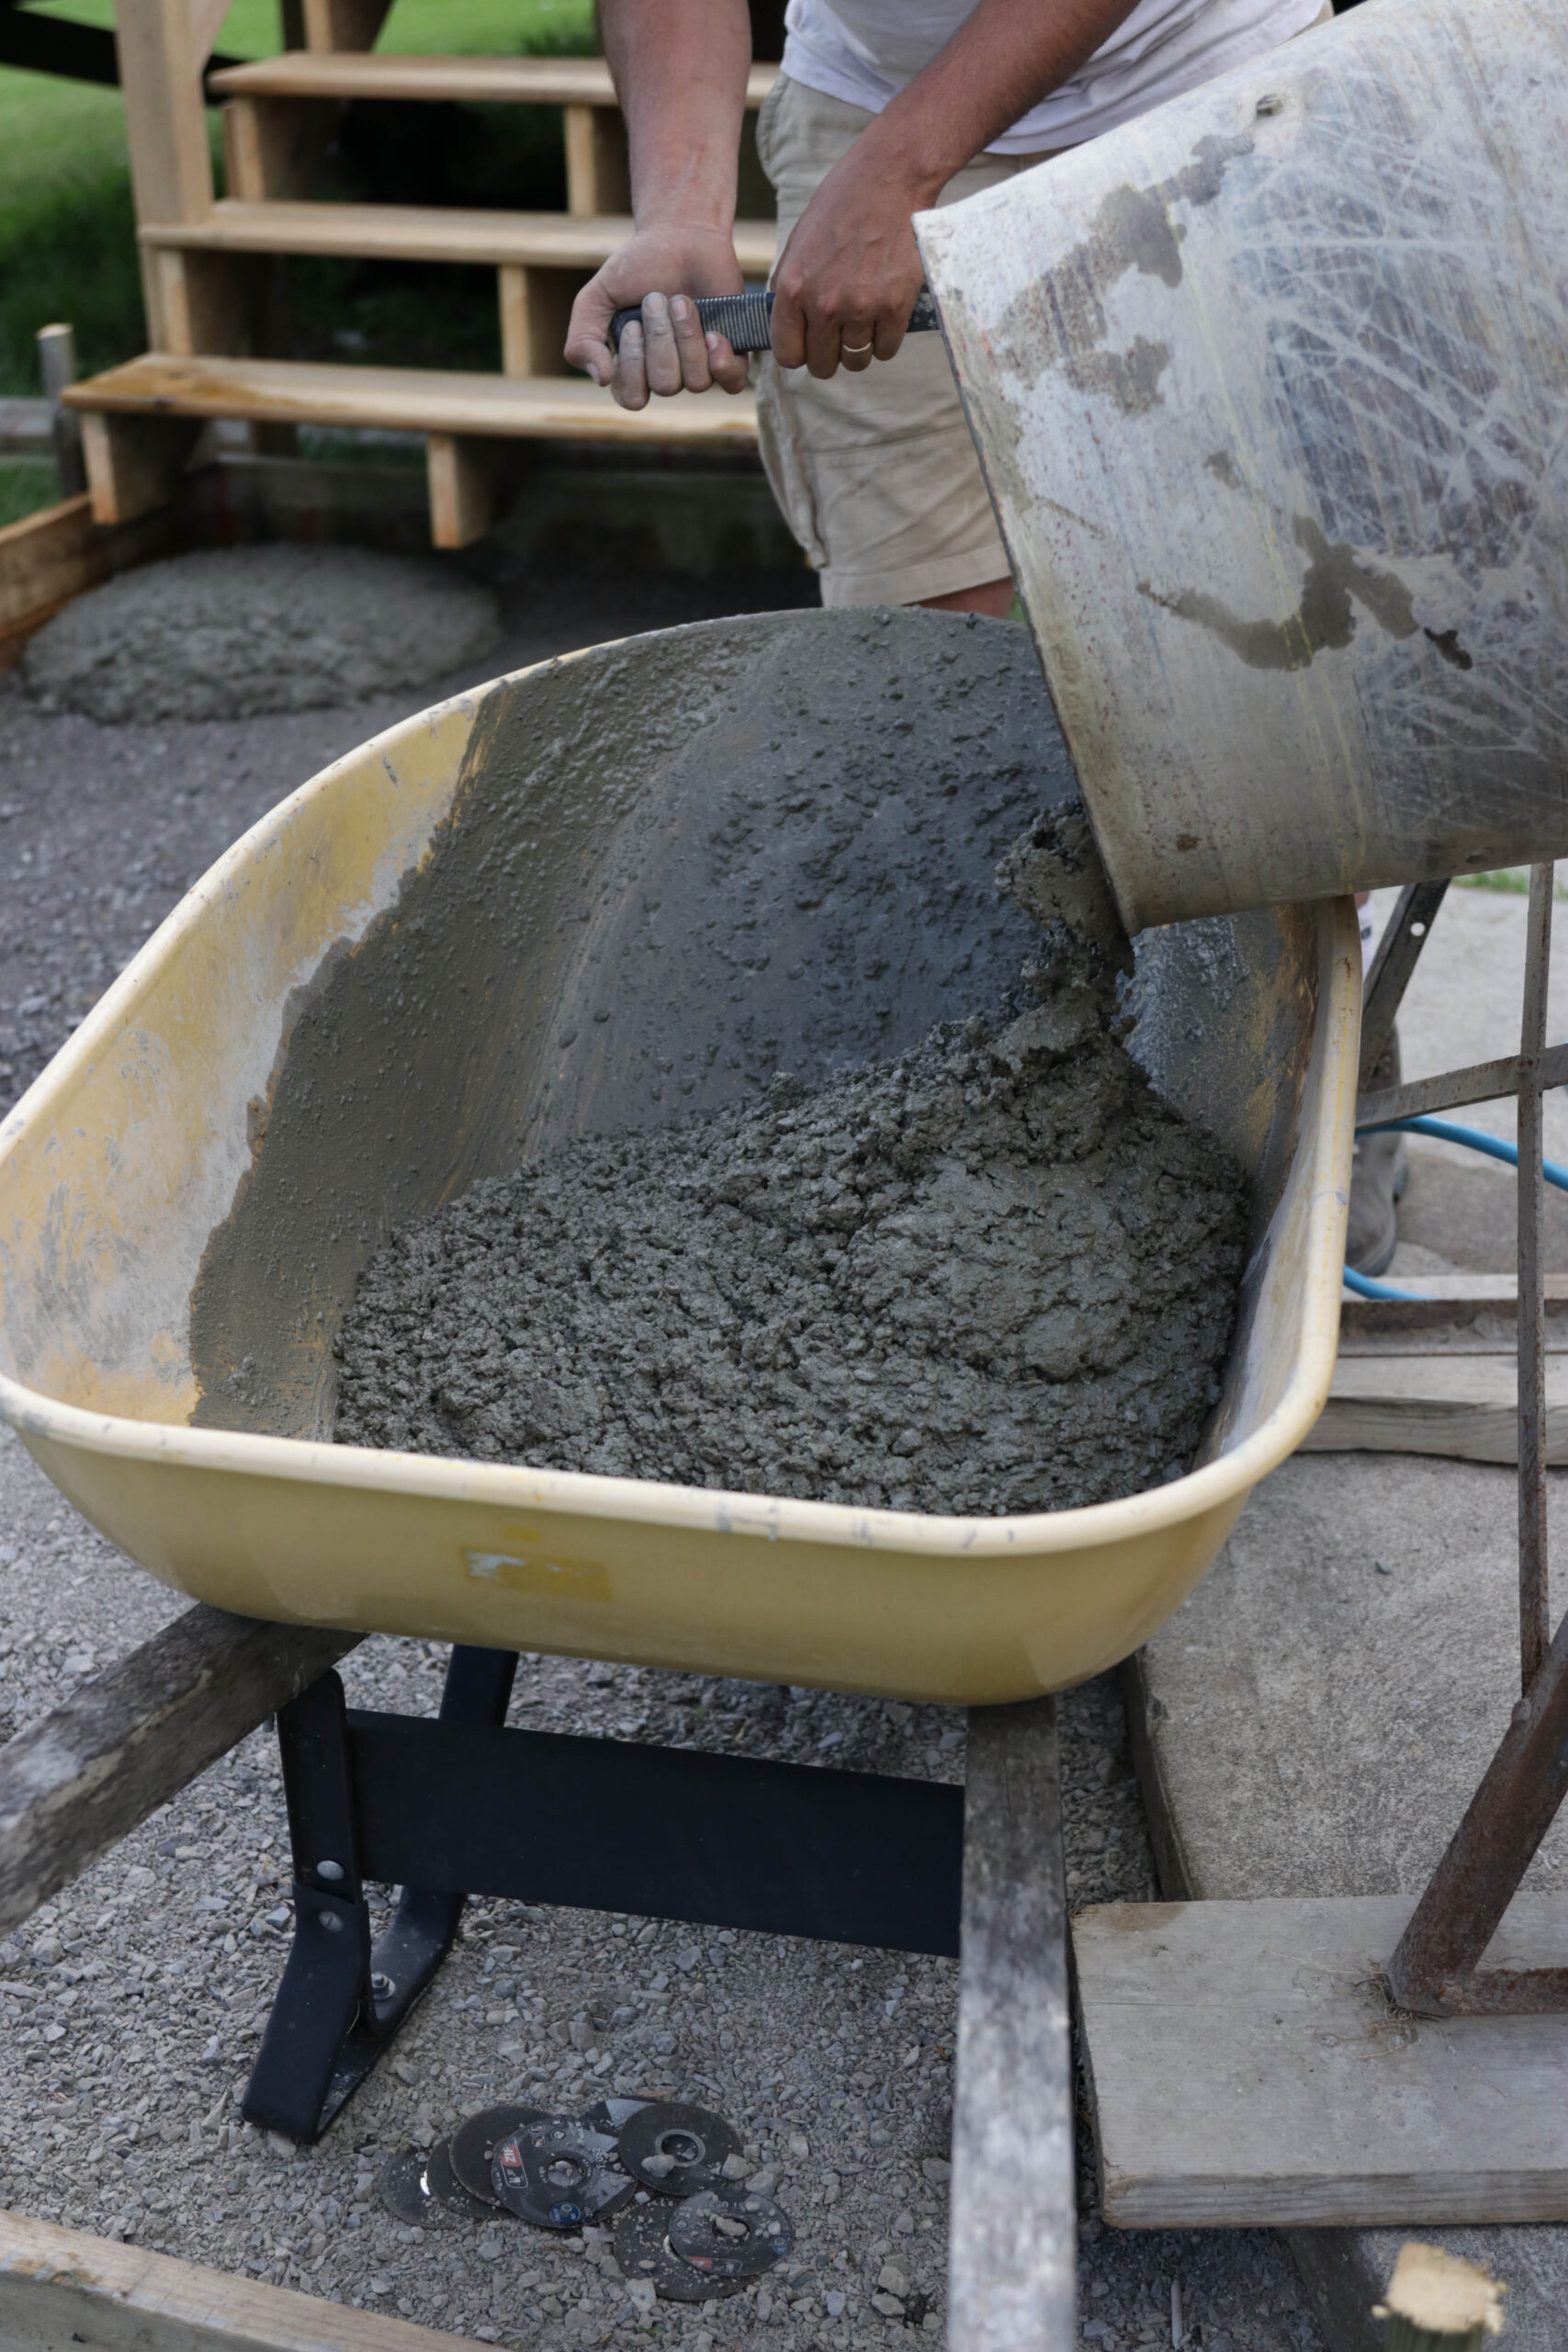
Prepare pre mixed concrete according to the instructions found on the bag. We used a concrete mixer but you do not need one to complete the job. There are also Portable Concrete Mixers on amazon that work great if you would rather do it that way! Investing in good tools will make sure your walkway will turn out great AND still will be cheaper then hiring someone else to complete the job for you.
- Pour Concrete
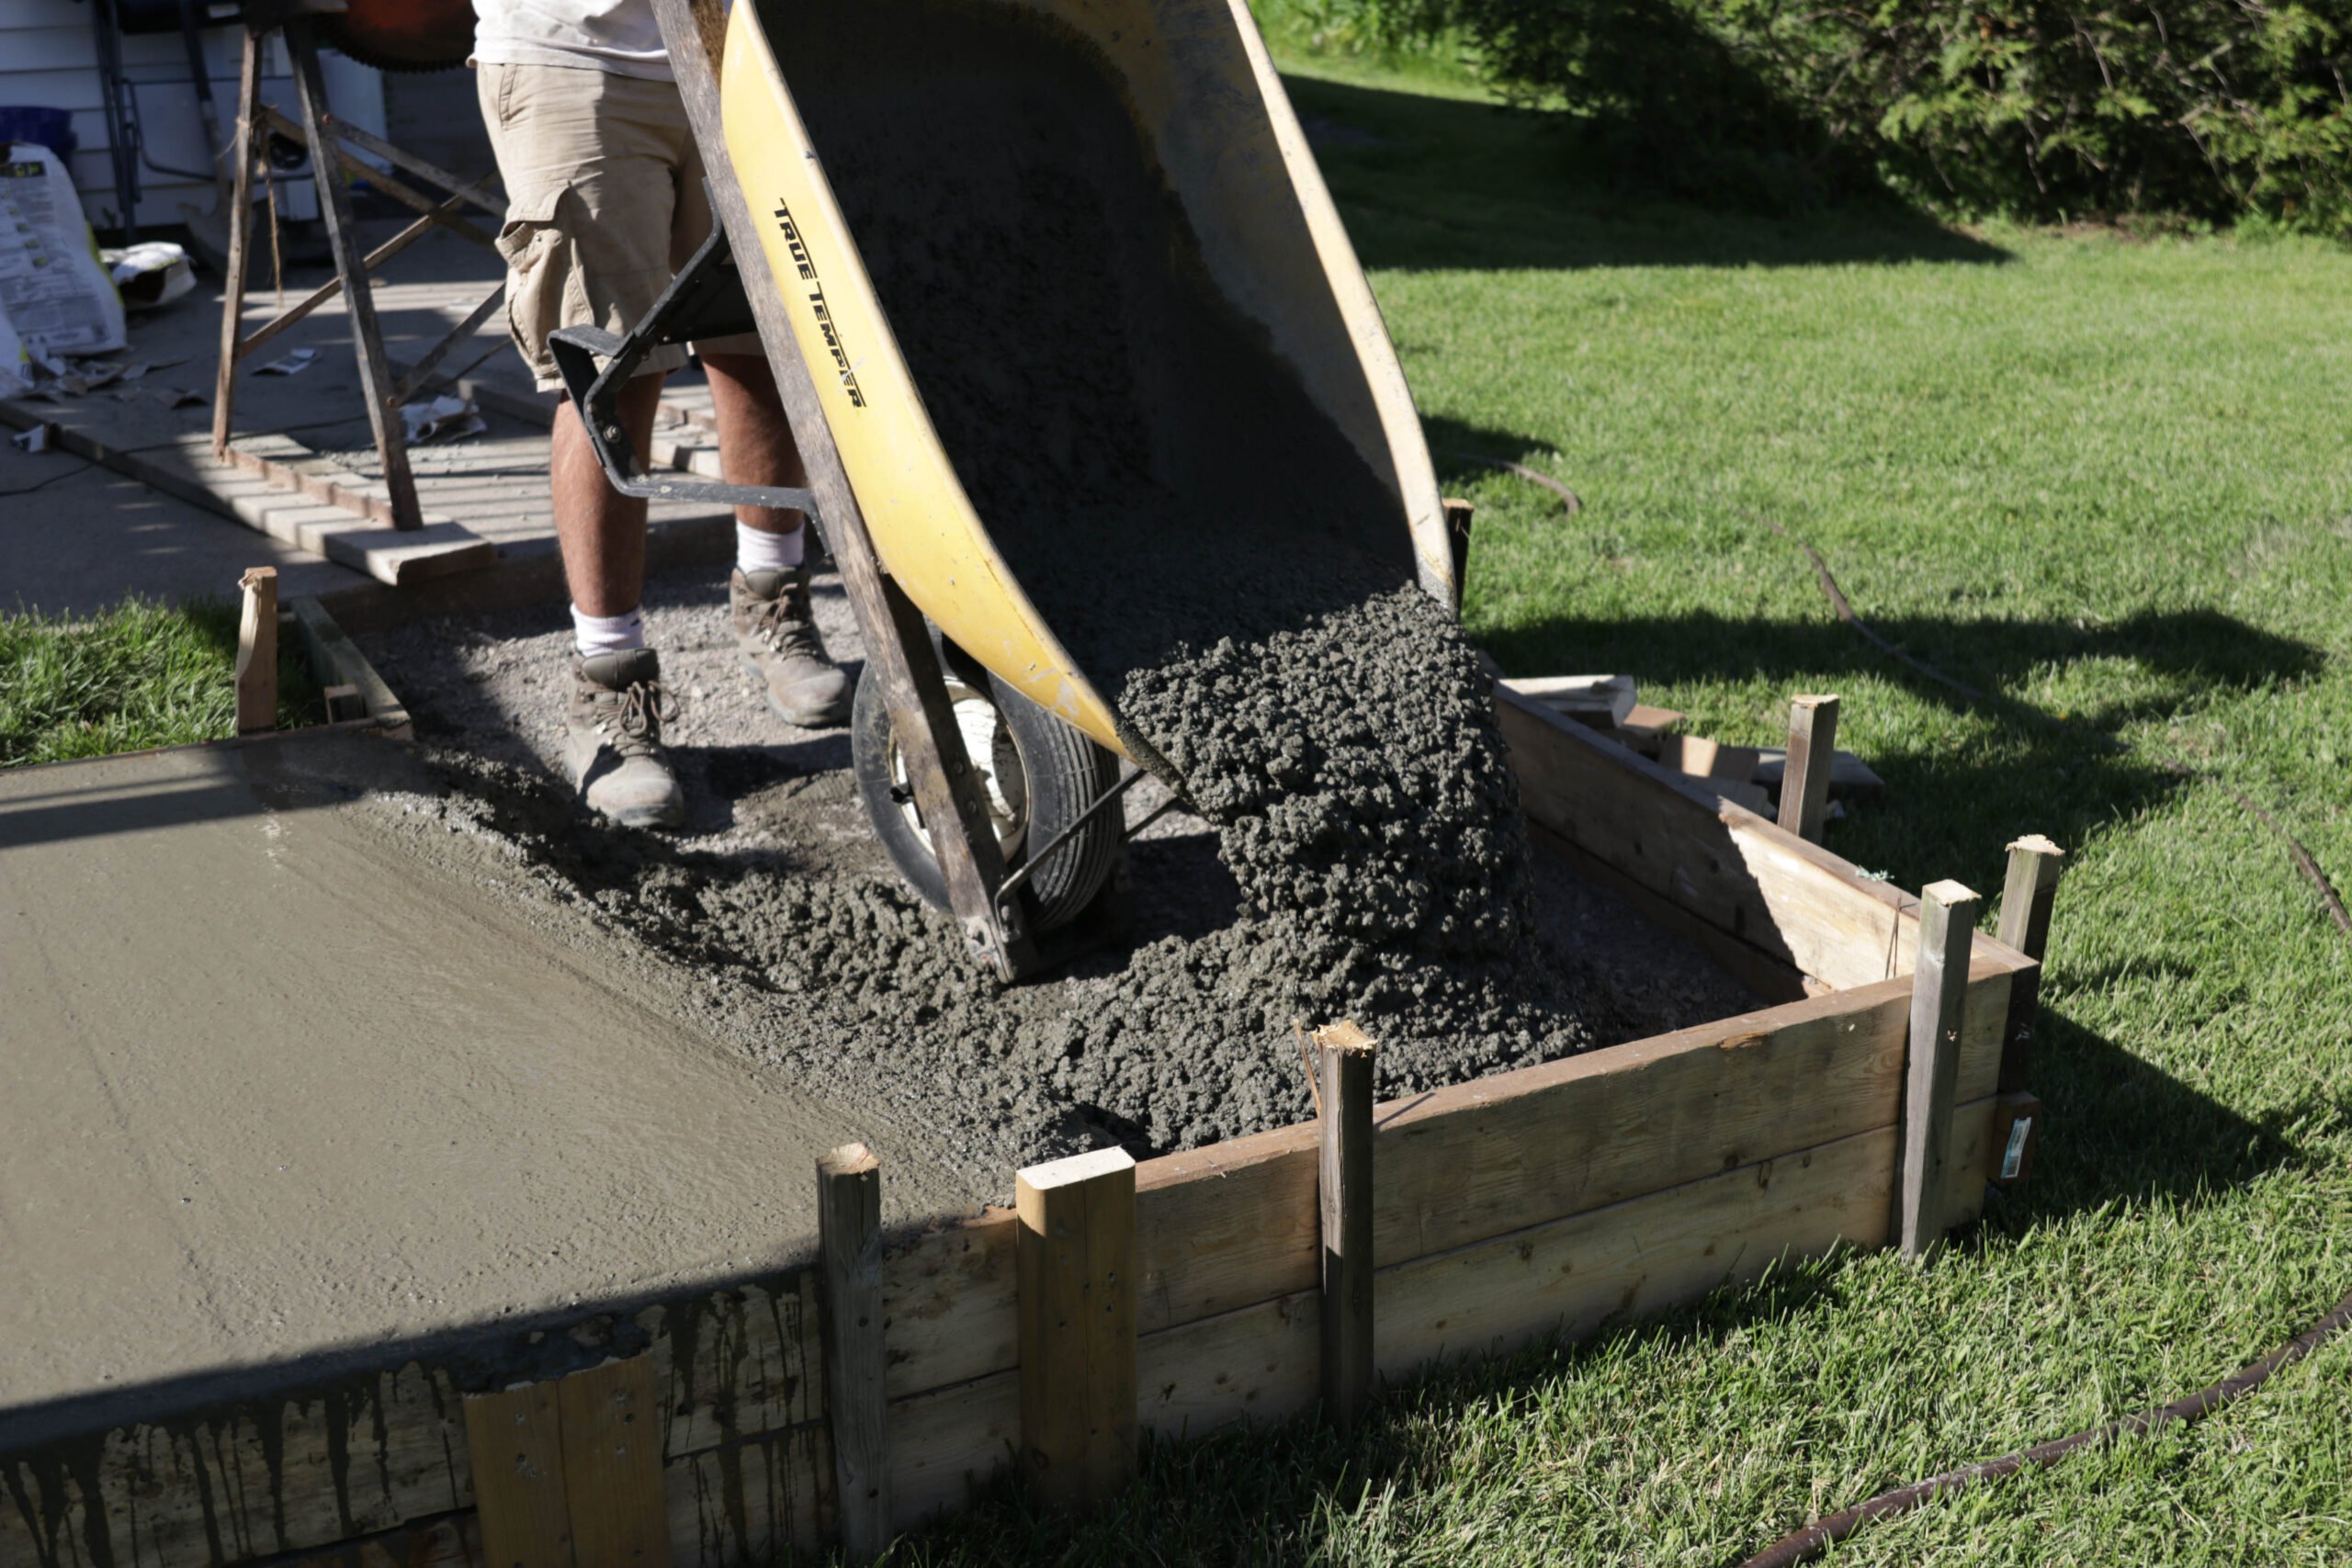
Begin pouring concrete into the form starting from the lowest point to the highest. We used the concrete mixer so we had to transfer the mixed concrete to a wheelbarrow in order to pour. If you are mixing in a bucket, you can pour the bucket directly into the framed area of course.
- Level the Concrete
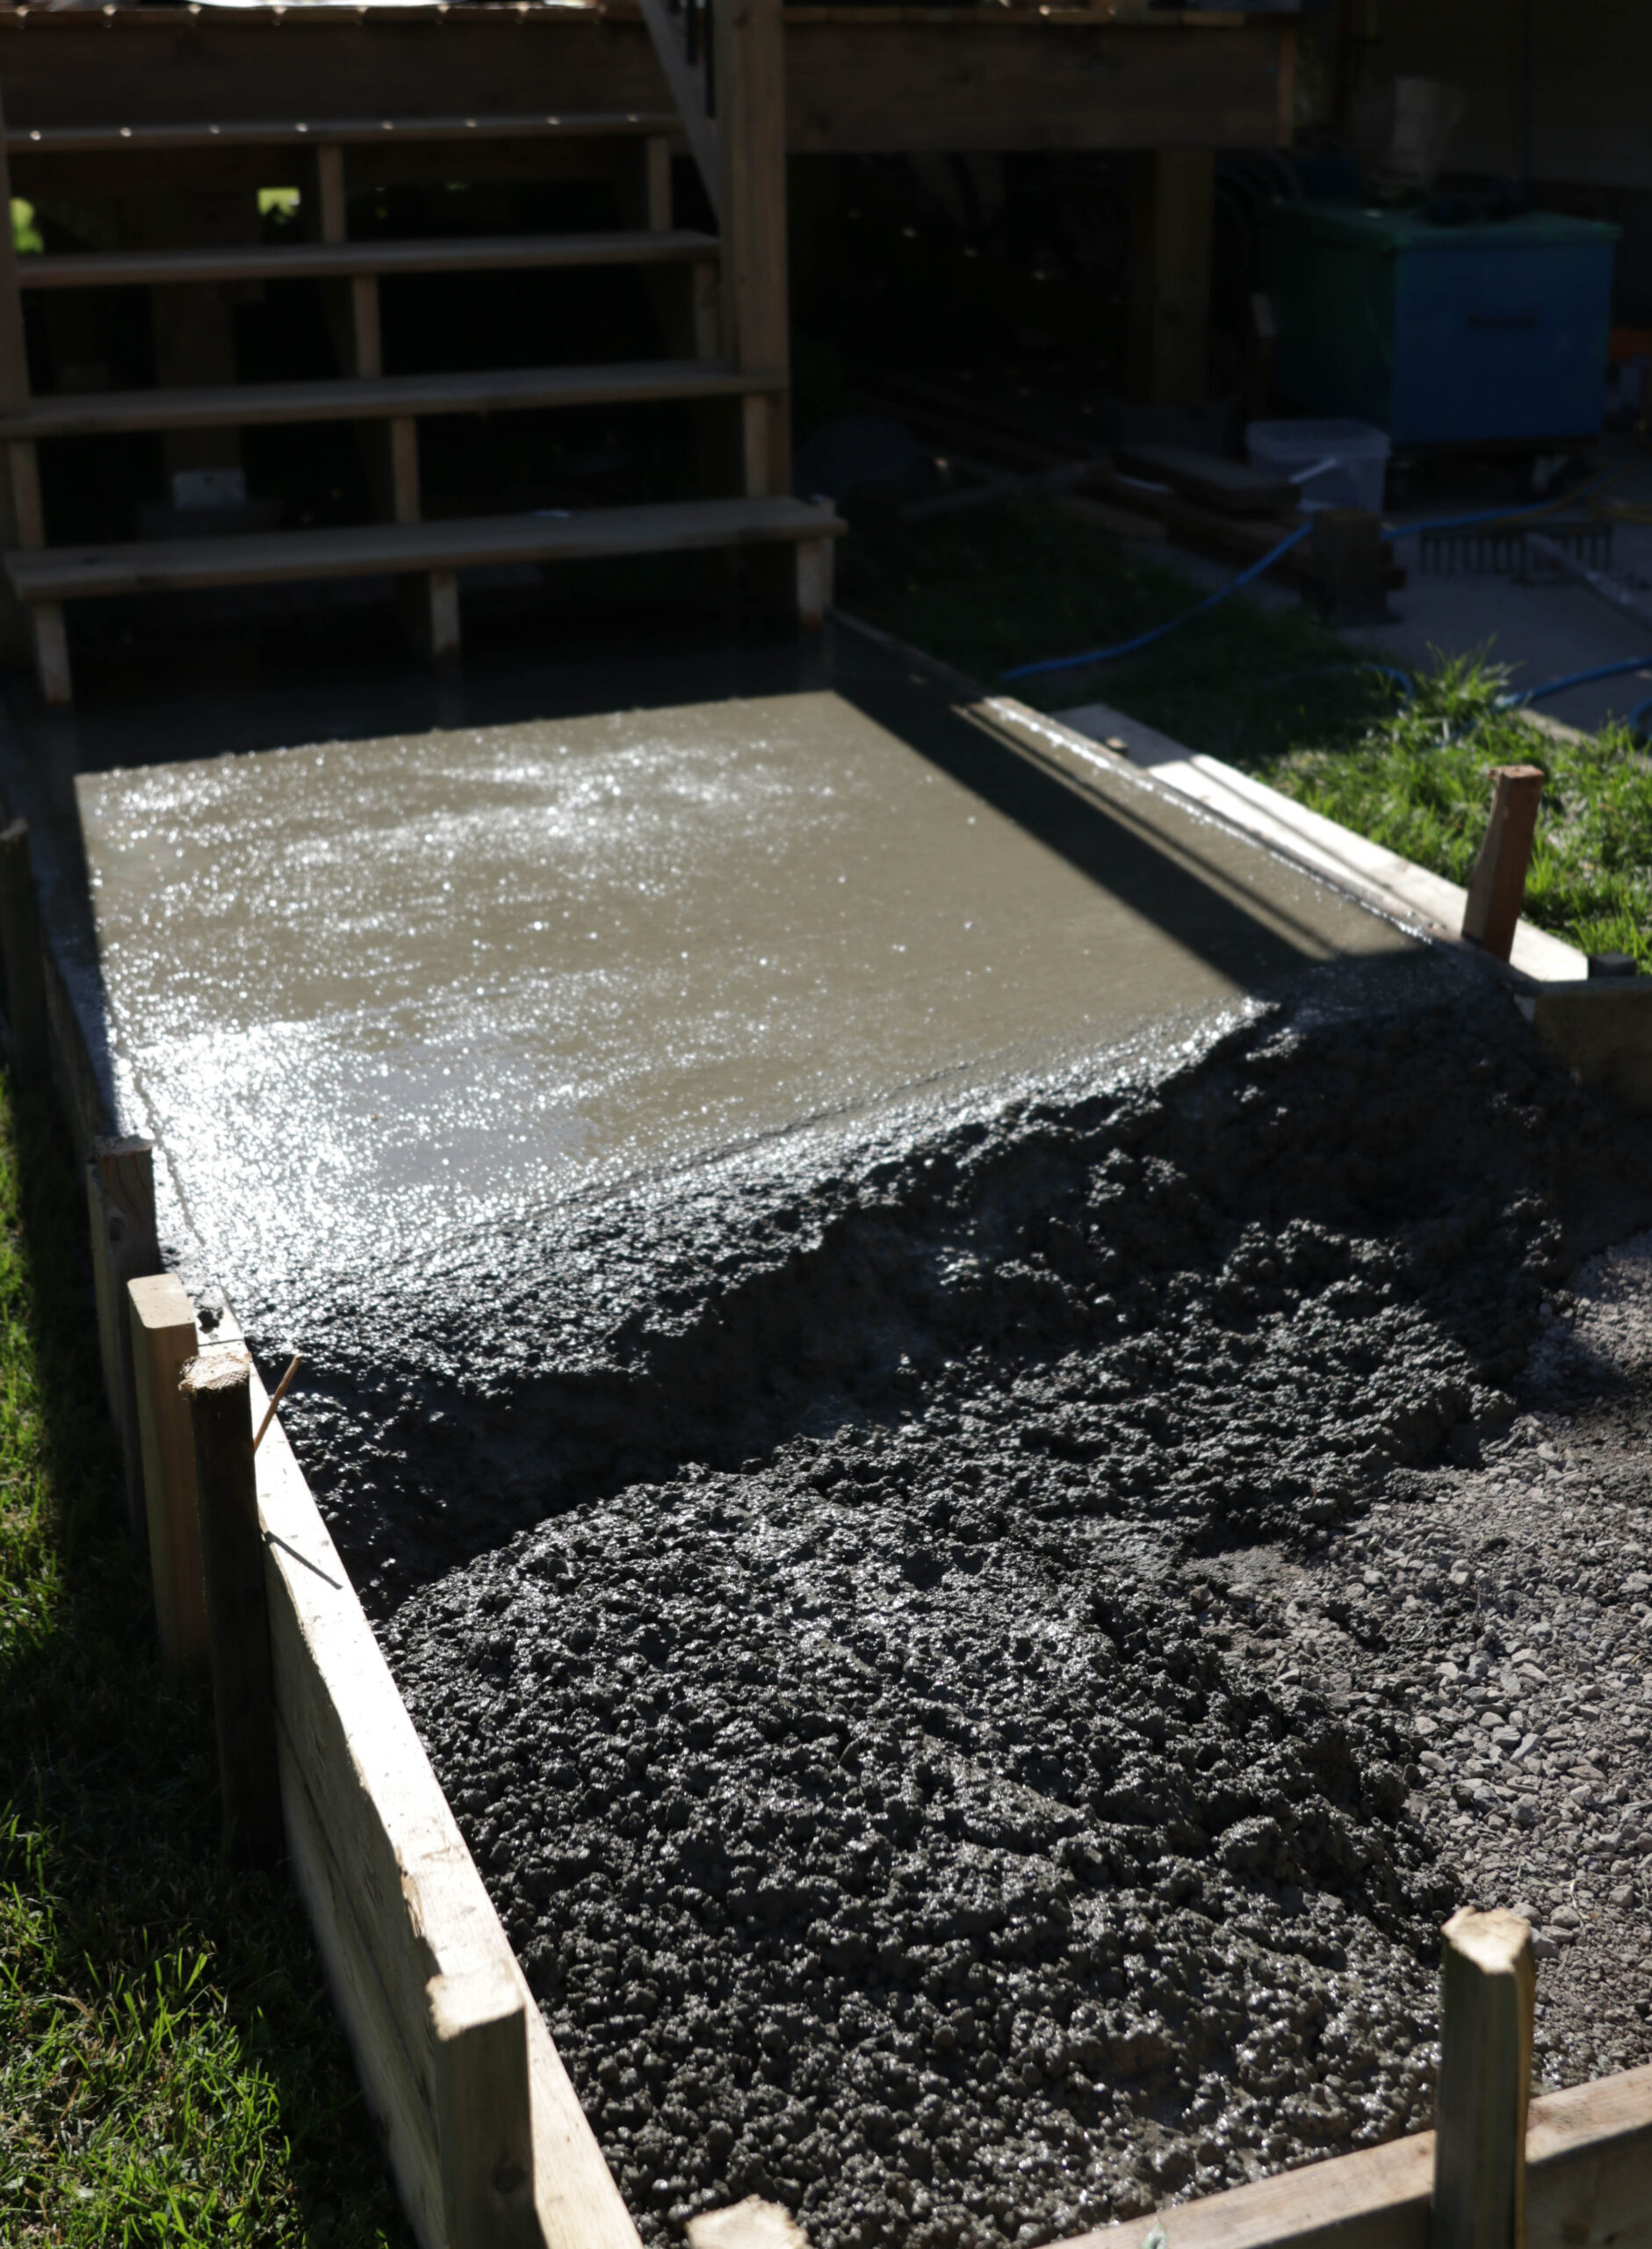
Make sure you level the concrete with the back of a garden rake as soon as you finish pouring. If you dont have a garden rake to use, grab another wood board and drag it along the top to level it out. You will need to work fairly quickly here so that the concrete doesn't solidify on you. Level/Smooth it out as you go. You can see in this picture below, my husband smoothed the top after the concrete reached the level, then continued to pour.
- Finish the Concrete
To create a finished edge, run an edger along the inside of the forms to separate the concrete. Lightly drag a broom across the surface to add a non-slip texture before you let the concrete set. This will all give the concrete a finished and professional look!
- Let it Sit
Do not touch it for at least 24 hours for it to harden. Remove the wood framing after 48 hours to be safe! Hose off and enjoy!
DIY Concrete Walkway Tips
- Build Strong Forms. Do not cheap out on the forms or use old wood. It is crucial to have a sturdy structure surrounding the concrete in order to get the optimal look and avoid the concrete from leaking out.
- Order More Concrete than Needed. If you are using pre-mixed bags, as we did in this post, make sure to order a few extra bags to be safe. This isn't a job you can "run to the store" to get more supplies as the concrete will start to harden on you. You can always return extra bags of concrete!
- Weather! Make sure the weather forecast is optimal for pouring concrete. Rain can destroy your concrete pour, and hot/dry weather can cause the concrete to set faster then intended!
- Avoid Too Much Water. It could be tempting to sprinkle a little extra water on the concrete when you are smoothing it out, but this could cause some issues so avoid the excess water and use the trowel accordingly.
- Removing Forms Early. DO NOT remove forms before the 48 hour mark. It may be tempting, and it may look like the concrete is complete but it may not be! Wait the two day mark to be safe.
There you have it folks! How to pour a concrete walkway. If you are looking for a video tutorial for this DIY project, check out this one by BuildersSA, it is fairly accurate with great tips!
If you are looking for a more fancy concrete walk way, check out this blog post on concrete walkways!
I hope you liked this DIY Concrete Tutorial, you will love these too:
How to Pour a Concrete Walkway; Do it yourself concrete sidewalk using framing and a concrete mixer. {DIY Concrete Project}








Leave a Reply