Bridesmaid Proposal Info Cards: Card inserts for bridesmaid proposal boxes, DIY, bridal party, information cards, wedding, from bride
Disclaimer: this post may contain affiliate links, and every purchase made through these links will give me a small commission (at absolutely no extra cost for you!) AS AN AMAZON ASSOCIATE AND REWARDSTYLE MEMBER, I EARN FROM QUALIFYING PURCHASES. See Privacy Policy for additional info.
For those of you that are following my wedding journey, you would know that Dylan and I got engaged this past June. Since then, I have been posting some of my DIYs and events here on my blog to share with all of you but to also have as a keepsake for me, so in a few years, we can look back and re-live it all.
One of the first things I wanted to do was ask my bridesmaids if they would be in m bridal party. All over Pinterest, I saw the cutest "Bridesmaid Proposal Boxes", and I knew right away I wanted to do that. So I picked my colours and started creating these boxes.
How to Make Bridesmaid Proposal Cards for Your Big Day
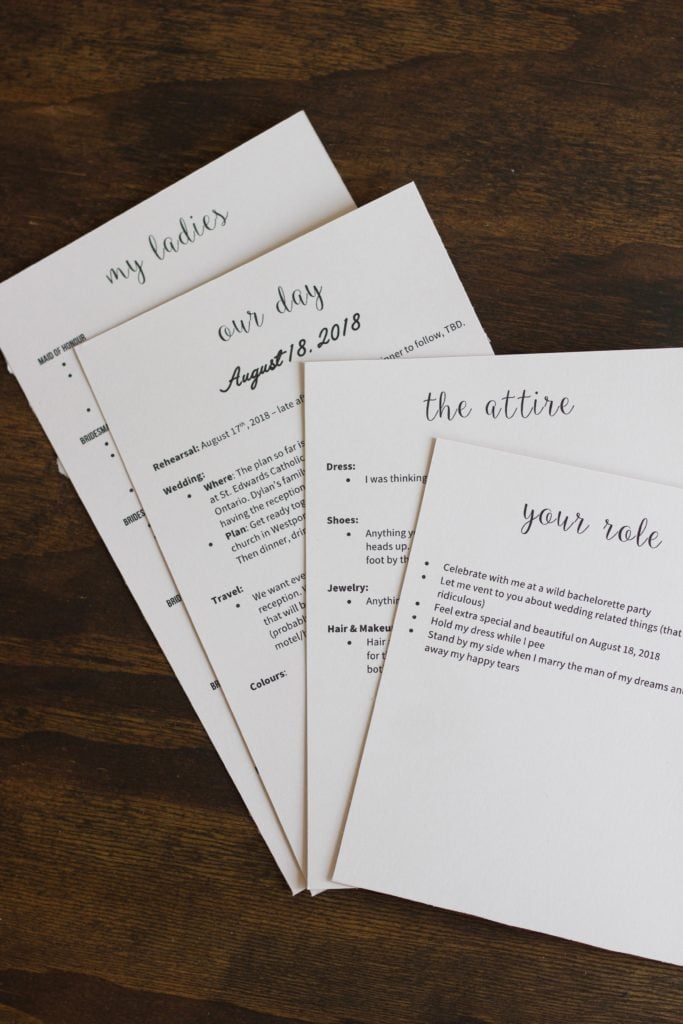
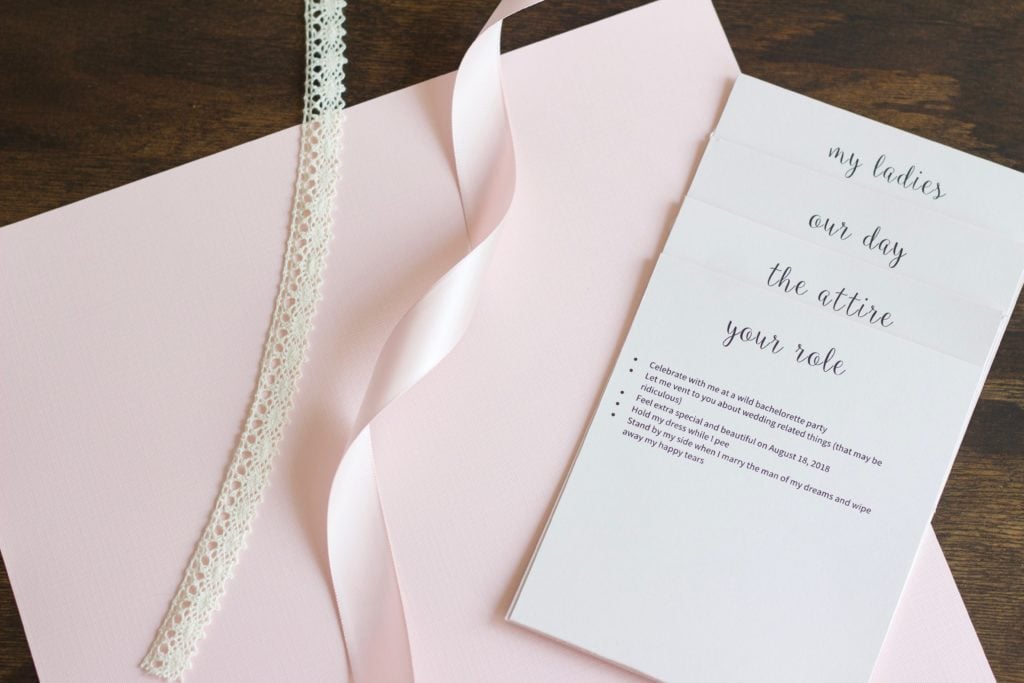
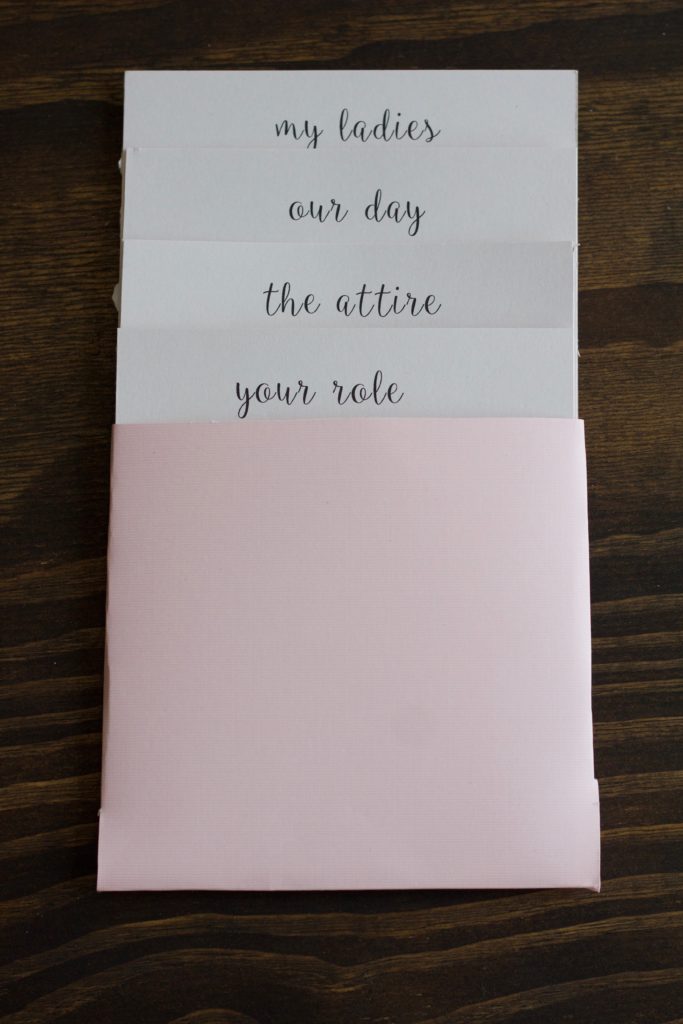
One of the first things I put in the boxes were these bridesmaid proposal info cards. These cards just included details on what our wedding was going to include, our colours, the other girls' names and how we met, etc.
I made these cards out of pink card stock. I printed the details on them, and then made an easy DIY folder for them. And I am going to show you how easy these mini folders are to make!! I can't take credit for these, I saw similar ones on Pinterest but remade them my own way!
Supplies Needed for Your Bridesmaid Proposal Info Cards:
- Card Stock Paper
- Scissors
- Ribbon of choice
- Printer with black ink
- Tape
STEP ONE - Type and Print Out Your Info Cards
Make sure you use a printer that will not jam your paper. I had to use one of the printers at my mom's office because mine kept jamming the paper. You can also use regular paper but I love the thickness of the card stock paper. It just holds better!
You can also download some fun free fonts and really make your cards unique! Here are the fonts I used: Ballerina Script Regular for the title and AngelFace Regular for the date.
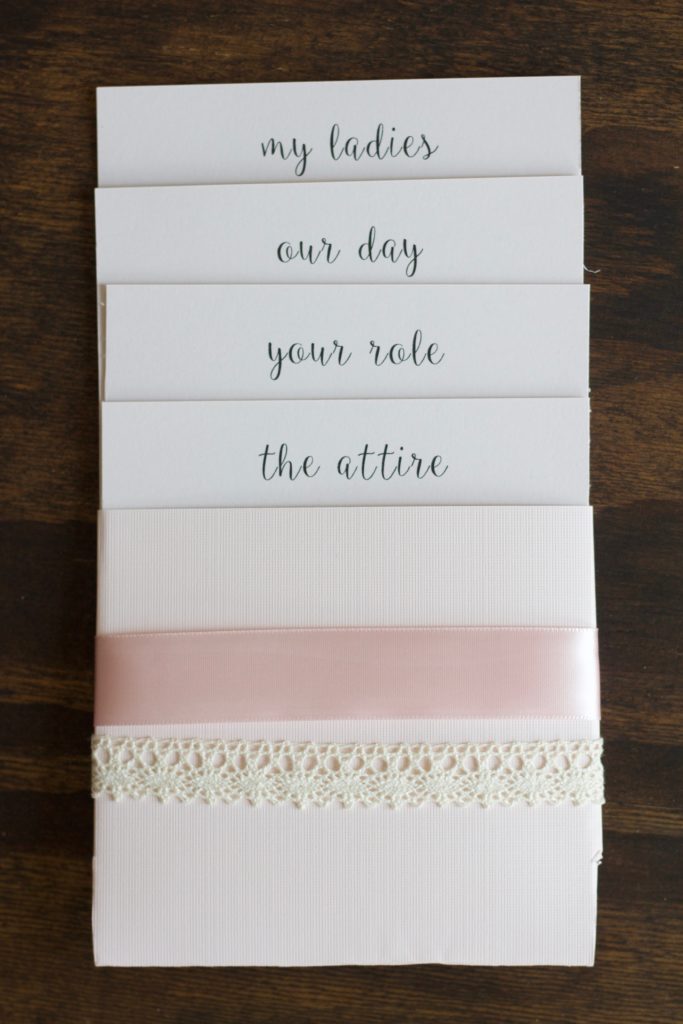
STEP TWO - Cut the Cards to Make a Layered Effect
Really plan out how to cut your cards so the title of each card can peek out. I did this by cutting the cards in half (I put two cards on one piece of paper in landscape), then line the titles up and cut off the bottom so they are all in line.
STEP THREE - Create Your Mini Folder
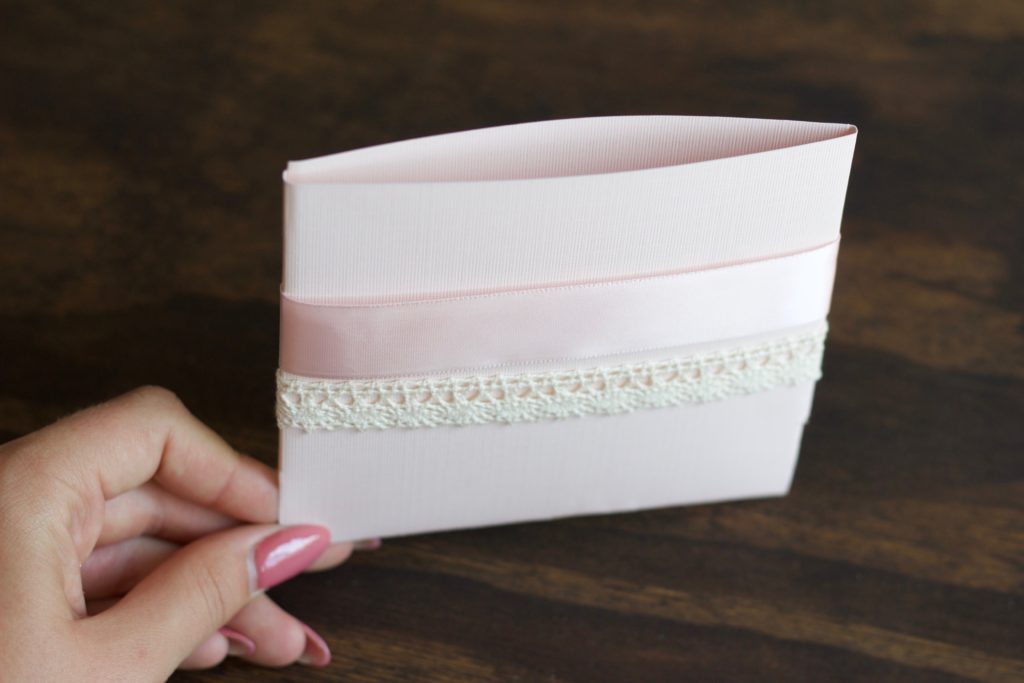
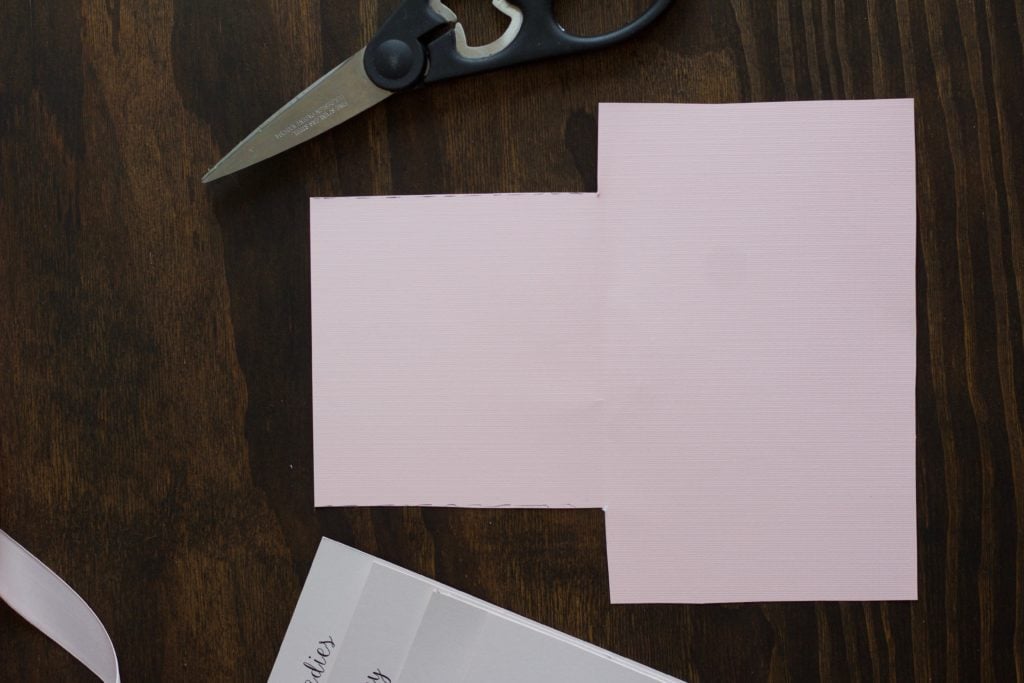
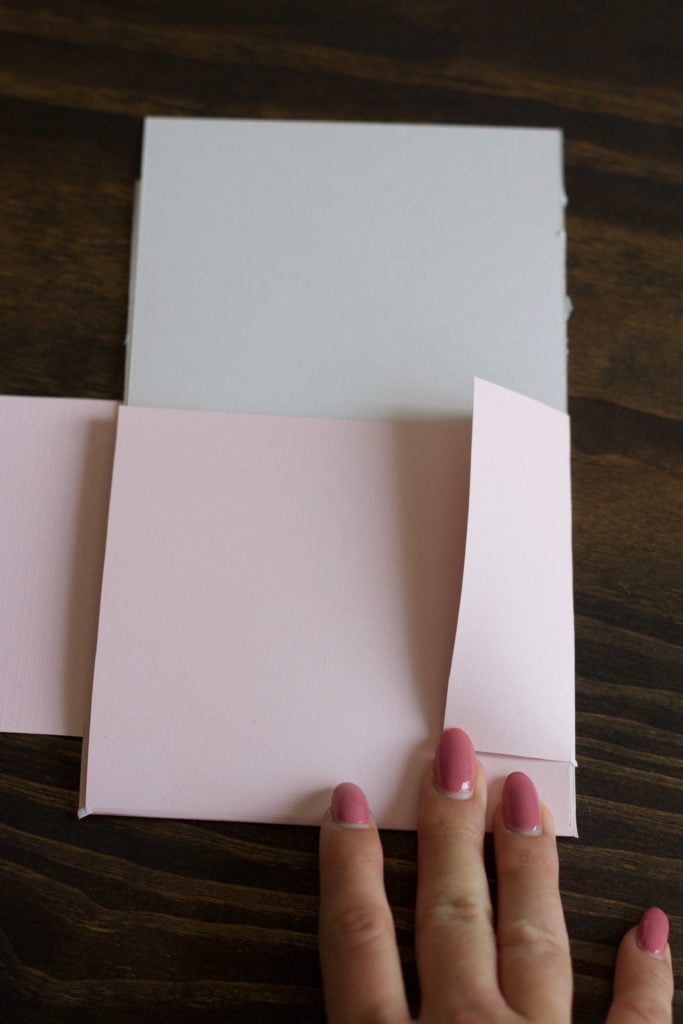
Place the cards on another piece of paper and line it up so that it can fold around the cards. Make sure you have enough left on the outer edge to wrap around the cards, as you can see in this photo:
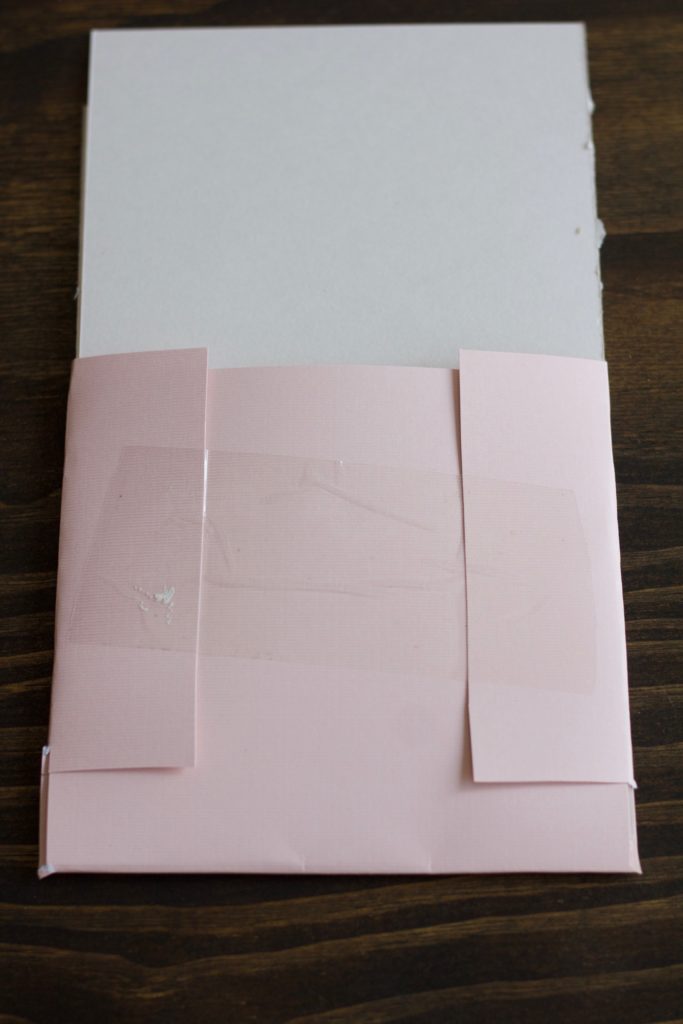
Secure with tape! I found this just held better than glue.
The front should look like this!
STEP FOUR: Decorate Your Bridesmaid Proposal Info Card Folder
Then add some decorative ribbon around the folder and tape or glue it in place and you're done! You can really personalize these however you would like. Make them personal and fun!
I used blush with lace because I knew that was going to be incorporated into my wedding. My bridesmaid dresses will be blush and my wedding dress will be lace! If you do not know what you are going to do yet, then just have fun with it and make the cards whatever colour and style your heart desires!
I hope you enjoyed this little tutorial on how to make these bridesmaid proposal info cards!
If you liked this post, then check out how I made the BRIDESMAID tank tops that I also put into their boxes!





Jamie Esther
Congrats to you! They are beautiful and so is your blog!
Nikki Loren
Thank you!!