DIY CHRISTMAS LIGHT UP SIGN
I hope everyone had an amazing Christmas day with your loved ones! I just wanted to show you this cute Christmas light up sign I made this year for Dylan's parents.
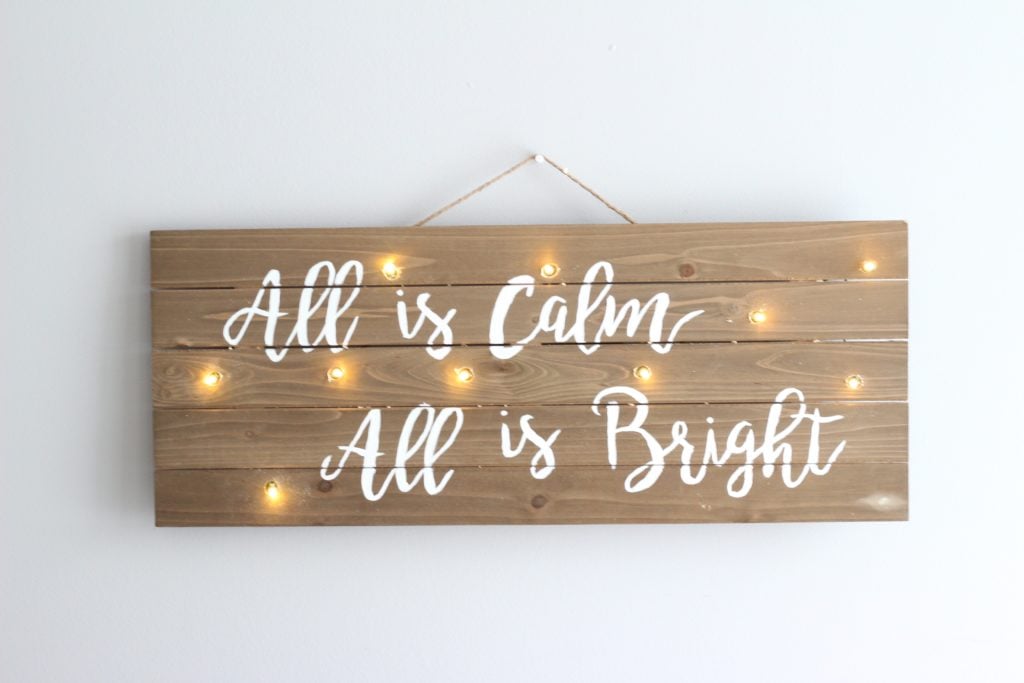
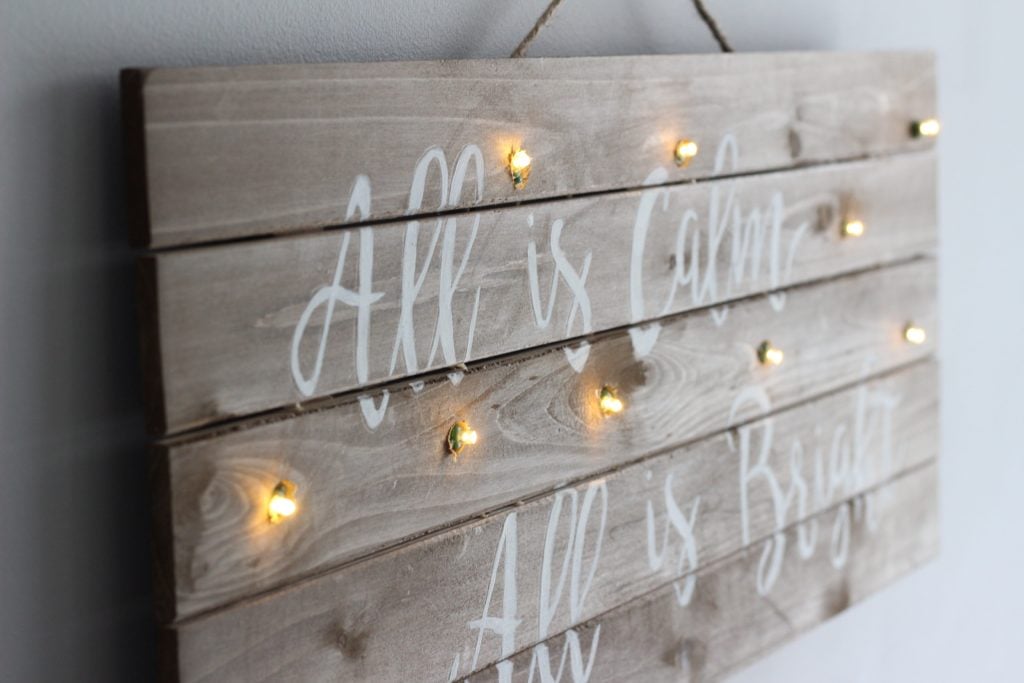
Every year since Dylan and I have been together, I always make something for his family for Christmas. I started doing this because I was a broke student back then and couldn't afford to get them something really nice, so I would opt to make them something meaningful instead.
For example, last year I made them wood picture coasters, and a family photo transferred to a wood plaque. I always have so much fun creating decorations for them so this year I decided to give this light up sign a try!
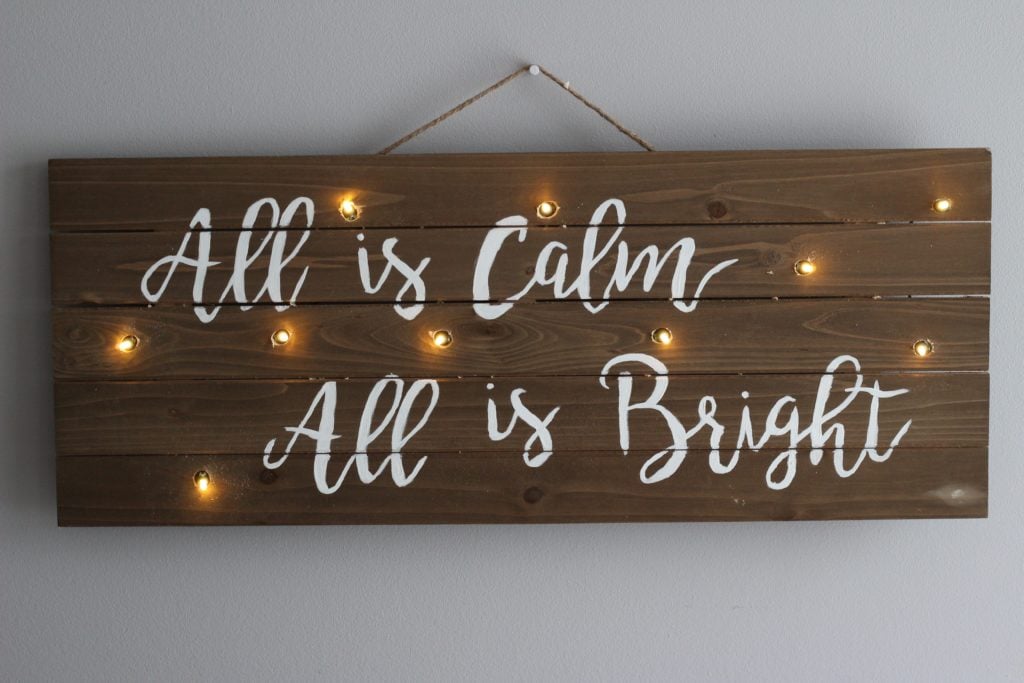
This Christmas light up sign was surprisingly easy to make actually! Then again I had Dylan drill the holes in it for the lights for me... but I am sure that I could have figured it out on my own!! ...maybe...
Disclaimer: this post may contain affiliate links, and every purchase made through these links will give me a small commission (at absolutely no extra cost for you!) AS AN AMAZON ASSOCIATE AND REWARDSTYLE MEMBER, I EARN FROM QUALIFYING PURCHASES. See Privacy Policy for additional info.
STEP ONE: Collect Your Materials
Here are the materials you need for this Christmas lights sign:
- A Board (You can find a pre-stained one at Michaels! Only $11 with their flyer coupon!!)
- Printed Quote
- Pencil
- Paint Brush
- Drill
- Craft Lights (and batteries if they do not come with them)
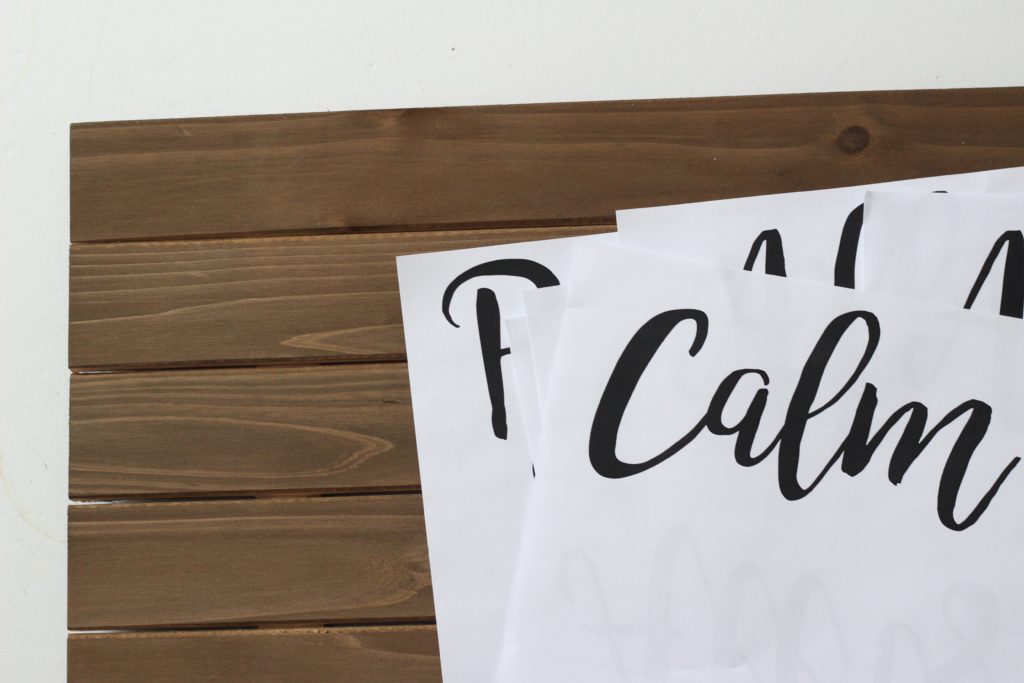
STEP TWO: Place the Lettering Stencils
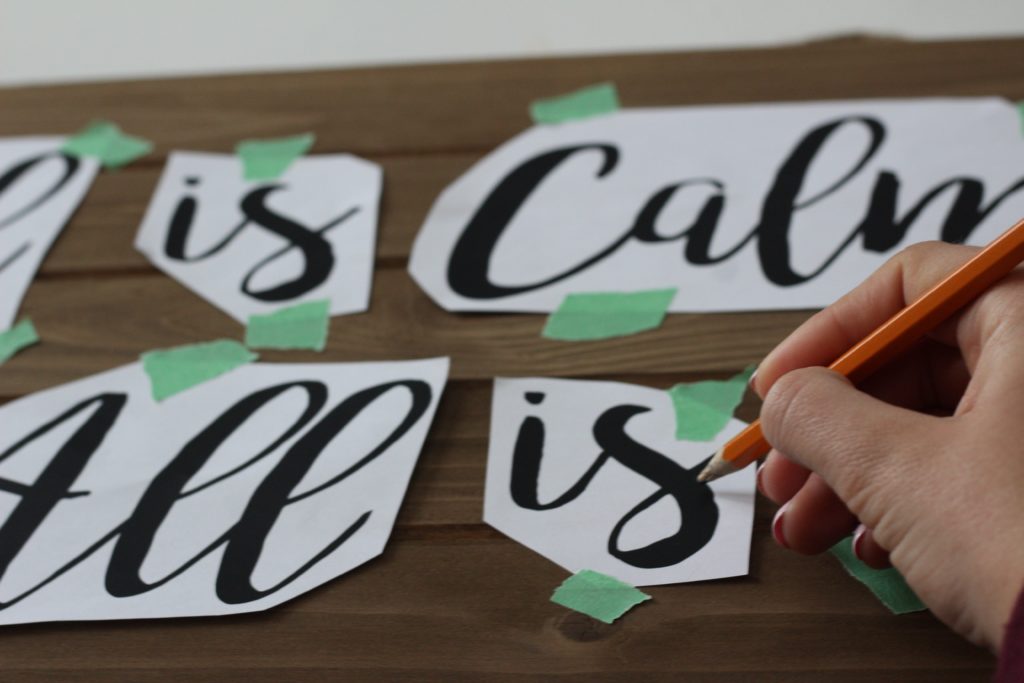
Plan out where you want your quote to go. Tape it down so it does not move around on you.
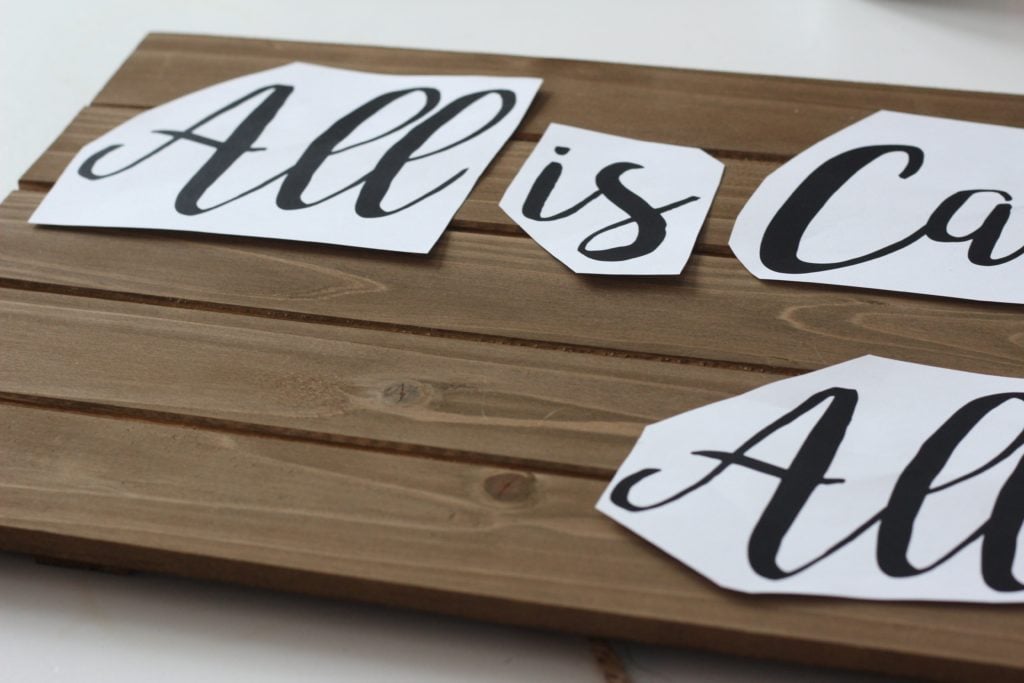
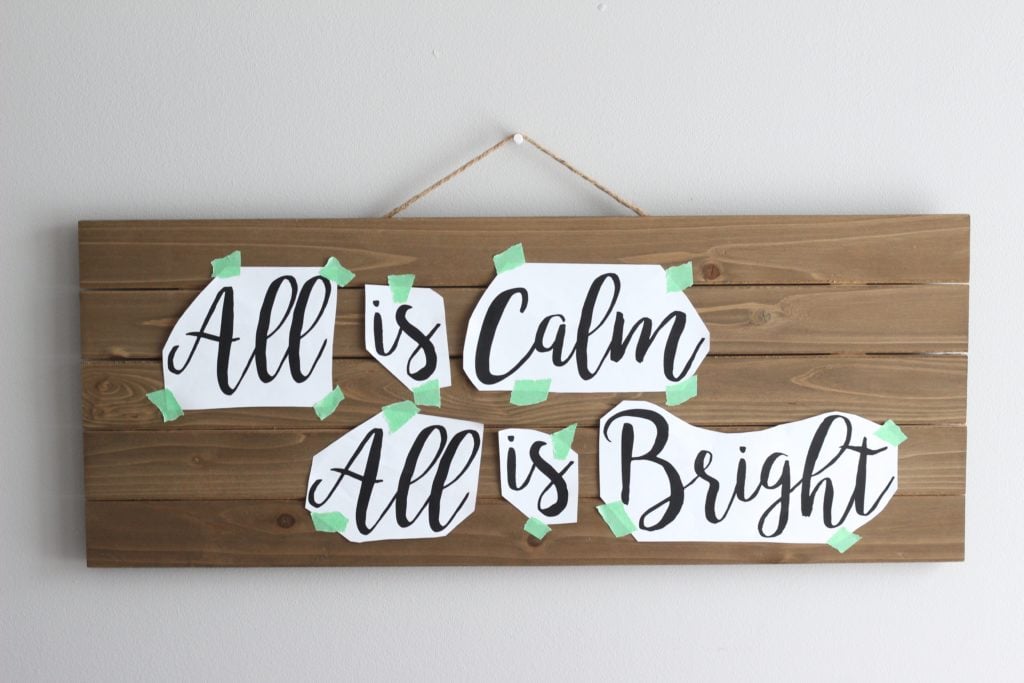
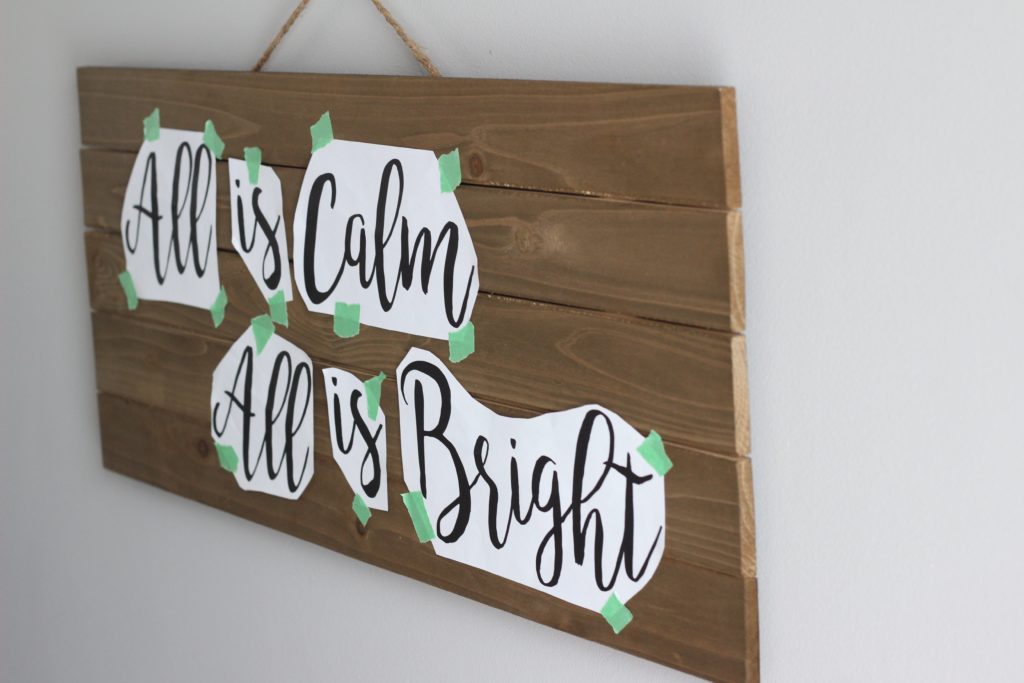
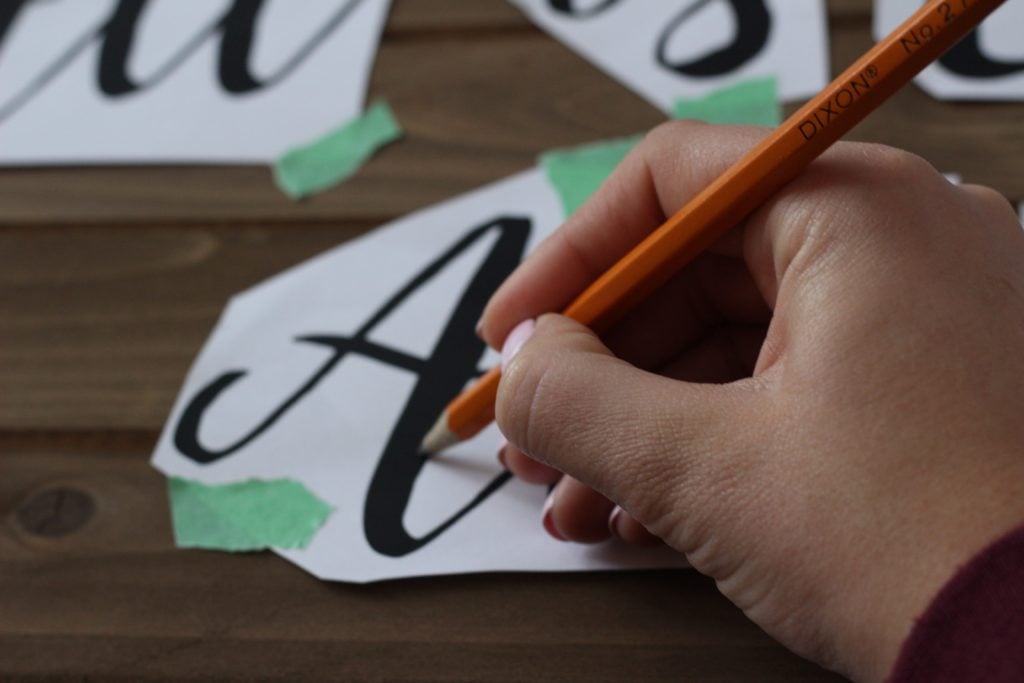
Trace the letters pushing into the wood board using a sharp pencil. Your tracing should lightly engrave on the board making it visible after removing the paper.
STEP THREE: Paint the Lettering onto the Wood Board
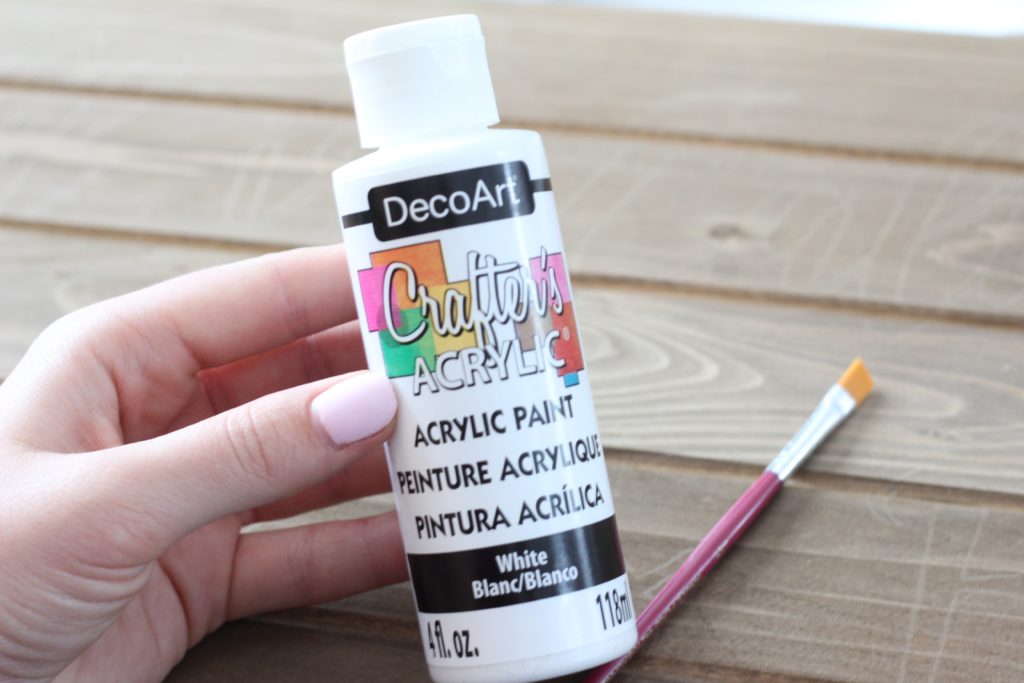
Paint within the lines of the quote. I used cheap paint from the dollar store and it worked beautifully! It took only two quotes. I also signed the back of the board in the bottom corner with "Christmas 2017".. like I said, I make a lot of DIYs every Christmas! Let the paint dry over night before moving onto the next step.
STEP FOUR: Plan and Drill Holes for the Christmas Lights
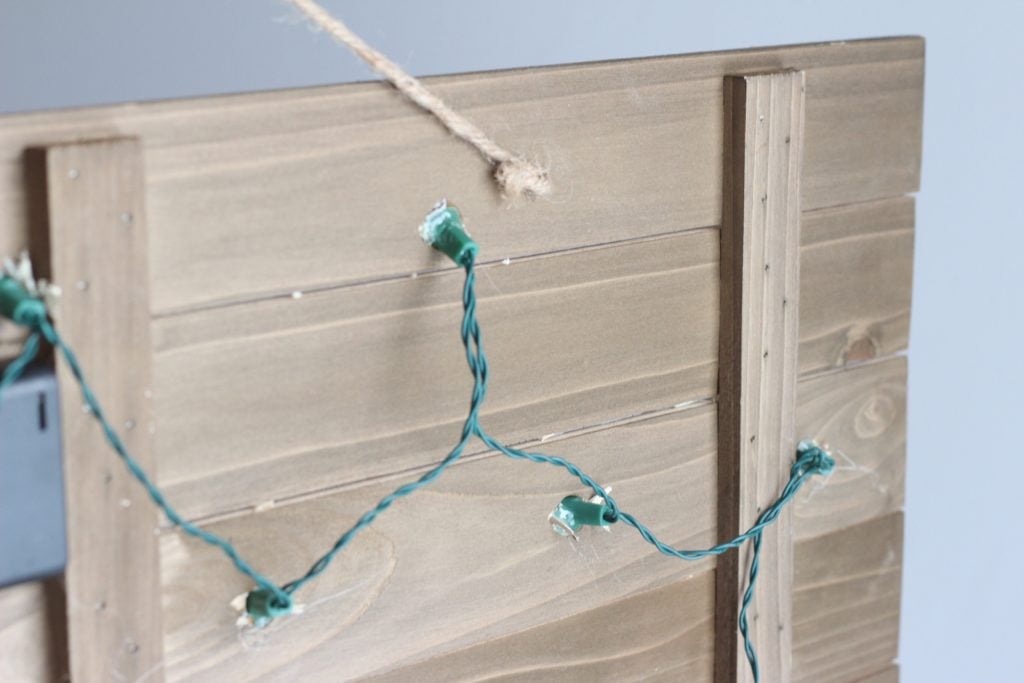
Plan out where you would like the lights to be. I ripped little pieces of the painters tape and stuck them where I wanted the lights. Make sure the lights will reach each spot!!
Drill each hole where you would like them to go. Do a test hole to make sure the light will fit in snug. Start with a small drill and move up in size as needed. Once you have found the perfect sized drill, drill the remaining holes.
STEP FIVE: Secure the Christmas Lights
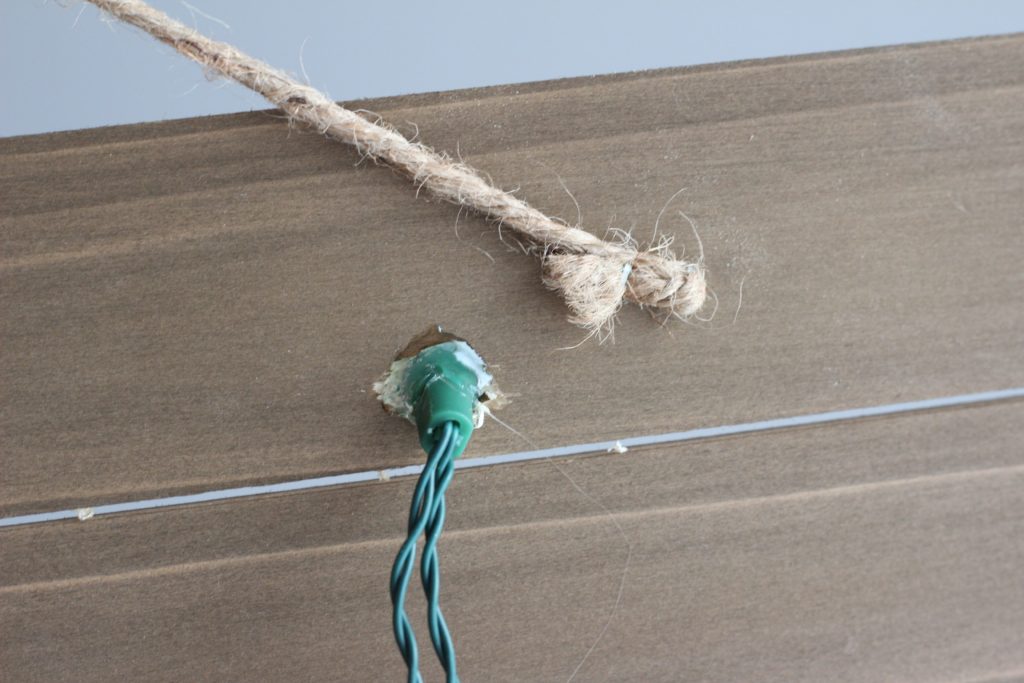
Secure the lights into each through the back of the board.. Hot glue the back of each light. I just filled in any openings in the hole with the hot glue. Allow it to completely dry.. then you are finished!
There you have it! Such an easy and fun DIY that your in-laws, parents, grandparents, friends, anyone would love!
You can even add your own personalization to it by throwing in a last name in the quote or just making a large sign with their last name. Either way I promise they will love it!!
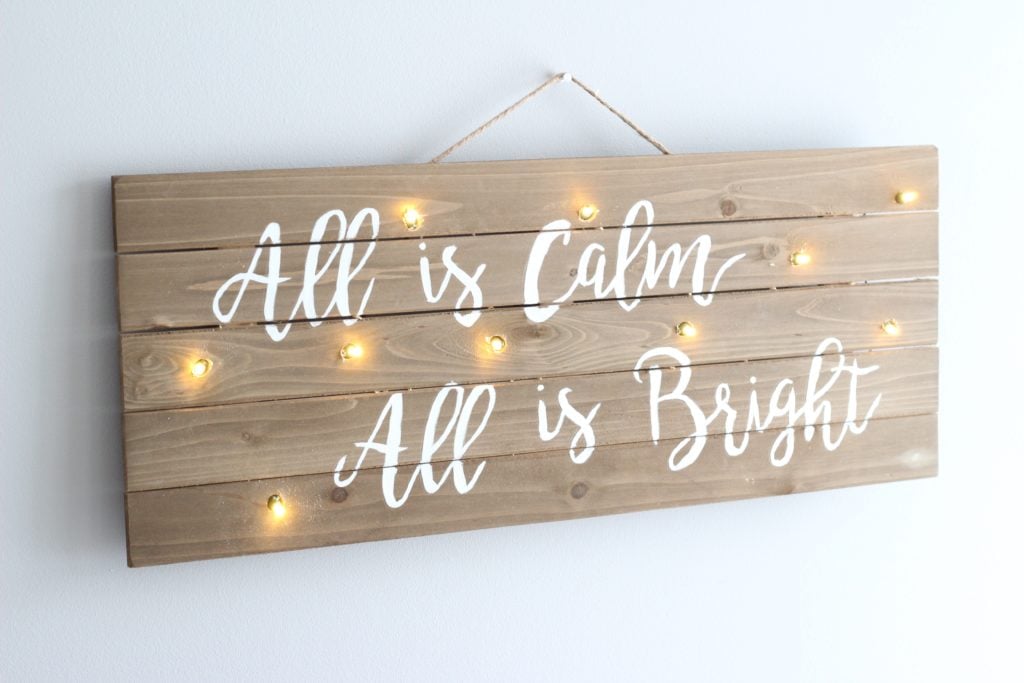

I hope you enjoyed this quick DIY of a Christmas light up sign!!



BEST SELLERS


Brock Maggard
Very cool and creative gift
Nikki Loren
thank you!! I had fun making it 🙂