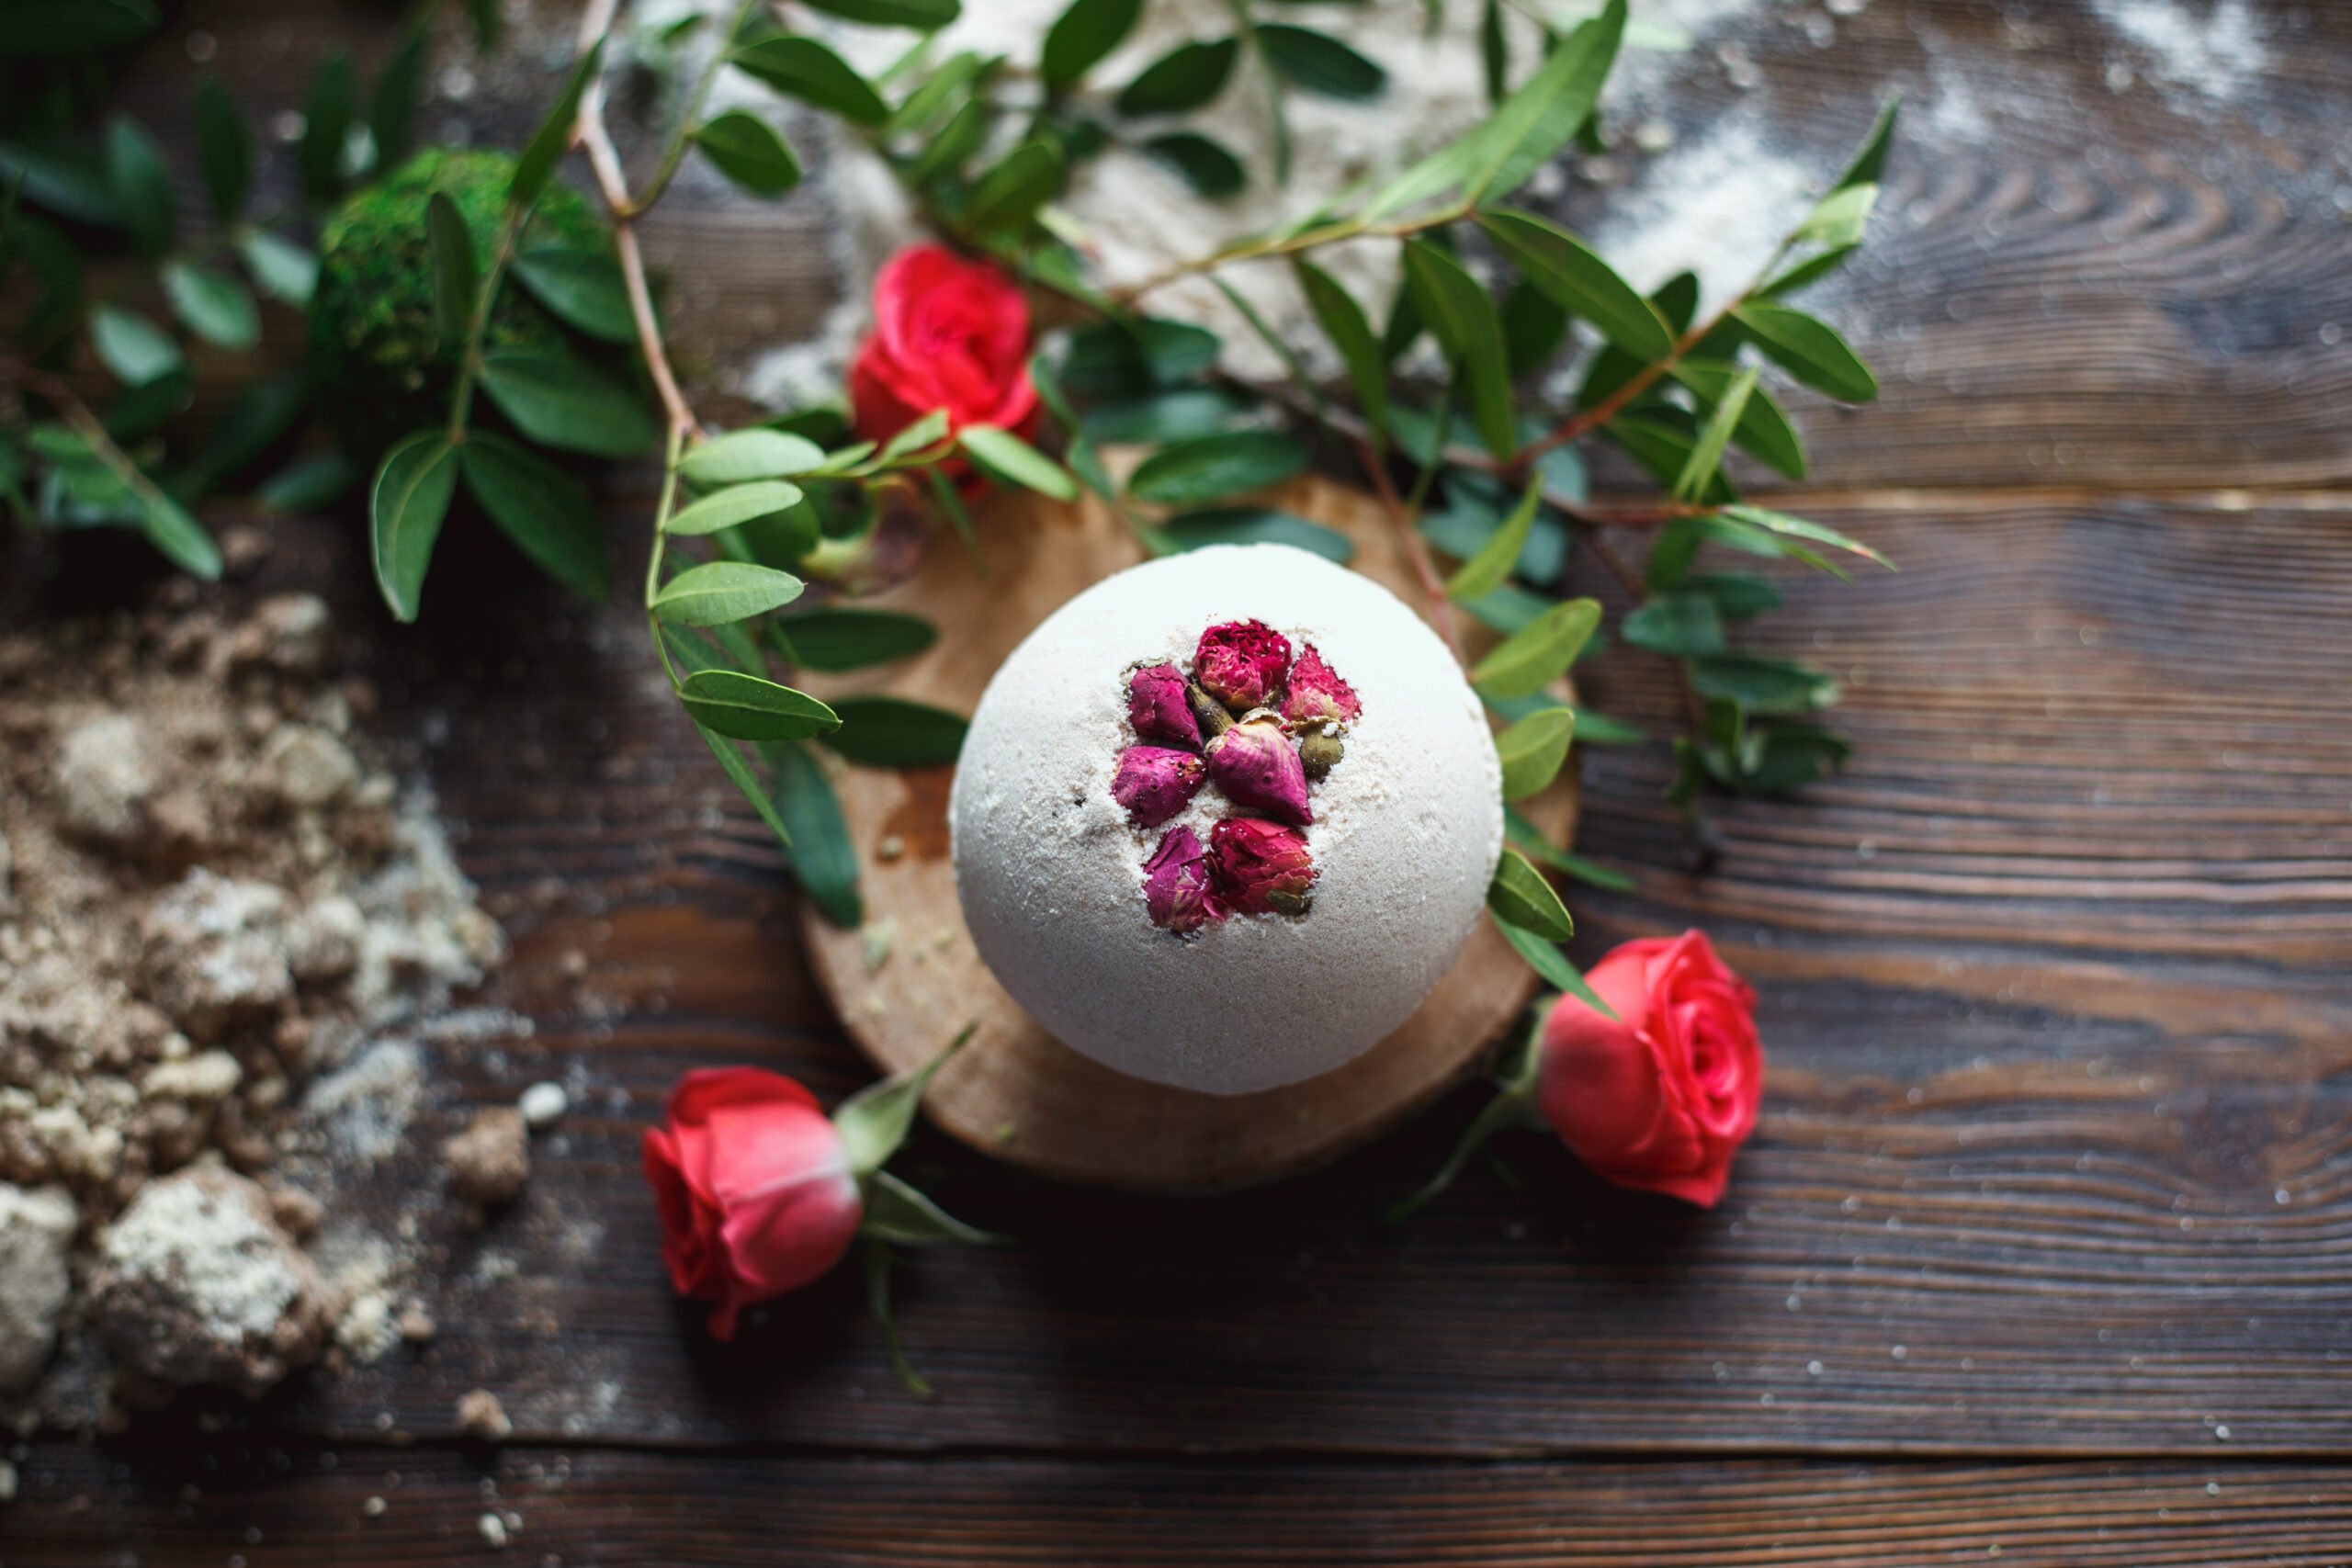
DIY Rose Petal Bath Bombs; a quick and easy recipe on how to make rose petal bath bombs. Simple natural ingredients that are great for the skin and relaxation!
Disclaimer: this post may contain affiliate links, and every purchase made through these links will give me a small commission (at absolutely no extra cost for you!) AS AN AMAZON ASSOCIATE AND REWARDSTYLE MEMBER, I EARN FROM QUALIFYING PURCHASES. See Privacy Policy for additional info.
Hi beauties! Coming at you with my favorite bath bomb recipe! Rose petal bath bombs are my go-to when I need to restock my stash!
Bath bombs are a great way to relieve stress and enjoy some “me” time. Rose petals are known as natural skin softeners and have anti-aging properties. They also smell great. You can turn your bathroom into a spa with these Rose Petal Bath Bombs.
DIY bath bombs are super easy and fun to do, plus you can make an adorable gift for your mom or friend. Rose petals give a nice touch of femininity and softness to the bath bomb. Keep reading for step-by-step instructions for DIY rose bath bombs, the full recipe, and some notes I wish I knew before starting!
How to make DIY Rose Petal Bath Bombs:
- baking soda
- citric acid
- epsom salt
- dried rose petals
- rose oil
- coconut oil
- water
- red food coloring (optional)
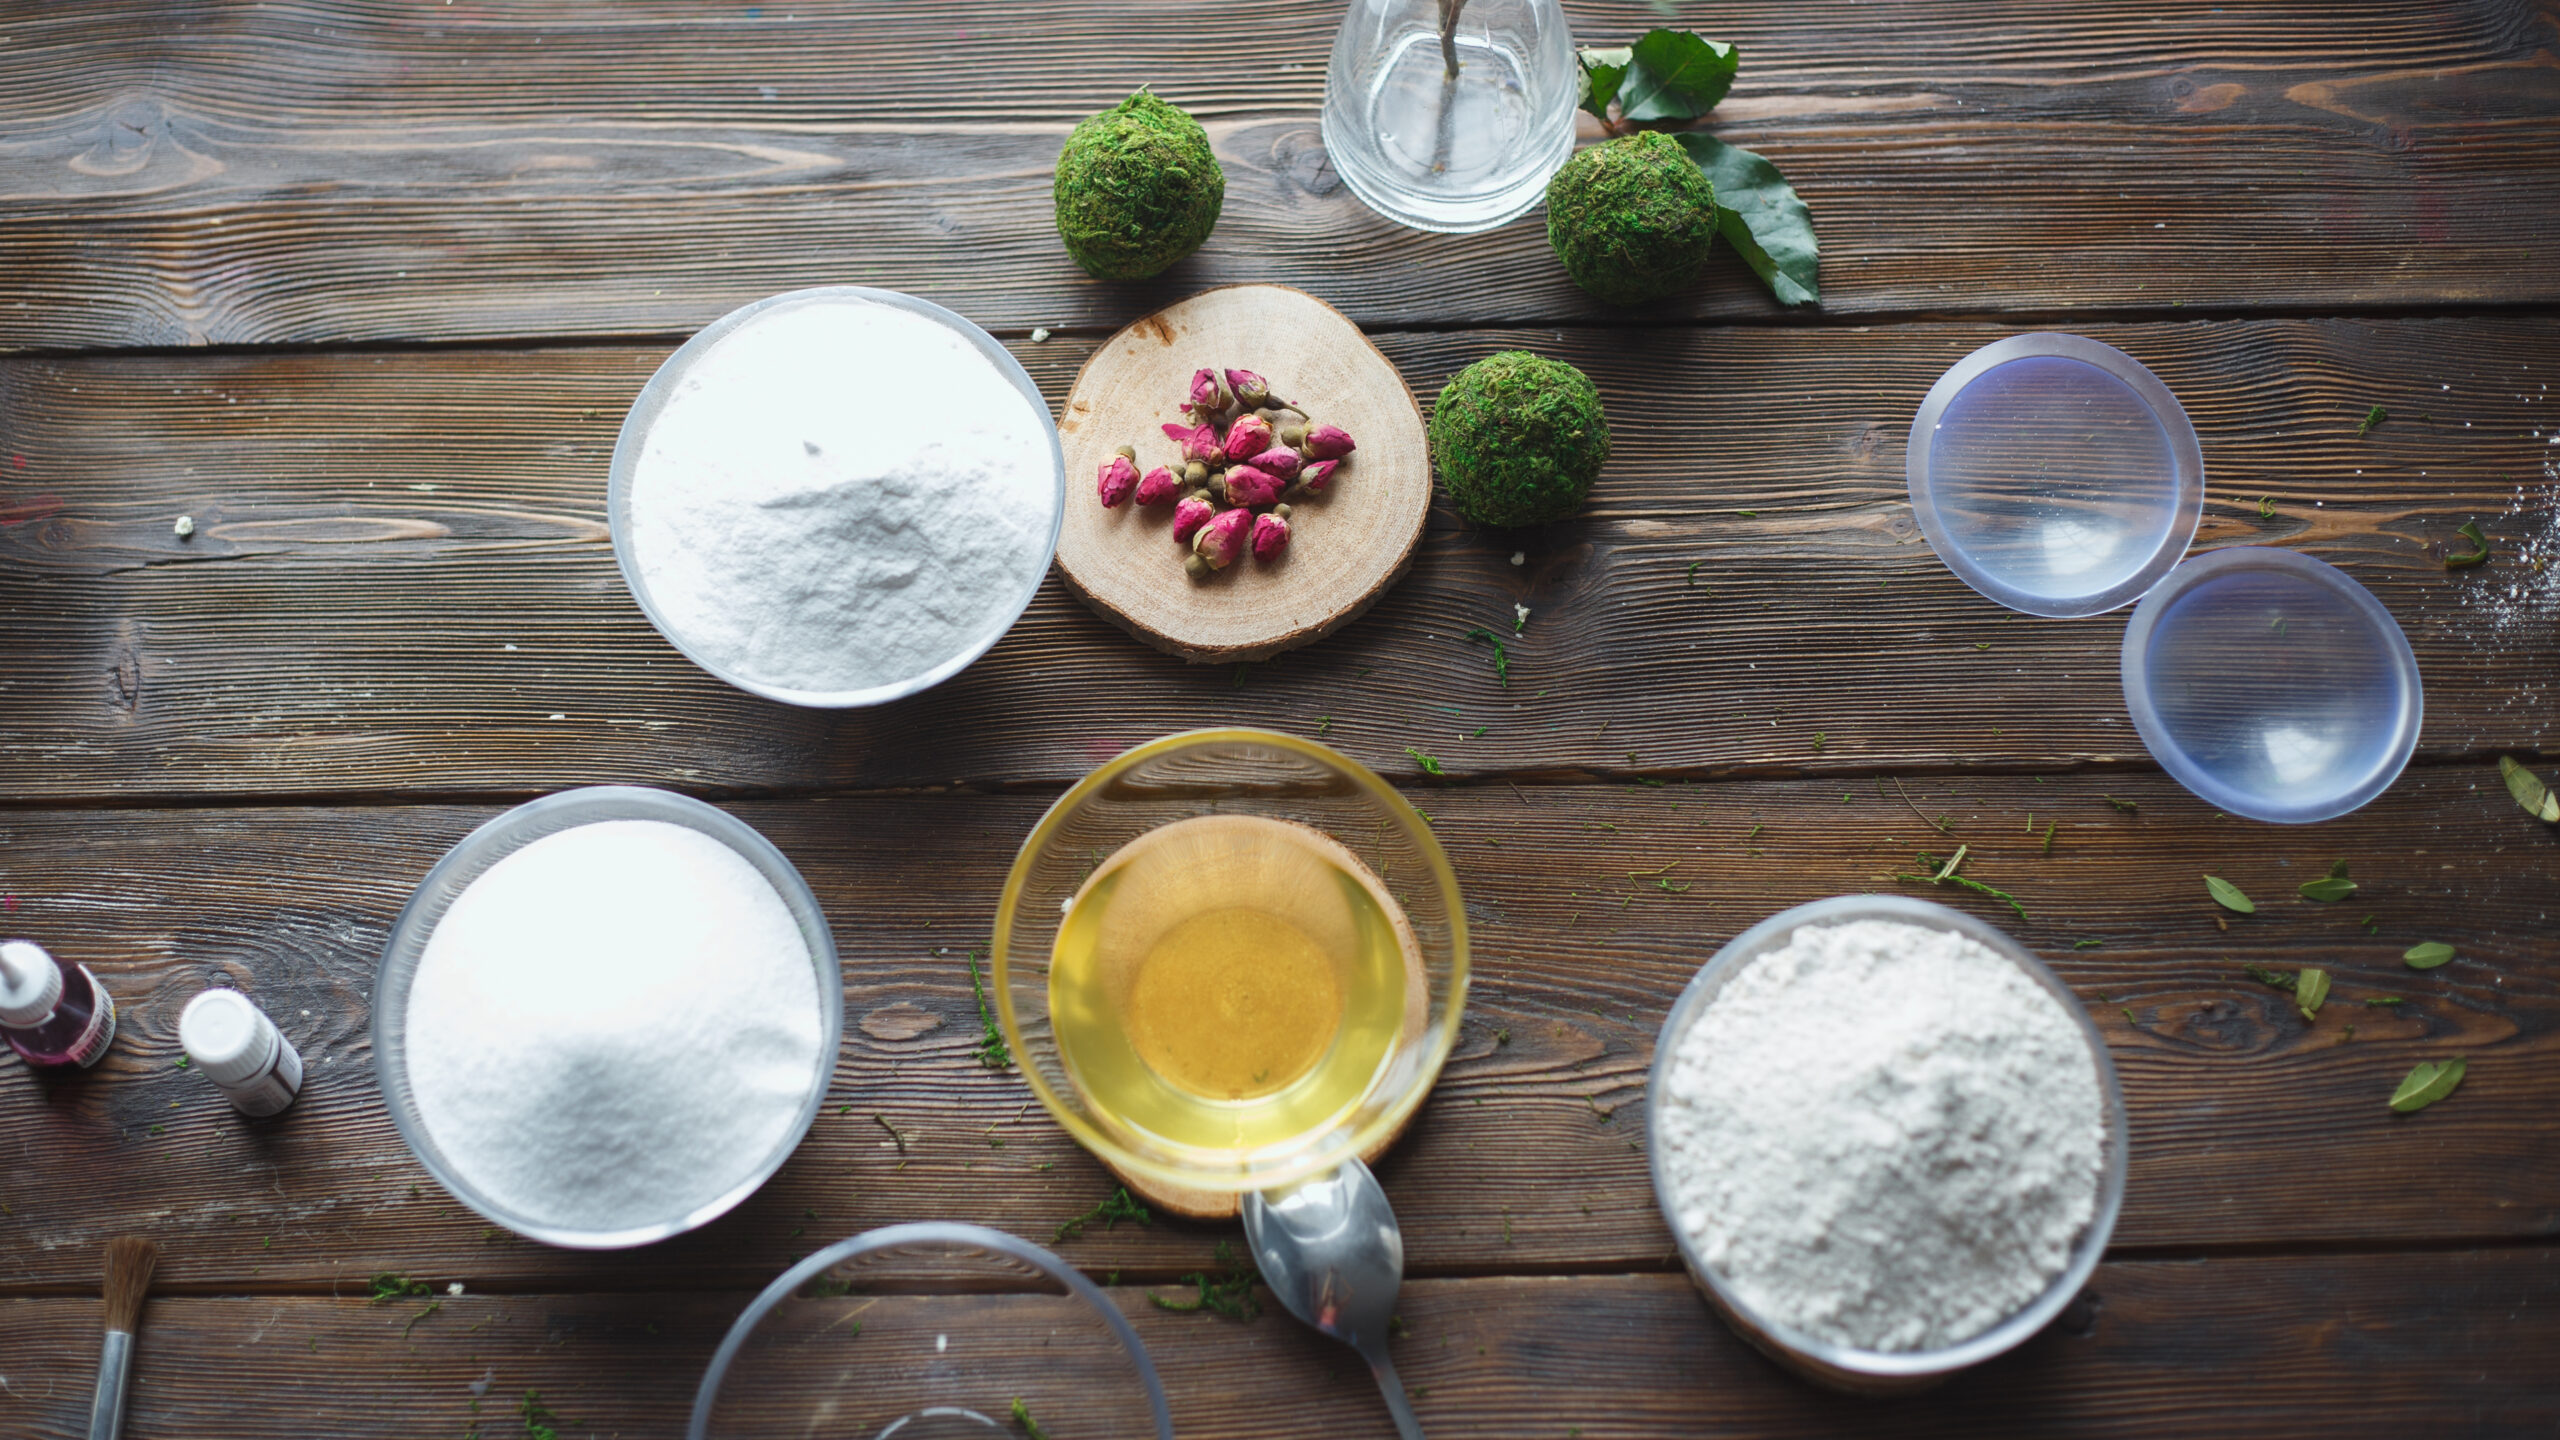
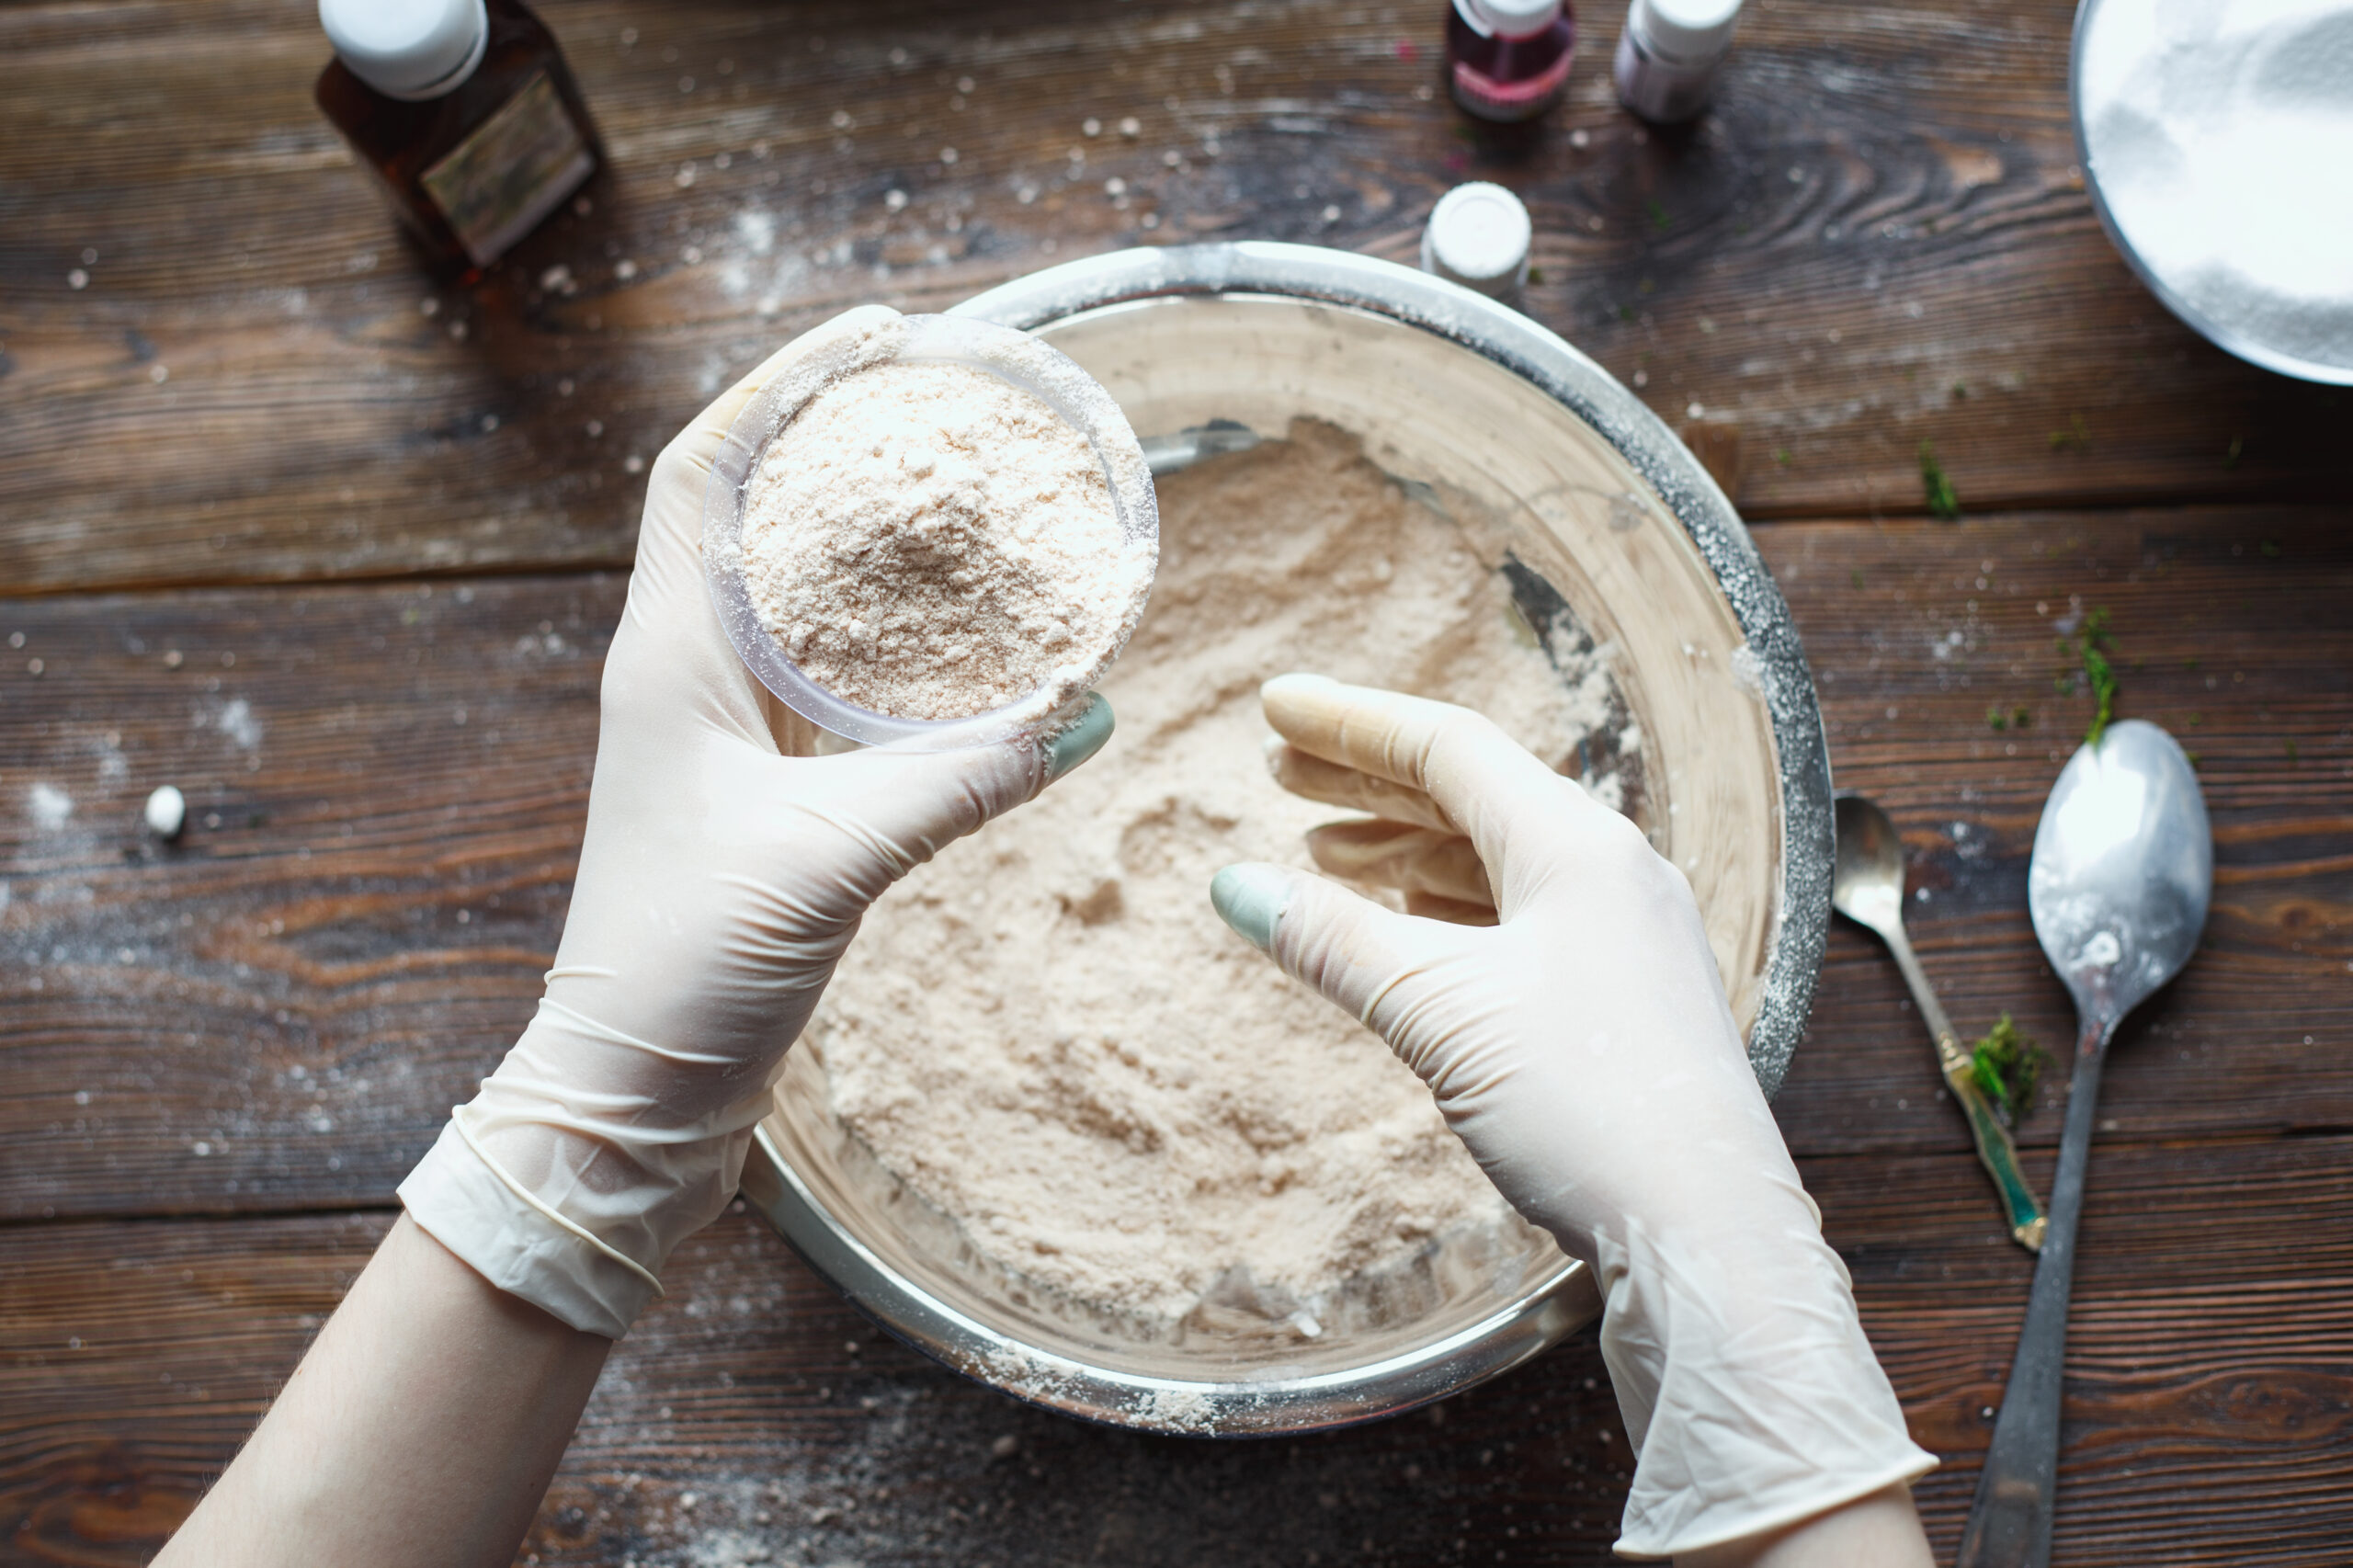
The first thing you are going to do is mix the dry ingredients (baking soda, citric acid, and Epsom salt) in a medium-sized bowl. In a separate bowl, whisk together the rose oil, coconut oil, food coloring (if using), and water. Add the wet ingredients to the dry ingredients slowly. Whisky the mixture as you go.
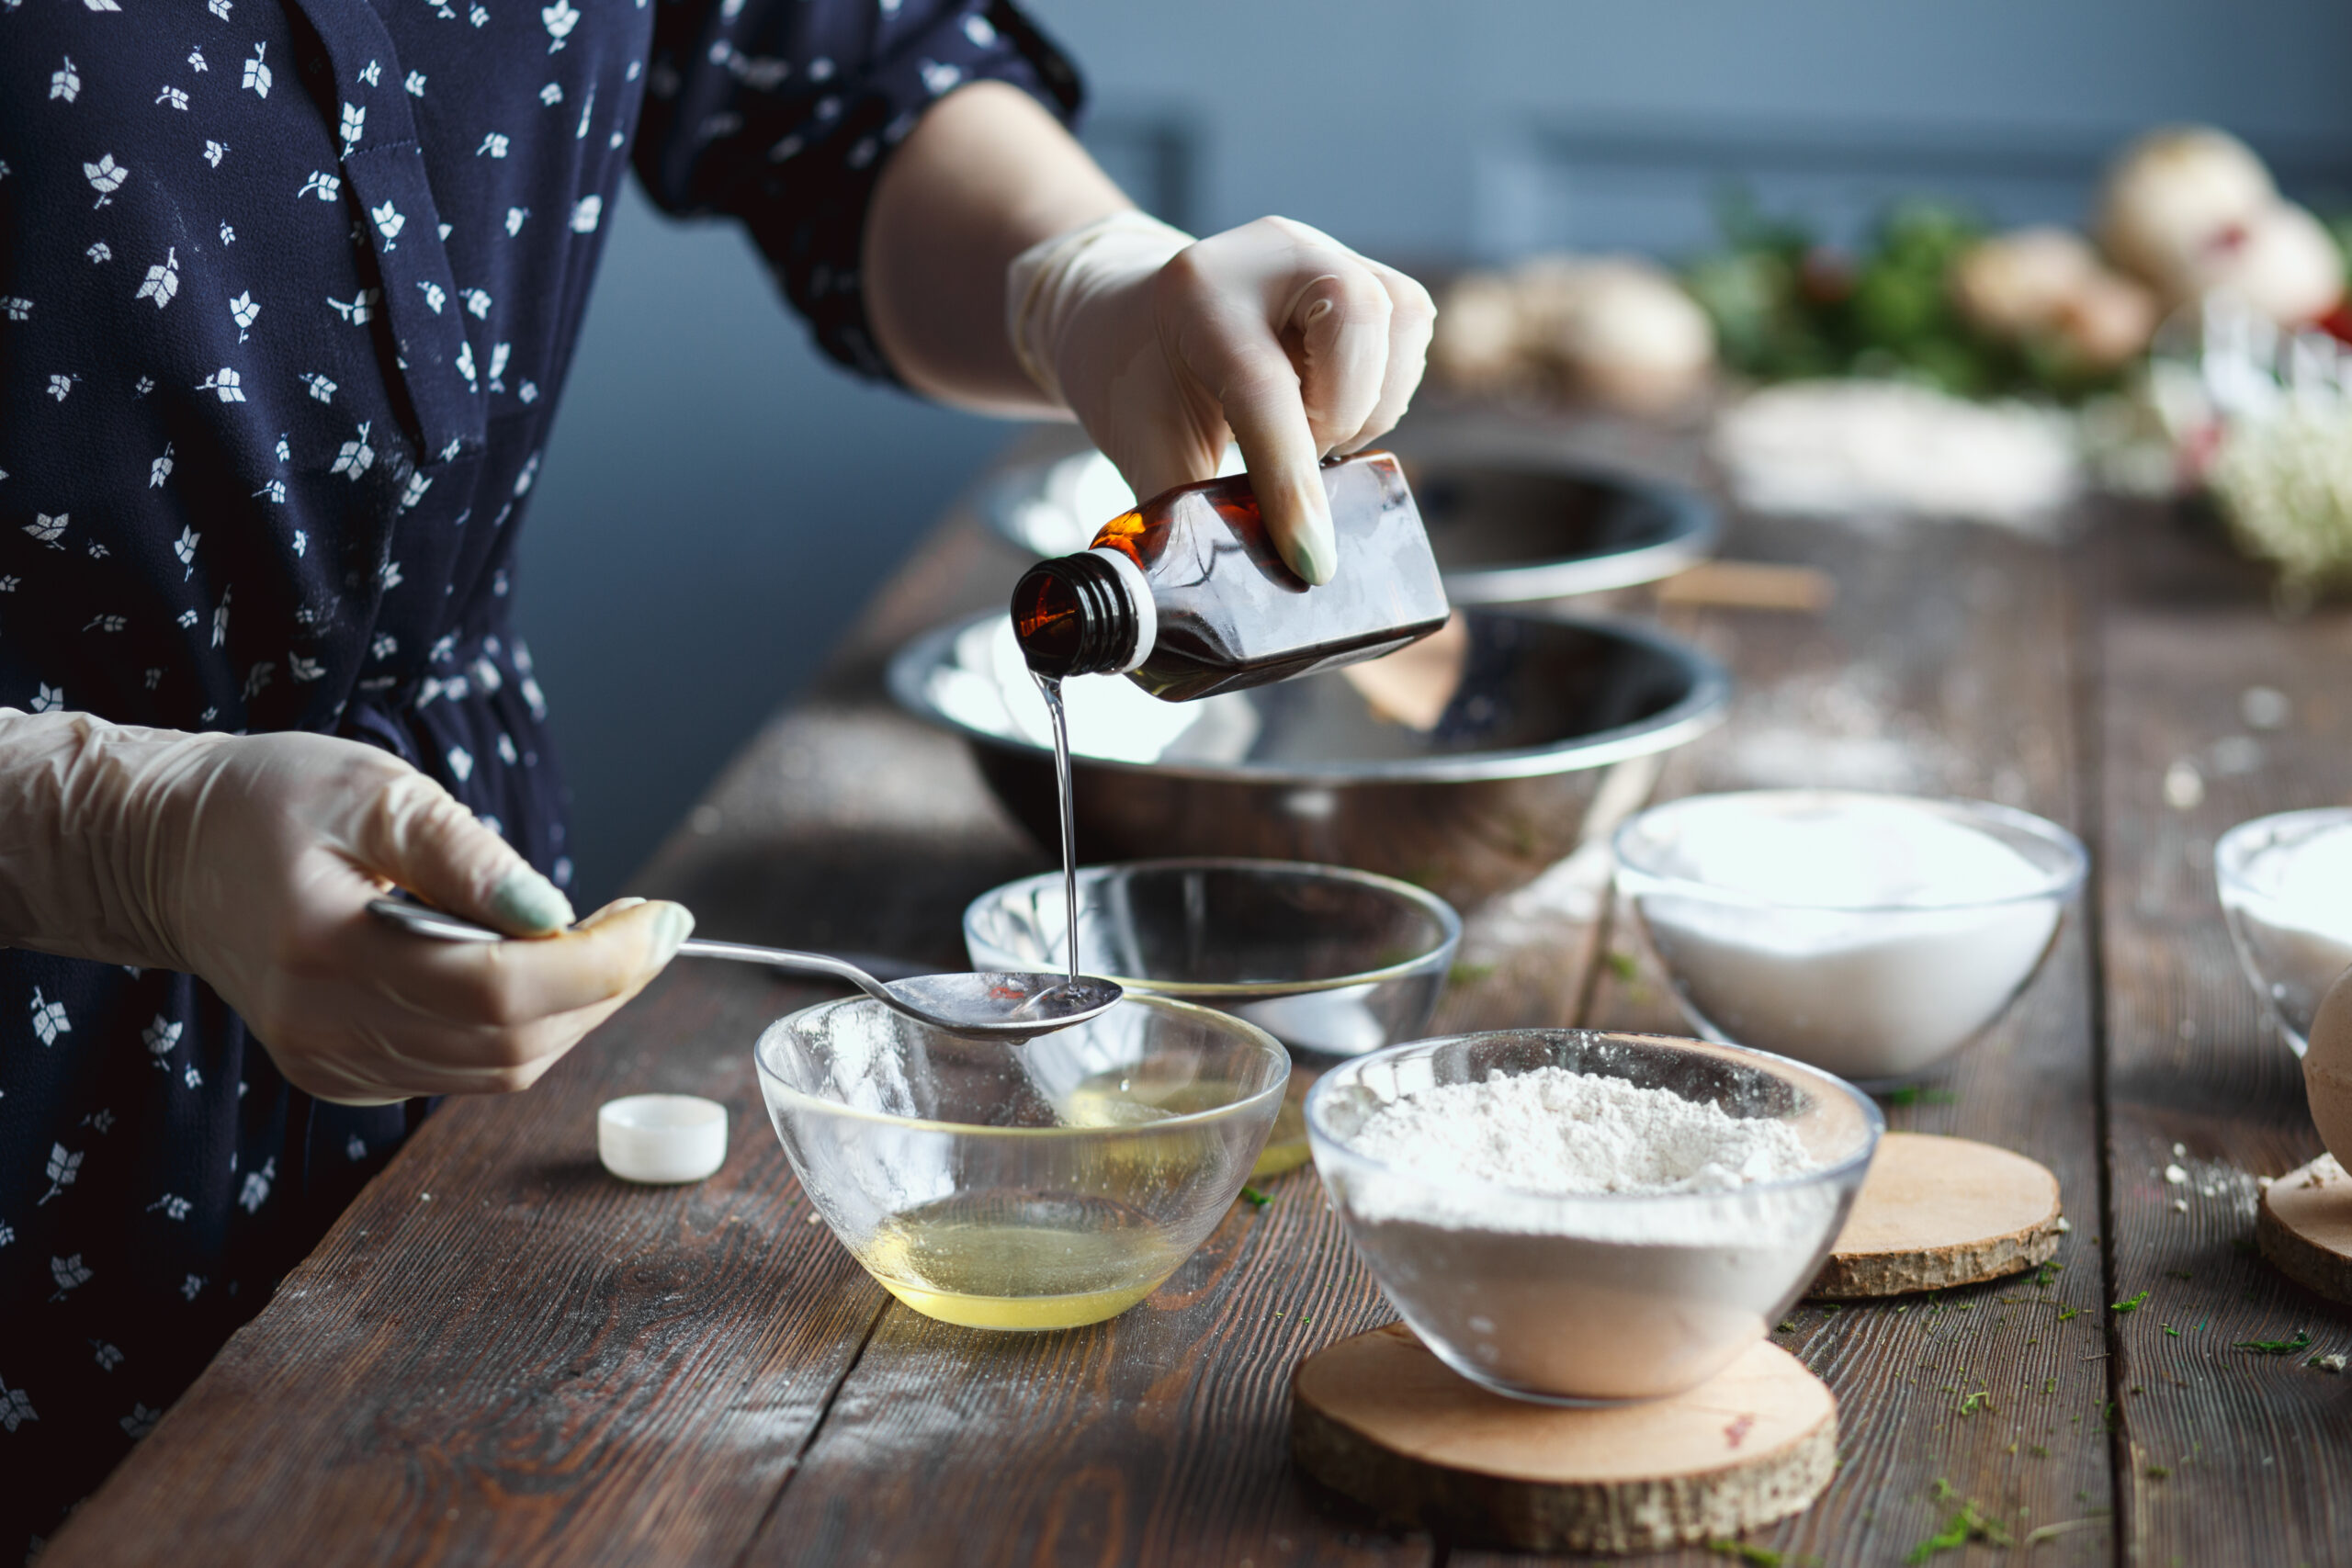
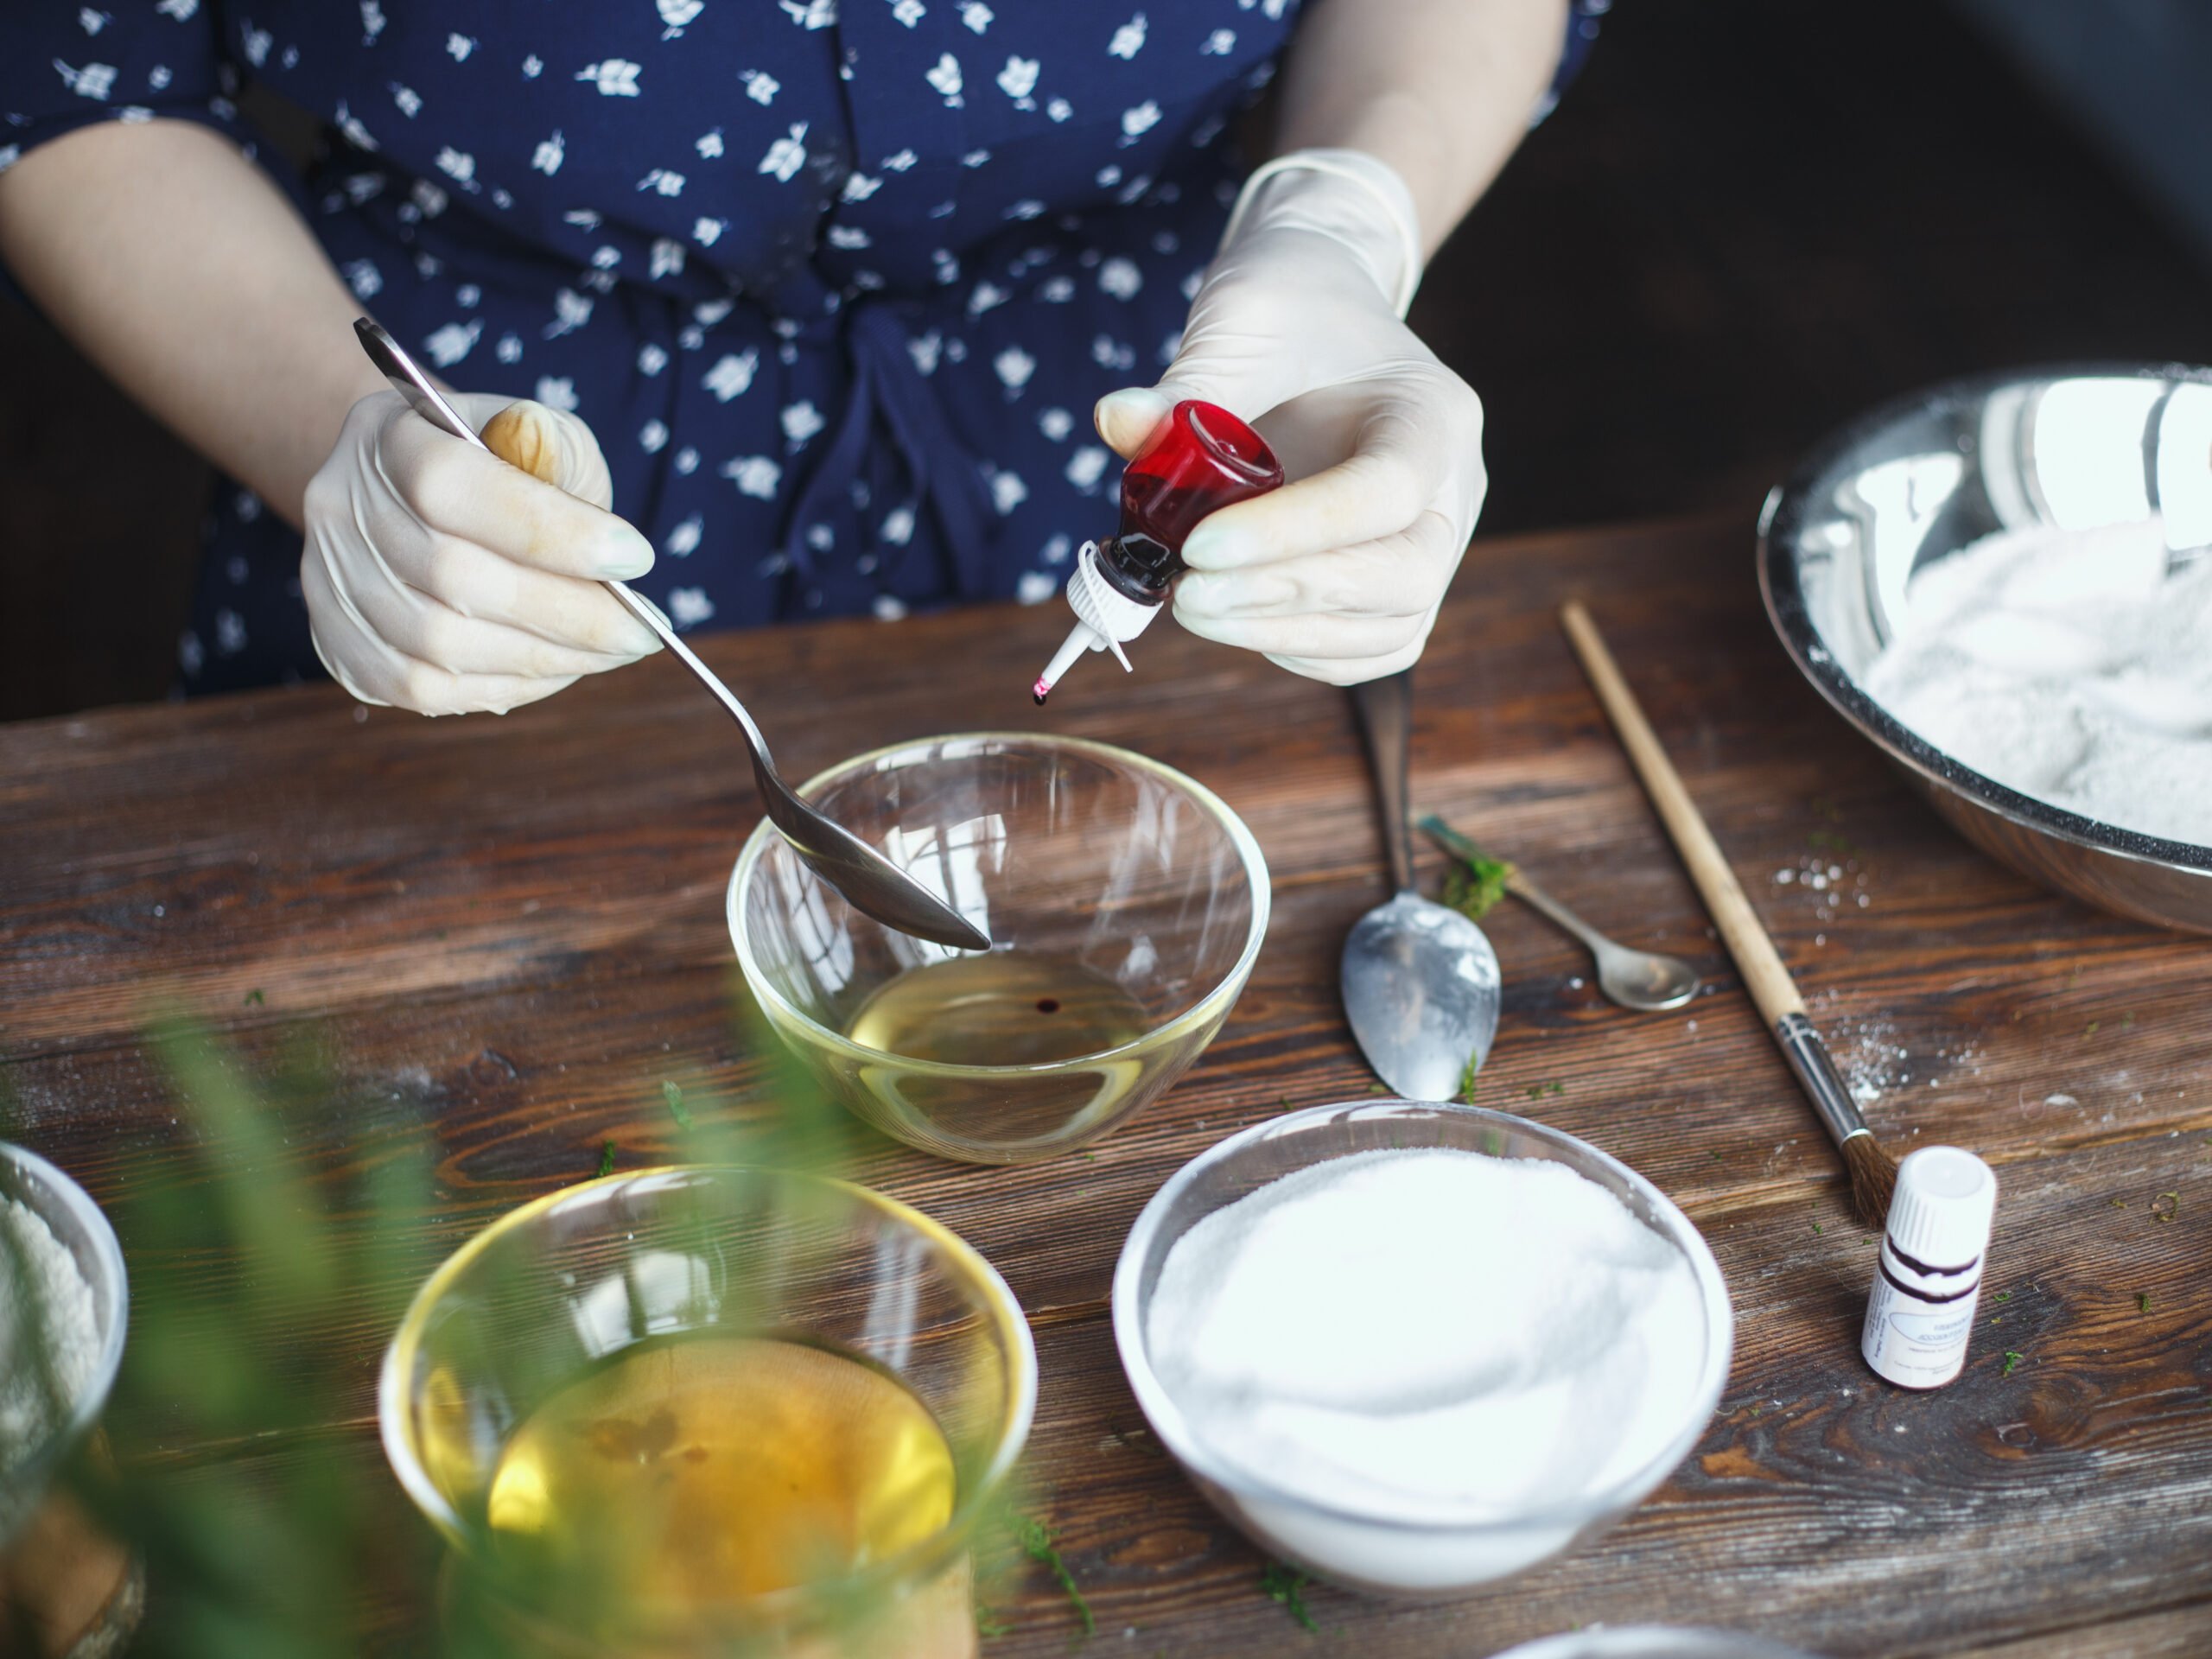
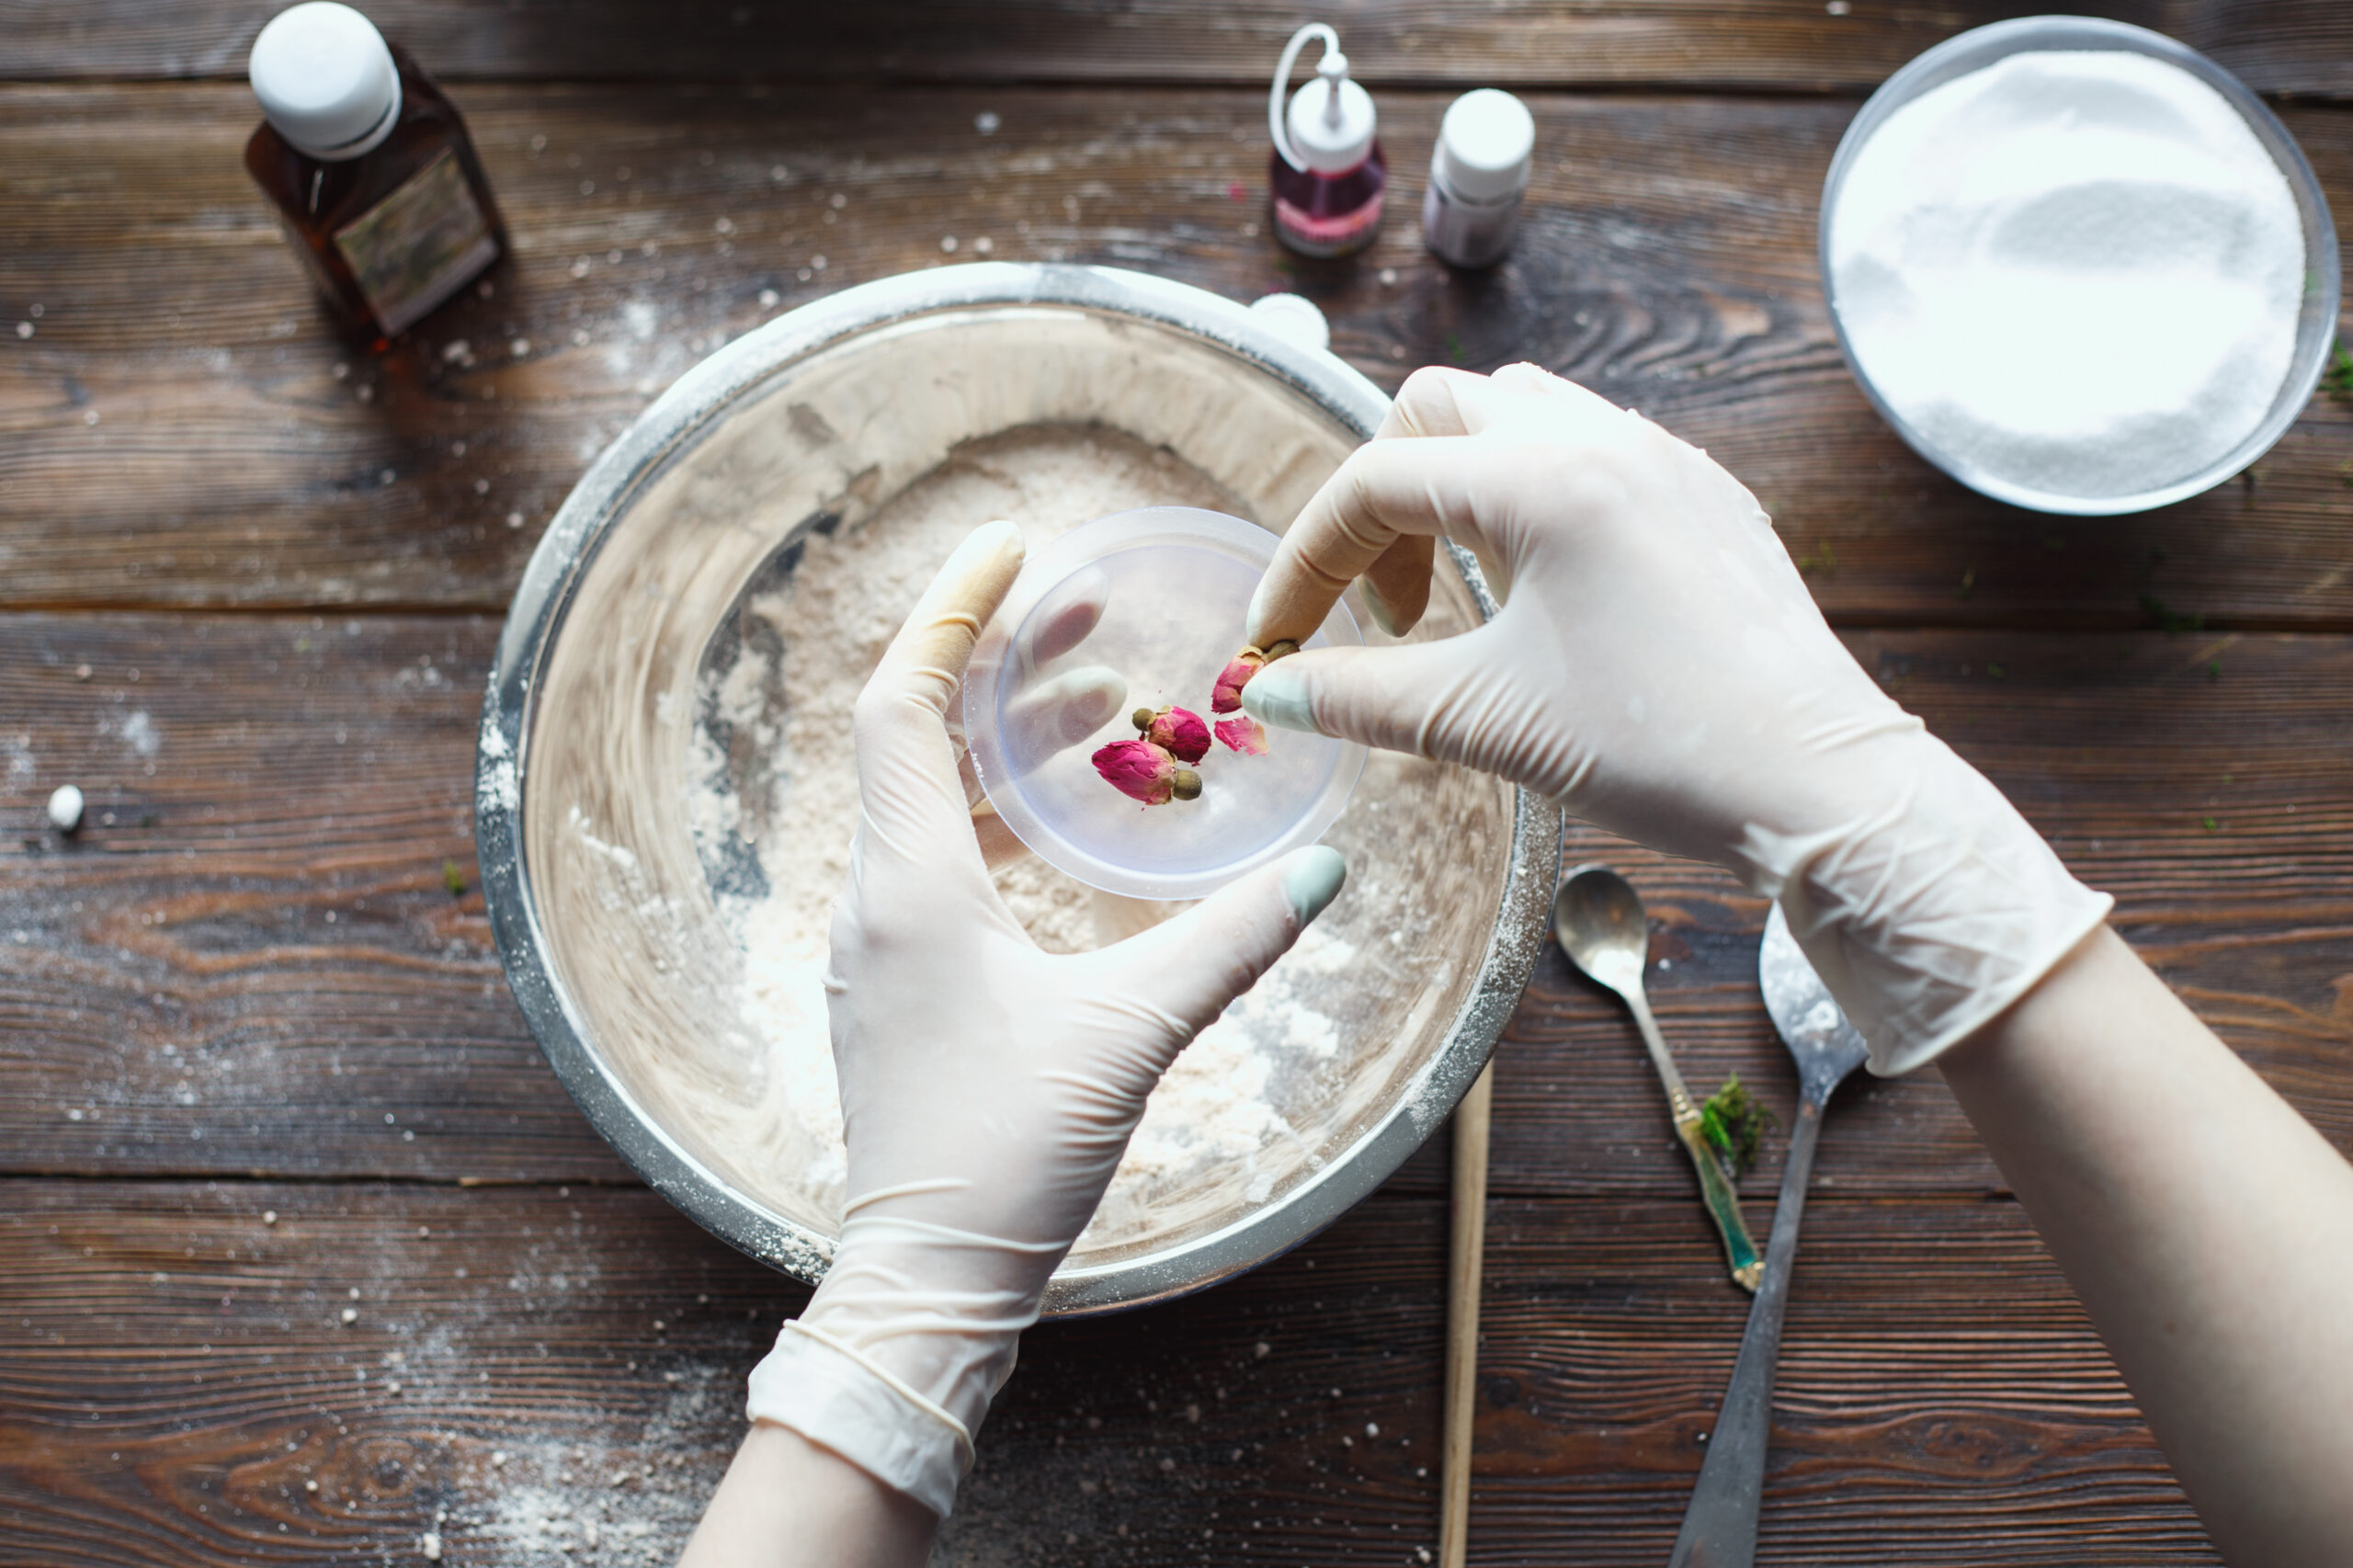
Next, using bath bomb molds, create your balls. - I recently switched from a plastic mold to a metal one and I find it works so much better! - First, add a few rose petals to the molds for a decorative look at the end. You then want to fill each half of the mold with the bath bomb mixture until it’s overflowing and then press it together tightly. Do this over top of the bowl so excess falls back into the bowl. Leave the mold in a tray for about 5 minutes before you open it.
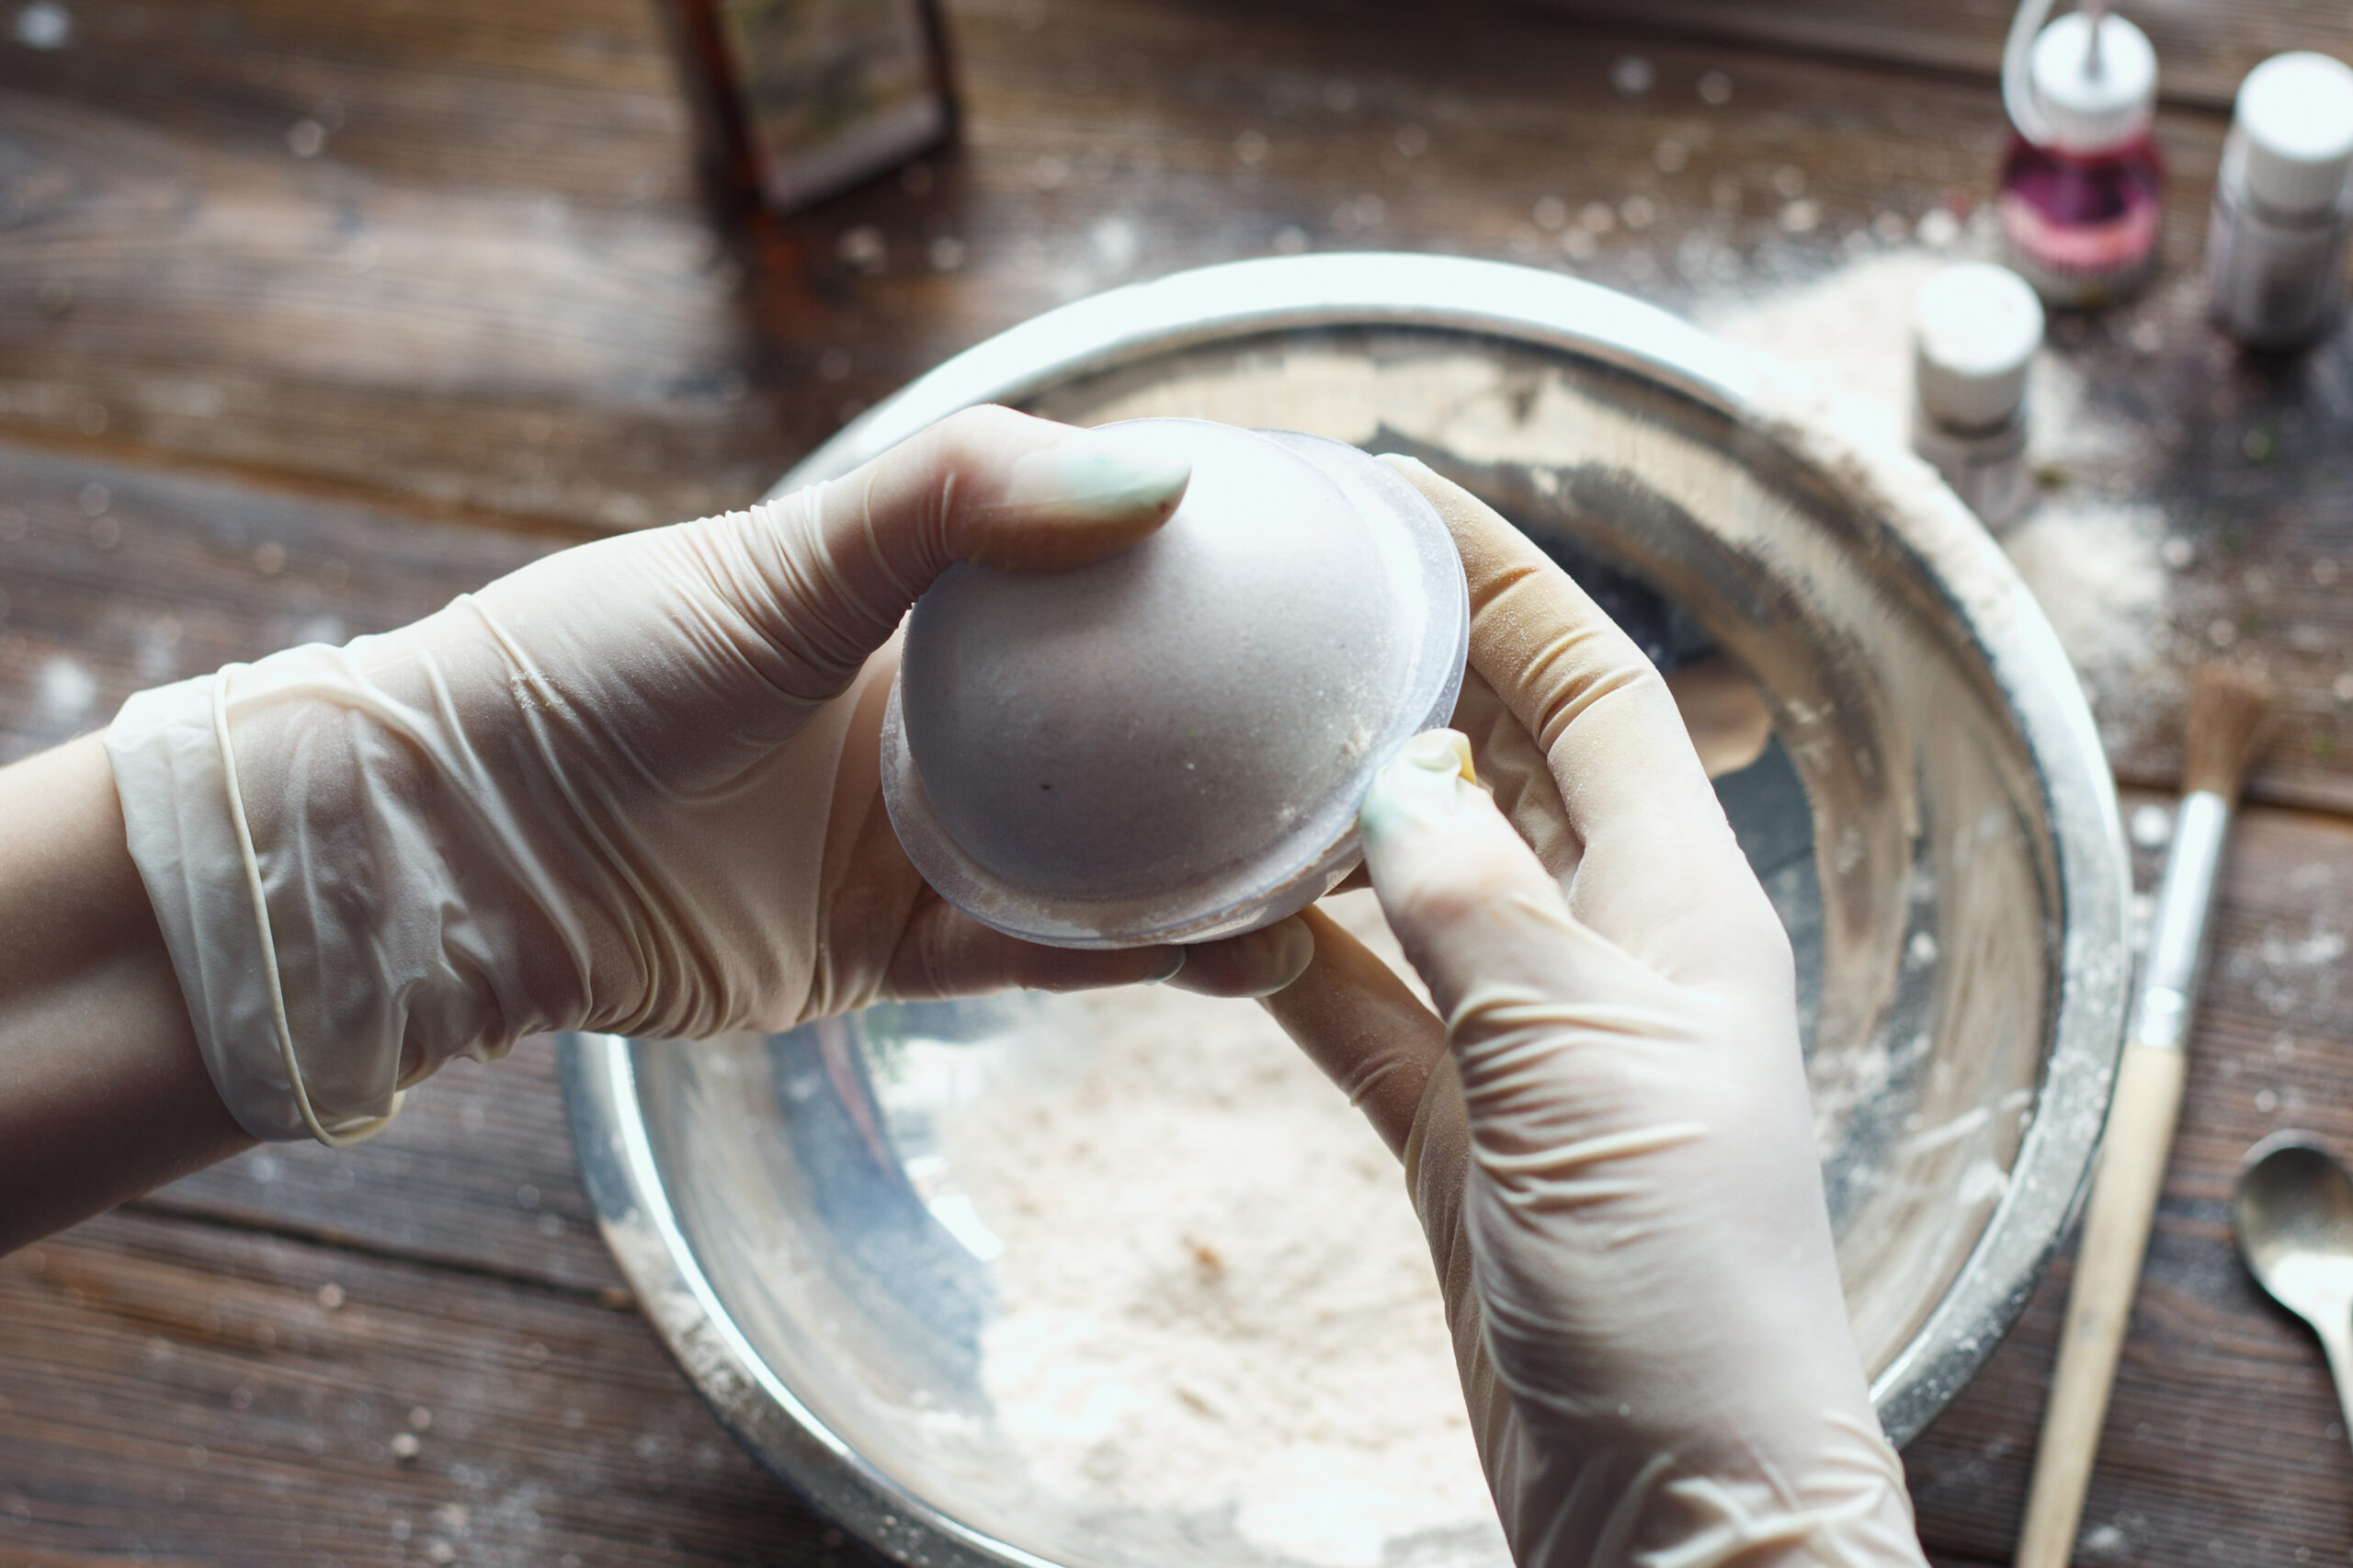
When you are ready to open the mold, first tap it with a spoon to loosen it. Brush away any excess powder. Allow each bath bomb to sit on a baking sheet or plate to completely dry out before moving them to a storage container.
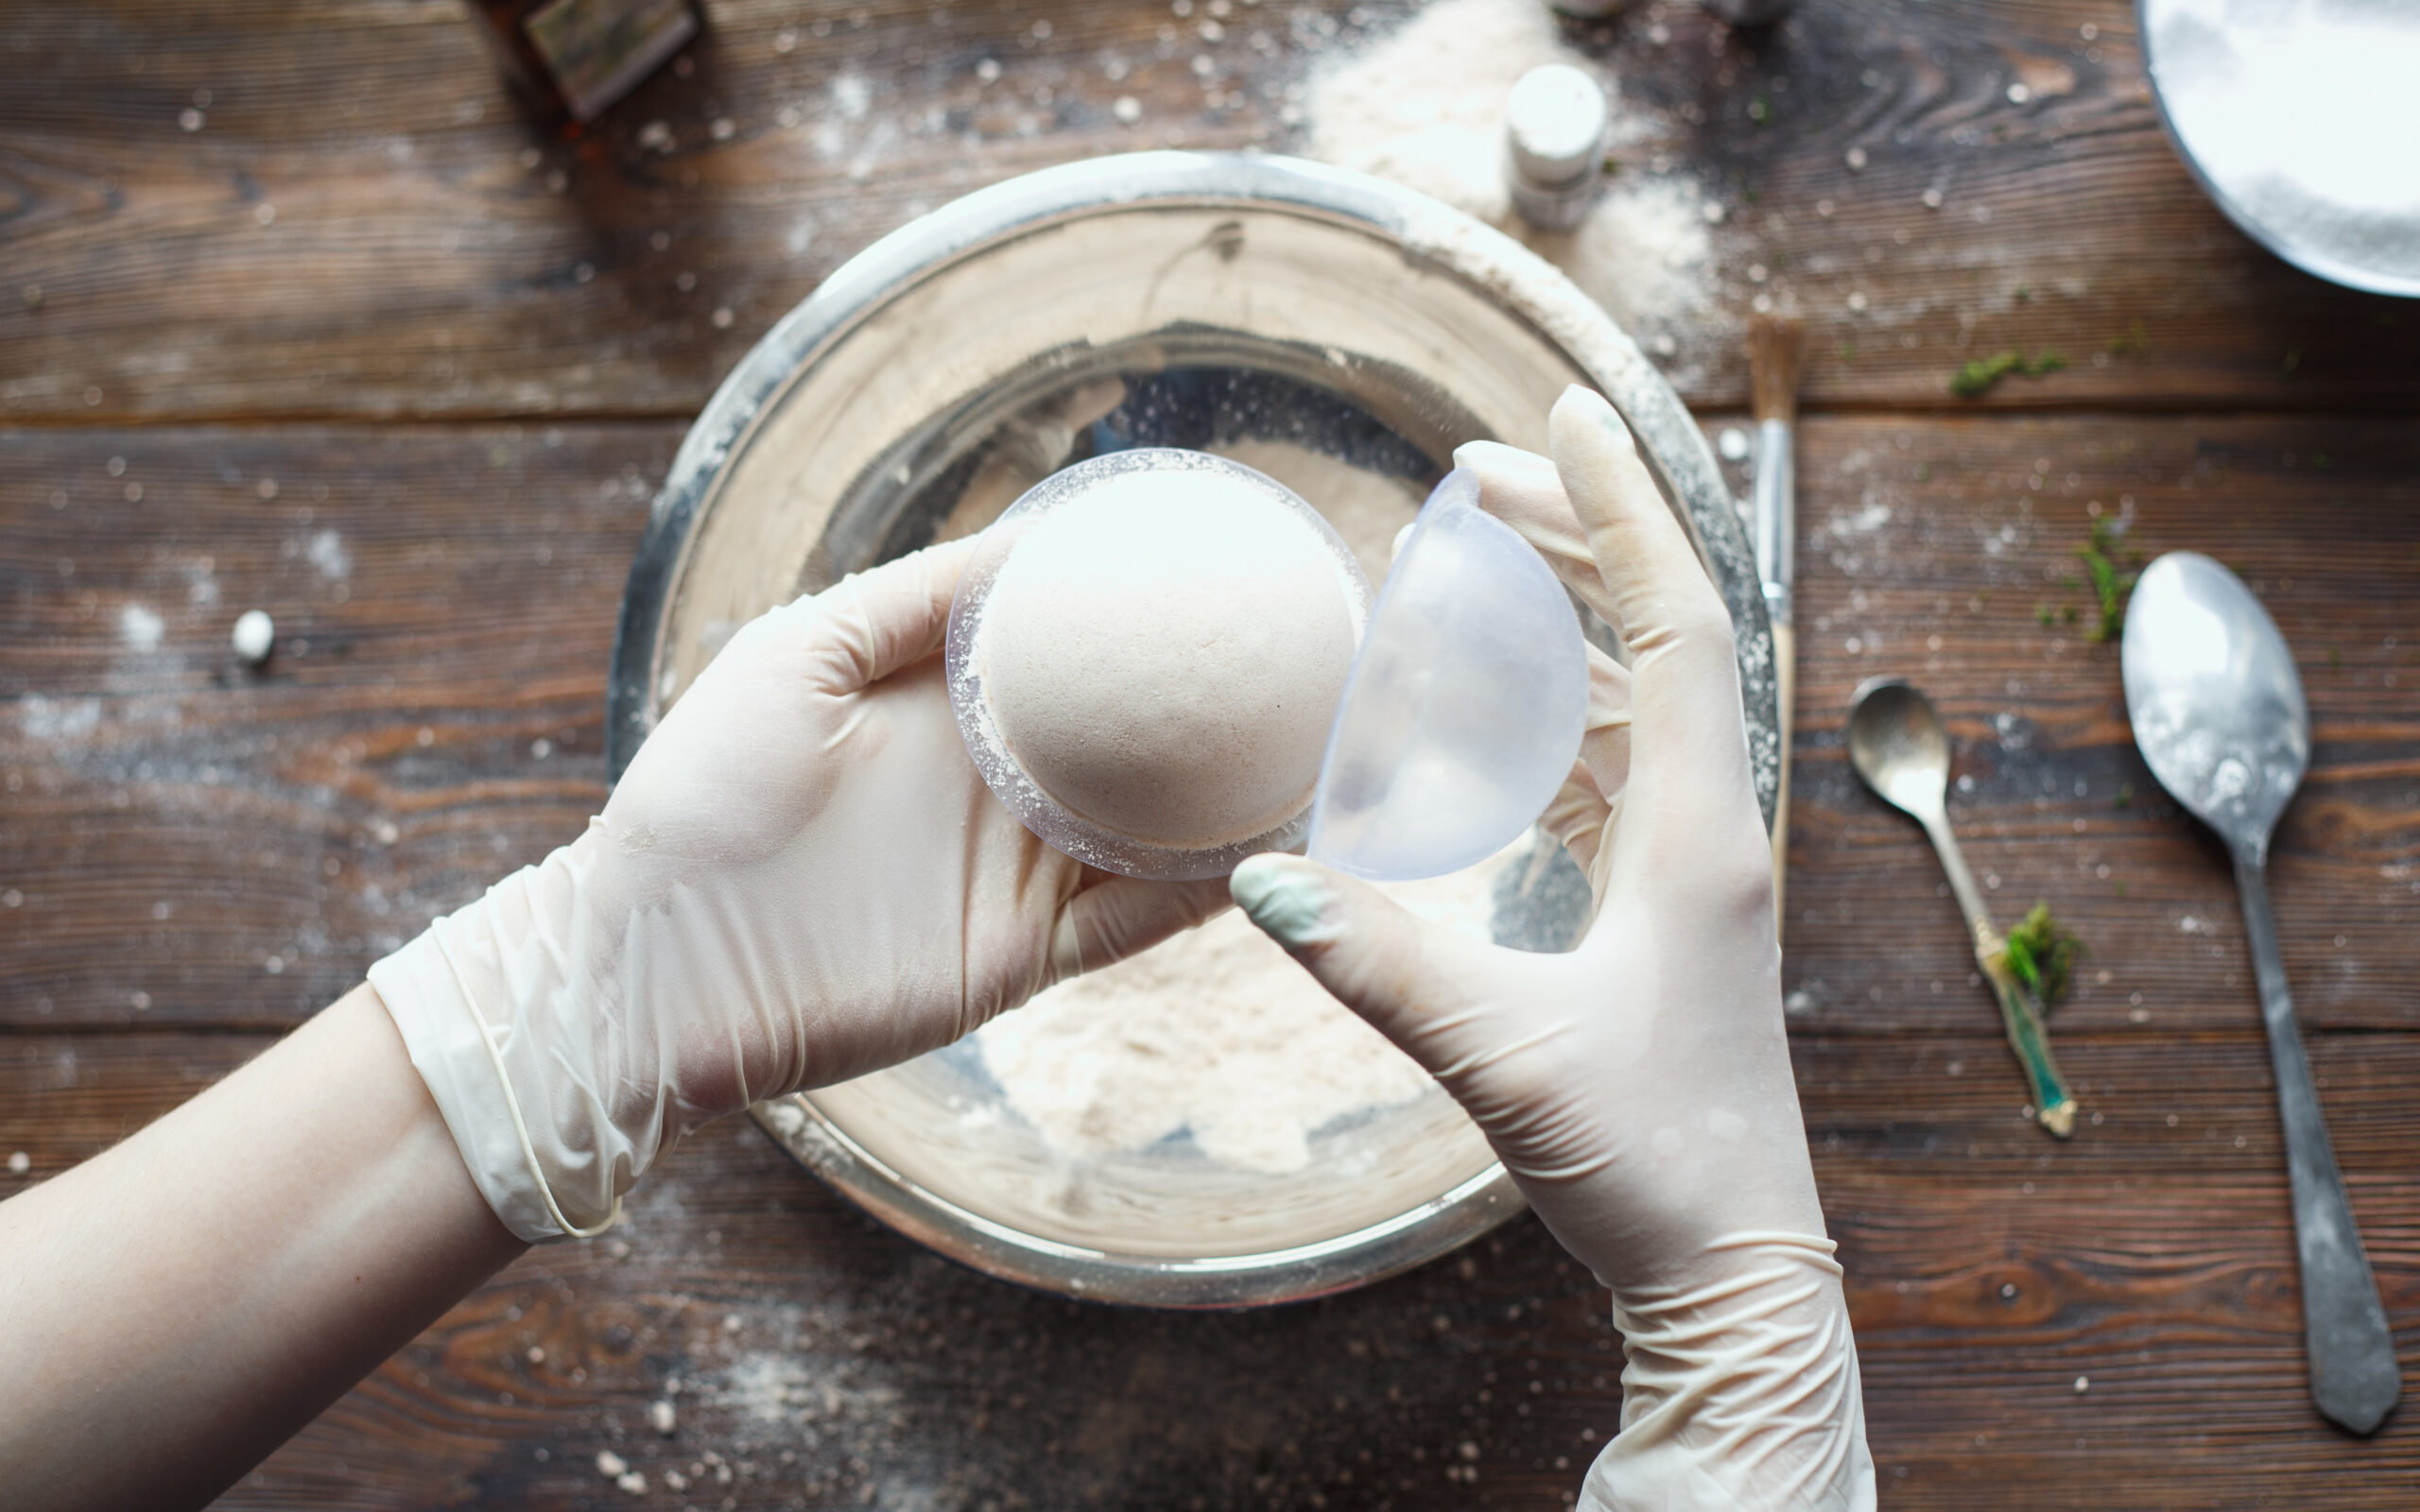
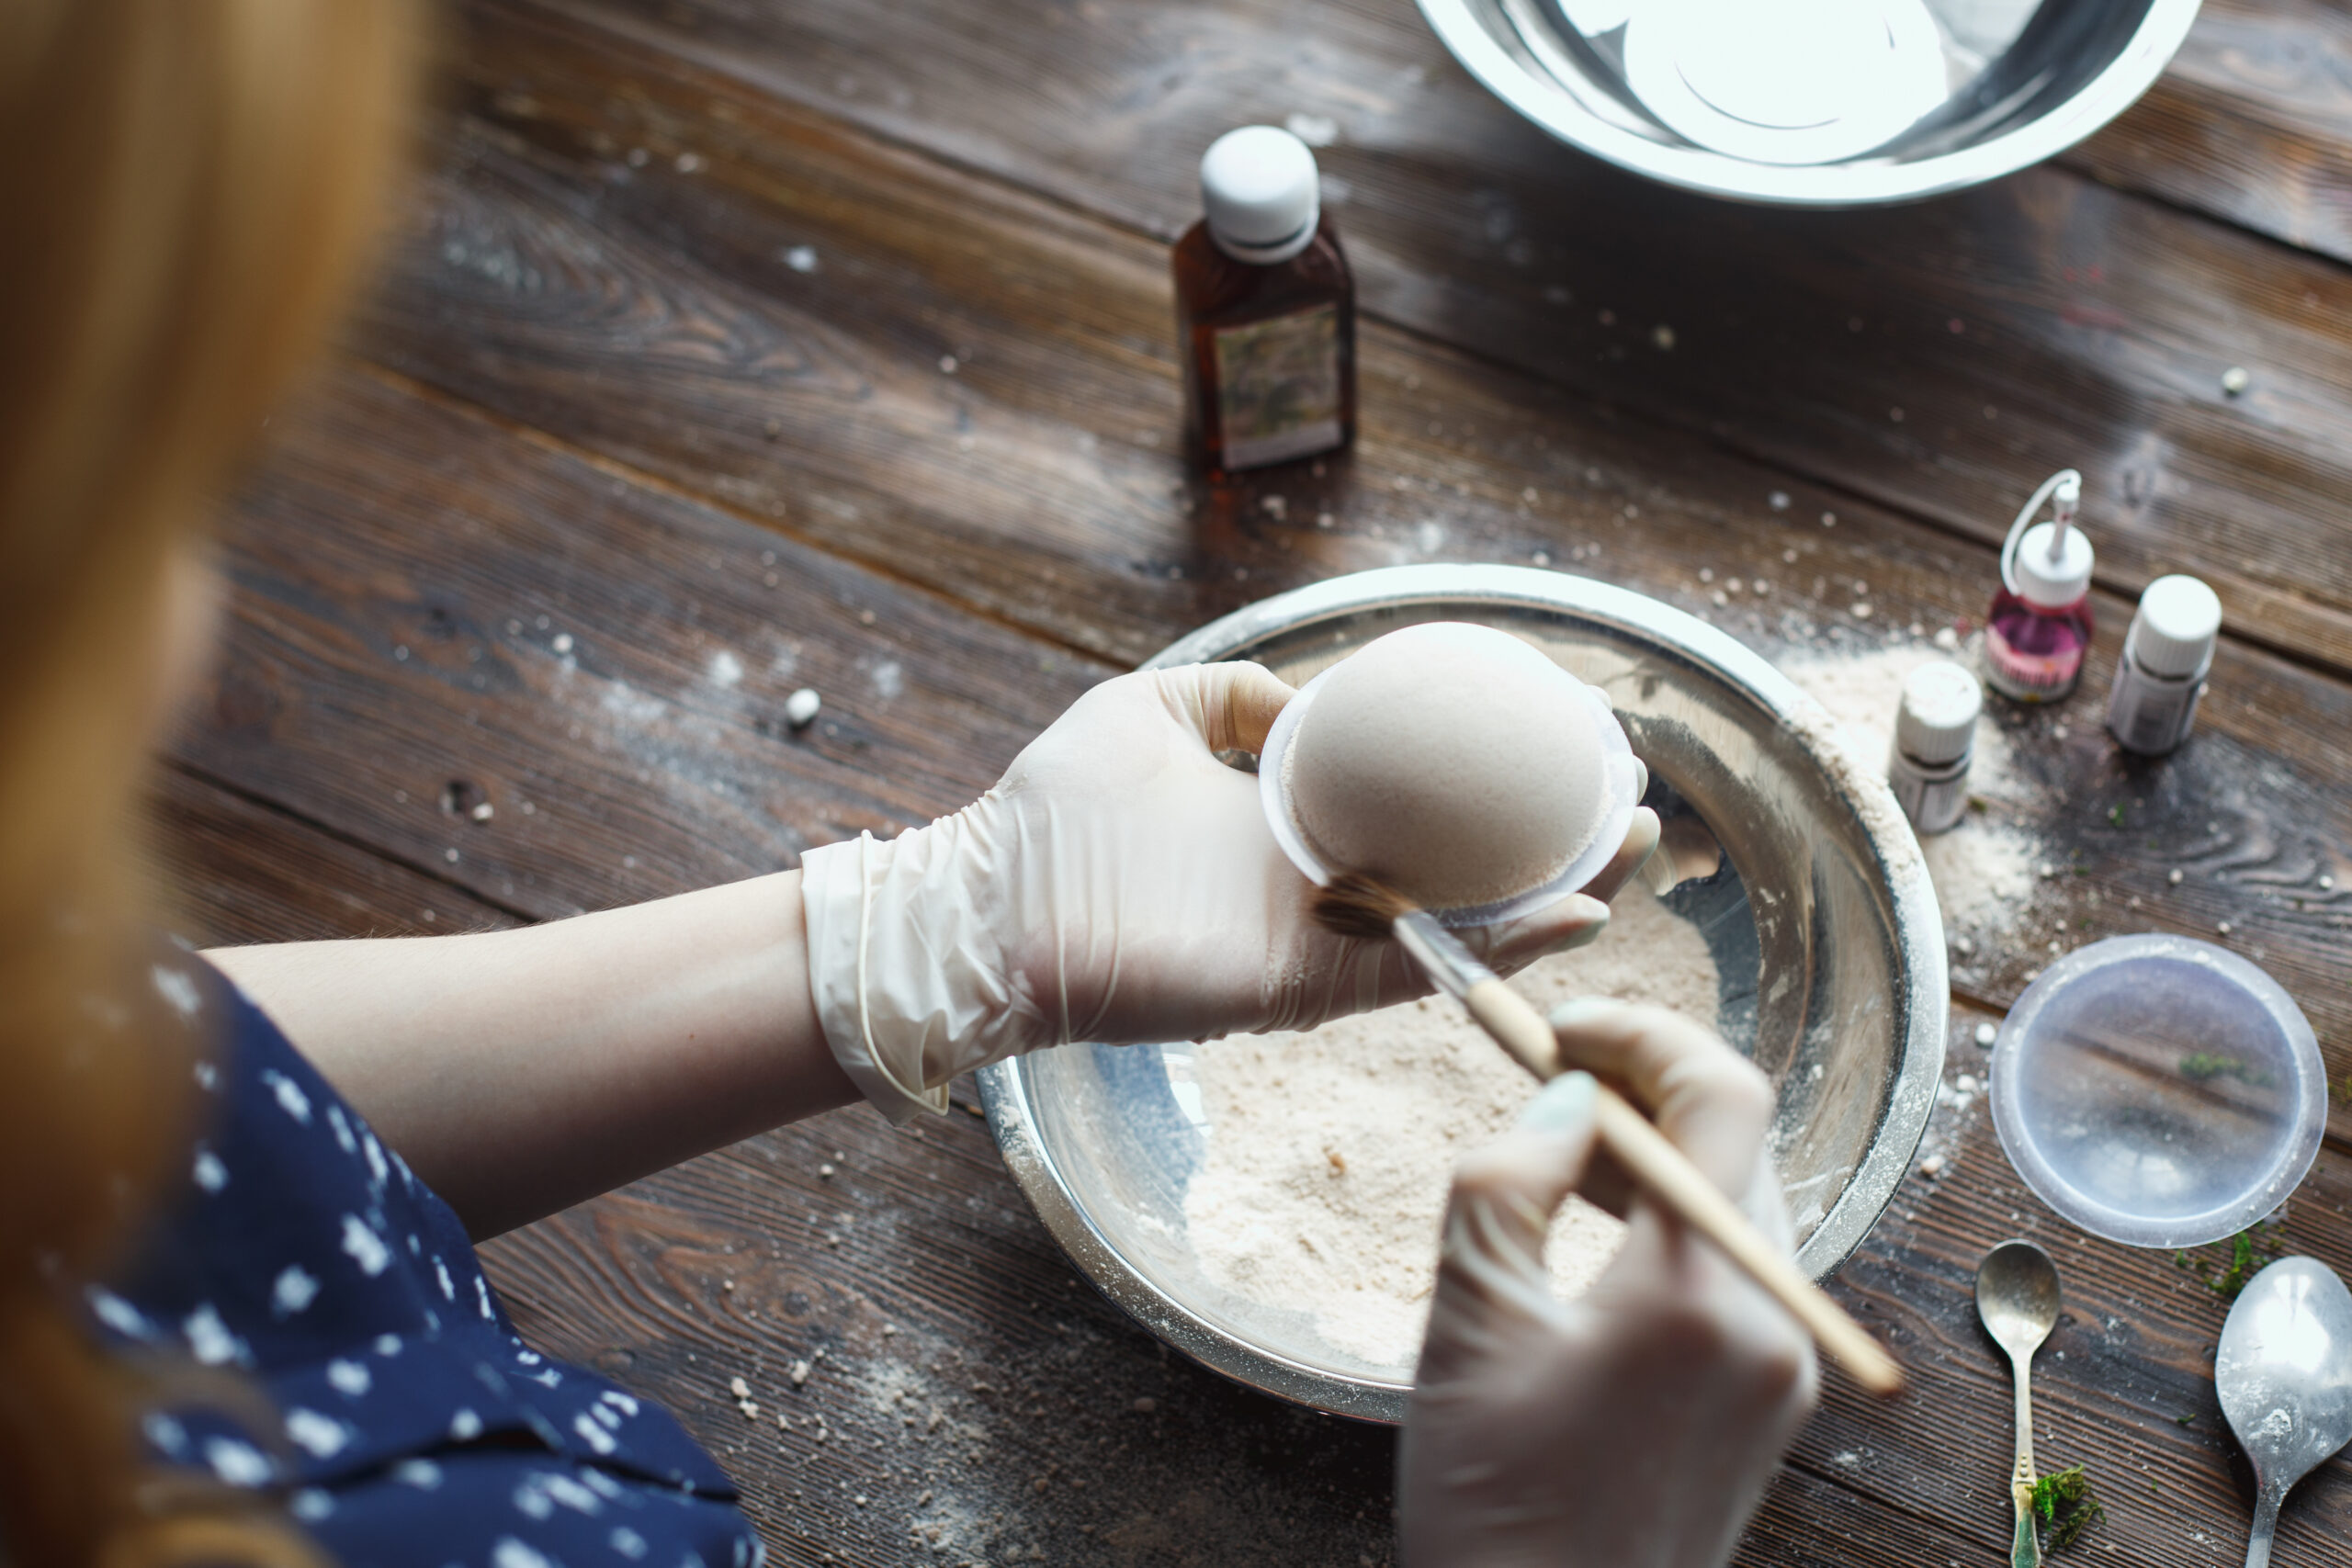
Store the bath bombs at room temperature in an airtight container until you are ready to add them to your nice warm bath! You can package them up as a gift right away too! These make perfect valentine or mother's day gift too!
Tips for Making Perfect Bath Bombs
- Use quality ingredients. You don't have to spend a fortune on your ingredients, but if you're going to make something that goes on your skin, it's worth taking the time to find high-quality ingredients that won't irritate or harm you.
- Make sure your mold is clean before filling it with the mixture for your bath bomb. If there is any residue left inside the mold, it could get mixed into your finished product and ruin its appearance or effectiveness!
- You will feel like you need to add more water to the mixture but DON'T. It is supposed to feel dry and crumbly.
- Be sure not to over-melt any of your oils or waxes—if these products get too hot during melting, they may lose some of their properties (such as moisturizing ability) when added back into cooled mixtures like this one!
- Don't overdo it with essential oils (they can be very strong and cause skin irritation if too much is in the bath bombs).
- Store your ingredients in airtight containers if possible; otherwise, they'll absorb moisture from the air over time and become less effective at fizzing when you add them to water later on down the line! Some people like to wrap them in plastic wrap to keep them extra fresh!
- Drop them into a full bathtub of warm water for optimal fizziness!
Benefits of Rose Petals and Rose Oil
Rose petals and rose oil are known for their beauty and fragrance. But did you know they're also great for your skin and overall well-being? Rose oil is a natural ingredient that can be used in all kinds of beauty products, including soaps, lotions, and creams. Rose oil helps to improve the elasticity of the skin and reduce inflammation.
Rose oil has also been used for centuries as a natural remedy for various ailments like arthritis and gout. It's also been shown to help with things like stress management and sleep deprivation. Plus, it smells amazing!
- They're anti-inflammatory, so they can soothe irritated or inflamed skin.
- They contain antioxidants, which can help prevent damage to your skin cells and slow down the aging process.
- They are full of vitamin C, which is great for brightening dark spots and evening out your skin tone.
- They contain linoleic acid and oleic acid, which help keep your pores clear and reduce the appearance of acne breakouts.
- Rose petals can help heal wounds and reduce inflammation, and they have anti-bacterial and anti-fungal properties
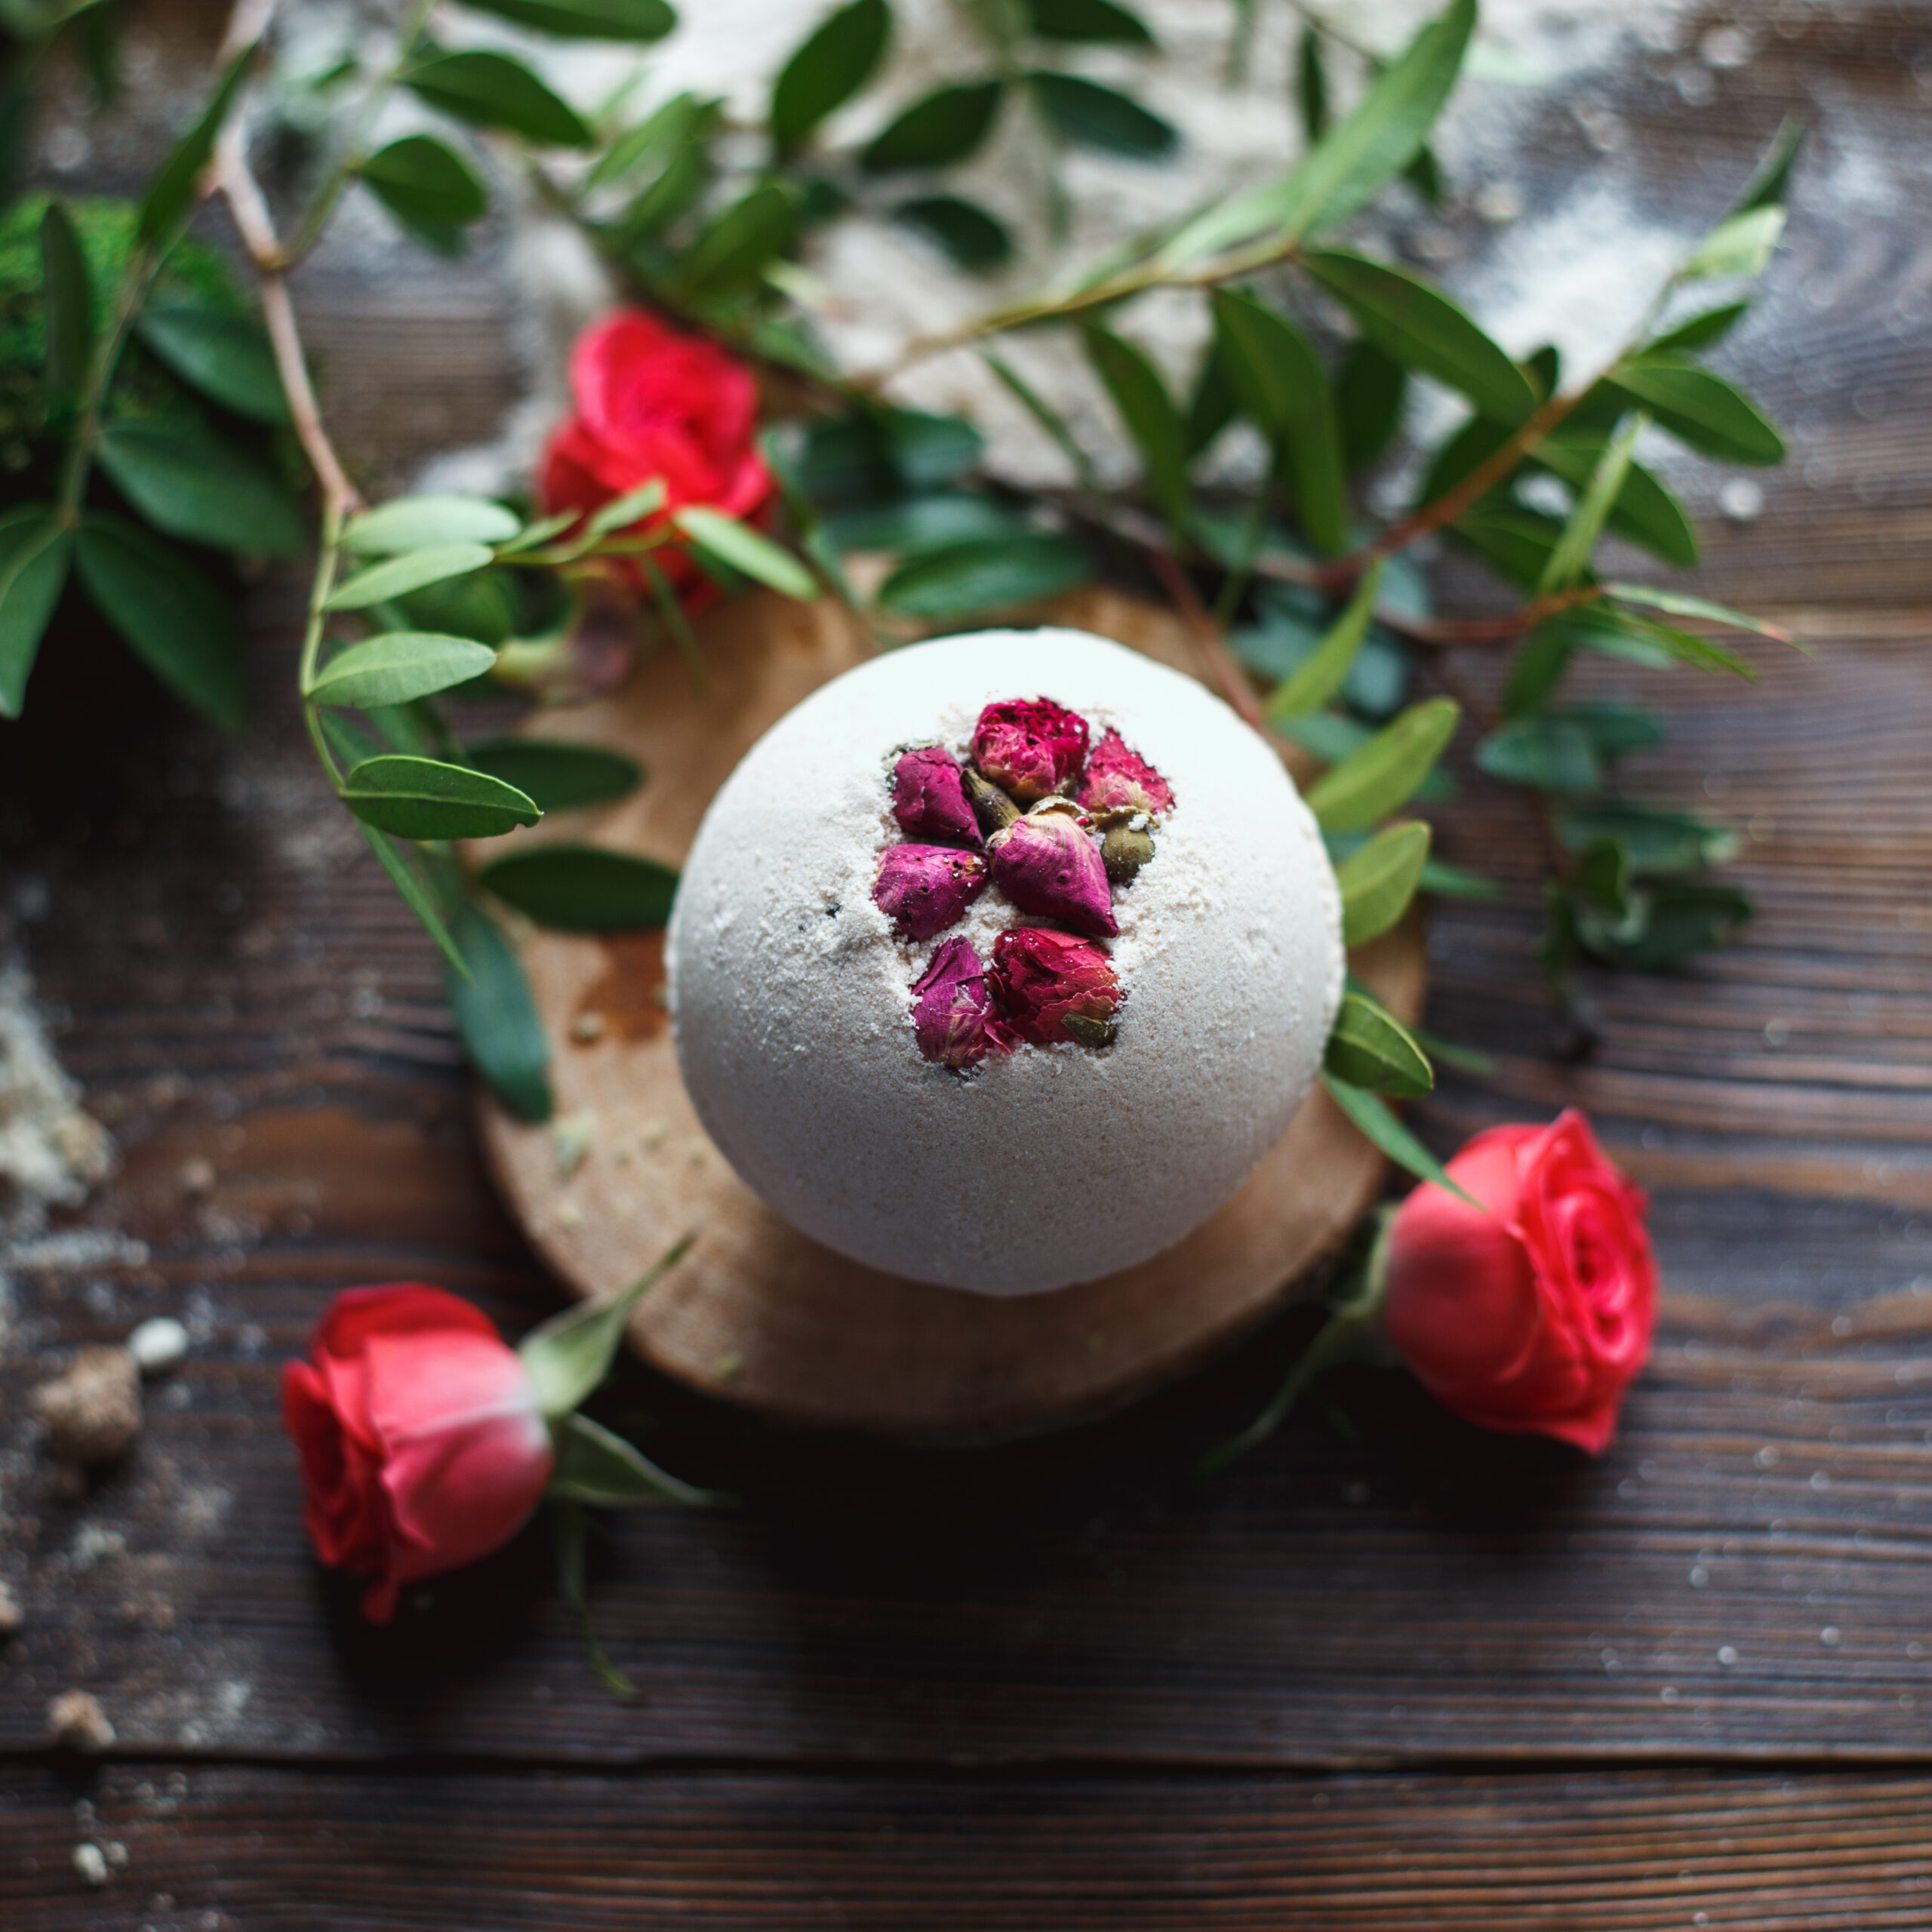
I hope you enjoyed this DIY rose bath bomb recipe. Have fun making your very own DIY bath bombs! If you have any questions about this recipe, leave them in the comment section below and I'll make sure to get back to you on it!
If you make any of my recipes please tag your photos with #nikkisplate so I can see your beautiful creations! Any feedback in the comments below is greatly appreciated. I hope you have fun!
Share this fun recipe with the rest of the Pinterest, Instagram, and Facebook world! Also, make sure to follow my account to see when I post new recipes or home-inspired content at Nikki's Plate.
More DIY Recipes:
- LAYERED LAVENDER EPSOM SALTS
- DIY PUMPKIN SPICE SUGAR SCRUB
- DIY CINNAMON AND PEAR FACE MASK RECIPE
- DIY NATURAL BEAUTY PRODUCTS
Until next time,

DIY ROSE PETAL BATH BOMBS
Equipment
- Bath Bomb Molds
Ingredients
- 1 cup baking soda
- ½ cup citric acid
- ½ cup epsom salt
- 3 teaspoon liquid coconut oil
- 1 teaspoon rose oil
- 1 teaspoon water
- ¼ cup dried rose petals
- 1-2 drops red food coloring (optional)
Instructions
- Mix the dry ingredients (baking soda, citric acid, and Epsom salt) in a medium-sized bowl. In a separate bowl, whisk together the rose oil, coconut oil, food coloring (if using), and water. Add the wet ingredients to the dry ingredients slowly. Whisky the mixture as you go.
- Next, using bath bomb molds, create your balls.First, add a few rose petals to the molds for a decorative look at the end.
- You then want to fill each half of the mold with the bath bomb mixture until it’s overflowing and then press it together tightly. Do this over top of the bowl so excess falls back into the bowl. Leave the mold in a tray for about 5 minutes before you open it.
- When you are ready to open the mold, first tap it with a spoon to loosen it. Brush away any excess powder. Allow each bath bomb to sit on a baking sheet or plate to completely dry out before moving them to a storage container.
- Store the bath bombs at room temperature in an airtight container until you are ready to add them to your nice warm bath!
Notes
- You will feel like you need to add more water to the mixture but DON'T. It is supposed to feel dry and crumbly.
- Be sure not to over-melt any of your oils or waxes—if these products get too hot during melting, they may lose some of their properties (such as moisturizing ability) when added back into cooled mixtures like this one!
- Store your ingredients in airtight containers if possible; otherwise, they'll absorb moisture from the air over time and become less effective at fizzing when you add them to water later on down the line! Some people like to wrap them in plastic wrap to keep them extra fresh!
- Drop them into a full bathtub of warm water for optimal fizziness!
- Don't overdo it with essential oils (they can be very strong and cause skin irritation if too much is in the bath bombs).





Leave a Reply