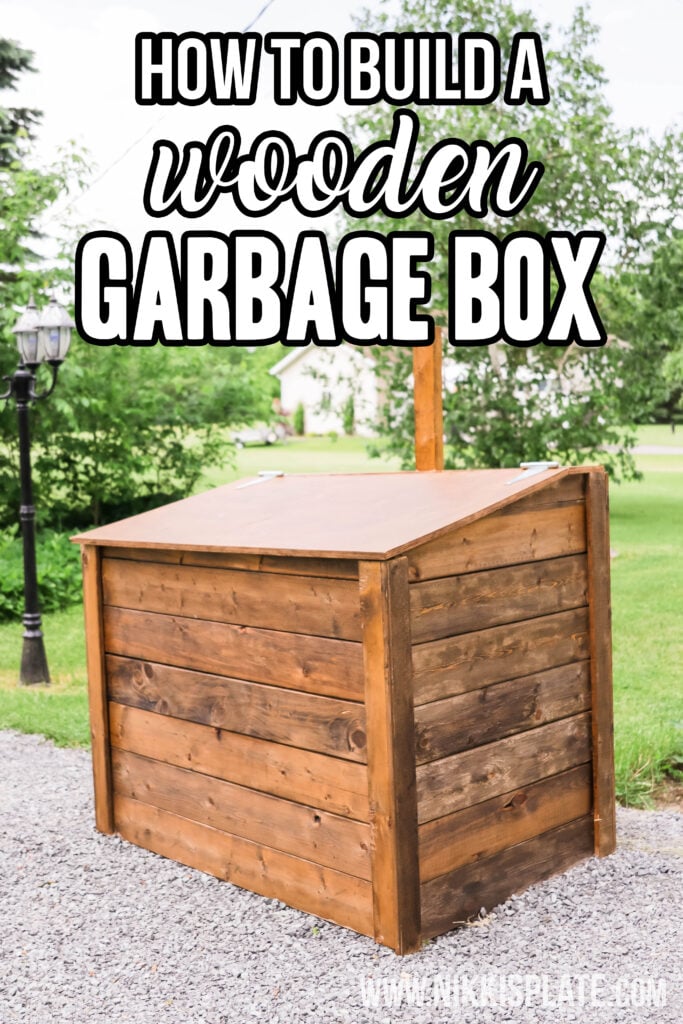
How to Build an Outdoor Garbage Box; a do it yourself guide for building a garbage box storage unit. Free up room in your garage and sheds with this easy to follow garbage storage plan.
Disclaimer: this post may contain affiliate links, and every purchase made through these links will give me a small commission (at absolutely no extra cost for you!) AS AN AMAZON ASSOCIATE AND REWARDSTYLE MEMBER, I EARN FROM QUALIFYING PURCHASES. See Privacy Policy for additional info.
Hi beauties!
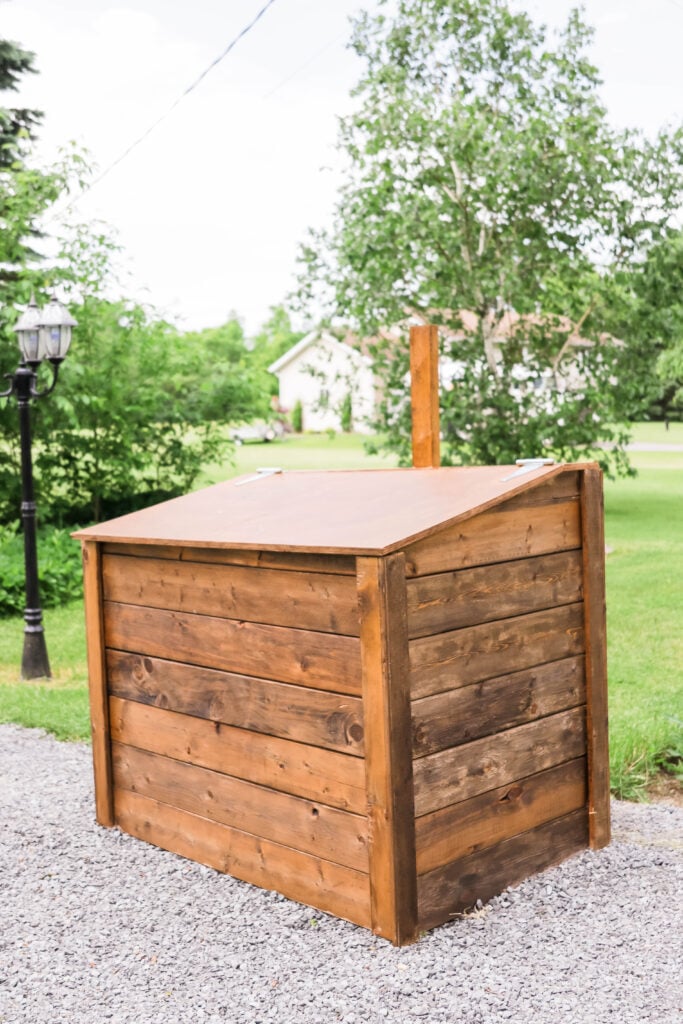
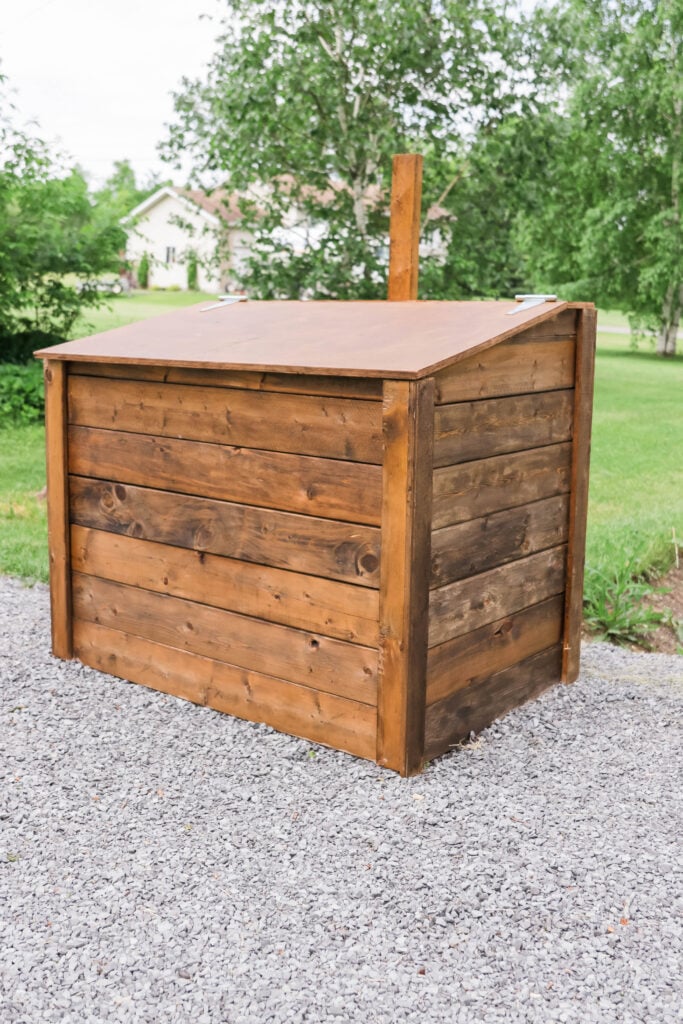
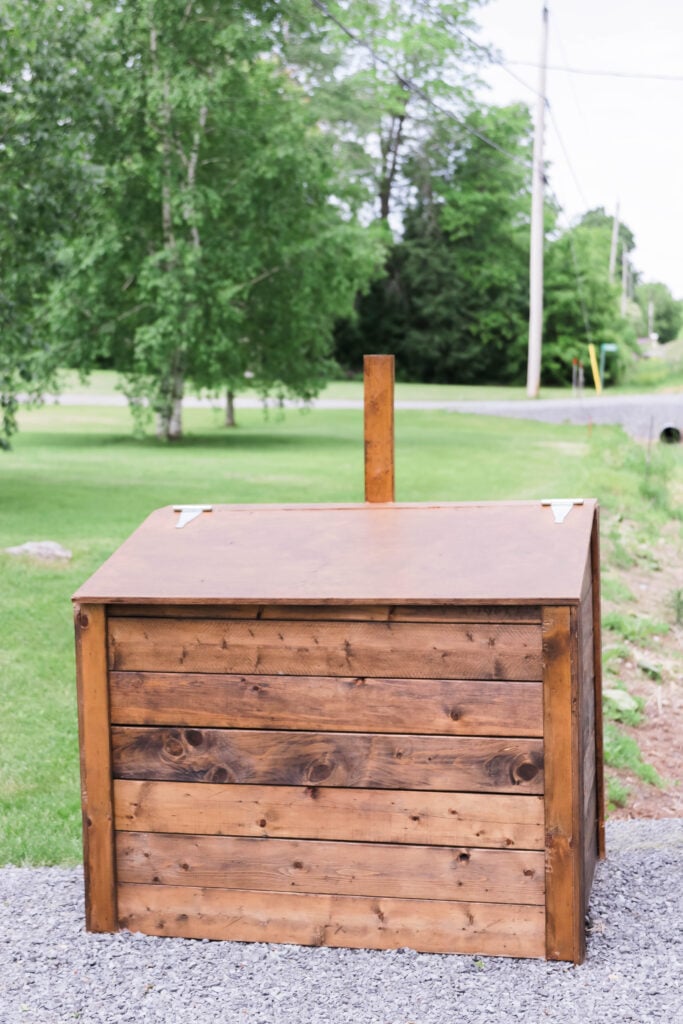
Just want to throw together a post on the outdoor garbage box storage unit that my husband through together for us last weekend. It is super easy to follow and only took a few hours to make.
We love having this DIY outdoor garbage box because it frees up so much space in our garage! We use to store all our garbage bags in the garage before we put together this box. This box allows us to put the garbage out at the road side without worrying about animals getting into it! #CountryLivingProblems
The best part about this wood garbage box is that the garbage men know to go right into it to get out the garbage bags! Which is actually so nice of them.. one less thing we have to do on garbage day!
This garbage box holds up to 3 garbage bags at a time.. or two plus a recycling bin.
So without further ranting about how amazing this wood box is and why you should build on.. ill get right into it for you!
How To Build an Outdoor Garbage Box
Gather Your Supplies
For this garbage storage bin you will need the following material...
- Pine 1 x 6 boards
- Pine 2 x 6 boards
- Galvanized Nails
- Nail Gun
- Two T Hinges
- ¾ inch Plywood (for lid)
- Chop saw & Table saw
- Staining Materials: Minwax stain, glove, old sock
Build The Garbage Box Frame
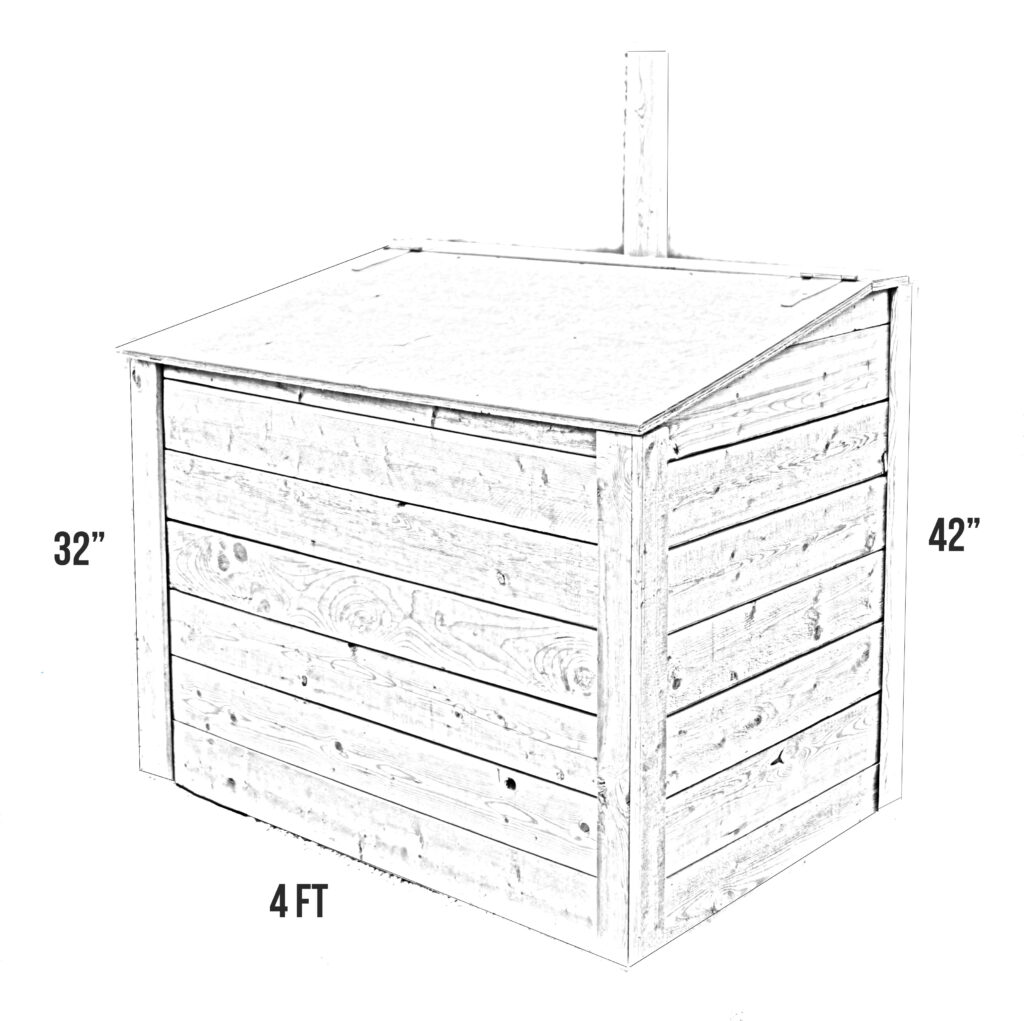
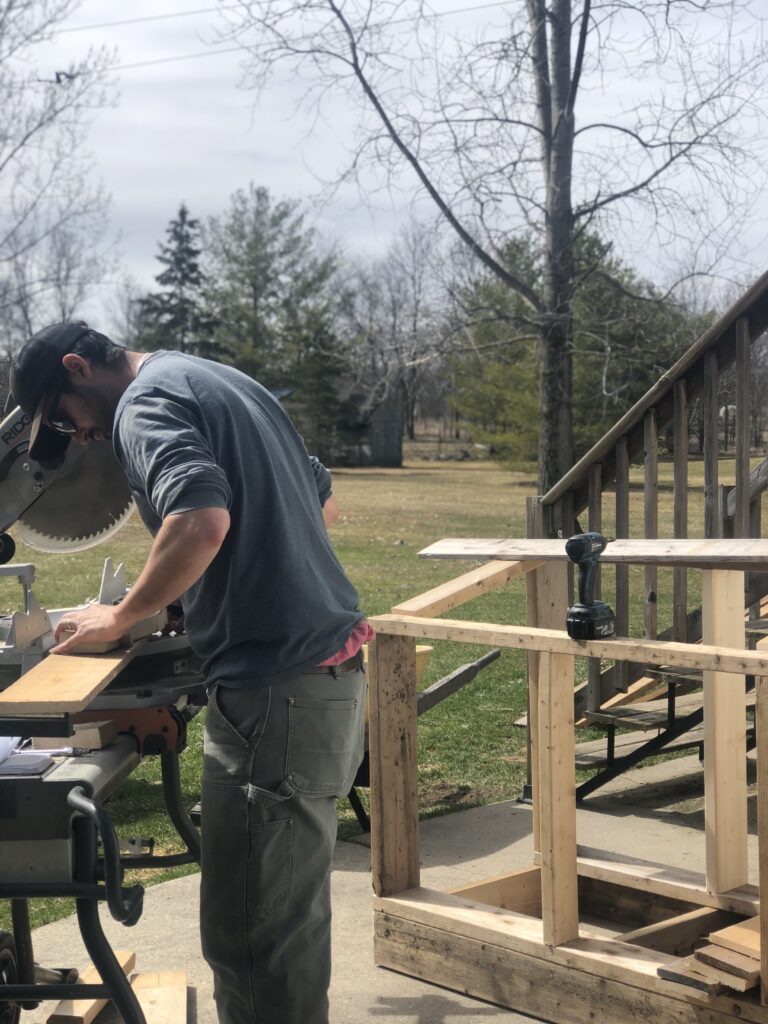
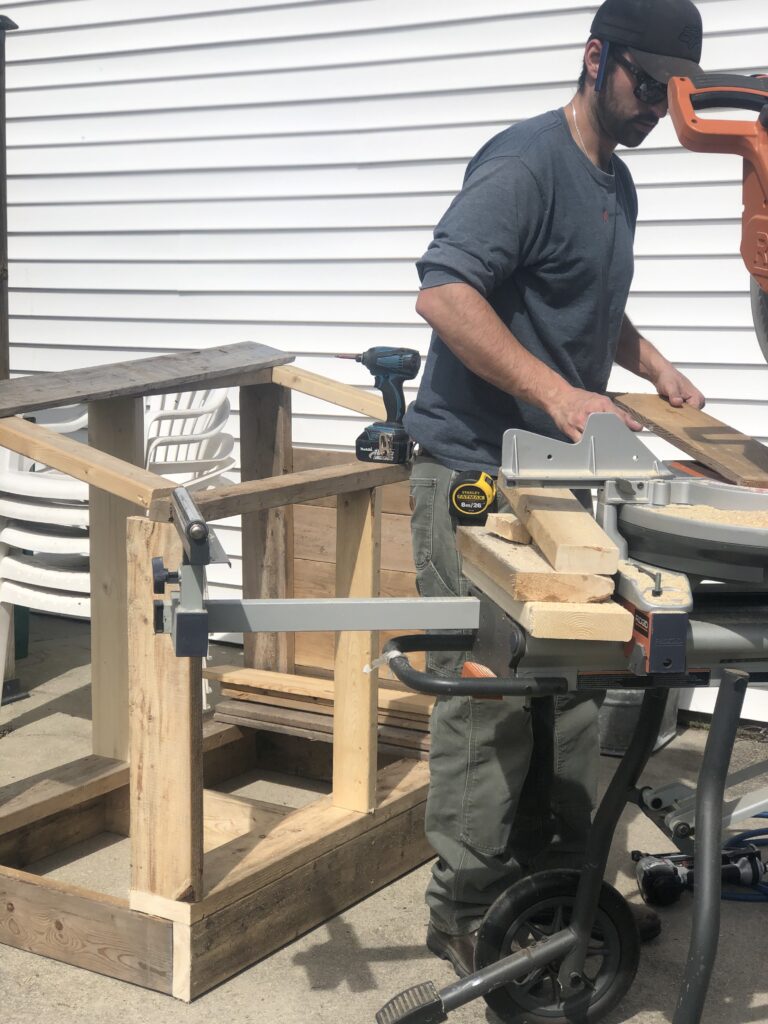
The frame of this garbage bin is made of 2x6 boards. Can be pine or spruce. The box is 32 inches wide, 4 feet long. The back is 42 inches high and the front is 32 inches high.
The frame is built using Galvanized Nails and a nail gun. He cut the frame boards using a table saw.
Cover Frame
Once the frame is complete.. measure, cut, and nail your 1x6 pine boards.
Measure, Cut the Lid and Add Hinges
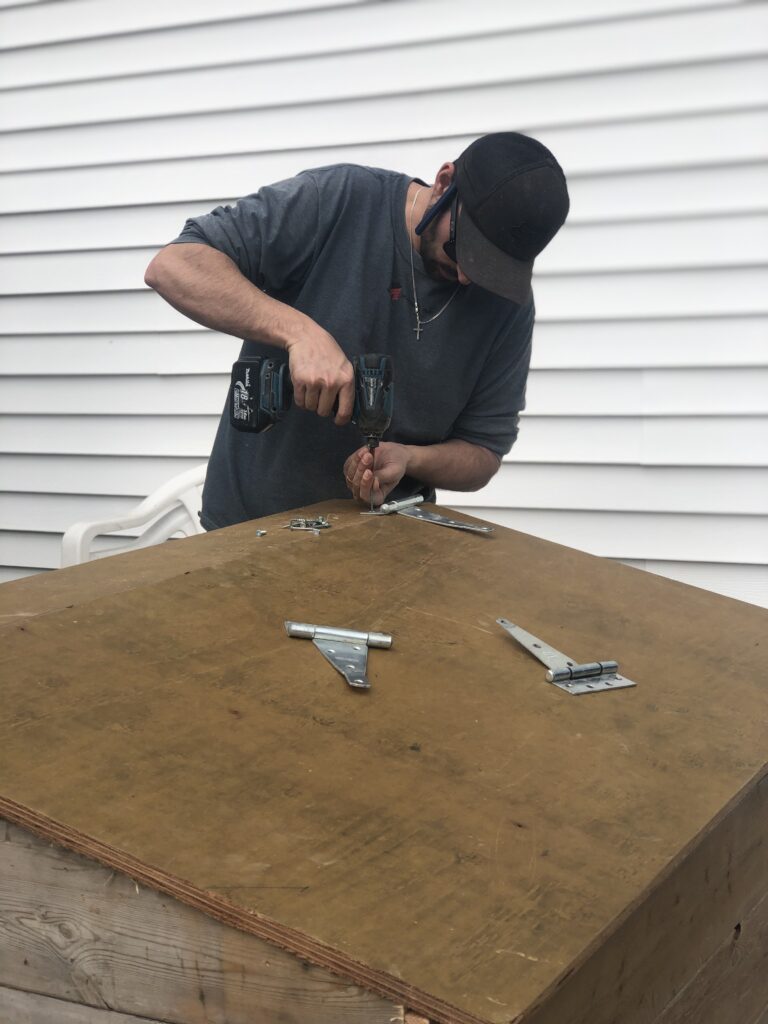
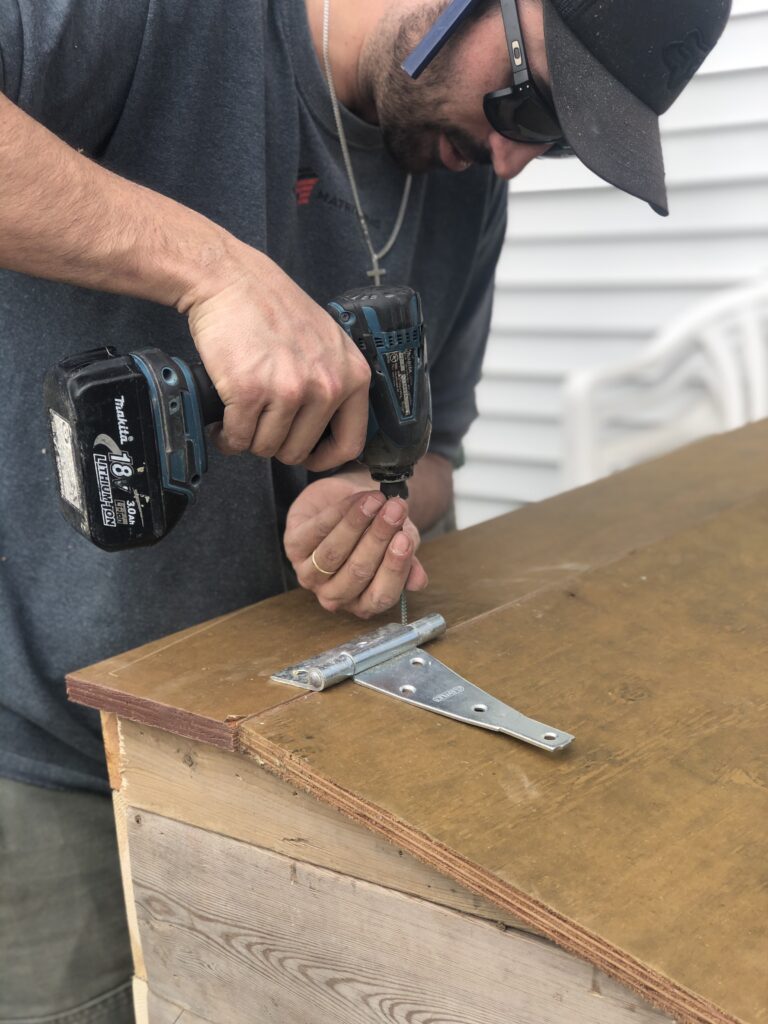
The lid is made of ¾ inch plywood. You will need to cut two pieces. One of the trim at the top (where the hinge will attach) and one for the main lid. The main lid will be 30 inches by 4 feet.
Attach the hinges with screws or nails of choice.
Add Trim
He then added some trim to the edges using a 1x6 that he cut in half. You can totally buy wood pieces that are 1x3 but we didn't know we were going to have this trim until the end of the project and didn't want to make an extra trip to the store!
Stain The Box
Staining the box is optional. I liked the look of the stain better. It makes it look even more finished.
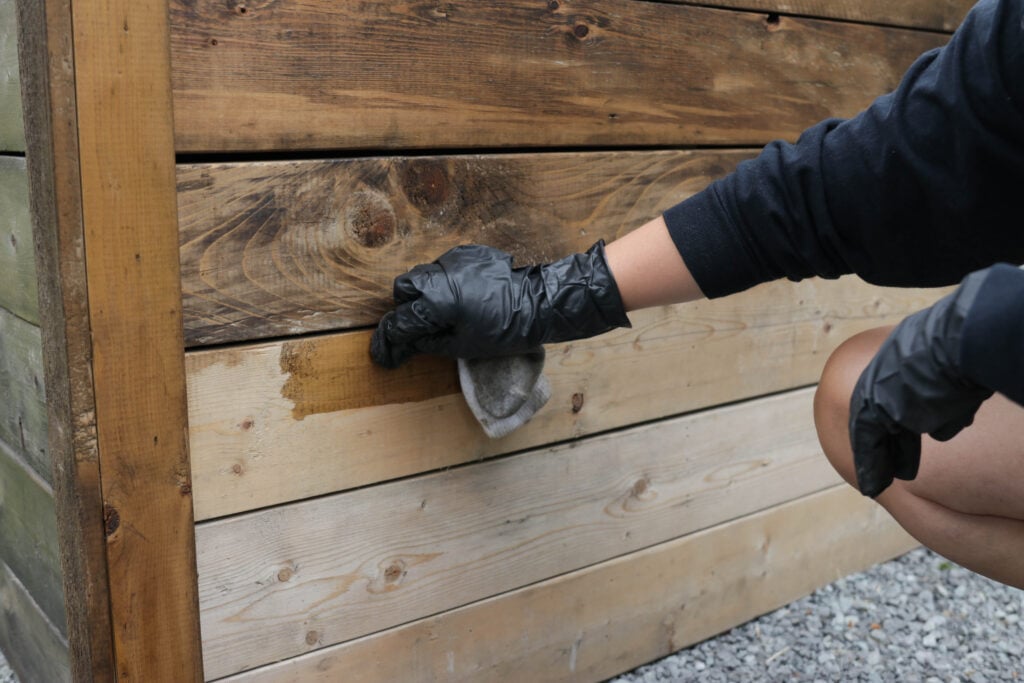
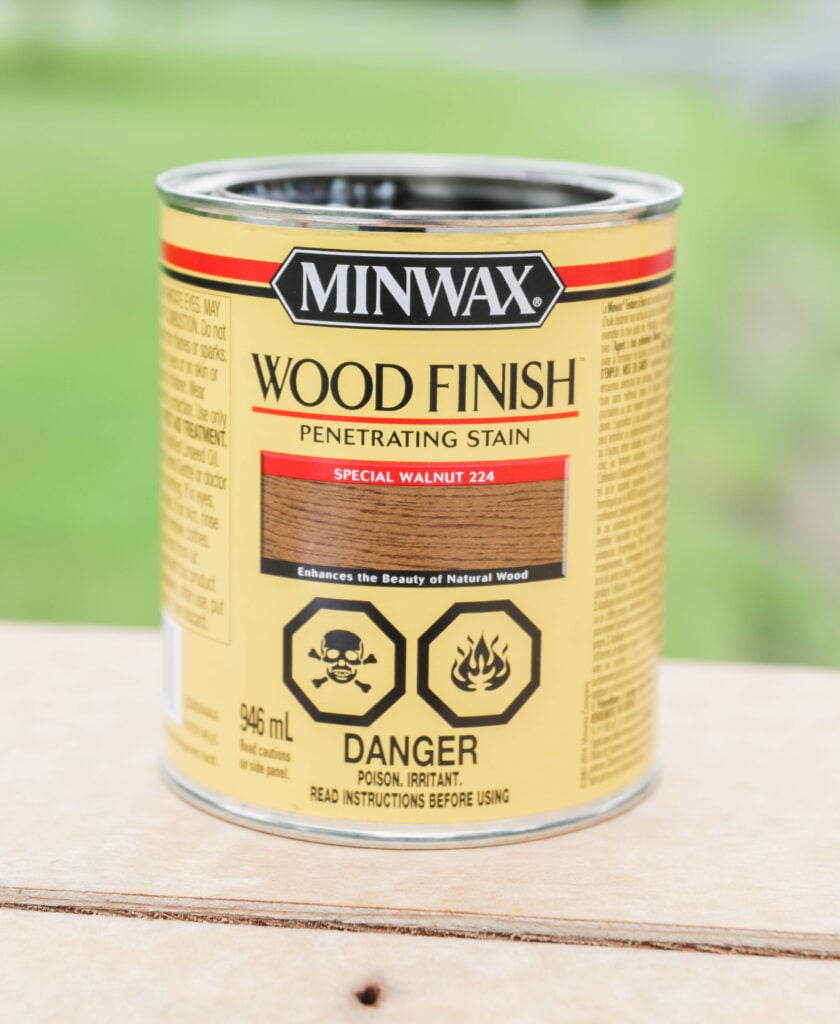
I used special walnut #224 by Minwax. I love how it turned out! I used an old sock to rub the stain onto the wood. I also wore a glove because I didn't want the stain getting on my hands. I have to be careful now with my DIYs for my baby girl!
If you make any of my DIYs or recipes please tag your photos with #nikkisplate so I can see your beautiful creations! Any feedback in the comments below is greatly appreciated. I hope you have fun!
Until next time,

If you liked this DIY post, you will love these too!
- DIY Kitchen Table Transformation
- Our Photo Gallery Wall + Tips and Tricks
- 11 Best House Exterior Renovations By Joanna Gaines
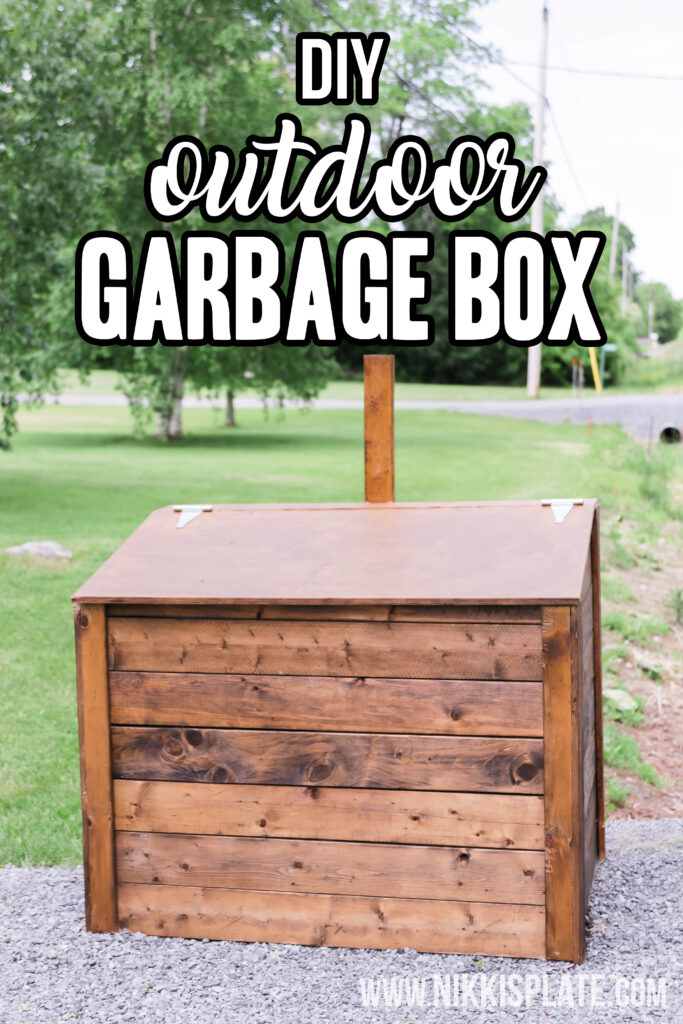
Don't forget to pin this image below! Share this DIY with the rest of Pinterest world! Also make sure to follow my account to see when I post new recipes or home inspired content at Nikki's Plate.






Liz Hadley
Would you please tell me more details of the dimensions and cutting list of your outdoor garbage box? It's very pretty! I'd like an interior picture of it too, if possible. I'm kind of a novice at building. I'd prefer a design to follow.
Thank you,
Liz Hadley
Marana, AZ
Dana
Very nice! How do you get the garbage bins in and out of it?
Nikki
We just put the garbage bags right into it!
Rebecca
Do you ever get water through the top where the seam is?
Nikki
Surprisingly no 🙂