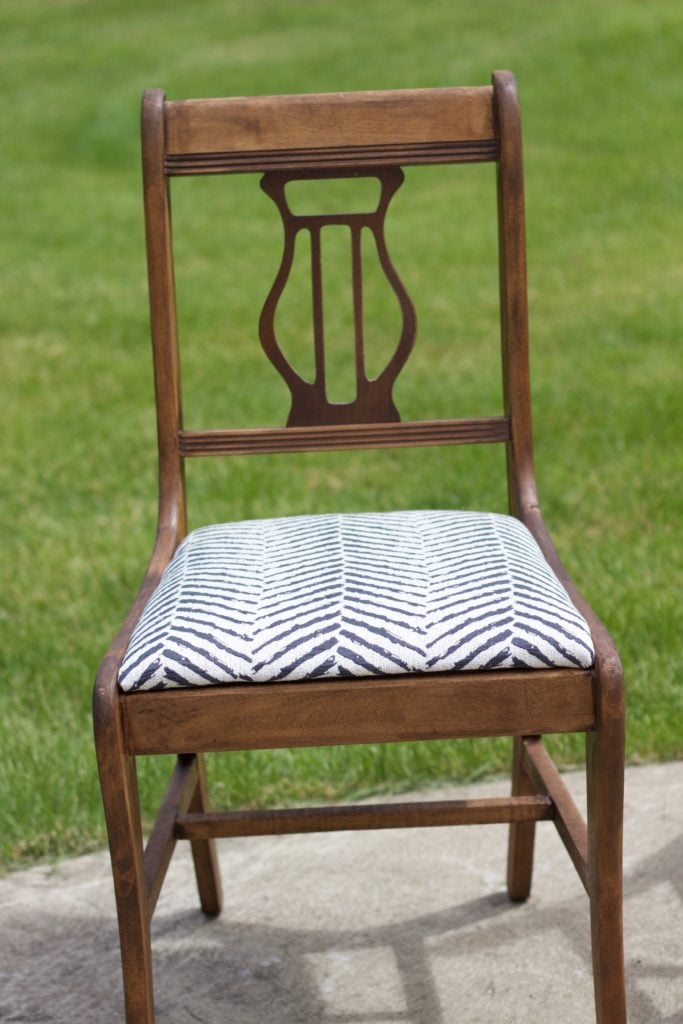
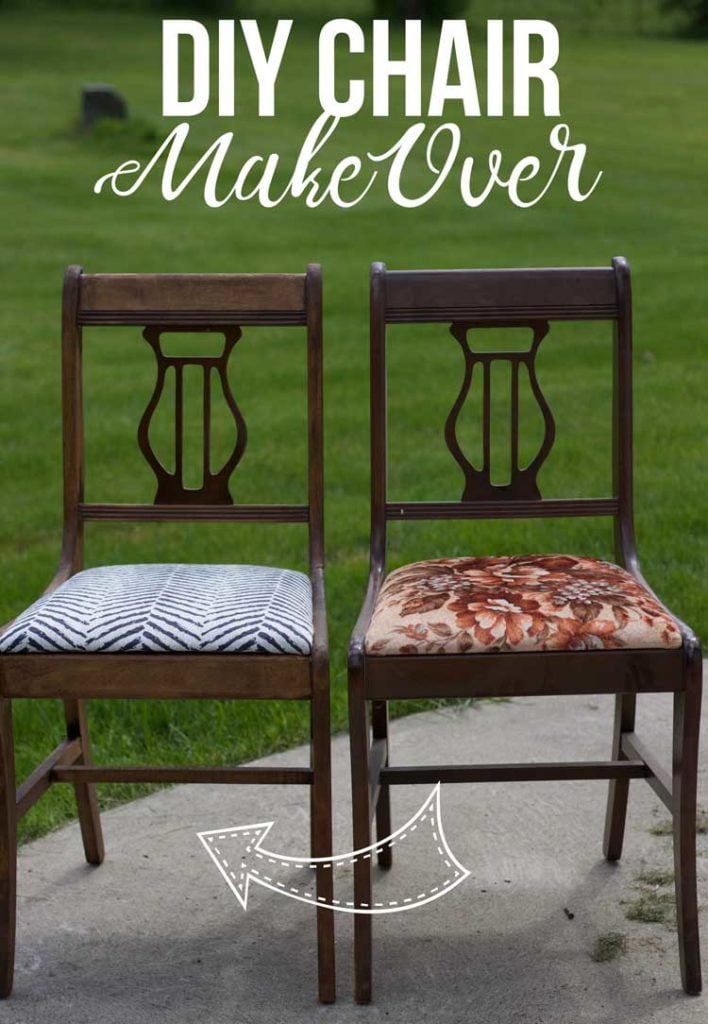
I am so in love with these chairs.
Disclaimer: this post may contain affiliate links, and every purchase made through these links will give me a small commission (at absolutely no extra cost for you!) AS AN AMAZON ASSOCIATE AND REWARDSTYLE MEMBER, I EARN FROM QUALIFYING PURCHASES. See Privacy Policy for additional info.
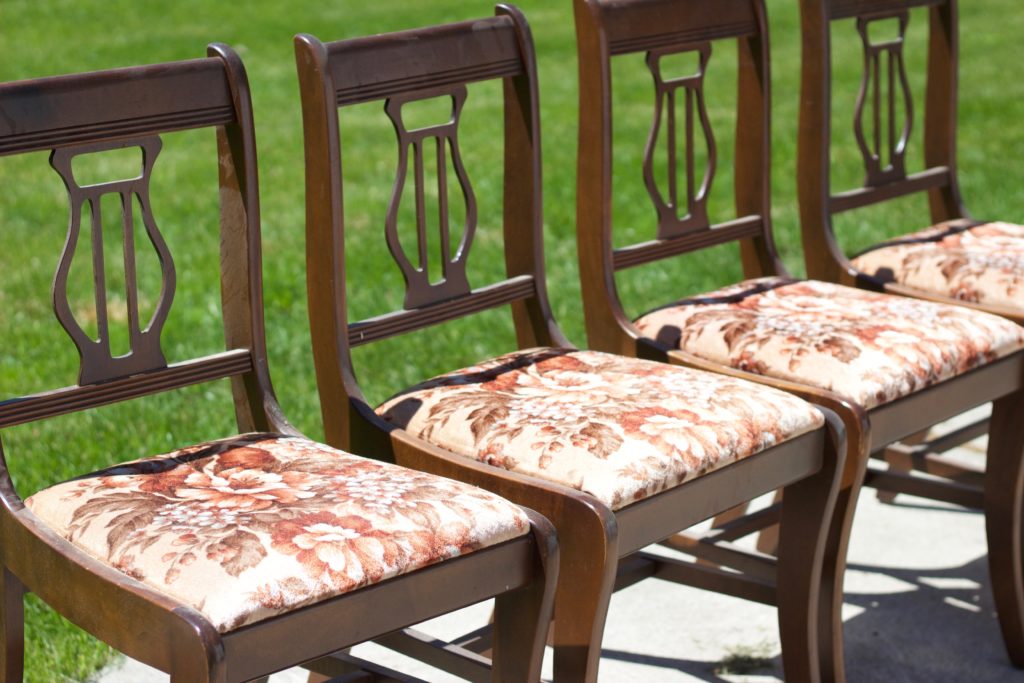
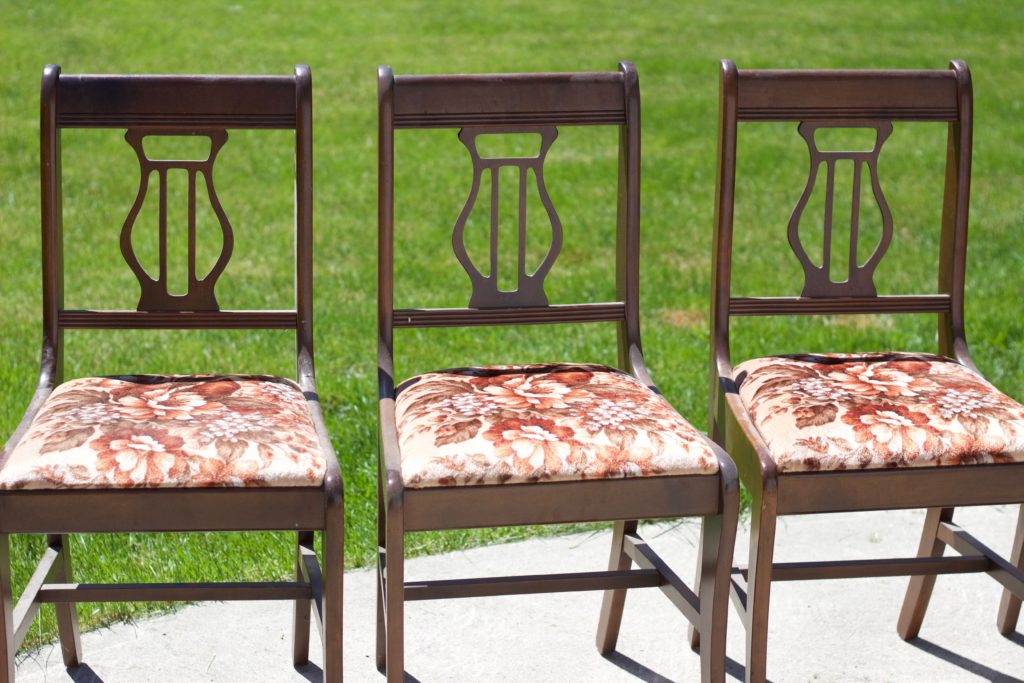
My gramps gave me these chairs from his aunt. As soon as I saw them, my imagination ran wild with the things I could do with these vintage chairs.. Stain them? Paint them? Spray them? So many options!
But I decided to keep them simple to go with my newly transformed kitchen table. I love rustic stained wood that highlights the history and imperfections of a piece of furniture.
Thats why I knew I needed to sand these suckers down to the bone and stain them a rustic dark wood stain.
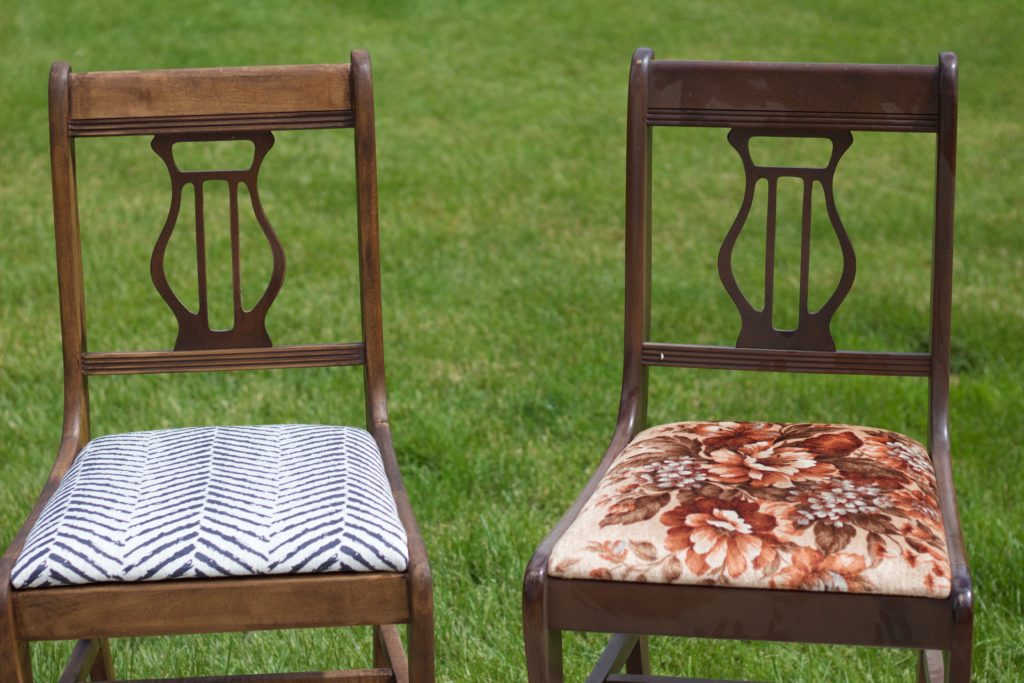
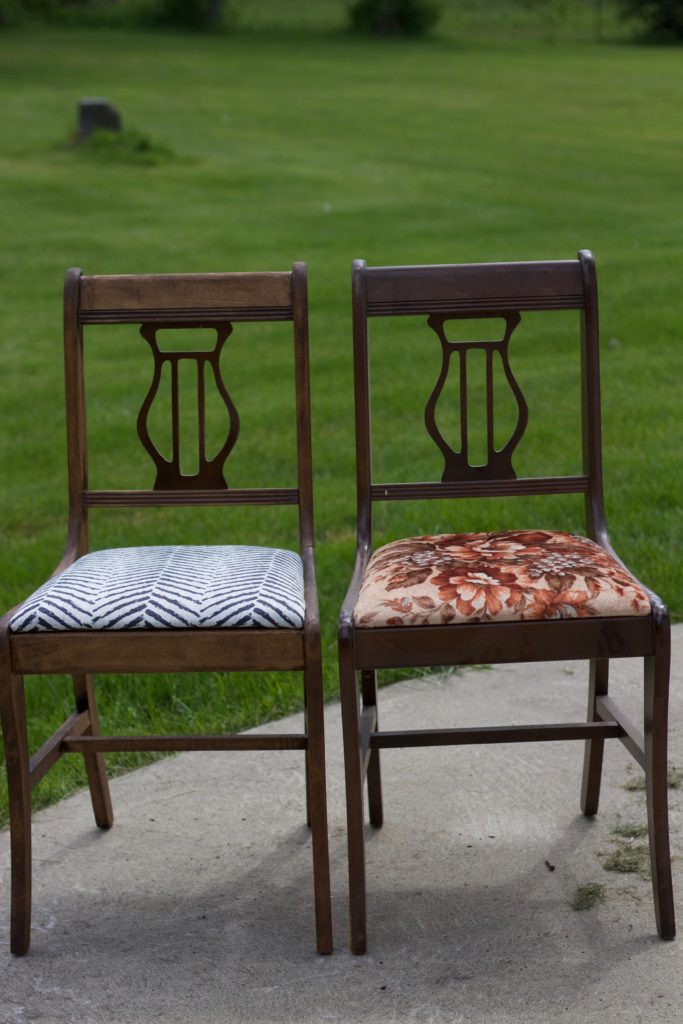
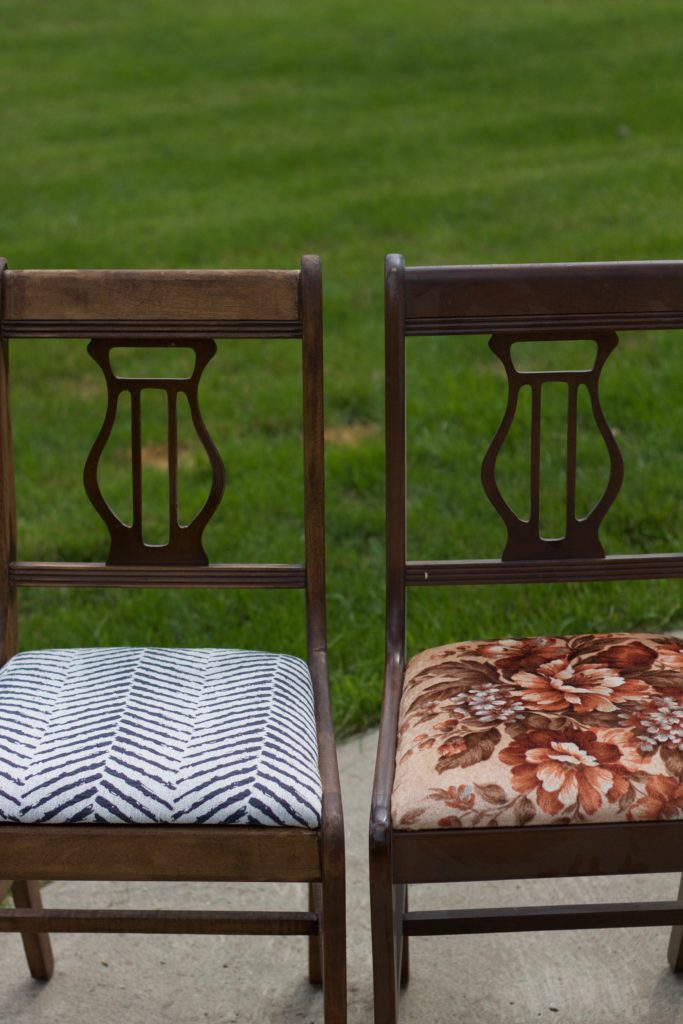
I mean as cute as this orange and brown flower pattern is... It needed to go.
I wanted something that looked modern, to ease out the rustic stain job I would be doing.
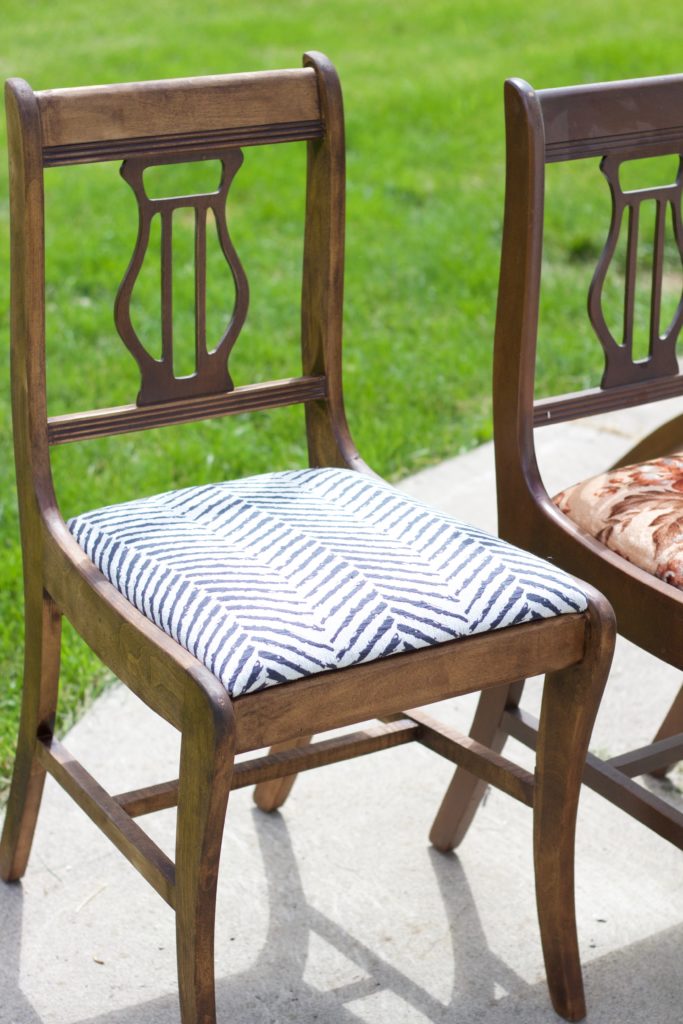
I do really love the back of these chairs though. Something unique and different then the chairs you see in the stores today. You can tell someone put a lot of work into carving out those pieces for the back rest.
Anyways, lets jump right into how I transformed these chairs shall we?!
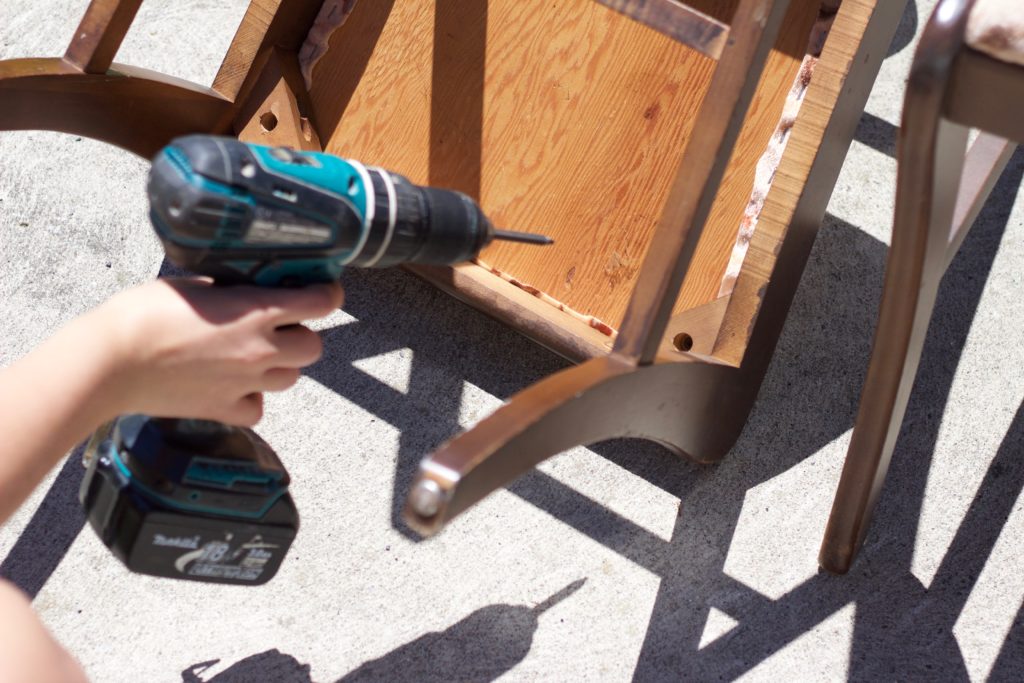
Step 1: Remove The Padded Seat Part
I just used Dylan's drill for this part.. and to be honest, I had to face time my Dad because I had no idea how to change the bits... My Dad had to walk me through it but it was way easier then using a screw driver by hand! .... On the bright side, if anyone needs help changing the bits in their drill, I'm basically a pro now... so I'm your girl.
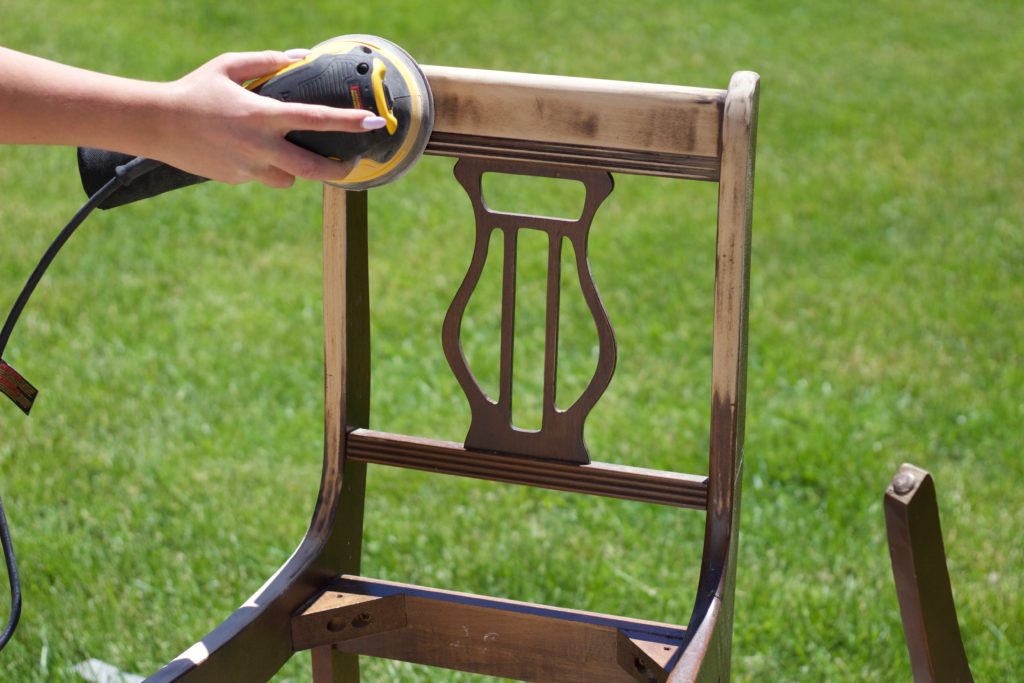
Step 2: Sand Her Down
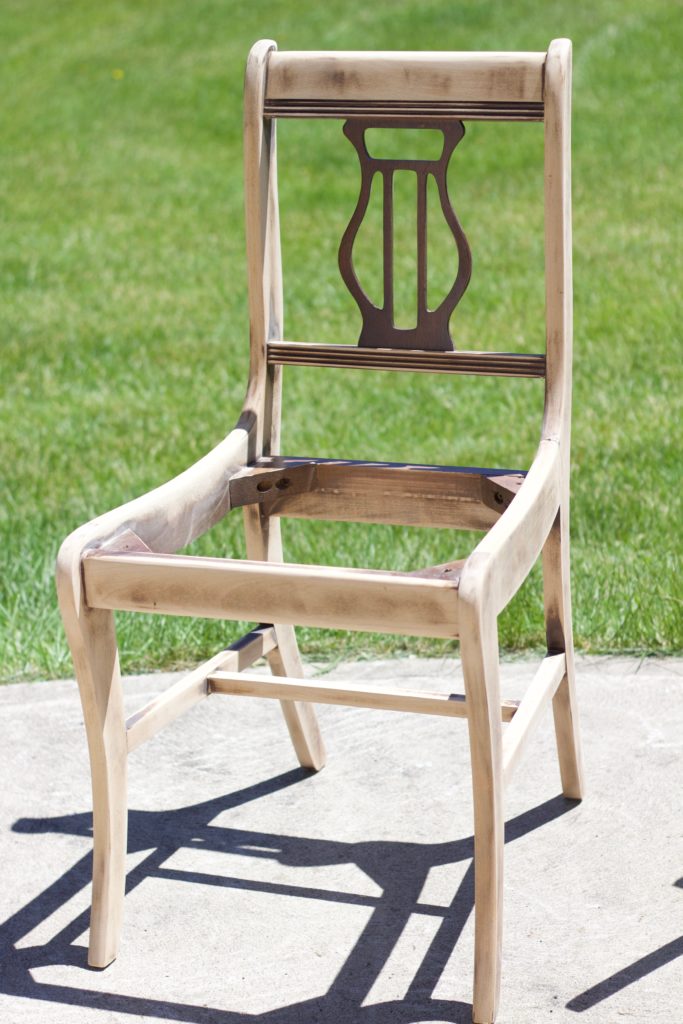
I wish I could say this was the easy part... at least I thought it would be... But NO. This was the hardest and longest part of this entire project. Took me two hours to sand down ONE chair. I think it took me so long because I really wanted to sand them down to the bone, so that the chair really soaked up the rich stain.
I used an orbital sander, and started with 80 grit sanding pad. Then went over it with a 200 grit sanding pad to really smooth out the entire chair.
I also left the back piece not sanded because it was very thin and I was worried I was going to break it. I may go in later and paint it a dark navy... not sure yet though. Thoughts?
When your done sanding, take a dry cloth or rag and brush off all the sanding dust. Make sure you get all the dust out from those hidden corners.
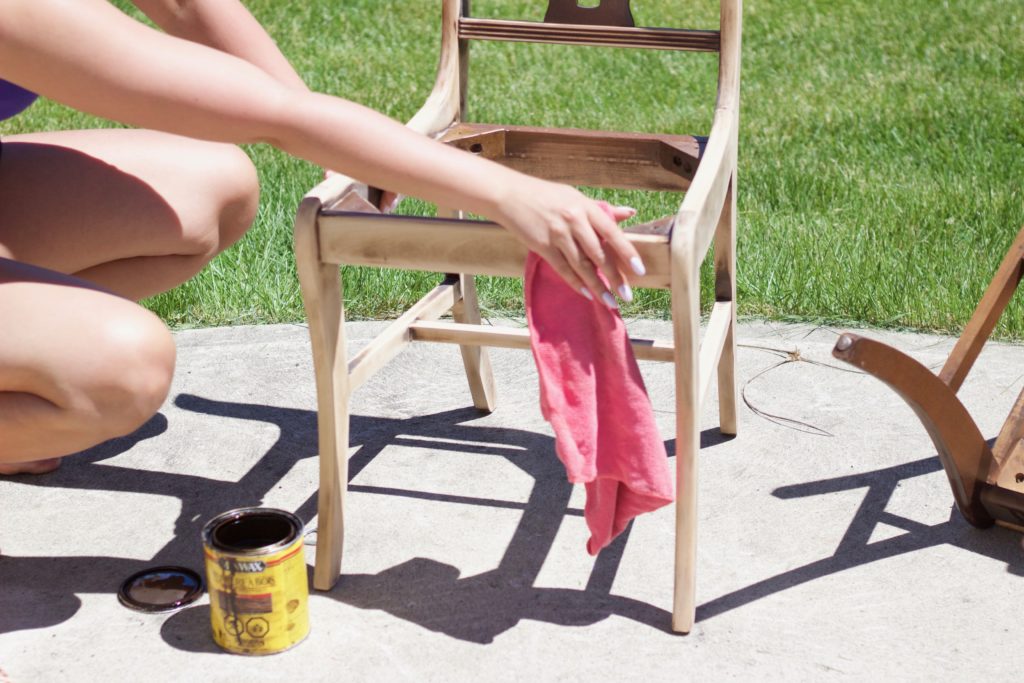
Step 3: Stain
Remember my last DIY project making the food photography backdrop? When I said I still had some stain left over? Same can! Thats three projects now from this little thing. I'm impressed.
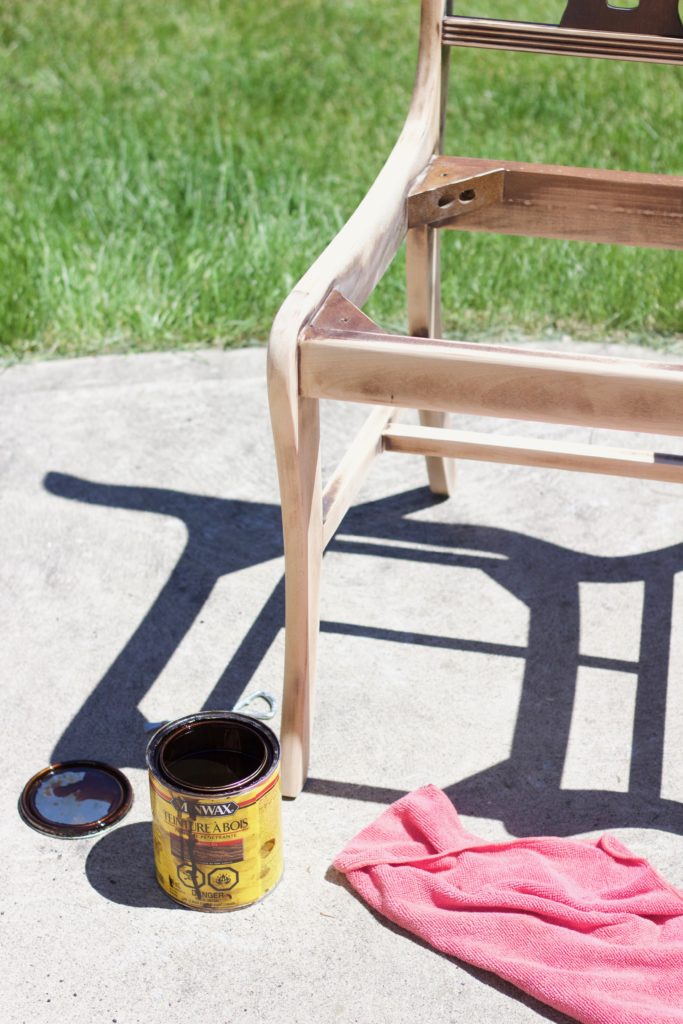
The stain I used here was MinWax wood finish in Dark Walnut. I only did one coat this time because I didn't want my chairs any darker.
When staining, I used a rag, dipped it into the stain then rubbed it onto the chair and then whipped it off with the other end of the rag. This is the best way to avoid streaks!
Step 4: Re-Fabric the Seat
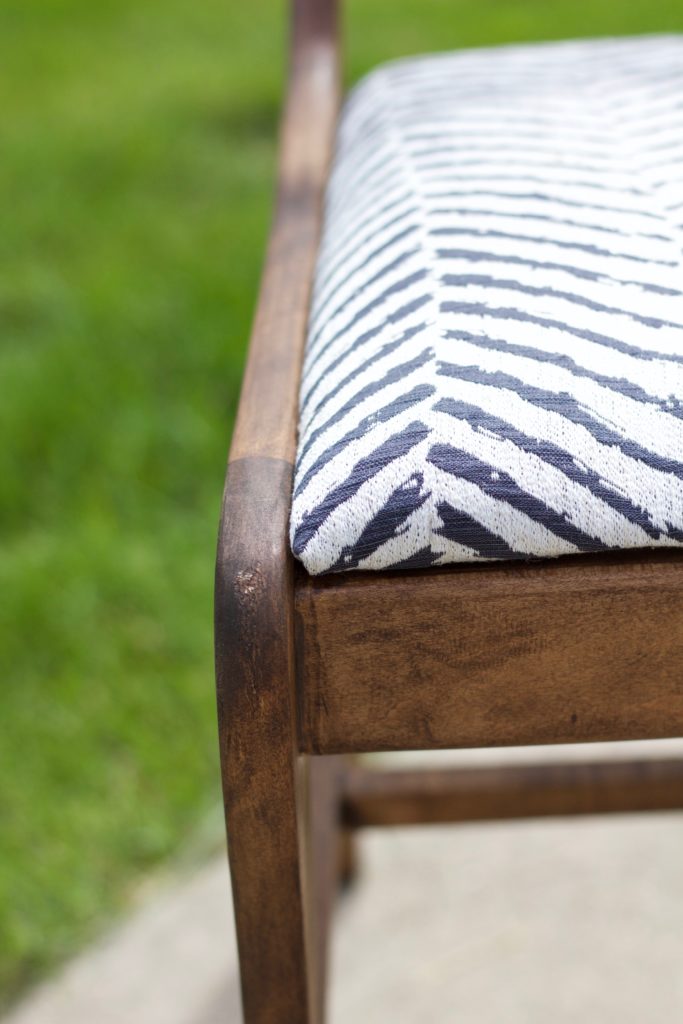
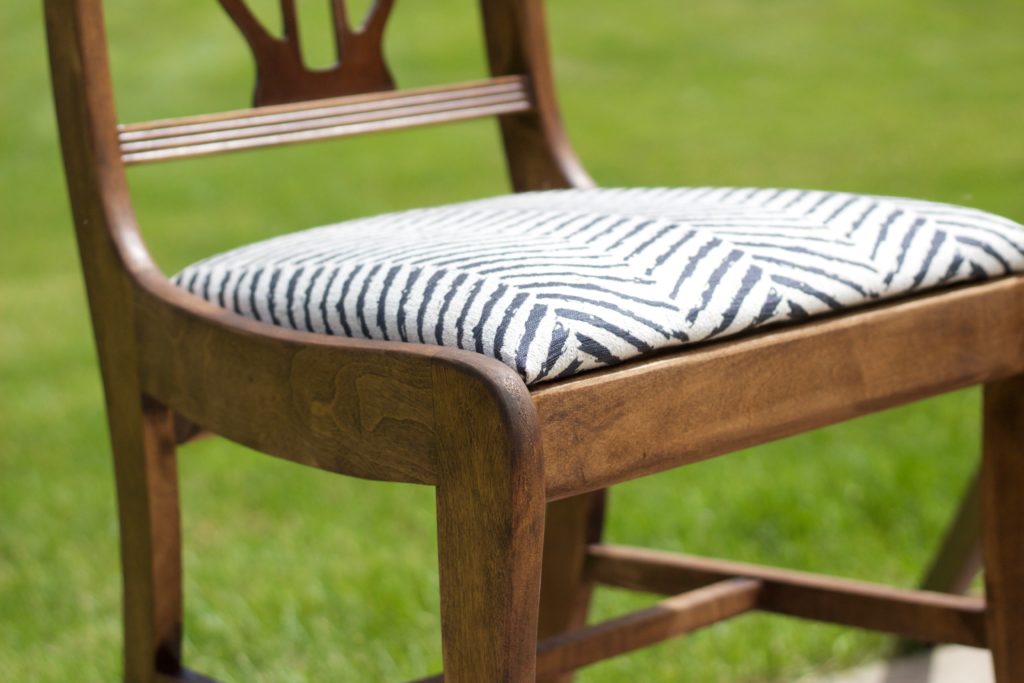
I bought 2 meters of fabric from Fabric Land here in my local town. I picked out this simple chevron design. Originally I wanted something more vibrant that would stand out with lots of blues and turquoise colours.. But then decided to keep it some what neutral incase I want to change up m colour scheme some day.
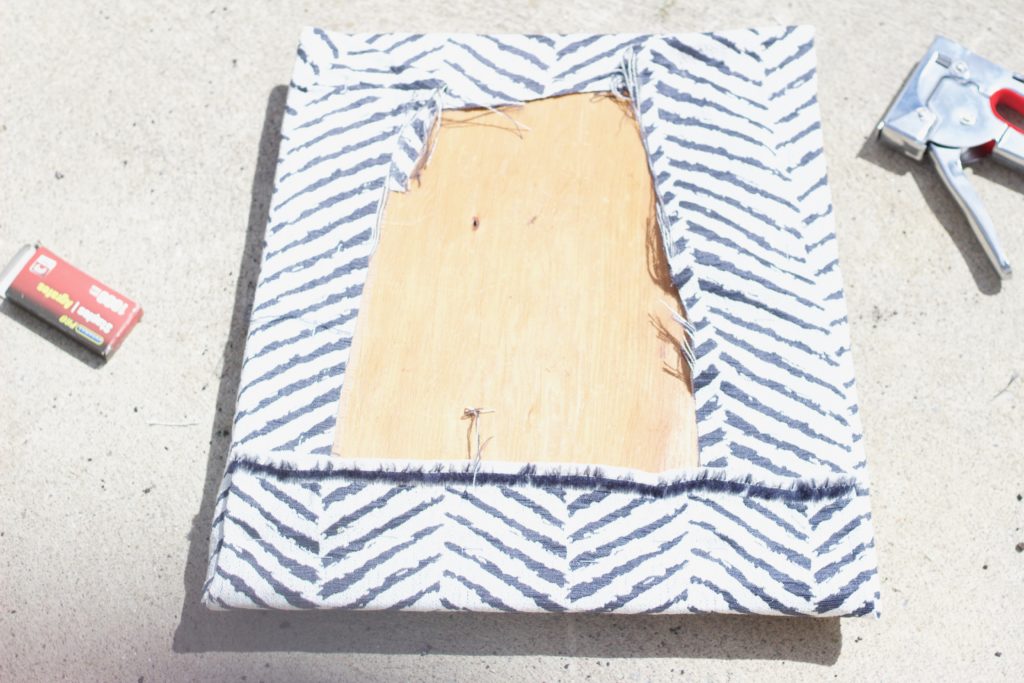
I just stapled the new fabric right over the existing one. You can choose to do it this way if your original fabric and padding are intact.. Luckily mine was. No holes, rips, stains or funky scents!
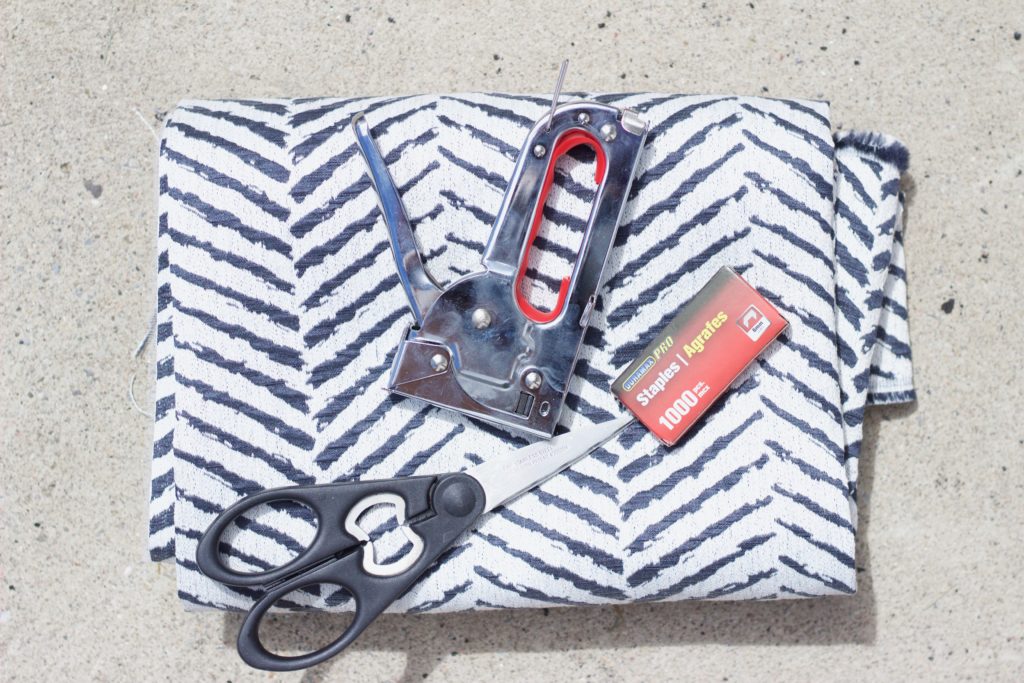
Here is what you will need:
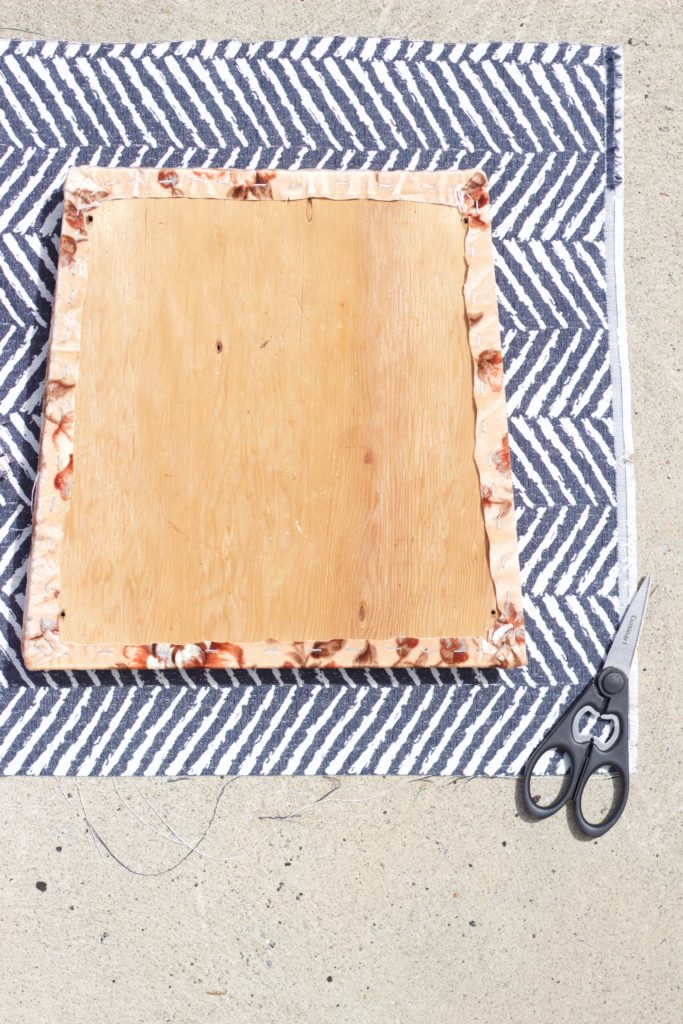
Lay out your fabric, nice and flat (no wrinkles!!) You may need to iron it out first.
Place the padded seat on top of your fabric. Obviously you want the padded side down.
Leave about two to three inches around the edges (depending on how thick the padded seat is).
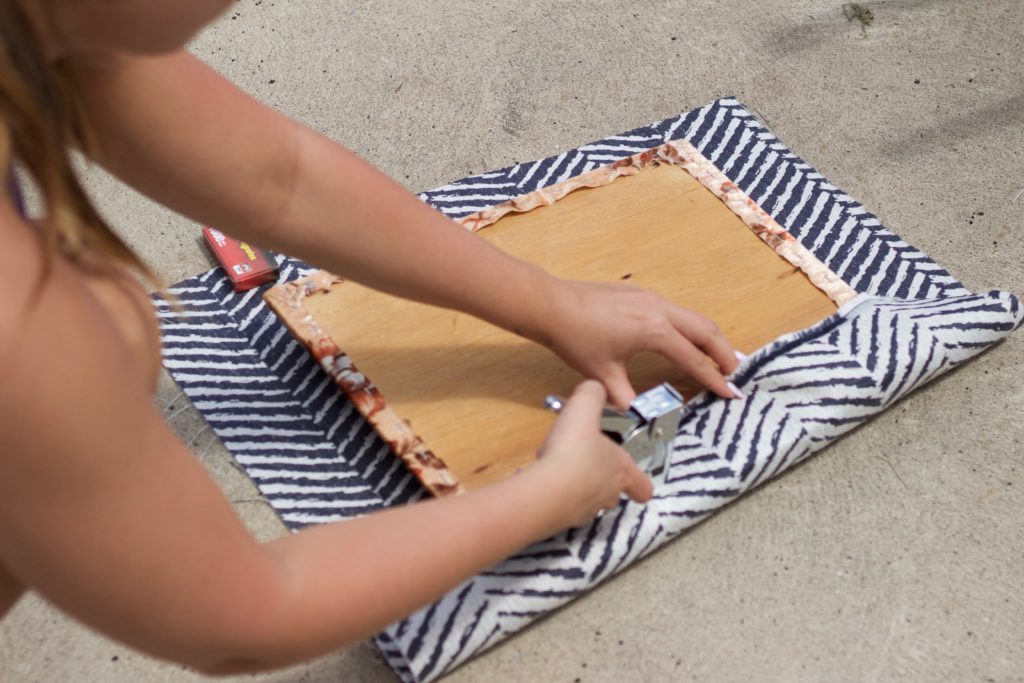
Pull very tight, and wrap the fabric around.. then staple it to the wood using the staple gun. P.s I picked my staple gun from the dollar store and it worked perfectly!!
Fold in the corners like a present, you can cut some fabric off in order to make neat corners if needed. Just make sure you pull the fabric EXTRA tight around the corners.
Not the prettiest thing but it did the trick!
Step 5: Put it Back Together!
Just re-screw the seat portion back together!
DONE.
Thats all folks! Hope you enjoyed this DIY chair makeover.
Tag me in your chair transformations too with #DIYwithNikki







Leave a Reply