
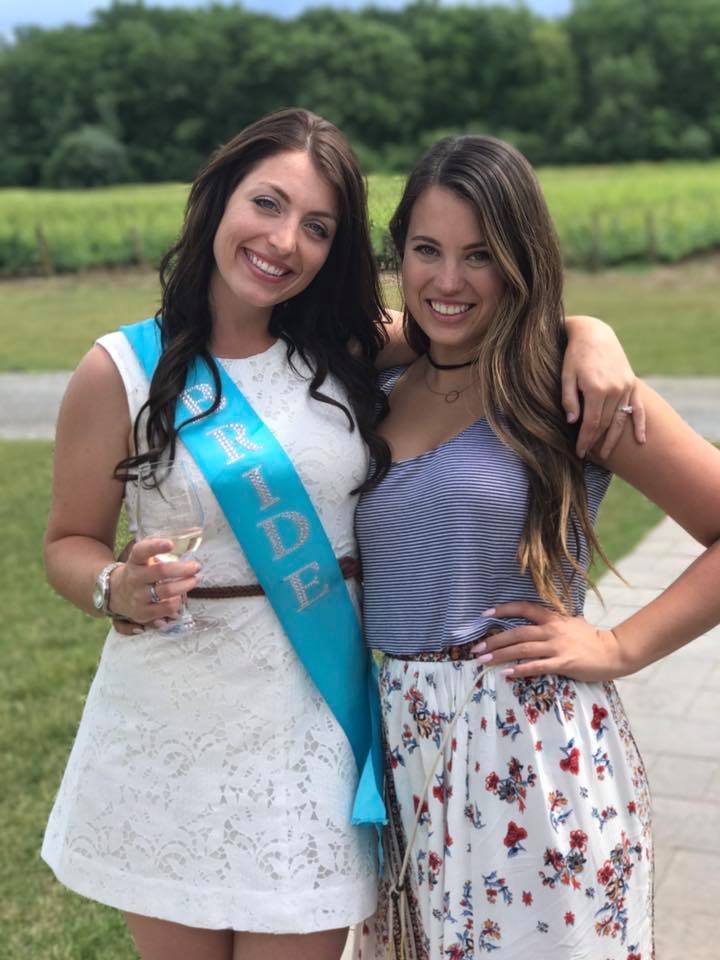
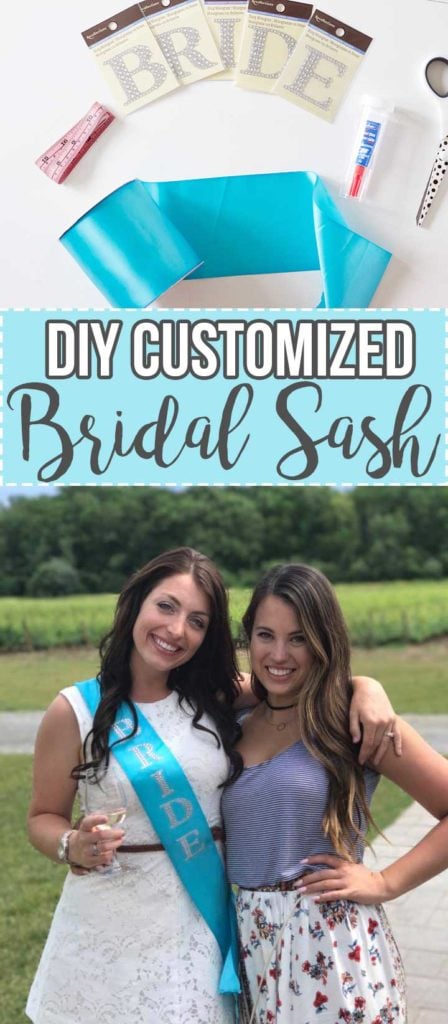
Easiest DIY bridal sash ever. Im serious.
Disclaimer: this post may contain affiliate links, and every purchase made through these links will give me a small commission (at absolutely no extra cost for you!) AS AN AMAZON ASSOCIATE AND REWARDSTYLE MEMBER, I EARN FROM QUALIFYING PURCHASES. See Privacy Policy for additional info.
Hi beauties!
I hope you are all ready for this week of bachelorette posts! This past weekend was one of my best friend's bachelorette party. She is getting married this summer and we couldn't be happier for her.
For her bachelorette party I was assigned decorations. So of course I went all out. My inner DIY queen came out and I personalized and made all the decorations from scratch. Why? Her wedding colour is blue (also her favourite colour) and I wanted everything to be blue. BUT do you know how hard it is to find bachelorette decorations that are not pink? Basically impossible.
So I thought I would share with everyone the decorations I did so you can have some ideas for when you have to plan a bachelorette party.
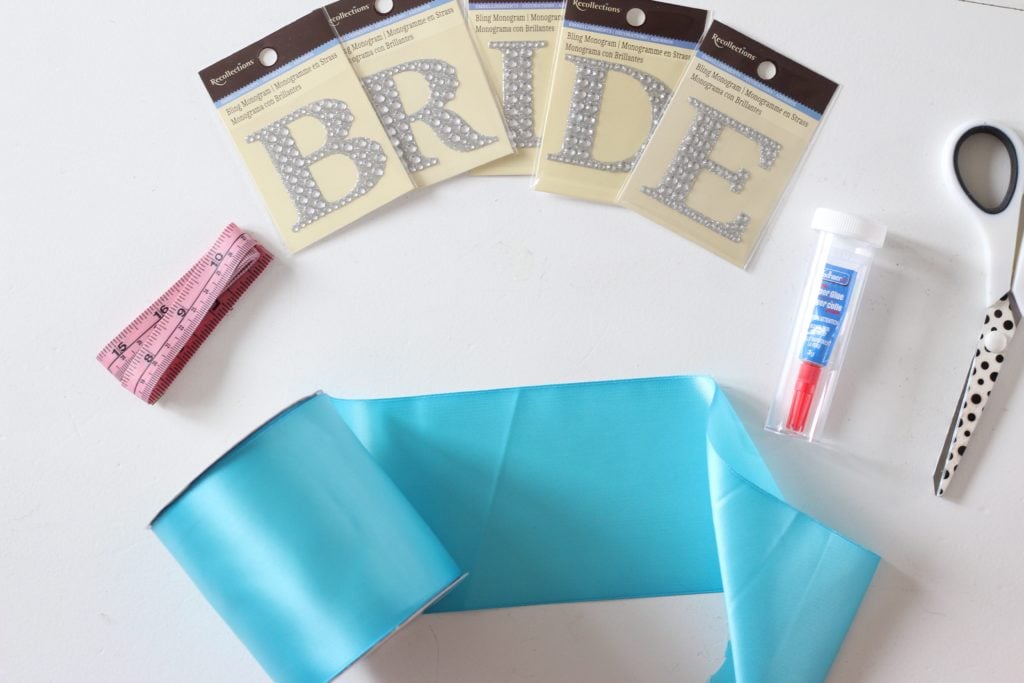
DIY Bridal Sash Supplies:
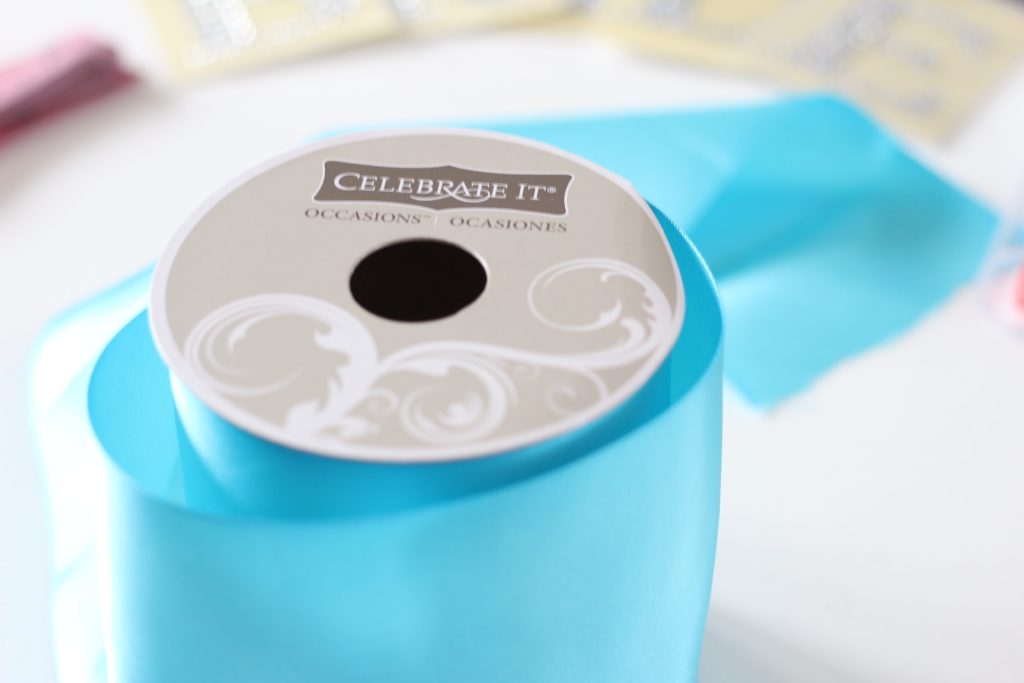
- Blue ribbon (unwired) - $4.00
- Bling monogram letter stickers (I picked up these ones from Michaels) $2.50 x 5 = $12.50
- Super glue (to reinforce the letters if needed)
- Scissors
- Measuring tape
- One safety pin (for connecting the ribbon together at the bottom)
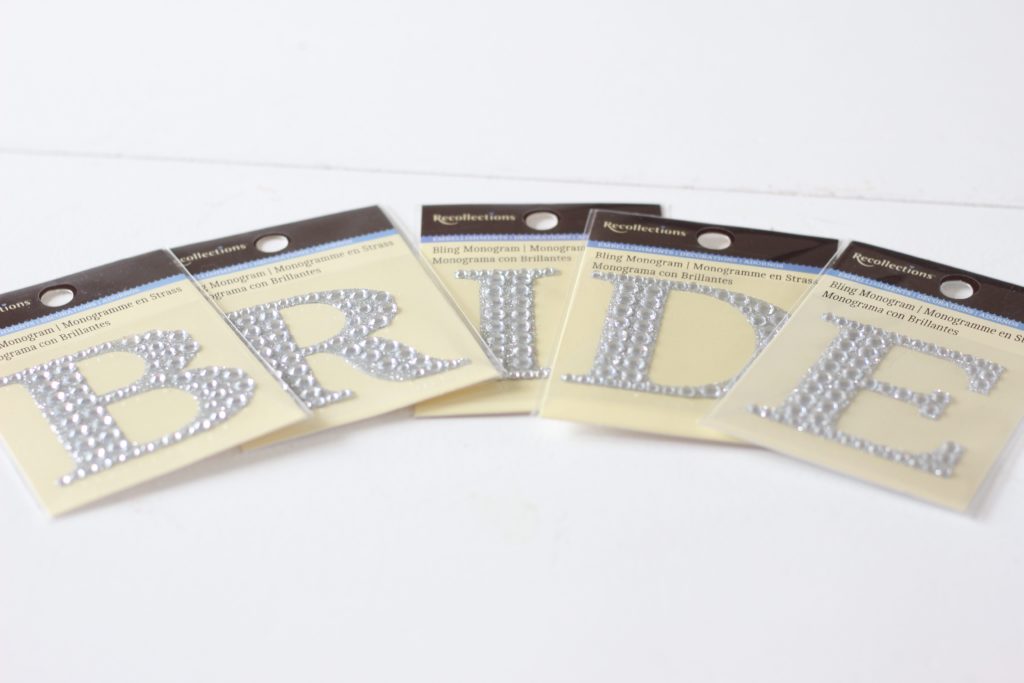
When I went to pick up these letters, they did not have an "I".. so I actually bought an "L" and just cut off the bottom portion to make it an "I". Sometimes you just have to make things work when you cannot find exactly what you are looking for!
Related: A Blue Bachelorette Party!
So lets jump into the steps for making this DIY bridal sash shall we?!
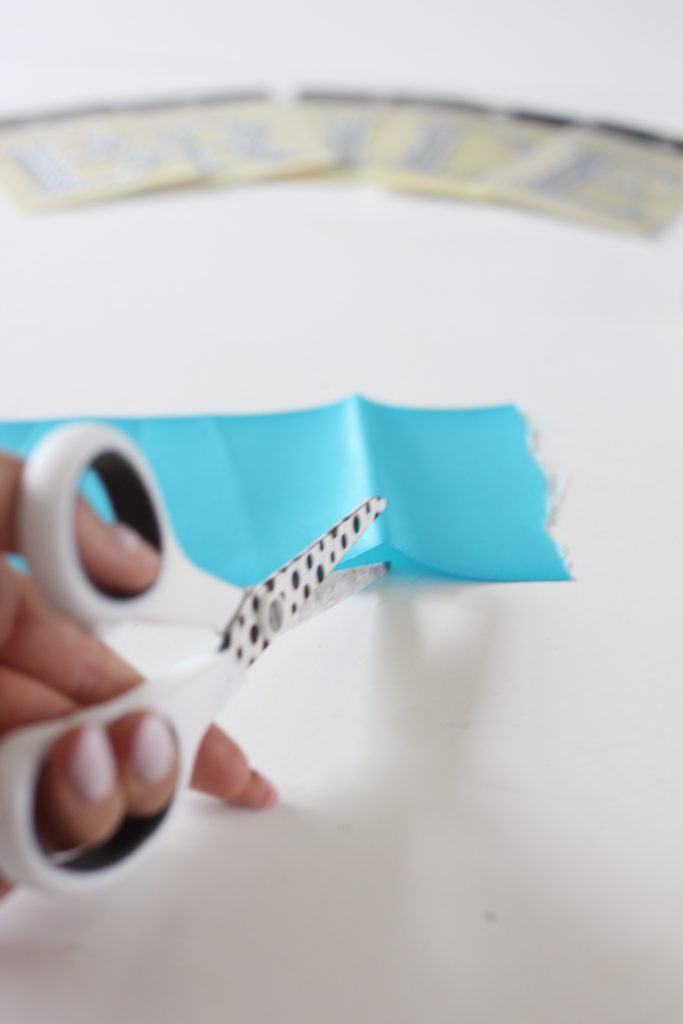
STEP ONE:
Cut the end of the ribbon off ..because it is probably ugly.
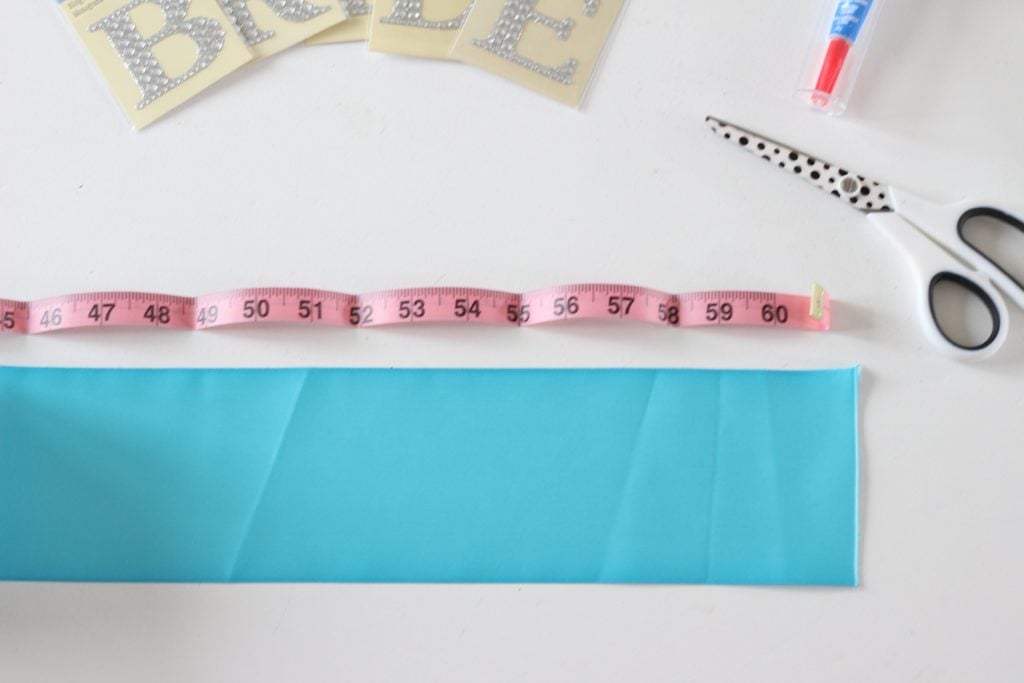
STEP TWO:
Measure out the ribbon. My friend is around the same size as me so I measured myself with the measuring tape first. I added some extra length to it just to be safe. She is around 5ft 4in so I went with 72 inch ribbon.. and it actually ended up being a little bit too long, which was fine because I ended up cutting the ends of the ribbon into point.
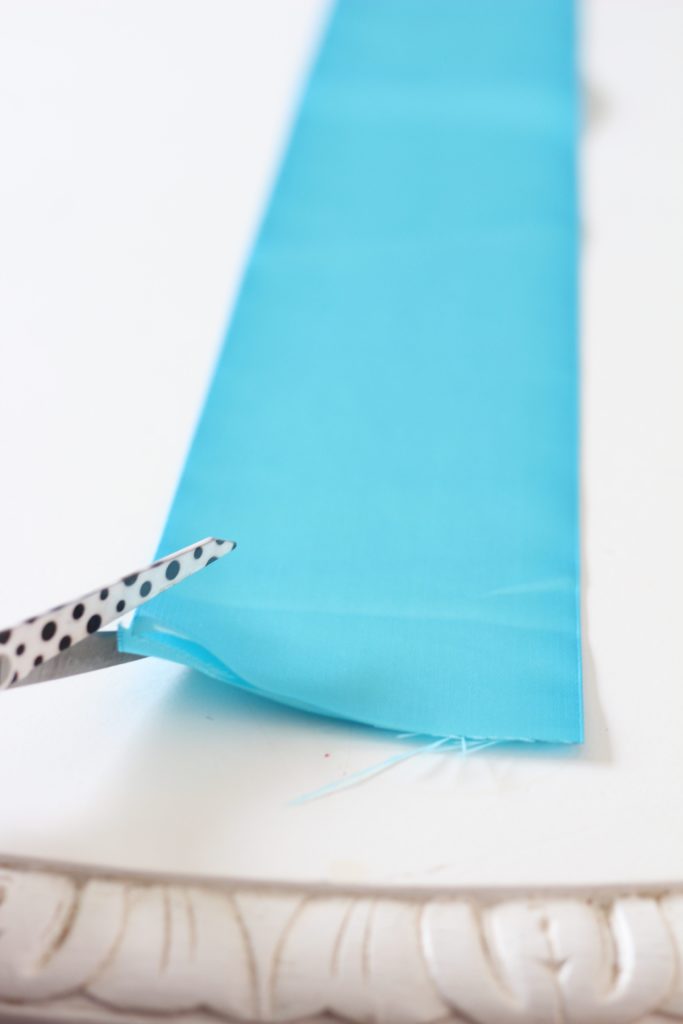
STEP THREE:
Cut the ends into points. You don't have to do this, I just wanted it to look like a real sash. You just have to cut from one point upwards on an angle. Make sure the ribbon ends line up perfectly before cutting.
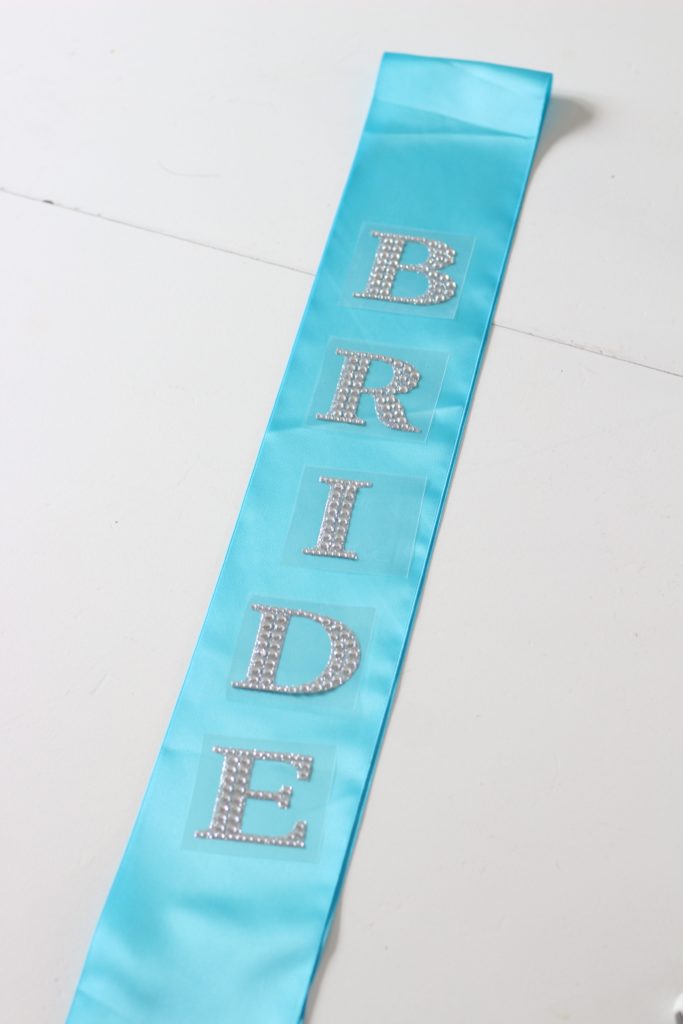
STEP FOUR:
Line up the letters before peeling and sticking! Use the super glue to secure if needed (I didn't have to use any glue)
That is basically it for this DIY bridal sash! It is super easy to make and you can customize it to what ever colour theme you would like! If you don't want to make your own, they also have some super cute bridal sashes one Amazon!
Total project cost for a customized bridal sash: $16.50
Although this may seem a lot, you will still have a lot of supplies left over (extra ribbon, glue etc) so this price is calculated if you needed to buy everything from scratch.
And that is it! Hope you enjoyed this easy DIY bridal Sash. More decoration updates to come this week
Related: DIY Bride's Drinking Team Sign


As Seen on TikTok
Come behind the scenes of our farmhouse build, decor projects, and cozy everyday life. Tap a video to watch, then follow @nikkisplate on TikTok for more.
Watch this video on TikTok
Watch this video on TikTok
Watch this video on TikTok

Leave a Reply