
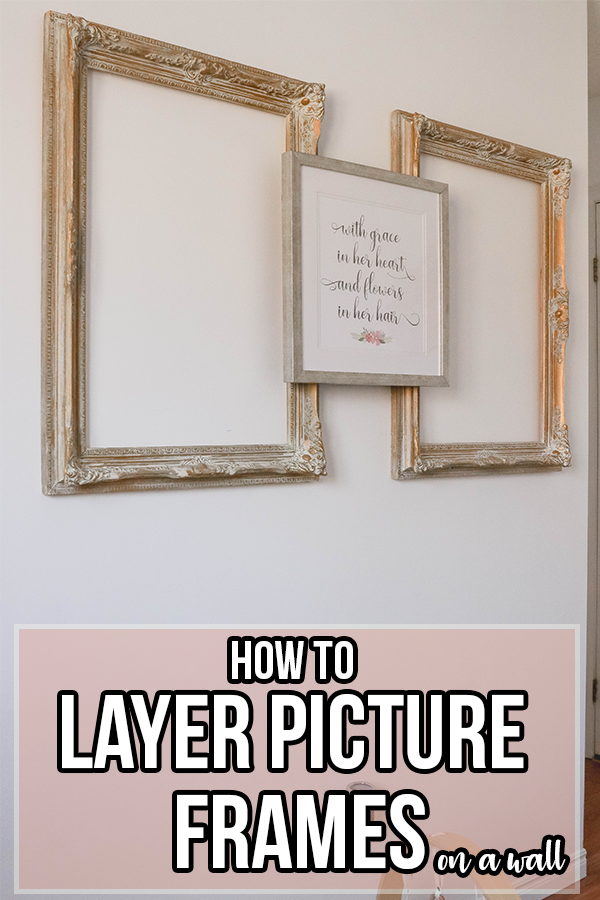
DIY How To Layer Picture Frames on a Wall; Easy step by step guide to securing layered artwork on a wall! Do it yourself home decor!
Disclaimer: this post may contain affiliate links, and every purchase made through these links will give me a small commission (at absolutely no extra cost for you!) AS AN AMAZON ASSOCIATE AND REWARDSTYLE MEMBER, I EARN FROM QUALIFYING PURCHASES. See Privacy Policy for additional info.
Hi Beauties!
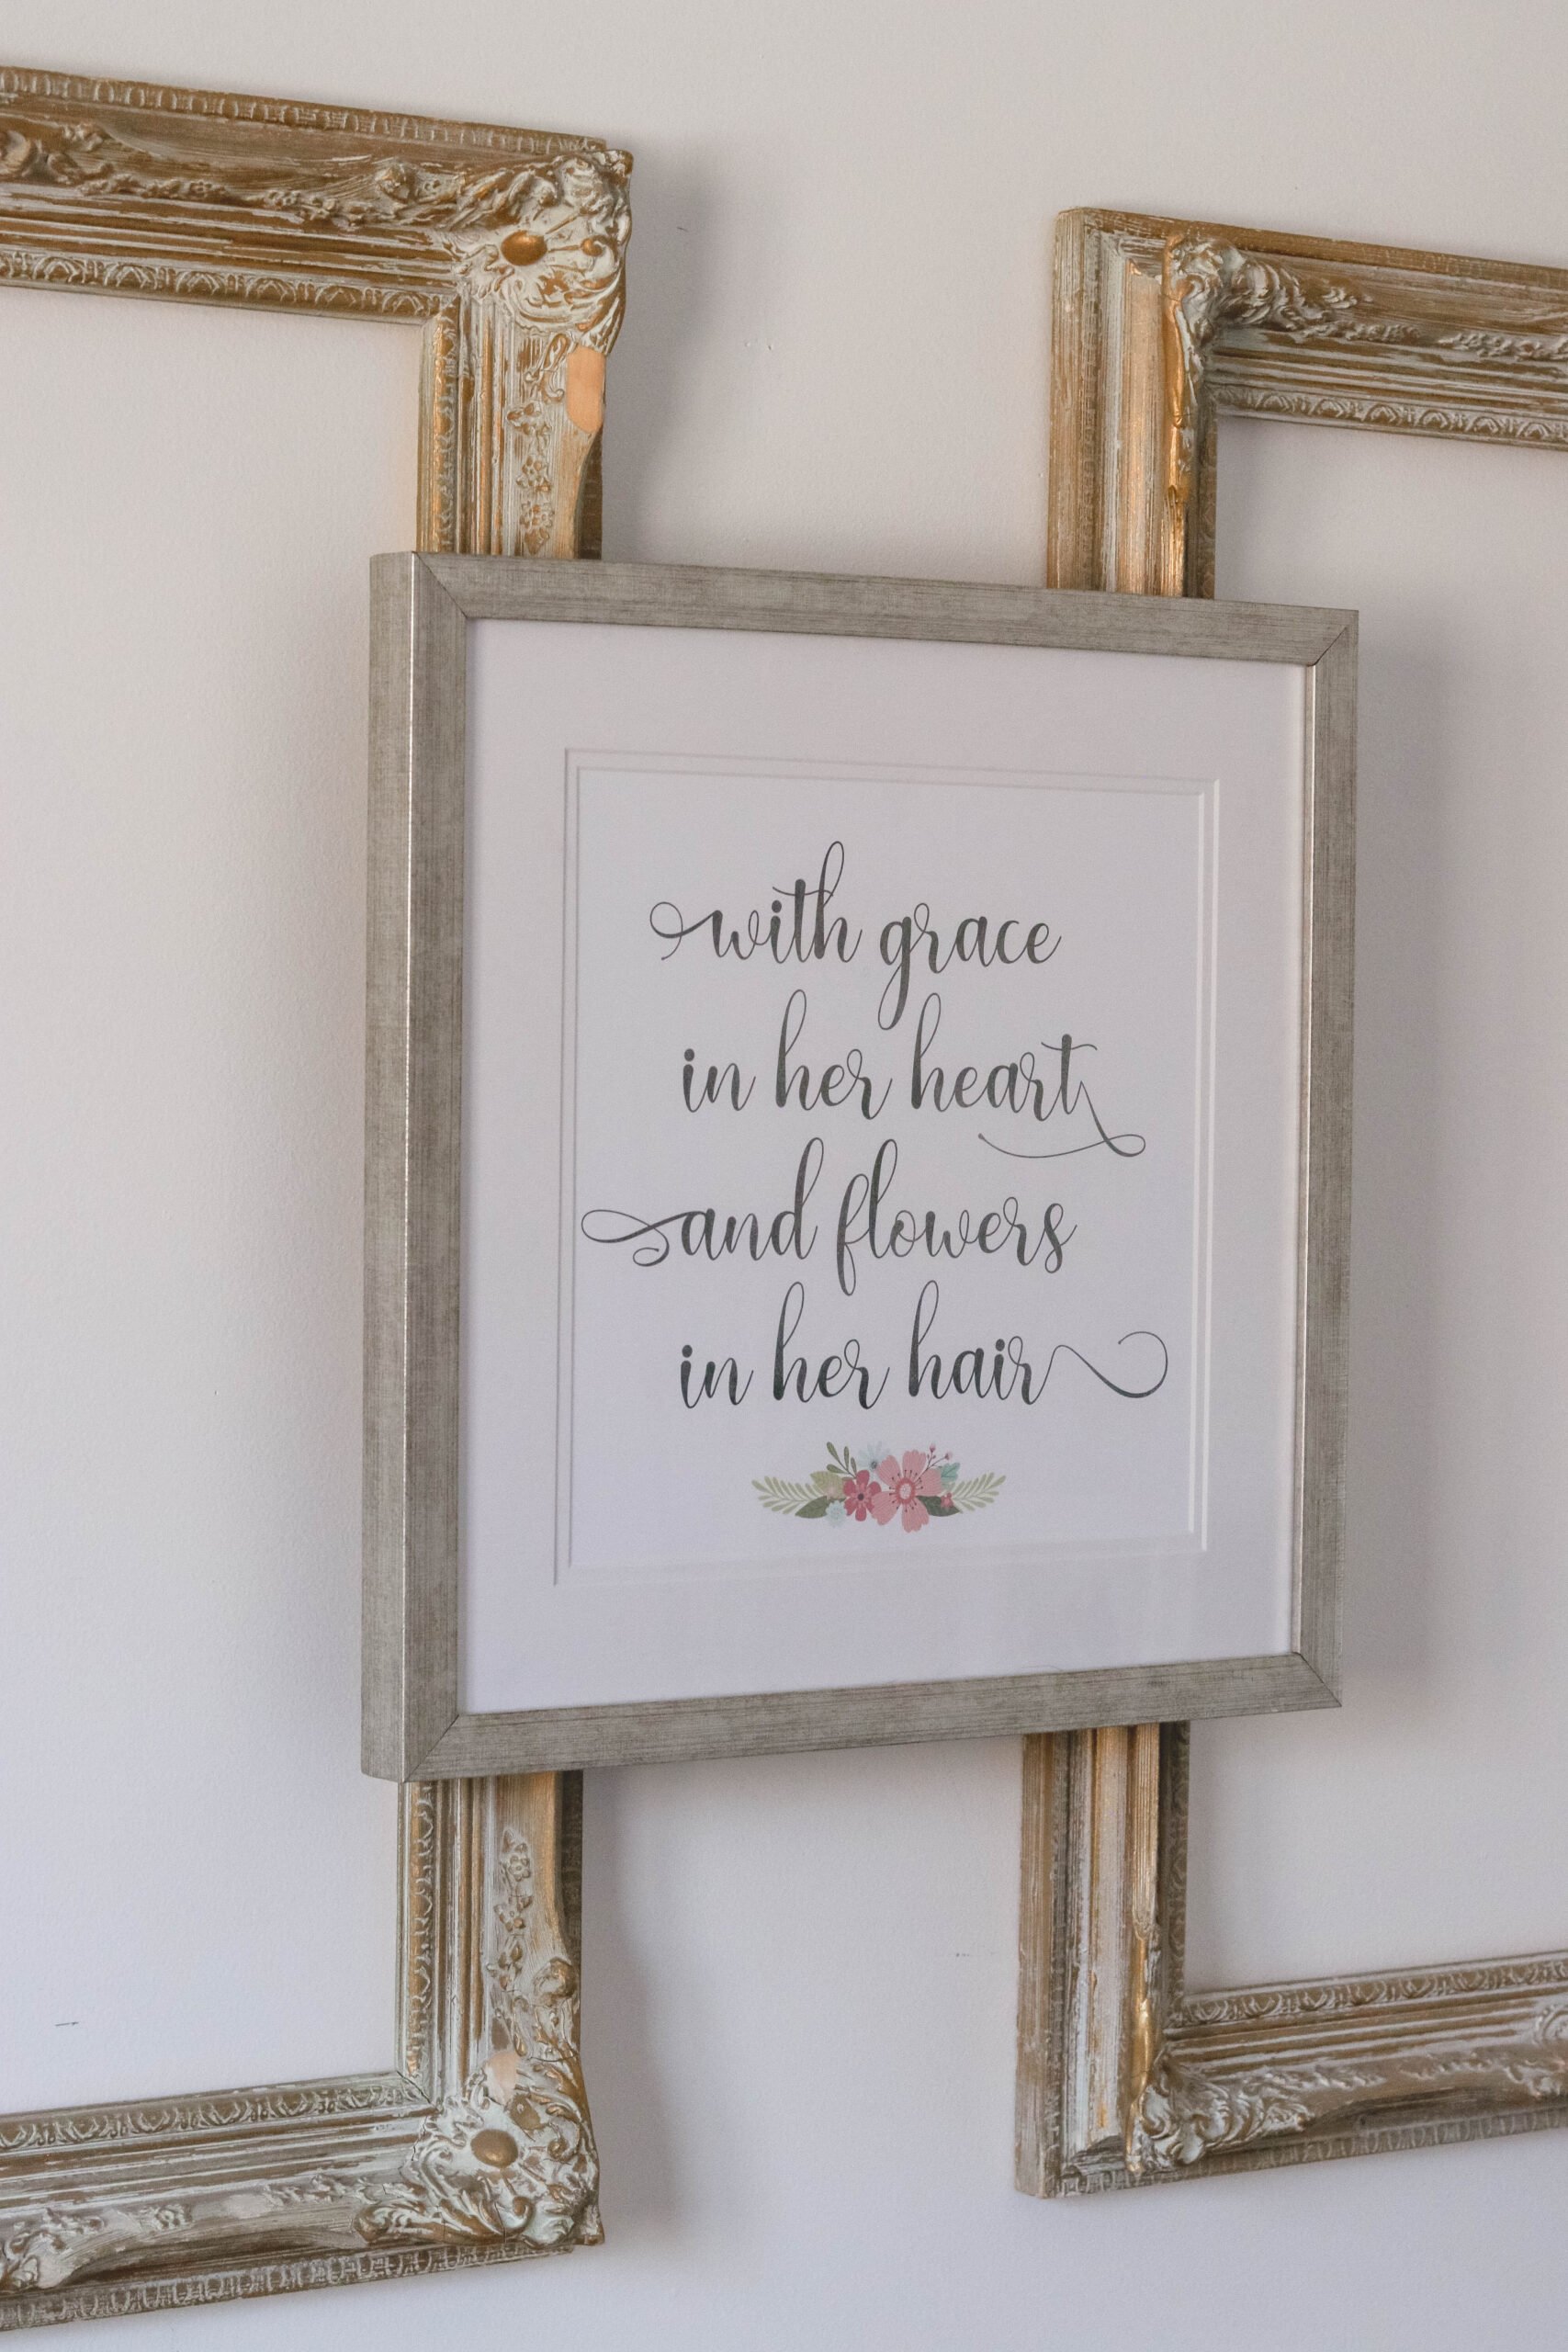
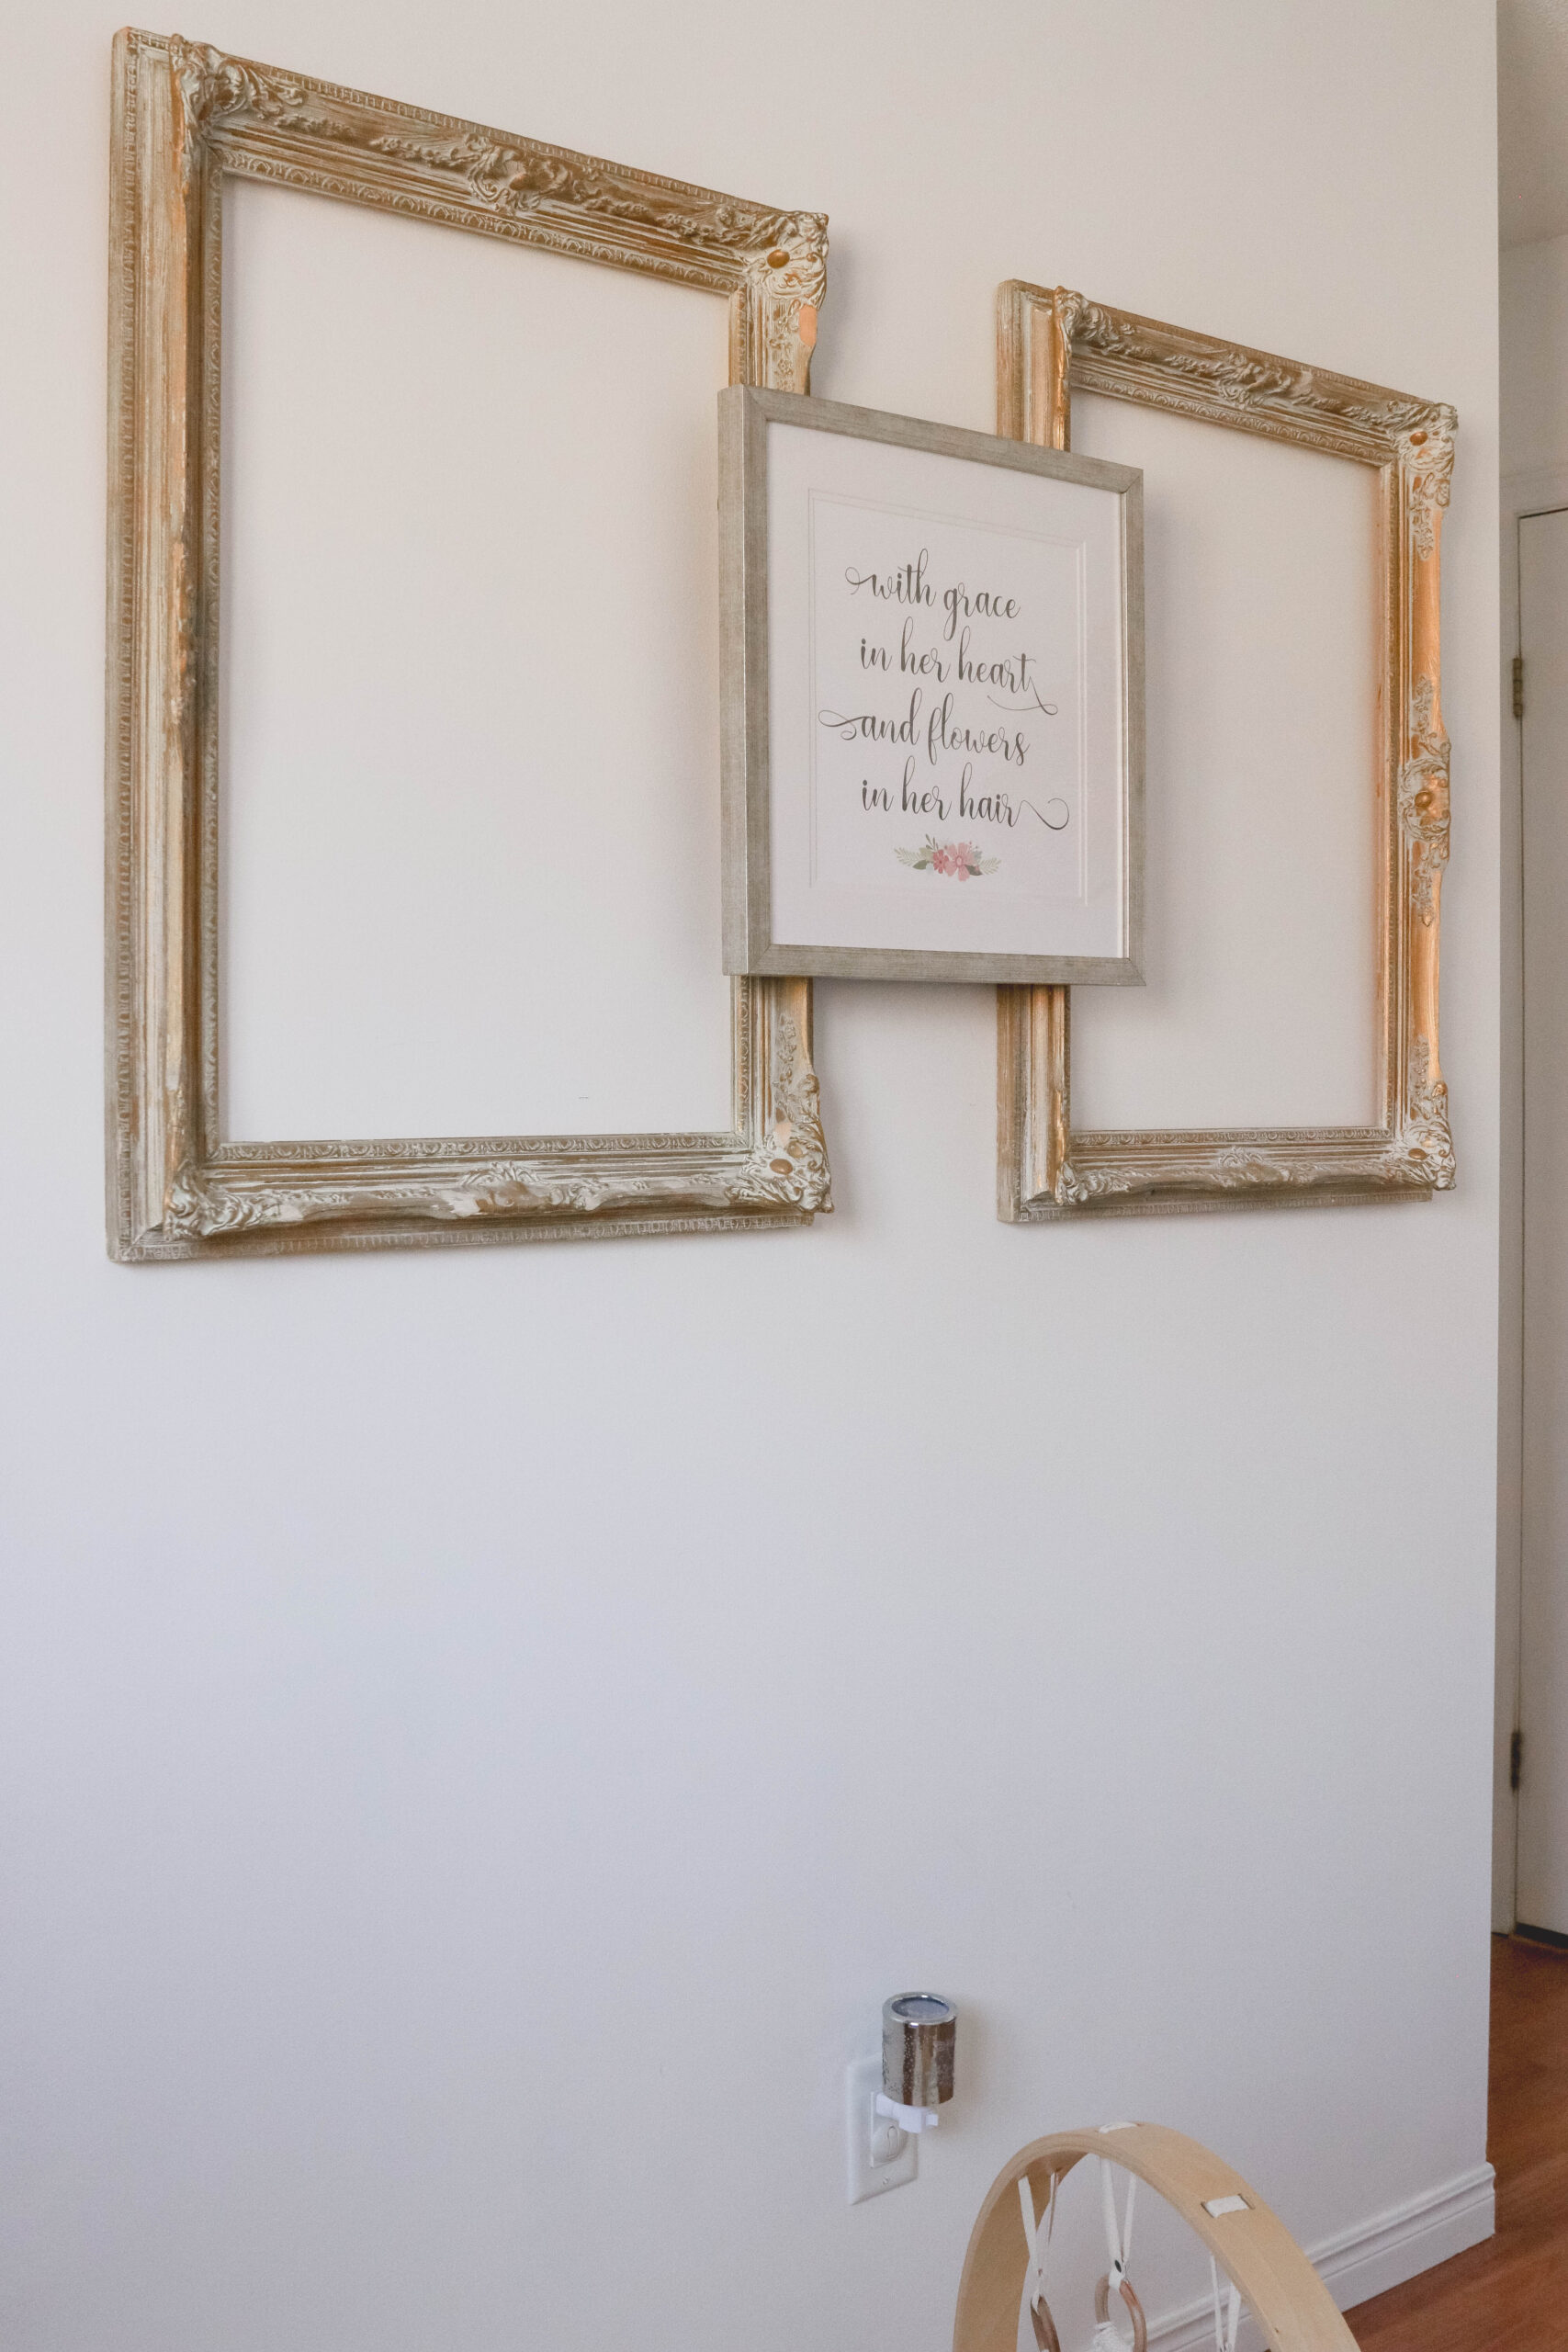
Just thought I would show a little project we did in my baby girl's nursery. I had found these beautiful antique frames that we actually used at our wedding. I wanted to incorporate them into our daughters nursery one way or another so we decided to layer them on a wall across from her crib.
Layering picture frames on a wall isn't the easiest task, and to be honest I was super nervous to do this knowing that it had to be secured well for when my daughter was big enough to potentially touch them. But I am super happy with the way they turned out!
So in the post I will quickly show you how my husband was able to secure them to the wall and make them look gorgeous! I will note, my husband is a carpenter and has specific tools available to use for hanging layered picture frames. If you do not have these tools, I will give other suggestions for securing the picture frames to the wall!
If you want to check out my daughters full nursery tour, you can head over to this post here: Baby Girl White and Pink Nursery Reveal
Let's dive into this DIY layer picture frames post!
This post is all about DIY Layer Picture Frames
How To Layer Picture Frames on a Wall:
Materials Needed to Layer Picture Frames:
- Measuring Tape
- Leveller
- Nails (if using)
- Dry Wall Anchor Kit (if using)
- Drill
- Picture Frames
How to layer picture frames Steps:
Here are the written step by step instructions, you can find the photos below all these steps for reference.
Time needed: 30 minutes
How to layer picture frames on a wall
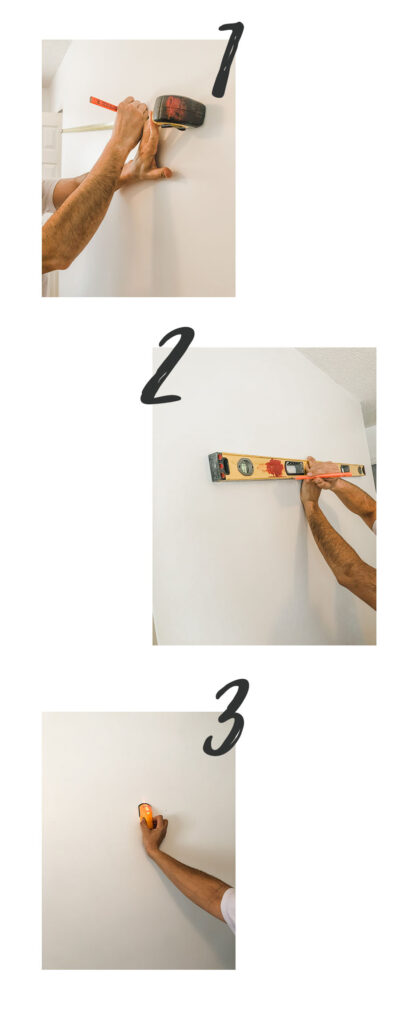
- Mark Out Location
The first step is to market out where exactly you want the picture frames to go. Use a measuring tape to find the centre of the wall or location. Use a pencil so you can erase it off the wall if necessary.
- Use a Leveller
Use a leveller to ensure that the marks are in the exact same location horizontally. You could totally use the measuring tape here too but my husband decided to get fancy.
- Stud Finder
If you have a stud finder, use it to find the best stop to put the nail in the wall. This will ensure that the picture frames are held on securely! If you don't have a stud finder, you can try knocking on the wall until you notice a change in the knocking sound. A more solid/dense sound will mean you have hit a stud, a more echoing sound will just be dry wall.
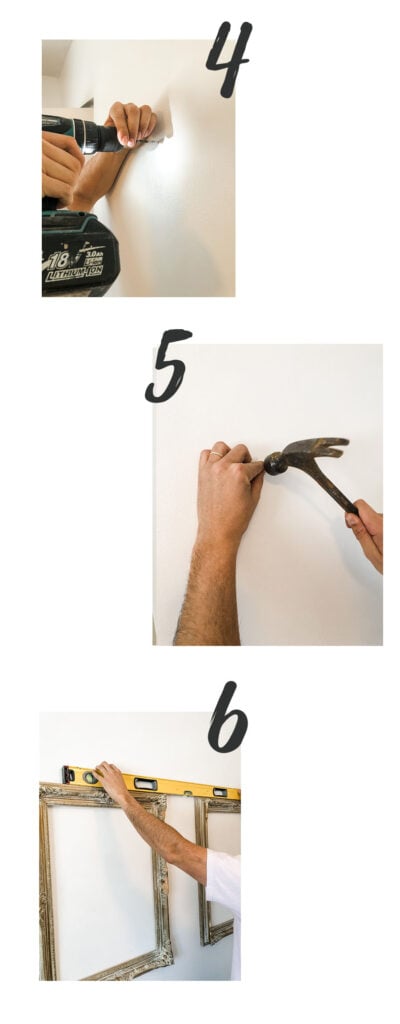
- Drill Your Holes for DryWall Plugs
If you are unable to use a stud (like us) you will have to use drywall plugs and anchor. First you will have to drill a hole in the wall and insert your drywall plug into that hole. Make sure they line up with the picture frames you are using. Push the drywall plugs into the holes.
- Insert Your Nails into the Dry Wall Plugs
Once you have drywall plugs in the wall, insert the nails into the plugs. you can either twist them in or use a hammer to insert them in. Follow the directions of your specific product.
- Hang Layer One
Hang the first layer of frames to the wall. Ensure they are level.
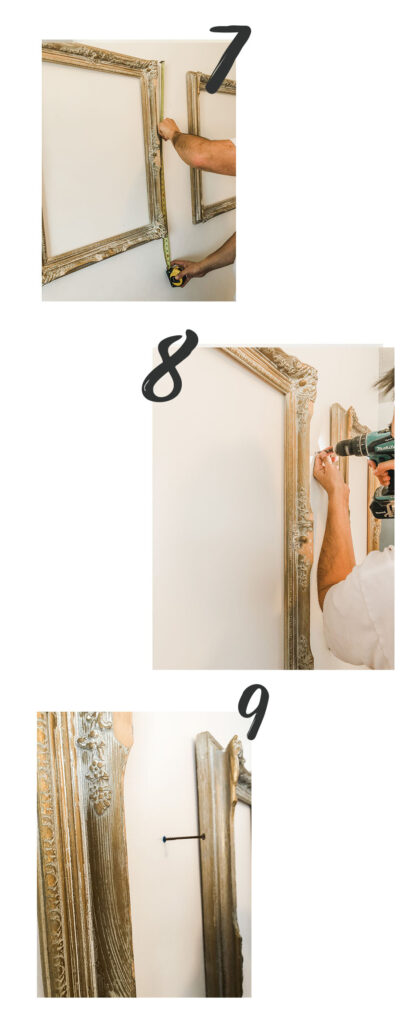
- Find the Centre
Using the measuring tape again, find the centre of the first layer of picture frames, or mark where you want the second layer picture frame to go.
- Drill Hole for Second Layer Picture Frame
Drill your hole for your second layer picture frame. You may need to use a drywall plug here but we did not because this is where our stud was, so we could use just a regular nail. This was crucial because it gave a strong base for the long nail to come.
- Insert Nail
Insert your nail into the wall.
- Hang Picture Frame
Hang your picture frame and you are done! Enjoy!
Step by Step Instruction Photos:
There you have it folks, I hope you enjoyed this mini tutorial!
If you liked this post, make sure you check out these other posts on my blog!
- PANTRY ORGANIZATION WITH LARGE LABELS
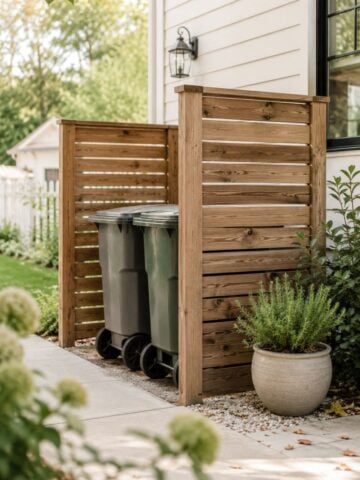
- HOW TO BUILD AN OUTDOOR GARBAGE BOX
- HOW TO WHITEWASH WOOD LIKE A PRO
Until Next time,

DIY How To Layer Picture Frames on a Wall; Easy step by step guide to securing layered artwork on a wall! Do it yourself home decor!

As Seen on TikTok
Come behind the scenes of our farmhouse build, decor projects, and cozy everyday life. Tap a video to watch, then follow @nikkisplate on TikTok for more.
Watch this video on TikTok
Watch this video on TikTok
Watch this video on TikTok


Leave a Reply