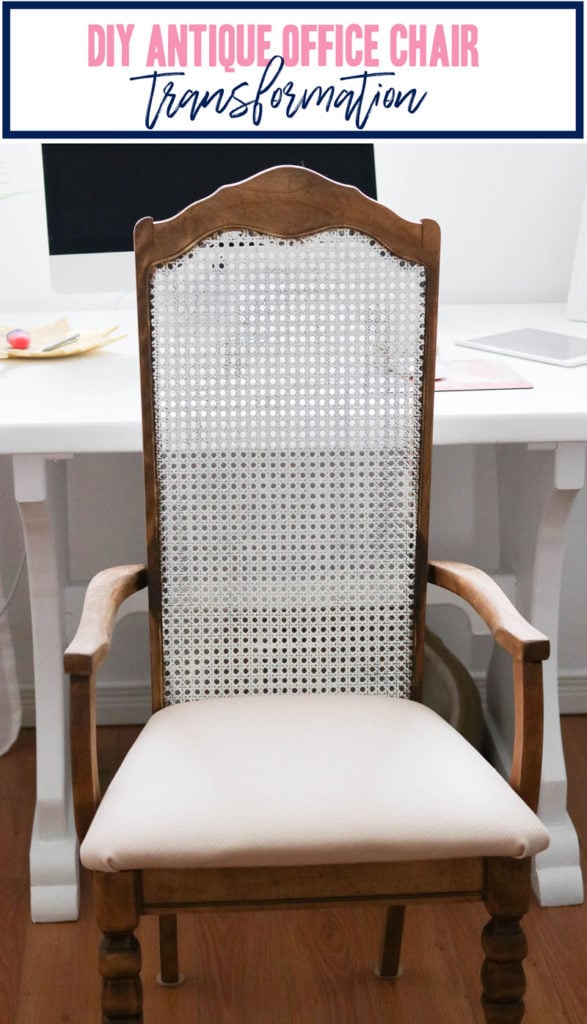
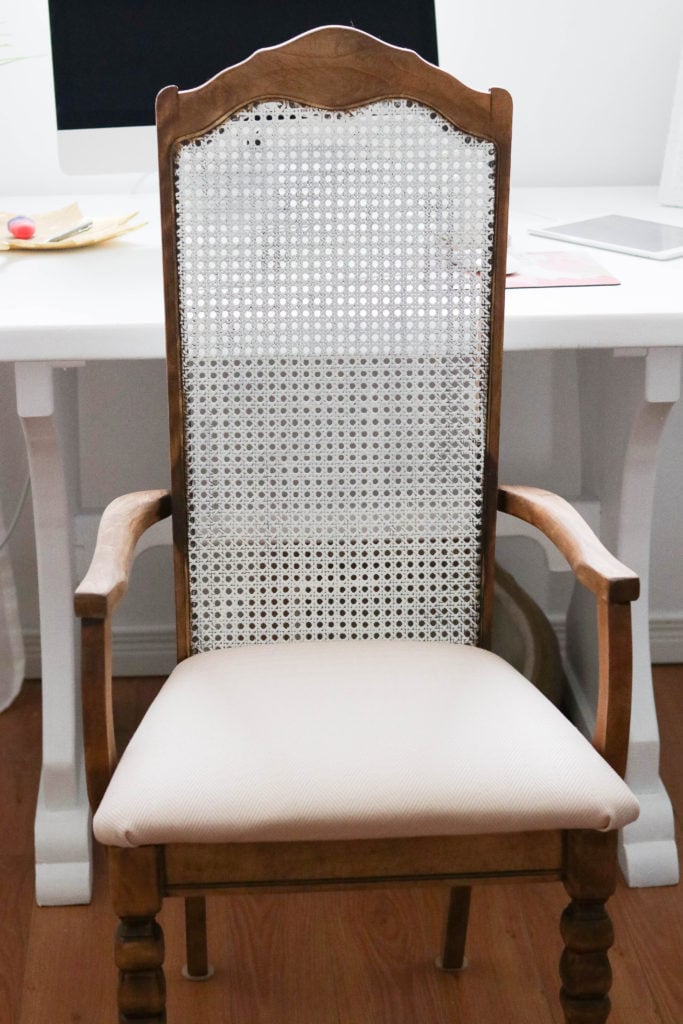
Easy DIY antique office chair makeover. Antique find turned into a pink rustic chic piece of furniture for your workspace. So simple and cheap! Under $20 for the entire finished piece.
Disclaimer: this post may contain affiliate links, and every purchase made through these links will give me a small commission (at absolutely no extra cost for you!) AS AN AMAZON ASSOCIATE AND REWARDSTYLE MEMBER, I EARN FROM QUALIFYING PURCHASES. See Privacy Policy for additional info.
Hi Beauties!
This is a super quick and easy DIY project I am posting, but I just wanted to share how I did this with you all! I love everything about refinishing antique pieces. I love the character they already have and the easy transformations that can be done to bring them all back to life. There is something so amazing about taking an old piece and making it beautiful again that makes my heart race! Ok yes I am a weirdo.. But I love being creative and I love being able to express my style with old pieces like this antique chair I found.
I found this chair at our local Habitat For Humanity warehouse. I legit LOVE this place. I am in there WAY too much. When I was in search of antique pieces for our wedding, I was in there ALL THE TIME. I found so many beautiful old frames, and antique wood pieces that I transformed into signs. You can see all my wedding decor in this post.
Anyways, so I was on the hunt for an office chair (office reveal coming soon).. which is why I was in Habitat for Humanity. I do usually look in thrift stores too, but I find more unique antique pieces at Habitat for Humanity. I found this chair and it was part of a dining set. I asked for the price and they told me they wouldn't sell it unless I bought the entire set... BUT I noticed it was the only chair in the set that had arms, so I mentioned that to them and they said they would then sell it for 10 bucks. 10 BUCKS! START THE CAR! So I left the store feeling like I had hit the jackpot!
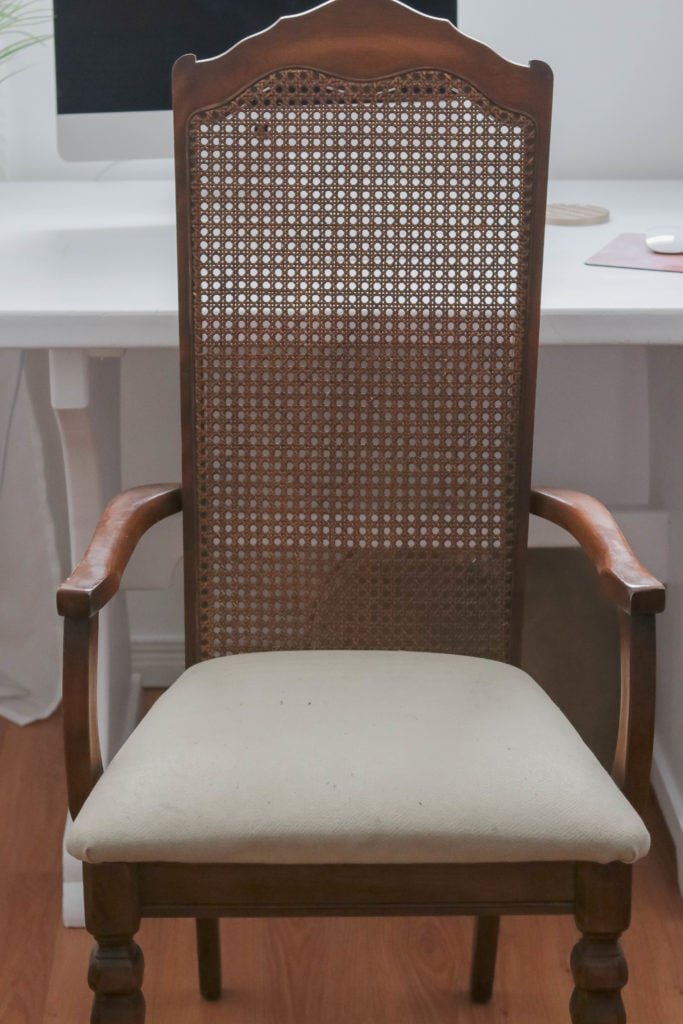
This chair had so much detail which I loved. One of the legs was a little bit loose but I got Dylan to tighten up some of the bolts and it fixed the issue right up! It sure is handy having a husband who is good with tools! It saves me so much time when it comes to figuring out how to fix my antique pieces. That being said, you need to make sure that the pieces you buy are saveable! You need to learn how to identify small issues verse 'you belong in the garbage' issues. If there are major cracks in any wood then do not buy it! You cannot fix broken wood, but you can tighten bolts so a chair doesn't wobble! EASY PEASY.
Related: DIY Kitchen Table Transformation
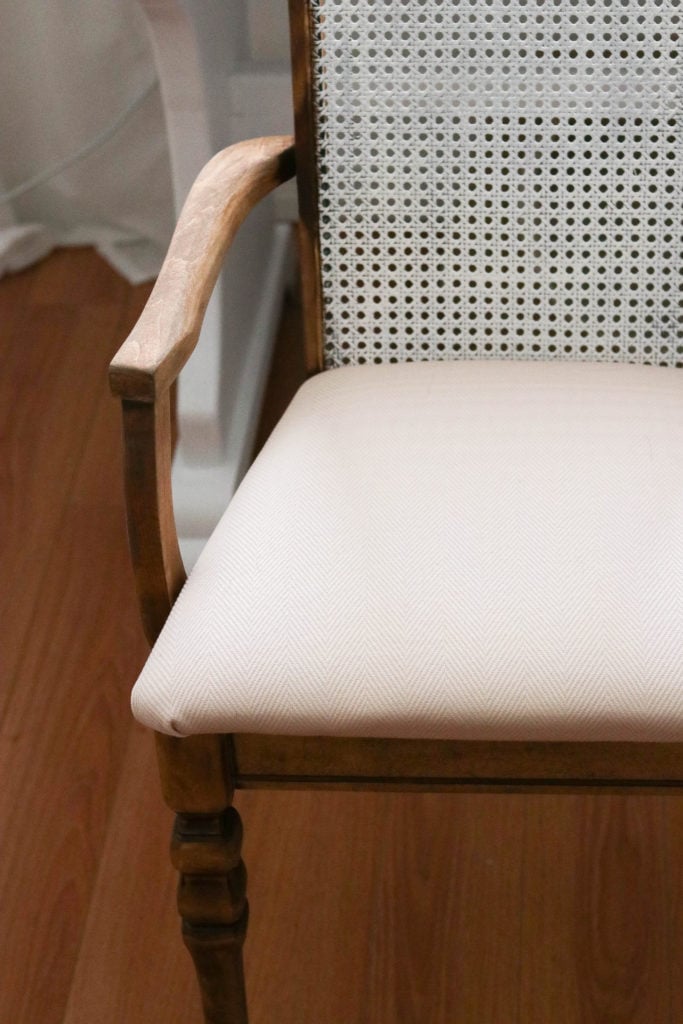
Once you find the antique piece you want, you need to have an idea or a vision of what you want the final product to look like. I knew that with this chair I wanted it to be rustic girly chic. Which is why I picked the pink fabric for it! I picked up a small piece of fabric from our FabricLand. Make sure you choose a fabric that will be durable to is a little on the thick side, to ensure wear and tear. You do not need to wash it prior to putting it on the chair unless you feel it is necessary.
Anyways enough of me rambling on..
Lets DIY this Antique Office Chair shall we!?
Step One: Remove the Office Chair Seat
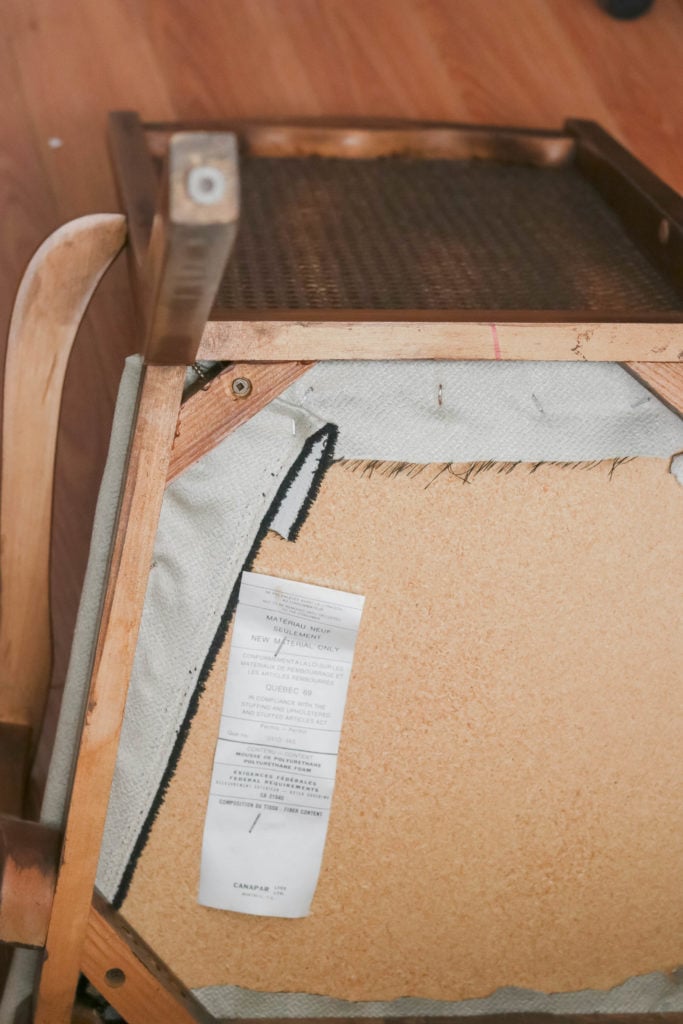
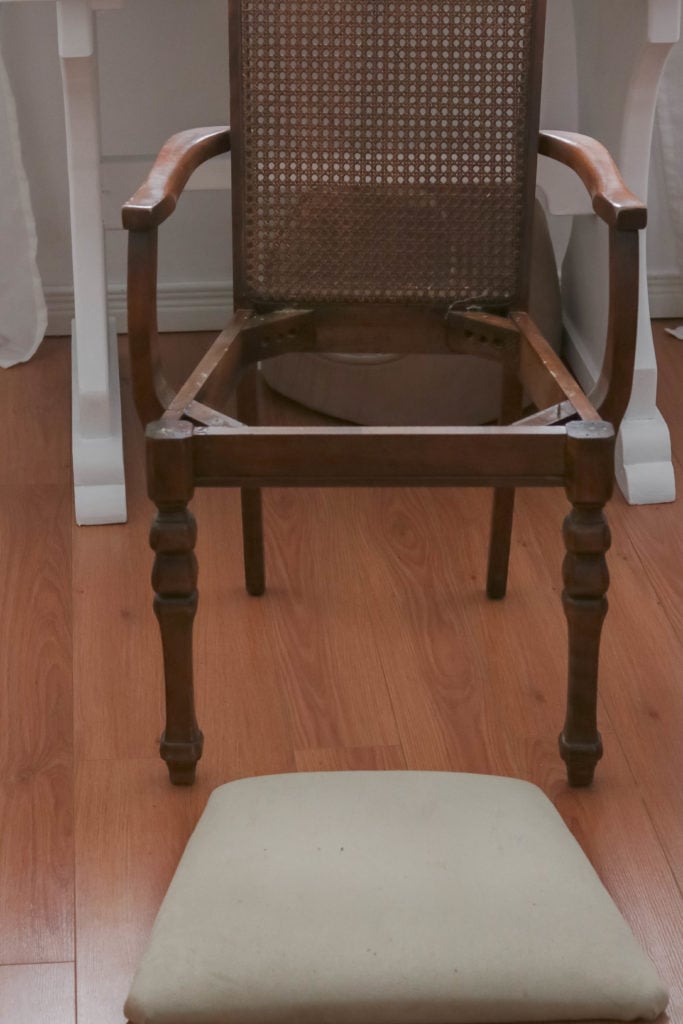
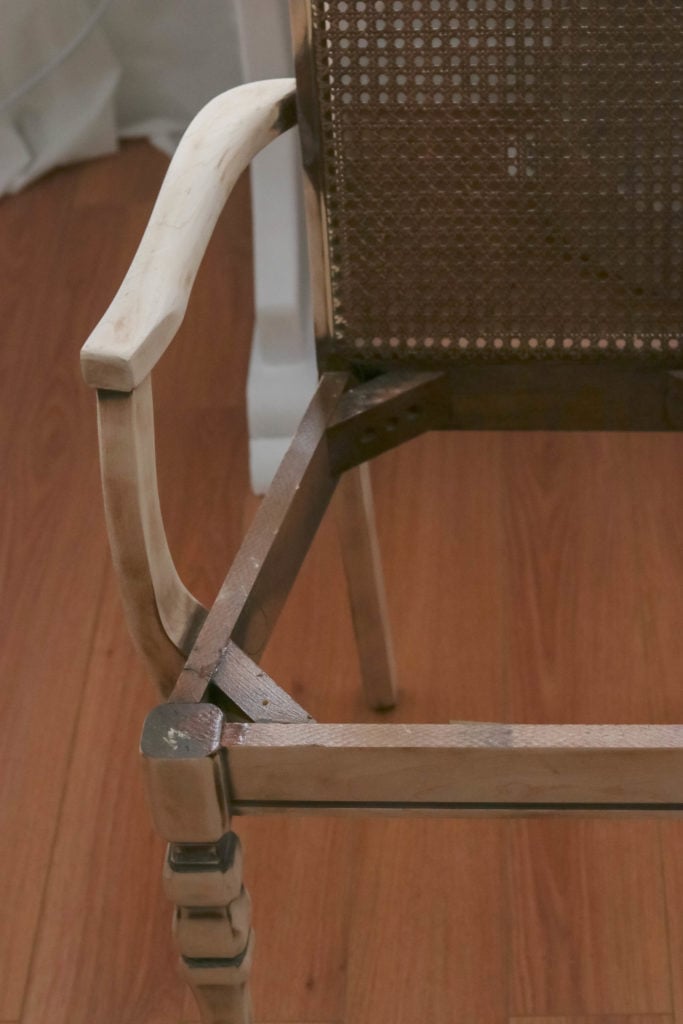
Remove the fabric covered seat. Super easy to do, just get a drill or a screwdriver, and remove the screws from the bottom of the chair, you will need to flip the chair upside down to see them. If your antique piece is really old, you may have to put some sweat into it to get them out... Again, Dylan had to come to my rescue for one of the screws because it was in there REAL good.
Step Two: Sand Down the Wood
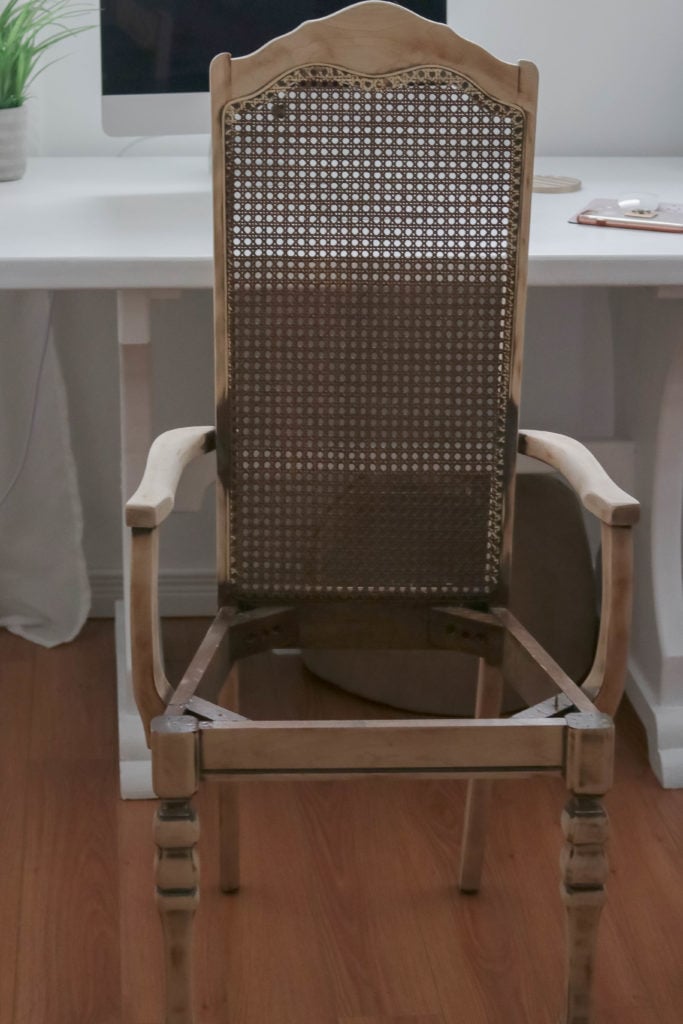
Sand the wood down. If you are planning to stain or paint the piece, you will need to sand it down. If you are painting it, you just need to rough up the wood, but if you are staining it you will want to take the sanding right down to the natural wood colour. If you are painting it, you don't have to worry about the direction of your sanding but if you are staining it, make sure you follow the natural direction of the wood grain. This will make it look natural when finished. Also it is important to consider the roughness of the sanding paper. Use a finer sanding paper to avoid wrecking the wood.
Step Three: Stain & Paint the Office Chair
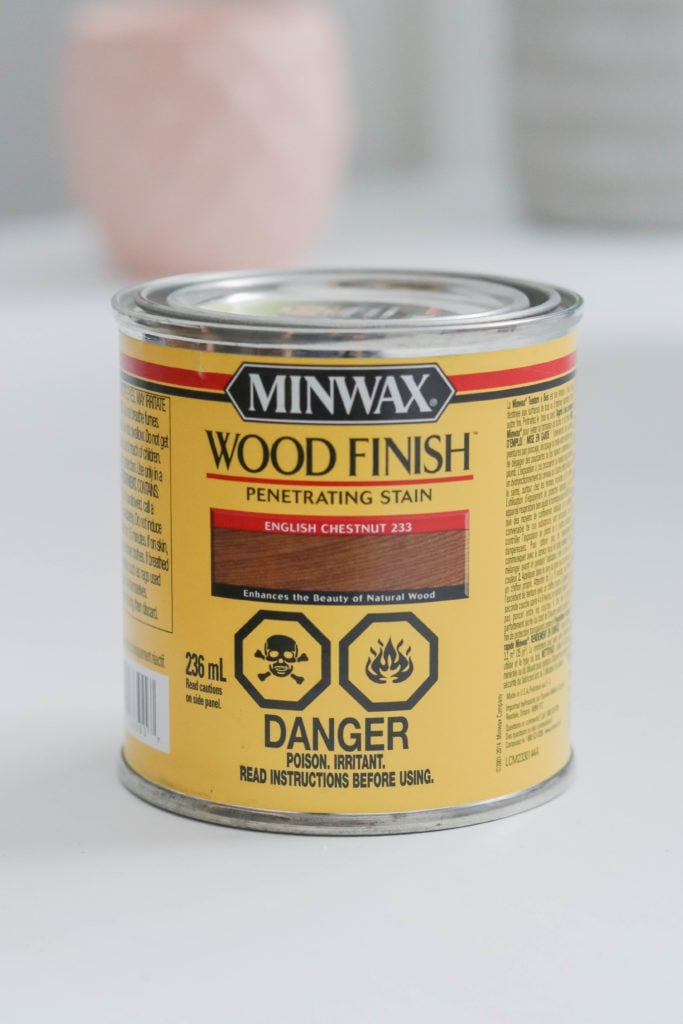
Stain and Paint. Before you stain the wood make sure you wipe it all down to remove any left over dust. You can actually buy wax paper at your home hardware store that removes all the sanding dust or you can just lightly wet a cloth and wipe it down (just make sure you let it dry before you stain). I used MinWax Wood Finish in English Chestnut. I love this stain, I use it on a lot of my projects. It just works so well. I rubbed it on my chair with a dry cloth in the direction of the wood grain. I only did one coat and it turned out great!
Step Four: Reupholster the Antique Office Chair Seat
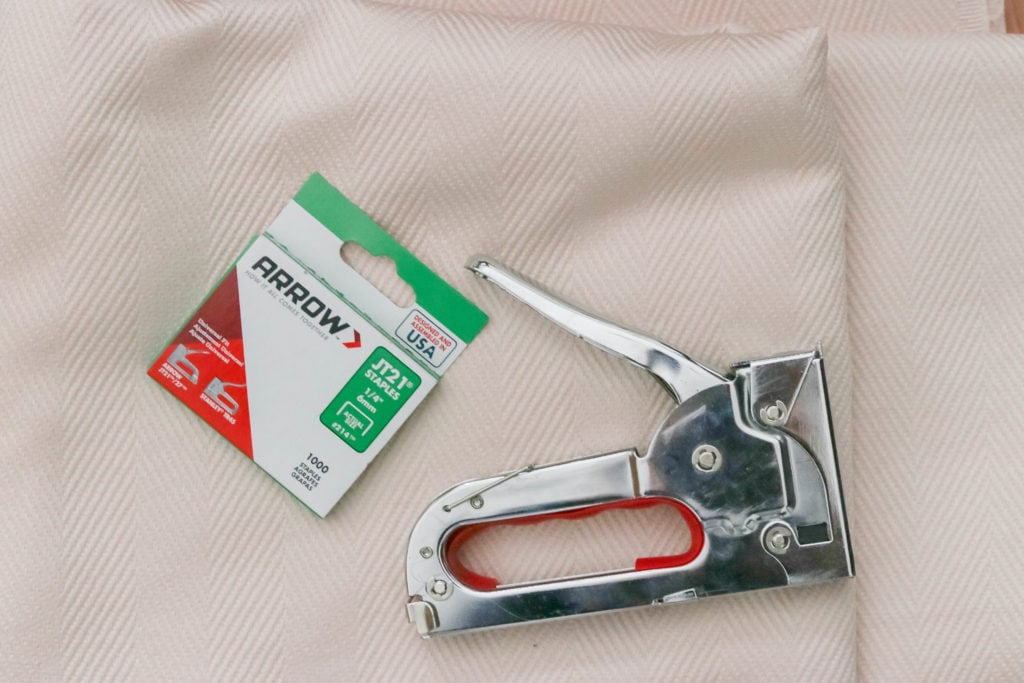
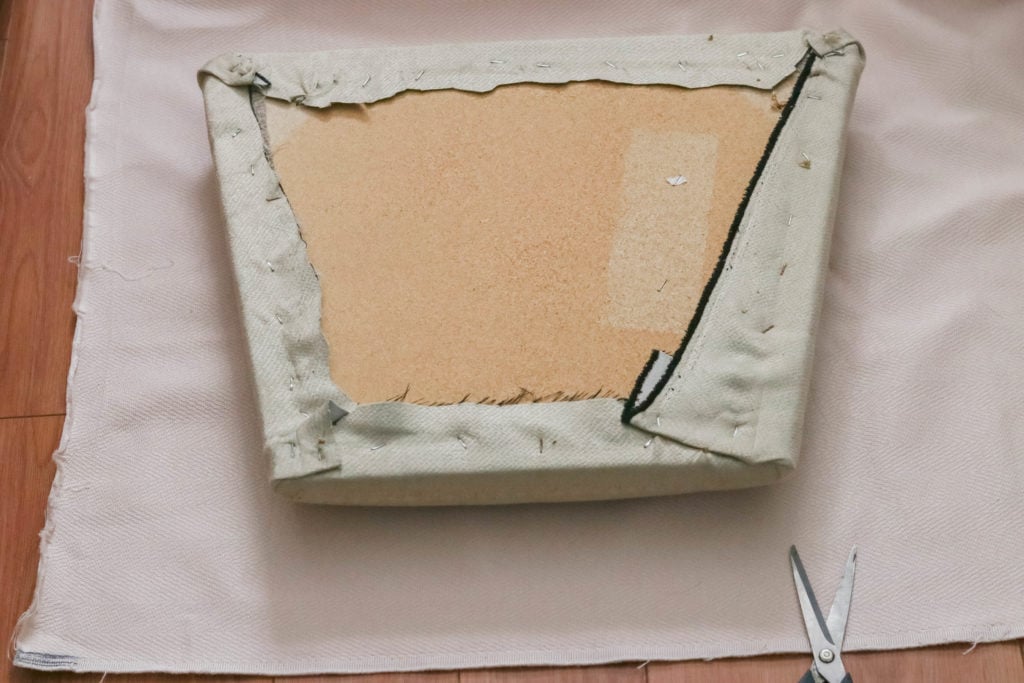
Reupholster the Seat. Time to put that fabric on your chair while you are waiting for your stain to dry! Spread out the fabric with the pretty side down. Place your chair seat face down on top. Cut around the seat leaving 3-4 inches of space. Once cut, staple the fabric to the seat, make sure you pull very tight so it hugs the seat. I kept it simple by doing it this way. I know some people rip it all apart to replace the foam in the seat but ain't nobody got time for that!
Related: HOW TO WHITE WASH WOOD LIKE A PRO
Step Five: Reassemble the Antique Office Chair
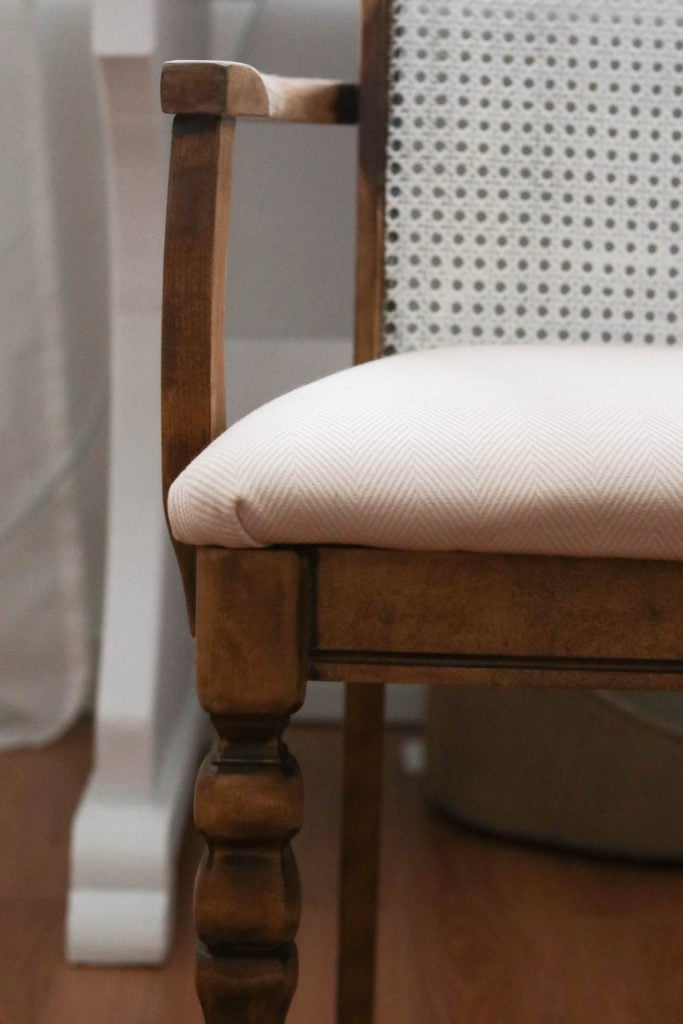
Put it all together! Once you have left your stain/paint to dry for 24 hours, time to put it all together. Place the newly covered fabric seat back on the chair and screw it back into place. BOOM, just like that you have a brand new/not new antique office chair.
I am absolutely in love with this chair. I can not wait to show you all my entire office! I would not have done anything different to this chair. I ended up painting the back of it white because it was too hard to sand to stain. But I think it turned out great anyways! It fits my pink and white office perfectly. It is almost like this chair was made for this room! ... well it kind of was hehe
If you liked this post make sure you check out my other antique pieces I refinished!
Related: DIY Vintage Chair Makeover
I hope you enjoyed this antique office chair post! If you want to see more DIY furniture posts, make sure you comment below what you want to see next!
Until next time!

Easy DIY antique office chair makeover. Antique find turned into a pink rustic chic piece of furniture for your workspace. So simple and cheap! Under $20 for the entire finished piece.
IF YOU LIKED THIS POST, YOU WILL LOVE THESE TOO:
- DIY VINTAGE CHAIR MAKEOVER
- Top 10 Farmhouse Exteriors Your NEED to See
- DIY KITCHEN TABLE TRANSFORMATION
- HOW TO WHITE WASH WOOD LIKE A PRO
- 4 Tips To Make Your Home Renovation A Lot Less Stressful
OTHER POSTS FOR YOU To EXPLORE:
As Seen on TikTok
Come behind the scenes of our farmhouse build, decor projects, and cozy everyday life. Tap a video to watch, then follow @nikkisplate on TikTok for more.
Watch this video on TikTok
Watch this video on TikTok
Watch this video on TikTok






Leave a Reply